
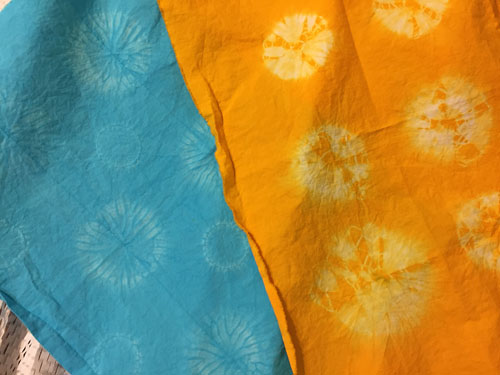
In addition to the gorgeous indigo, my fabrics dyed with Procion mx dyes also turned out well. I didn’t have time to thoroughly wash them at first, so I draped them around my back porch for drying. So pretty!

Believe it or not, these fabrics were made by simply wadding and scrunching up a piece of fabric and loosely securing it with rubbed bands. Doesn’t it give a great mottled effect?

The indigo piece above is the one seen hanging at the bottom of this post. How simple is that?
Rocks were wrapped in fabric and secured with rubbed bands for these next two. Pretty cool, right?

Stitching created the resist in the next pieces. The red piece, top left was stitched by machine. The magenta one, bottom left was stitched by hand. Each row was tucked, resulting in a double resist line. The indigo piece was stitched by hand, both with and without tucks. The top portion was tucked and the bottom section was just stitched through a single layer. All were pulled up tightly and secured.

What I learned about stitching: Do it on the machine! Rely on the stitched line for the pattern, not the shirring caused by pulling the strings tight. And, for me, I like the tucked stitching best.
This is where I REALLY got my preference for machine stitching. Because I HAND stitched these – hours and hours worth. Wish I’d dyed that left one with something darker so it would show up more. Of course, I still like them, though!
This honeycomb pattern was achieved with what I dubbed “the scrunchy technique.” Because it looked like a hair scrunchy, once prepped. The fabric was wrapped around a fat cord, then the cord was tied together tightly, which required a lot of scrunching together of the fabric. (A fatter cord would have given me a larger pattern.)

Finally, this gold piece was folded like a flag and held together with two rubber bands. I like the design a lot.

This was so much fun and I’m loving my results. The next challenge: cutting them up. (I’m pretty practiced at that, though, so it shouldn’t be too rough.)
Do you have a favorite?
Ellen Lindner


Ellen, I really love these. Muz
Thanks, Mom!
I love them all, but I think I like the simple scrunched ones best. Aren’t they gorgeous colors? I want to do this again!
What fantastic color and design! Love them all and can’t wait to see what you do with them.
Yes. It was a lot of fun and the results are very interesting.
Hi Susan,
I’m glad you like them. Me, too!
For now, I think they’ll live in my stash with similar colors, waiting for the perfect use.