Tips: Making Note Cards
Would you like to make your own note cards? They’re fast, easy, and a great way to use little scraps of paper, fabric, and novelty items.
Start by painting the paper for the card bodies. Select a fairly heavy paper that can handle getting very wet. Paper intended for Watercolor or Wet Media is a good choice. A size of 11″ x 15″ works well, and is large enough to create three cards. Click any image for a larger view.

Use your favorite paints and techniques to color the paper. Remember that this is the background for your elements, so it can be fairly plain. In my example, I used very watered down acrylic paints. I slopped on several similar colors, letting them puddle and blend as they dried.

After the first side dries, repeat the process on the other side. If your paper buckles as it dries, you can later flatten it by leaving it under heavy books for several days.
Once your paper is flat and dry, you’re ready to cut your cards. The size is equal to half a sheet of typing paper: 8 1/2″ by 5 1/2″. (This size is important.) You can get three cards from a sheet of 11″ x 15″ paper, by cutting it like this:

Fold each card in half, creating a sharp crease.
Now you’re ready to have some fun! Reach for your fabric scraps, paper scraps, buttons, embellishments, and novelty items. See card examples here, here, and here (scroll down.)
Consider some of these options:
– Sheer fabrics
– Purposely frayed edges
– Lace
– Crumbled tissue paper
– A little metallic
– Non-traditional items like onion bags, needlepoint canvas, candy wrappers, etc.
– Contrasting stitching, either by machine or hand
Keep your composition simple, since only a few items are needed. Try some rectangles, as I’ve done, or use shapes such as leaves, circles, triangles, etc.
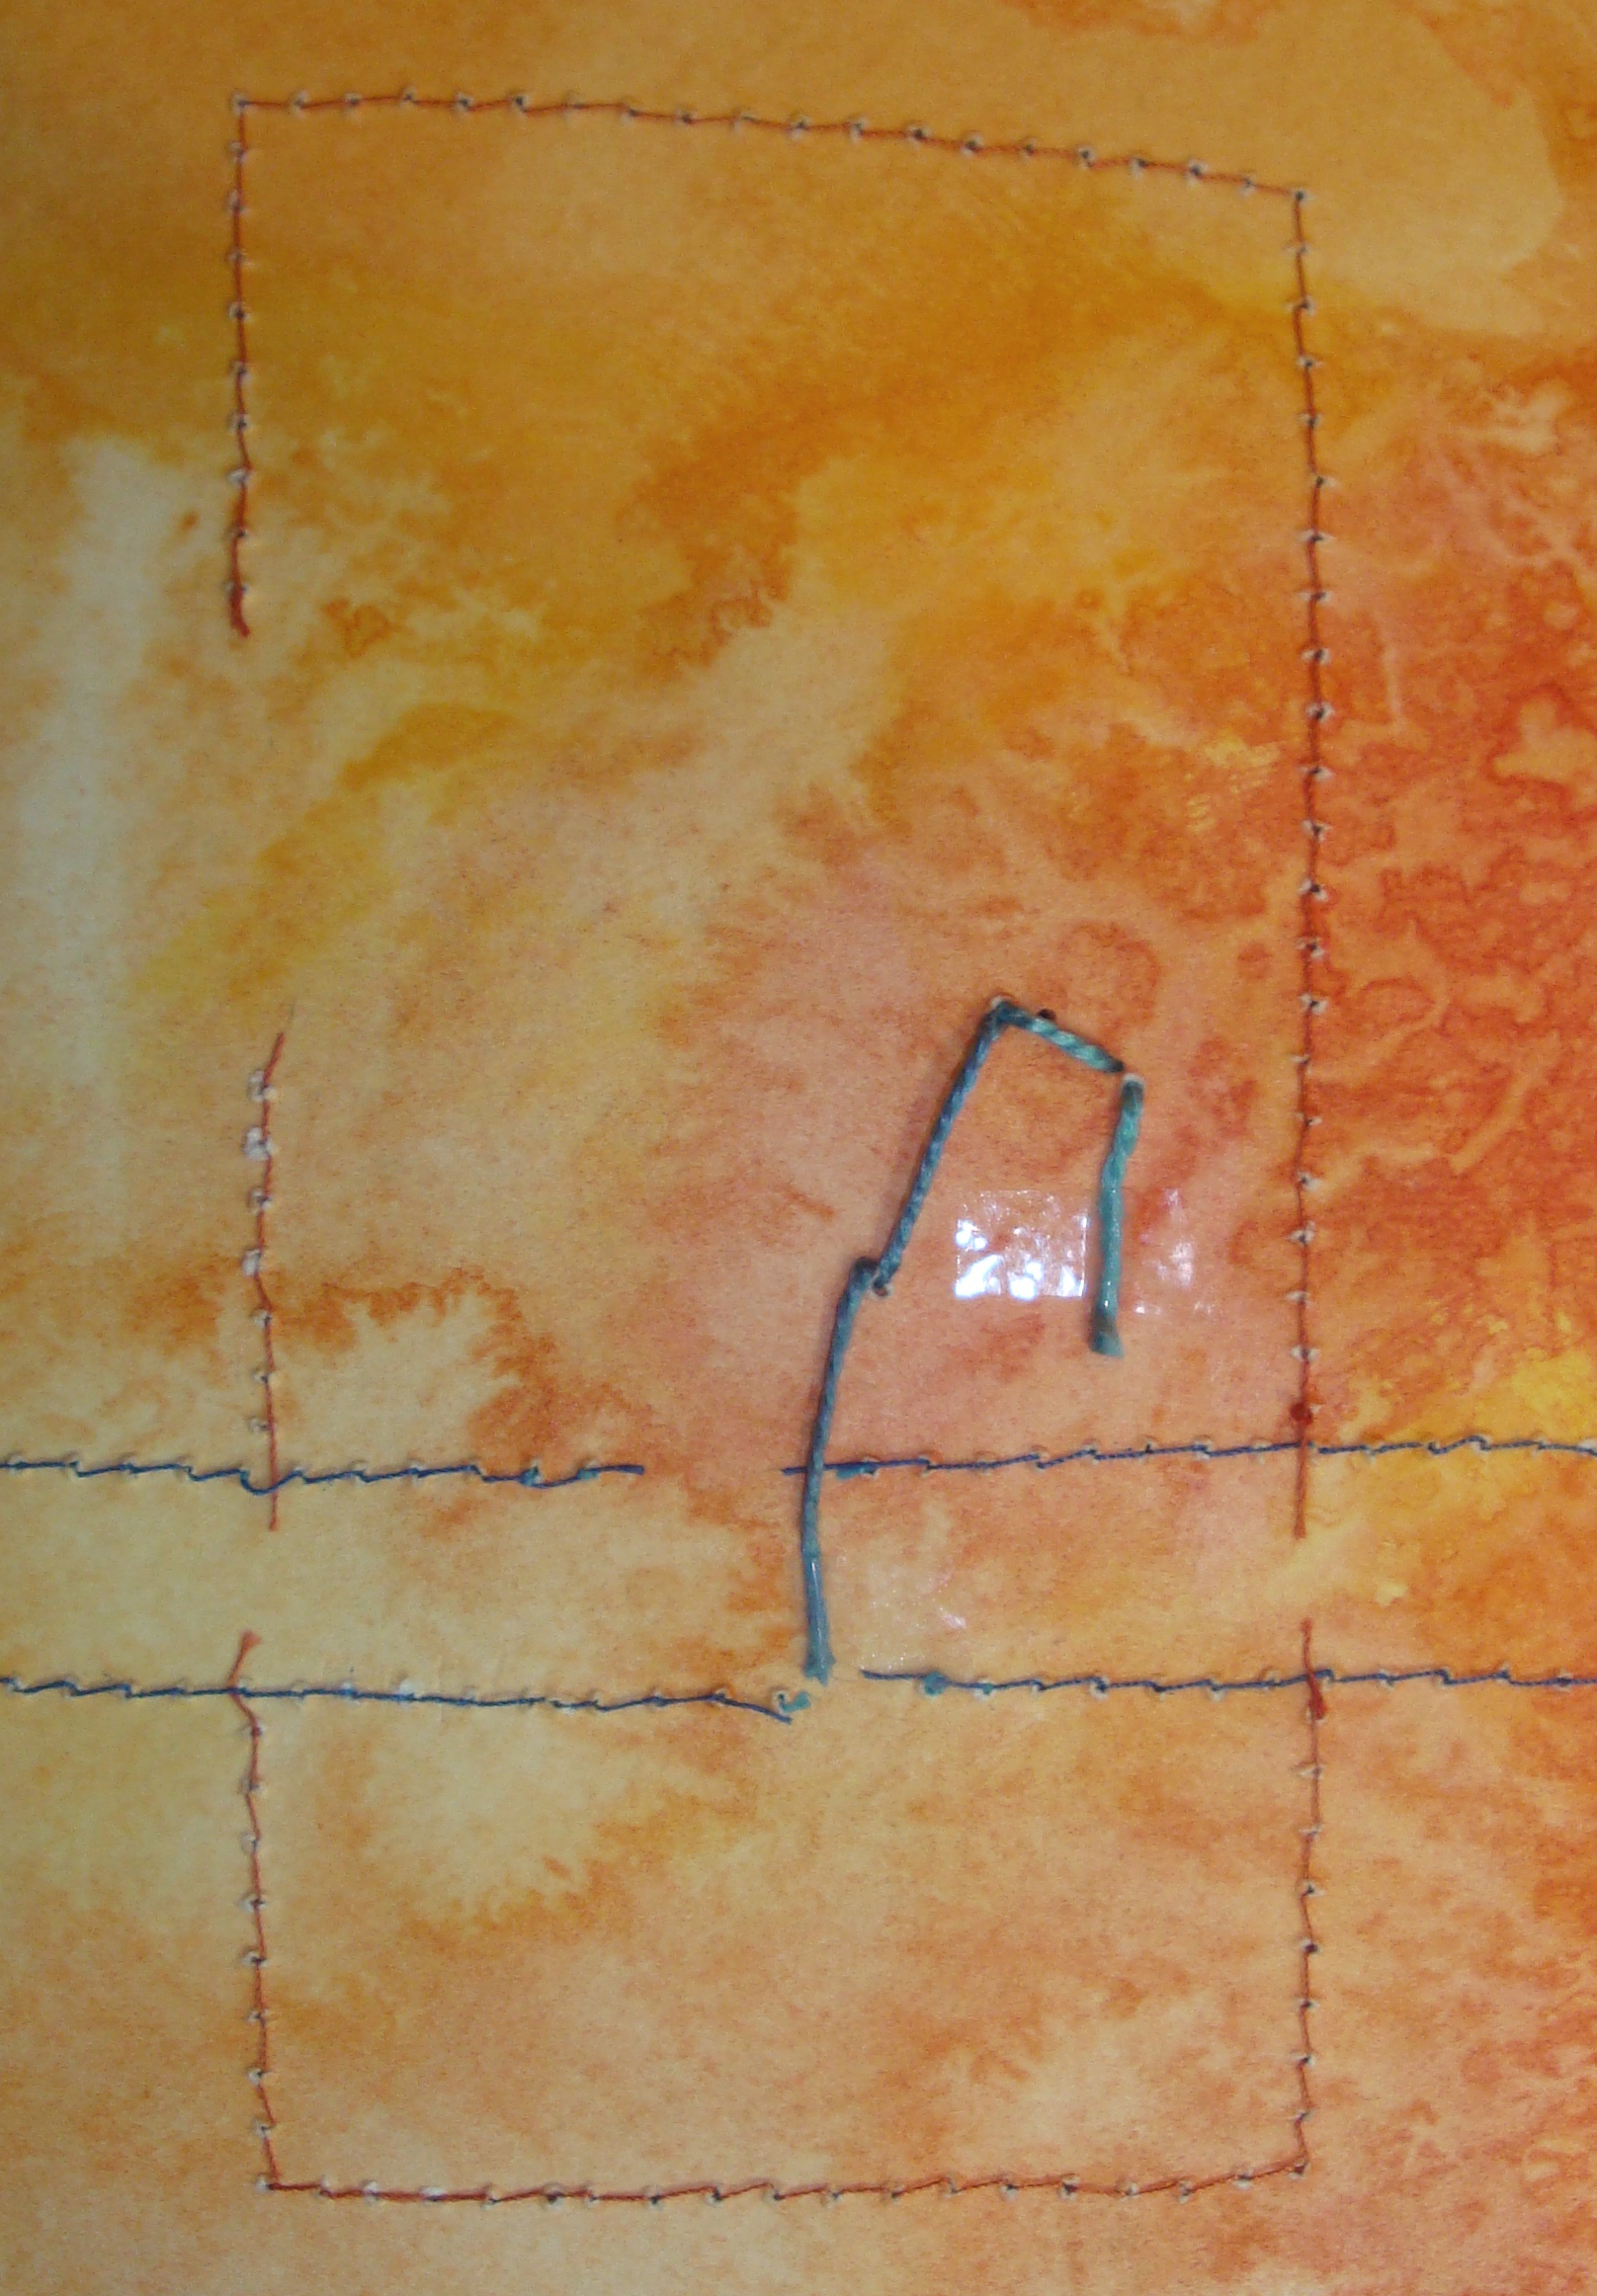
Most items can be secured with a simple glue stick. However, a little machine stitching adds definition and interest. When machine stitching, use a fairly long stitch length and don’t go backwards and forwards. Leave a thread tail at both ends. Later trim the tail to the correct length for the next stitch and glue it in place with a little glue stick. Do this on both the front and the inside.
Hand stitching adds a wonderful quality. Use Pearle cotton or other heavy thread and avoid knots. Instead, secure the ends with a little packing tape. There’s a visibility issue with hand stitching: after making the first diagonal of a cross stitch, you can’t tell where to start the next diagonal. At least from the front, that is. If you’ll look inside, you can see exactly where you needle goes for the next stitch.
If desired, glue a piece of white paper on the right side of the inside, for better writing. If the left side looks messy, you can do the same thing there.

And, of course, sign and date the back!
Why was the size important? Because envelopes are readily available for this size card. They’re called Invitation, and they’re sold by the box at any office supply store. These envelopes show off your handiwork perfectly.
Your recipients will love these!
I’d love to see some of your results. Please send photos to ellen@adventurequilter.com .
Ellen Lindner

[…] Find further tips for making these cards here. […]