Depicting Trees
Since I do a lot of quilts inspired by nature, I often need to depict trees. But, I don’t have a set “formula,” since every situation is different. Instead, I notice what’s important about the tree(s) and try to capture that.
In the Mountain Meadow, below, I just needed a mass of green with some texture too it. But not too much contrast. Easy.
Click any image for a larger view.

With Misty Morn, it was important to have a strong contrast between the trees and the background. So, a black and white color scheme was used.

In the inspiration photo used for Misty Morn, the trees were pines. At first, I considered thread painting all the needles of those trees. But wait. What was I thinking??? Were exact needles important to the composition? No! Foliage: yes, but pine needles: no. Thankfully, I realized that and was able to use prints fabrics to represent busy foliage. Perfect.
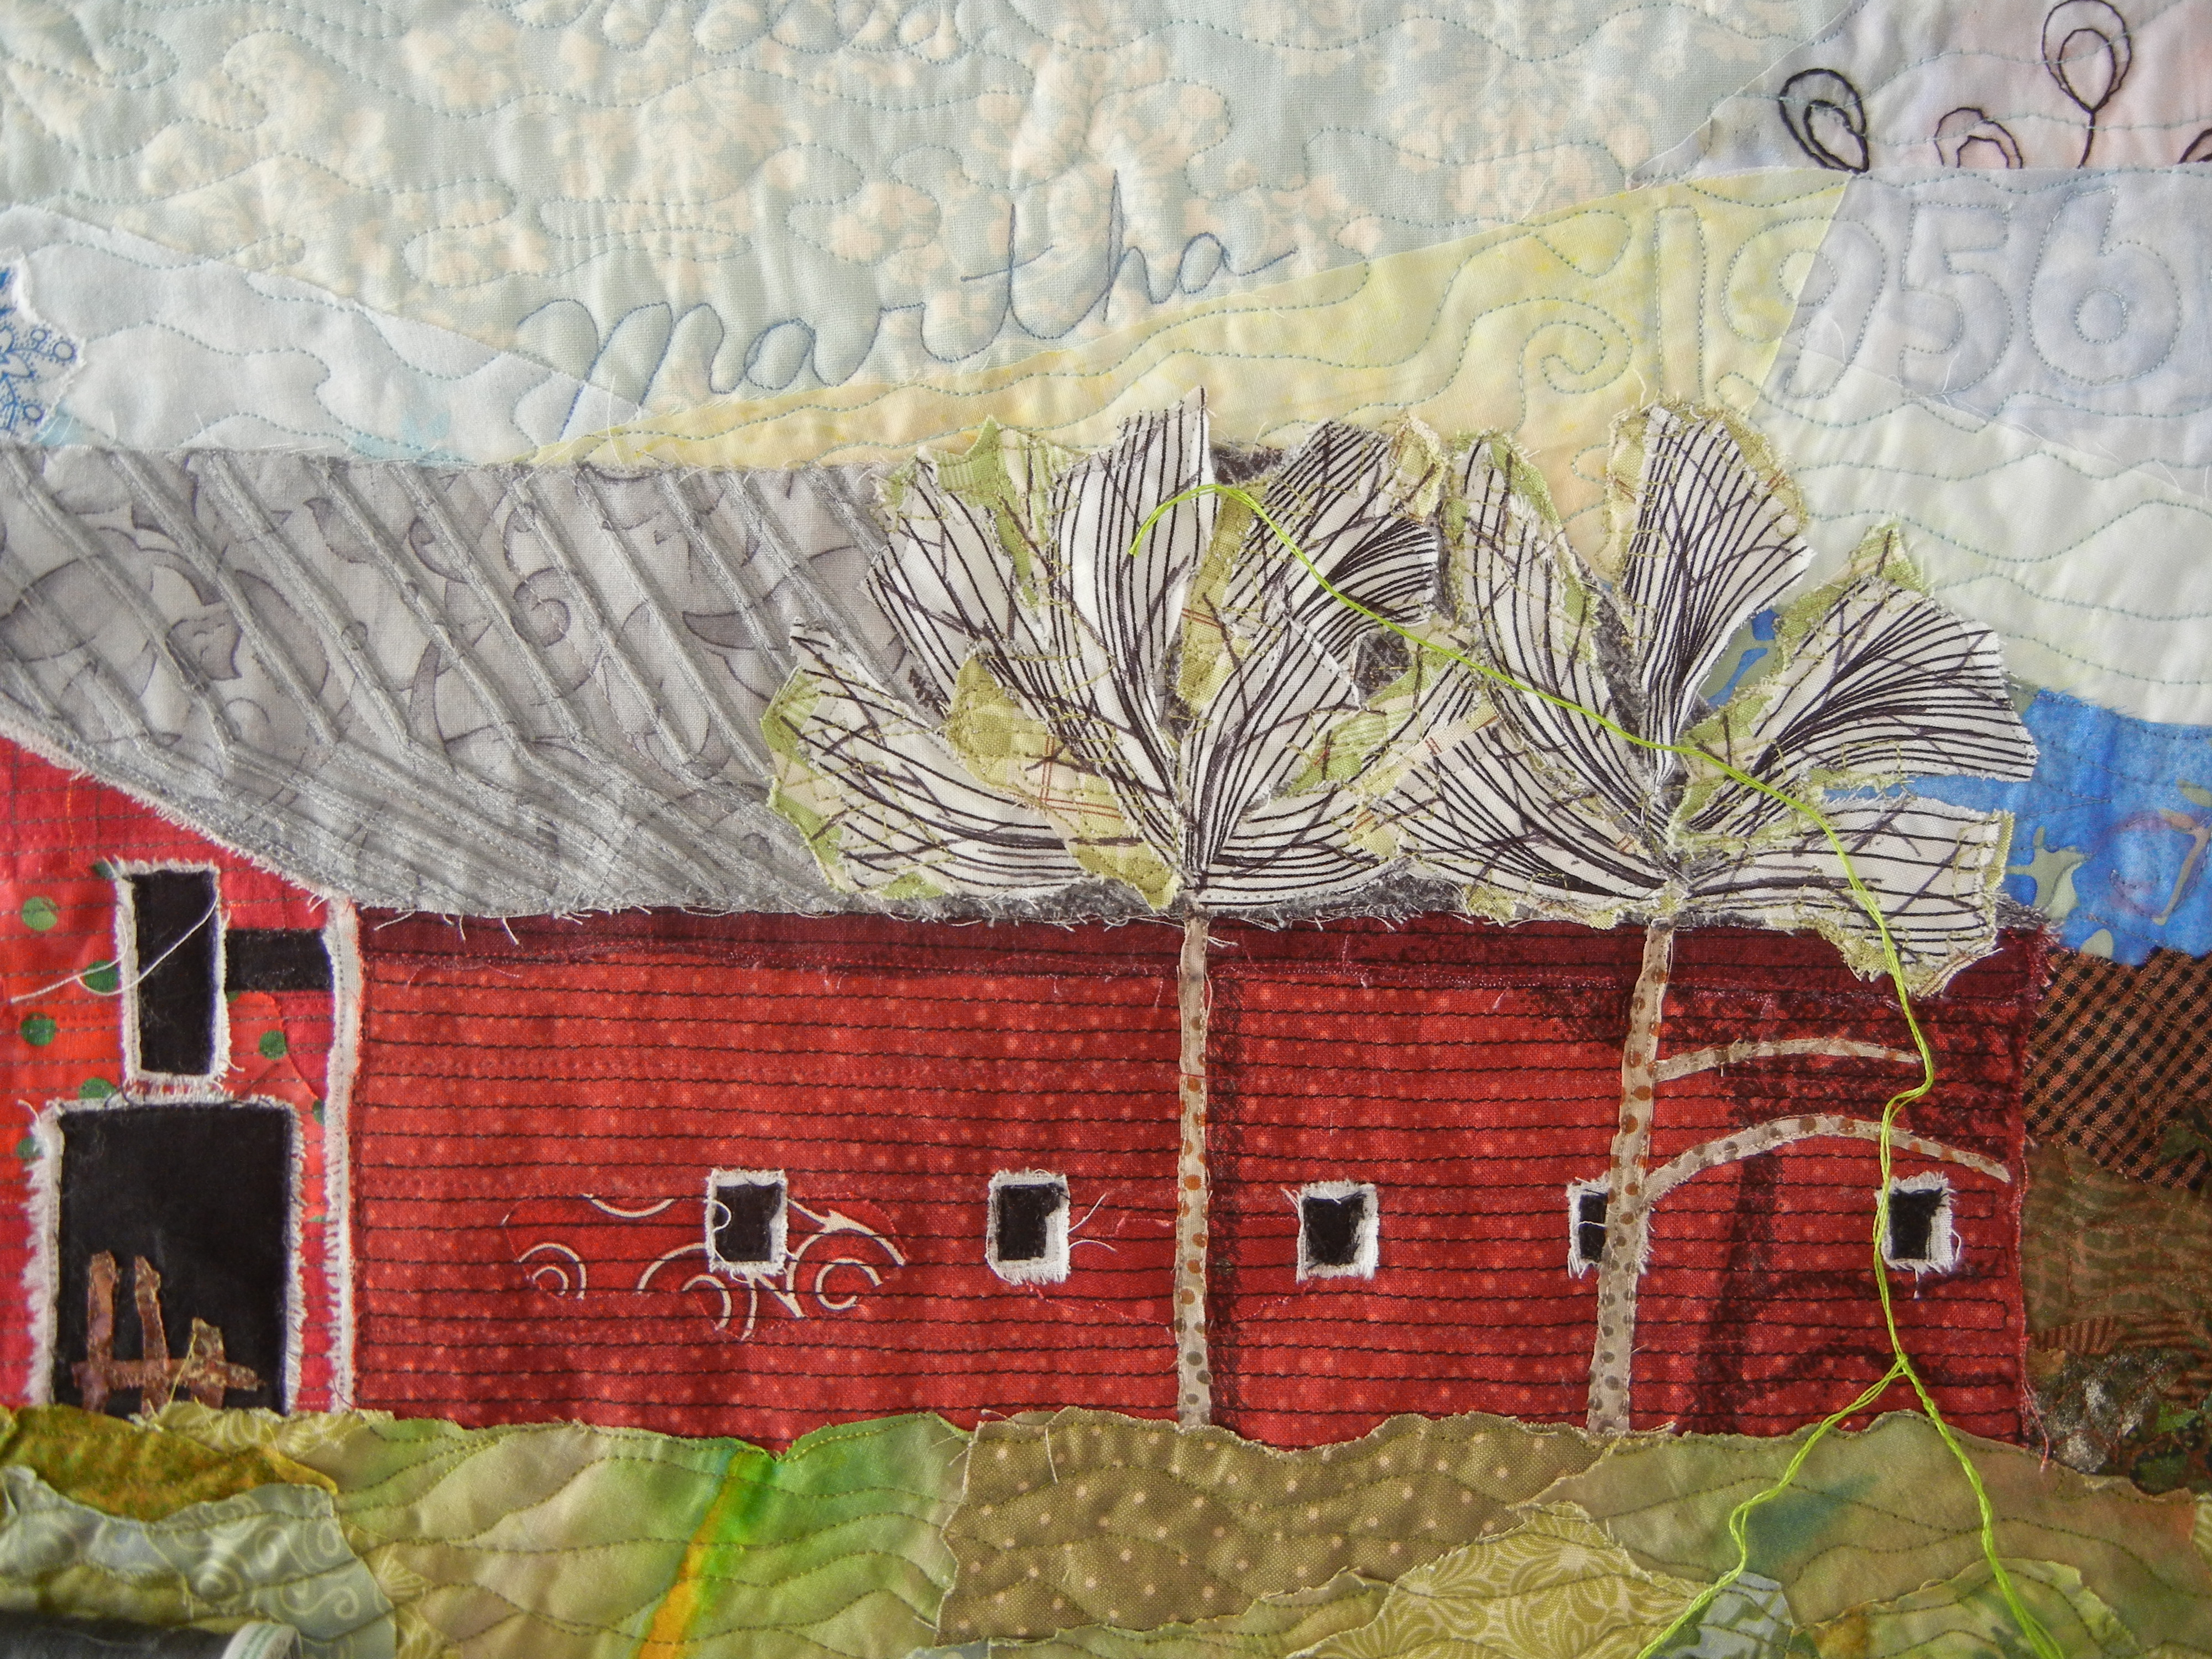
In my current barn quilt, I’m including deciduous trees in early spring. Which means I need to show lots of bare branches with maybe a hint of leaf buds. I need one tree just behind the barn on the left, and two in front of it on the right.

Although I could thread paint branches, my goal is to let the fabric do most of the work for me. That’s automatically more abstract, which I think makes it more interesting. The photo above shows the fabrics I’ve selected for the two trees. Since the branches will be against the pale sky and barn roof, I selected fabrics with light backgrounds and darker lines/squiggles. But, that’s just the beginng. (At this point the one on the left still just looked sorta like sky, didn’t it?)
I added some dark branches with thread, and a sheer piece of blue to show the mountain better.

Wow, that did the trick didn’t it? I love the ease and success of this!
On to the two trees on the right. I’d already added green plaids and stripes to hint at spring green. But, two people asked if the trees were palm trees. Hmm, not what I wanted. So, I drew in some cross branches with an acid free marker.

That helped. I also considered adding some hand stitching of little leaf buds. However, after doing a test sample, I decided it was just a little too “perfect.” I wanted it to be rather abstract, so the viewers could interpret things themselves. (This piece will soon be getting a “haircut.” Click on the image above to see why.)
BTW, can you see how much depth the shadow added? I added it by making little dots with an acid free marker.
I hope you’ve found these examples to be useful or intriguing. More tips for when you’re “up a tree” in the next post. (Sorry, I couldn’t resist!)
Ellen Lindner
