Silk Landscape Progressing
I’m really having fun working on this little silk landscape. After studying my inspiration photo and my selection of lovely silk fabrics, I got to work. I had already made a computer sketch, so I was able to jump right in.
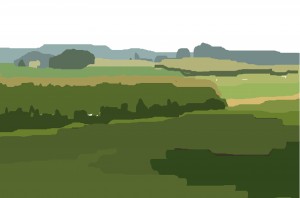
At first, I cut the fabrics in my usual fashion. But, I knew they’d ravel a lot and I was beginning to consider the best way to control that.
Click any image for a larger view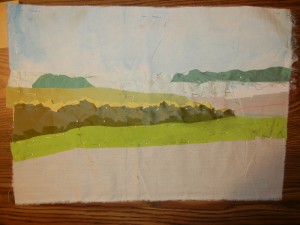
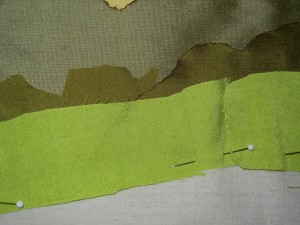
Then, I remembered that burning the edges of silk controls raveling. I hadn’t used that trick in quite some time! This, of course required taking apart what I’d already created, burning the edges, and then putting it back together. But it was worth it.
See the photo below of both burned and non-burned edges. See how badly that silk is already ravelling? But, the burnt edge stops that. I also like the little dark edge it adds.
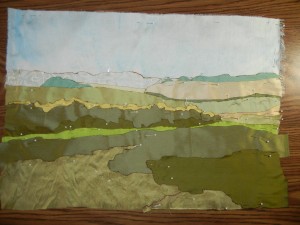
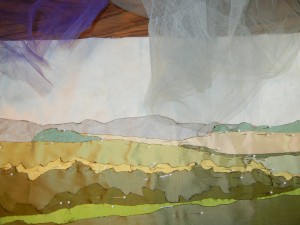
My composition was moving right along when I decided that the farthest trees blended with the sky too much.
So, I did a color correction with two layers of tulle: one purple and one a dull blue-green. The result is shown below. More contrast, right?
Next comes quilting and maybe some hand stitching.
Ellen Lindner
P.S. See my setup for melting sheers and silks.

Ellen, did you use the purple and dull blue-green tulle together on the same strip of (mountain/trees)? Or did you use purple on one area and the b-g on another area? Your stitching is really going to make this come alive! Clever to burn the edges.
Hey Martha,
I used both tulle colors on the farthest (left) “trees.”
The hand stitching has kept me guessing. I’ve added some, removed it, added more, added more yet, then removed some of that. Gee. I hope I’ve finally arrived at the best combination. I should finish this soon.