“A Garden for Peggy”
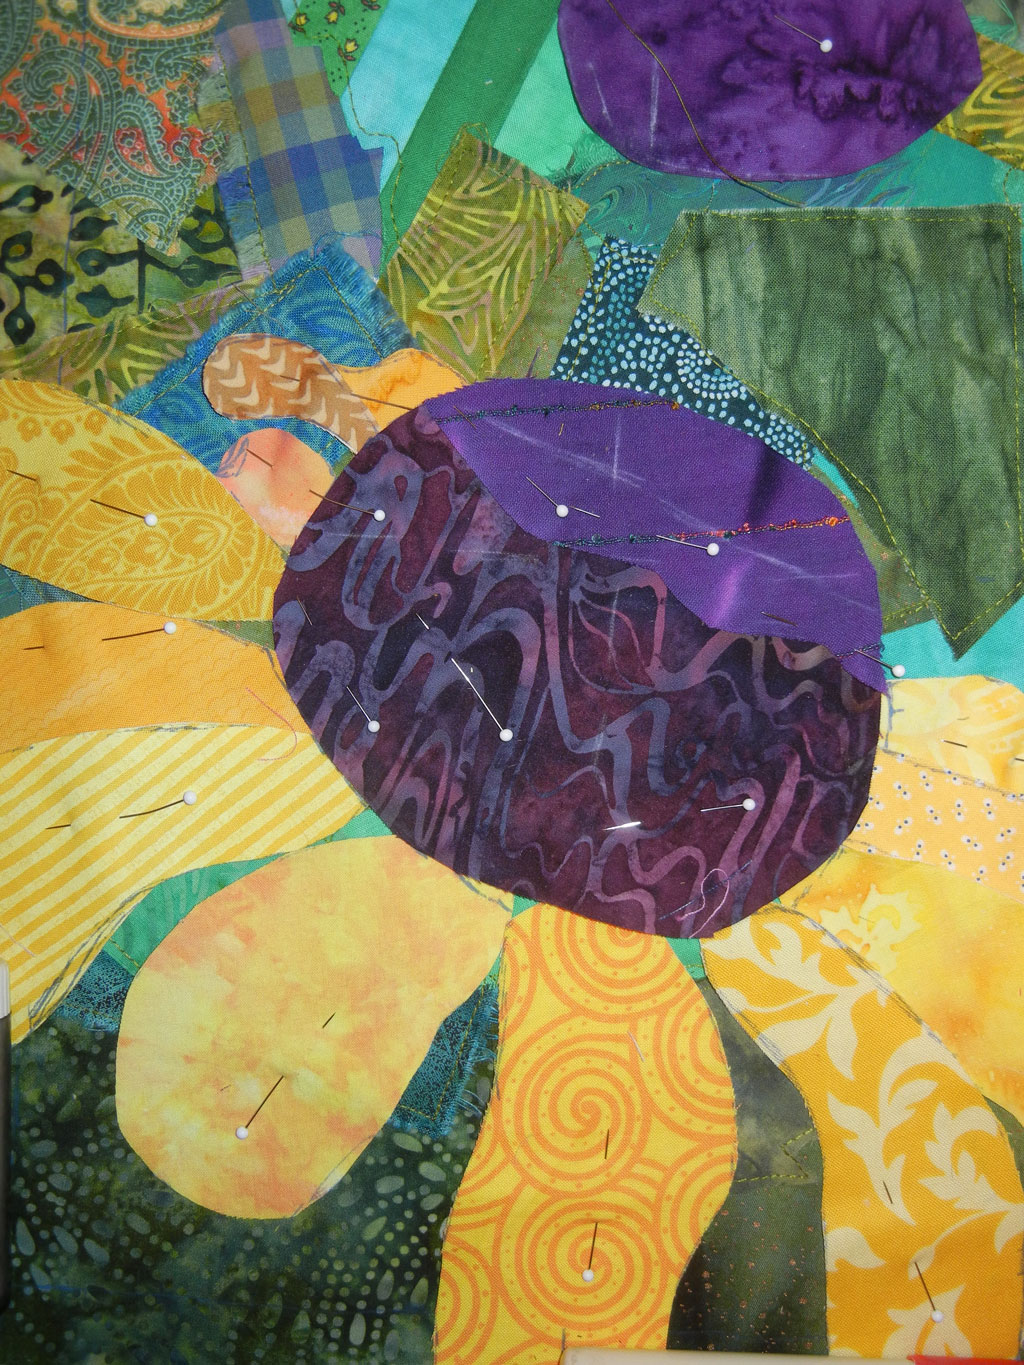
Way back on May 6th, I showed you the design process for a new small quilt. After completing the design and the background, I was ready to work on the flowers. Referencing my photo and my sketch, I placed the two flower centers. But, as you can see, they’re not brown/black anymore. I switched them to purple! Why not? Yellow and purple are complementary (opposite) colors, so I knew this combination would be dramatic.
Click any image for a larger view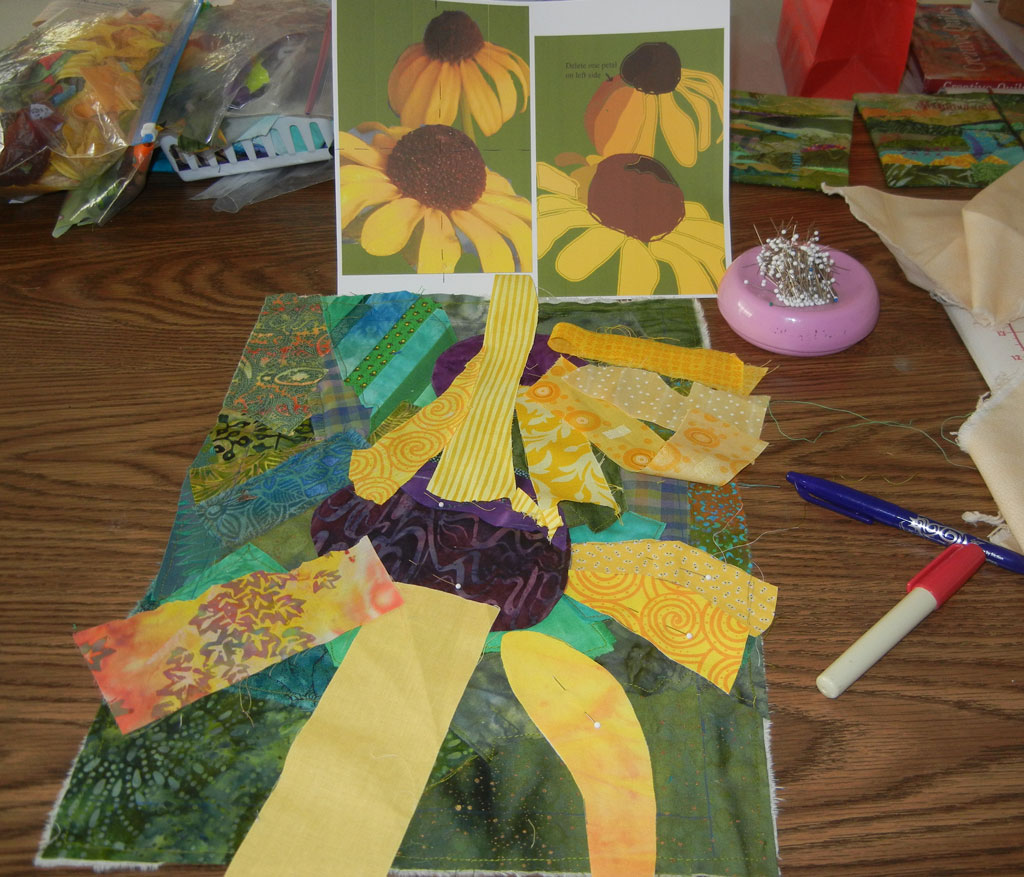
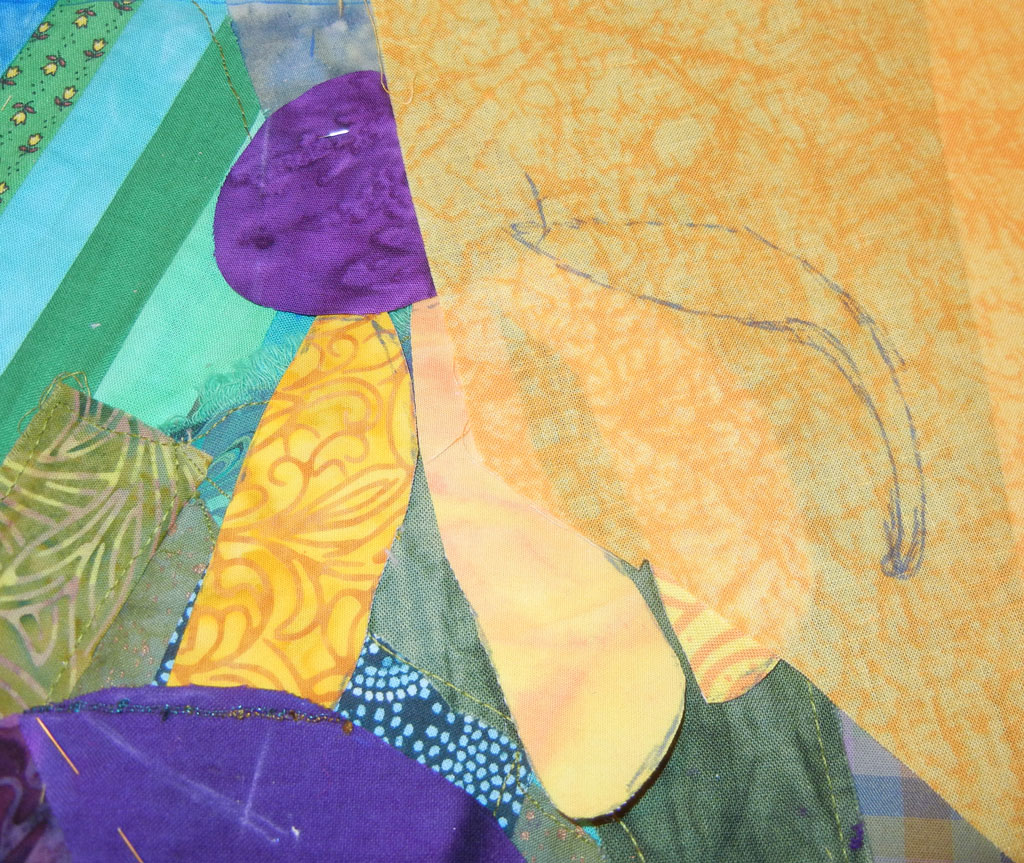
I was able to use scraps for many of the small petals.
Many of my yellow fabrics were a little bit see-through. This actually worked to my advantage. I would place a piece of the fabric where I needed the next petal. Then, referencing the other petals, which showed through, I could draw the new one. Before cutting it out, I glued another solid piece of yellow behind it to act as a lining.
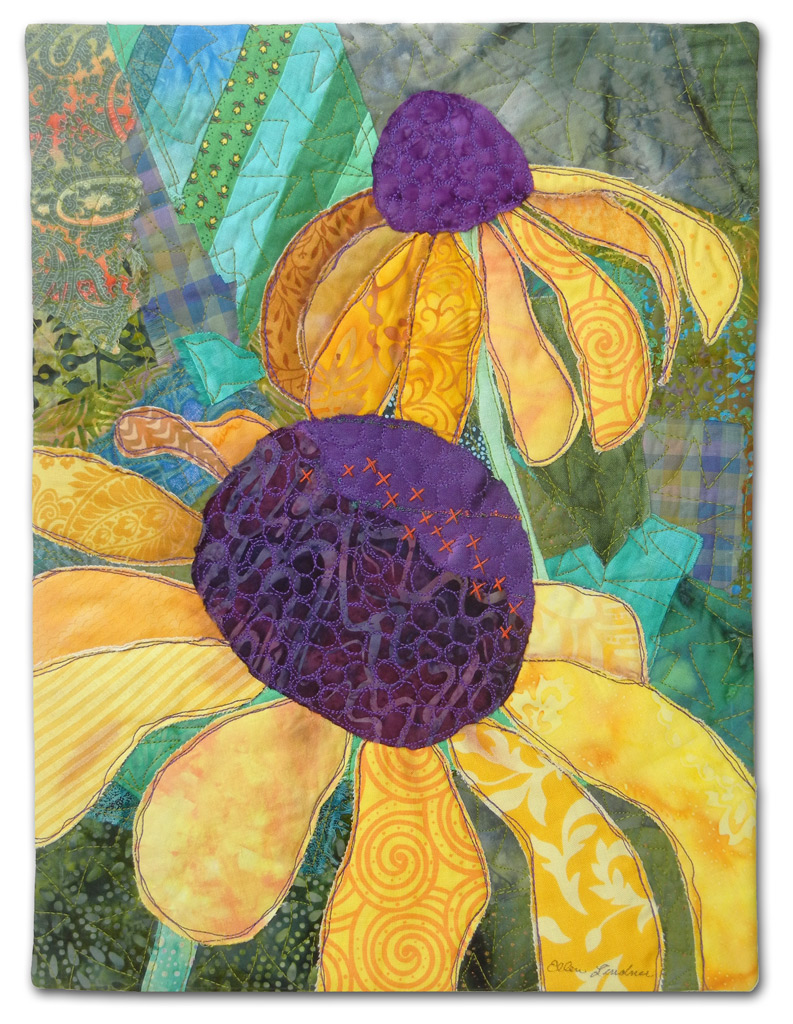
I added dark purple outline stitching to add contrast to the petals. And a little bit of shading with water color pencils. Here’s the completed collage, called “A Garden for Peggy.”
I like to keep the outline stitching rather loose and sketch-like.
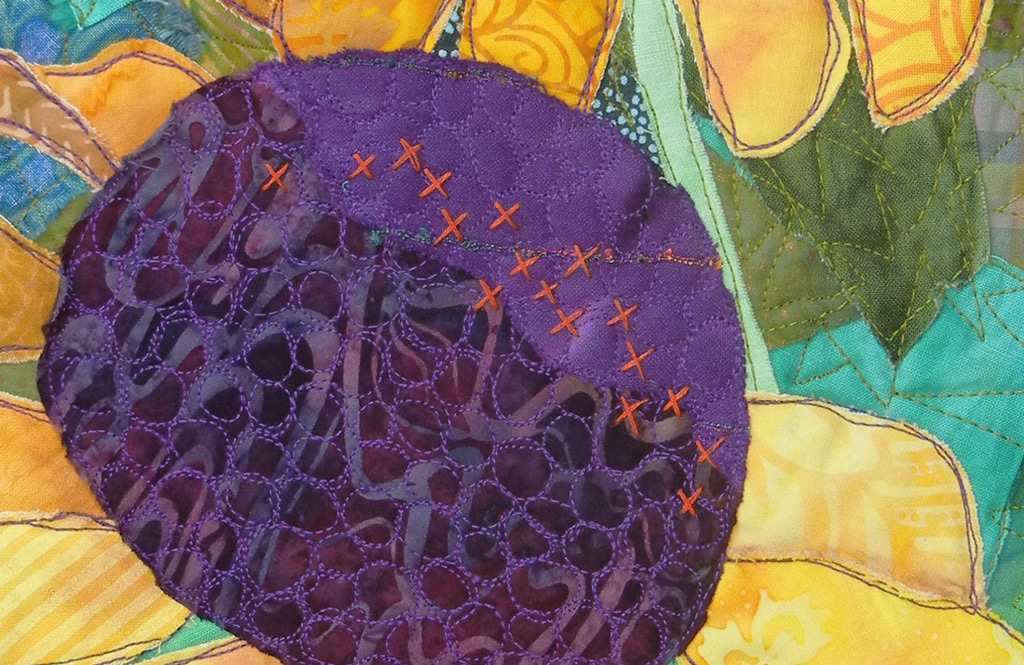
I thought the seed head needed some texture, since it’s very bumpy in real life. At first I tried purple thread, but it didn’t show up well enough. My mom, also an artist, suggested orange or rust. Perfect!
I really like the finished quilt and my mother-in-law was delighted with it.
Ellen Lindner
P.S. See my other two Black-Eyed Susan quilts: Natural Progression and Blessings Underfoot.
P.P.S. Watch for more posts about Korea.
