Crepe Myrtle Quilt Progressing
After completing the background for my crepe myrtle quilt, I got to work on the foliage. I followed my sketch closely and it looked like this.
(See the sketch and design process in this previous post.)
Click any image for a larger view
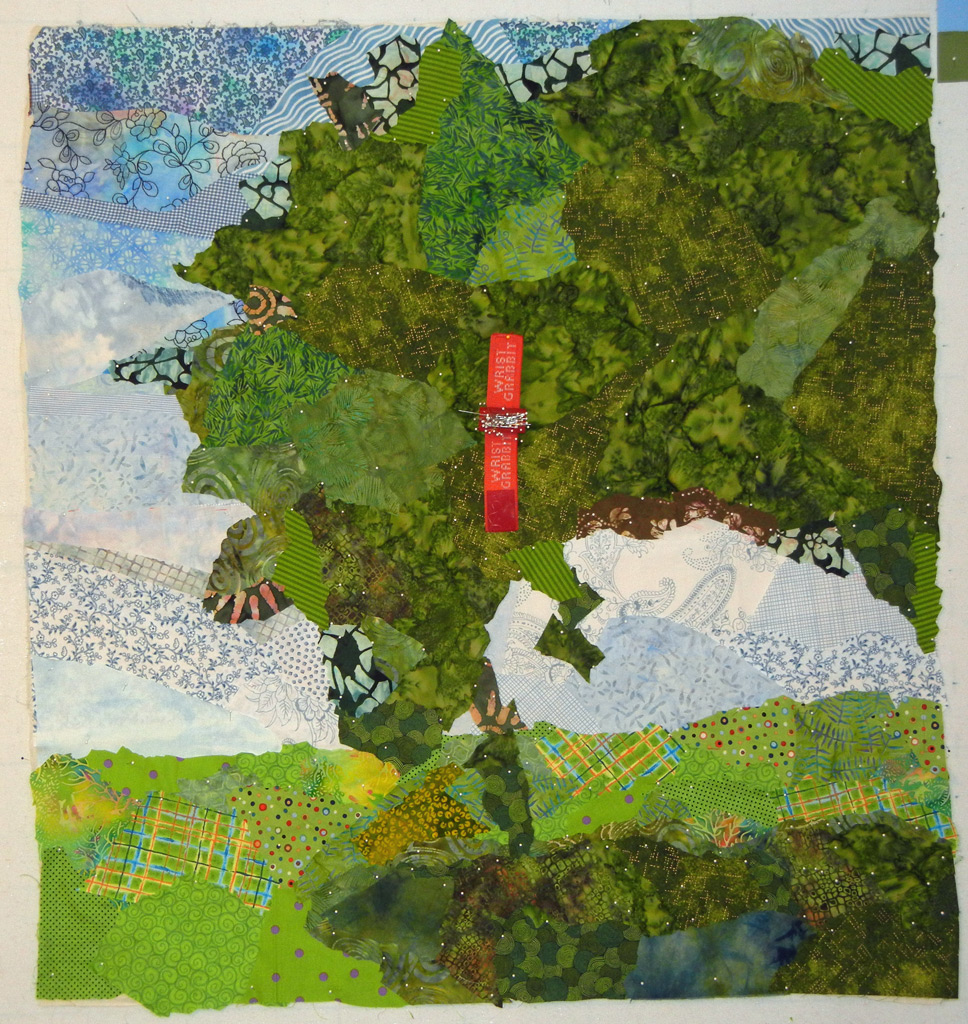
By scrunching my fabrics in the blades of my scissors as I was cutting, I got irregular, organic shapes. I call this process “jagged cutting” and I use it a lot.
I was quite happy with my foliage until I started to notice the blooming crepe myrtles around town. The thing I really liked about them was their open airiness and the individual branches that sprang out. Hmm. Mine didn’t have that.
So, I worked with a different photo (my own) and printed out that plant’s silhouette as a new foliage model.
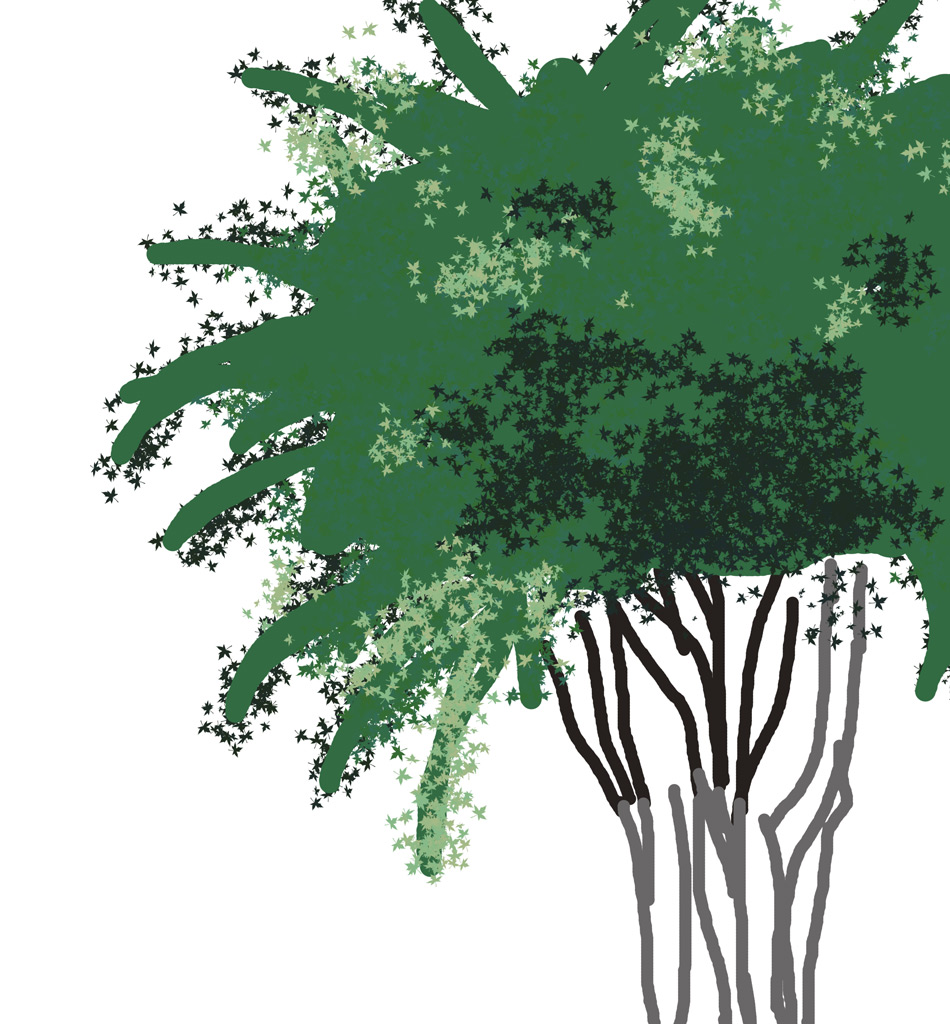
Much more open, right? Of course, this meant quite a bit of reworking. Resulting in this. Better, don’t you think?
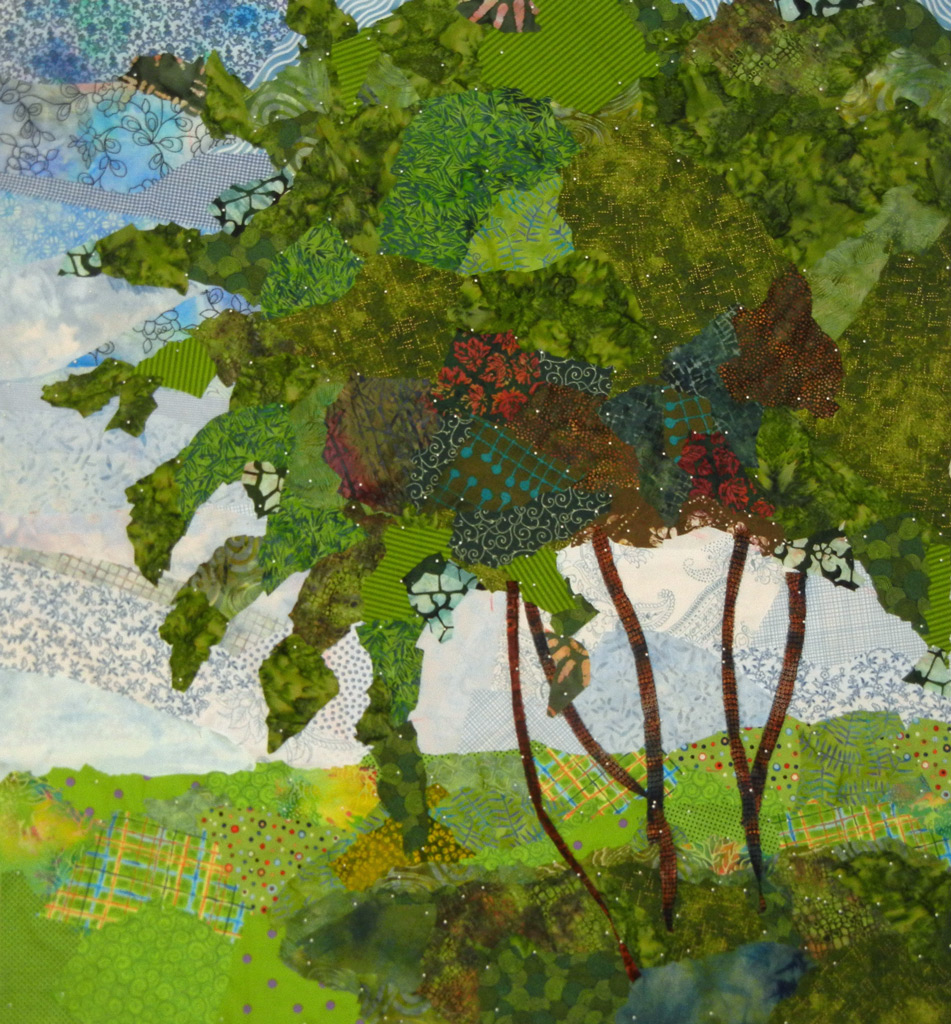
The trunks in the photo above, were just for a quilt fabric audition. I removed them and quilted everything. That’s rather unusual for me. But, I knew I’d be dodging pink blossoms later, so I decided to quilt in stages like this.
The first few flowers were to give me an idea about size and placement. Many changes to come.
I generally construct my quilts with raw edge collage. I hold everything together with pins until I quilt and secure it. But, since I knew I’d be using several pink fabrics for blossoms, I decided to try fusing them.

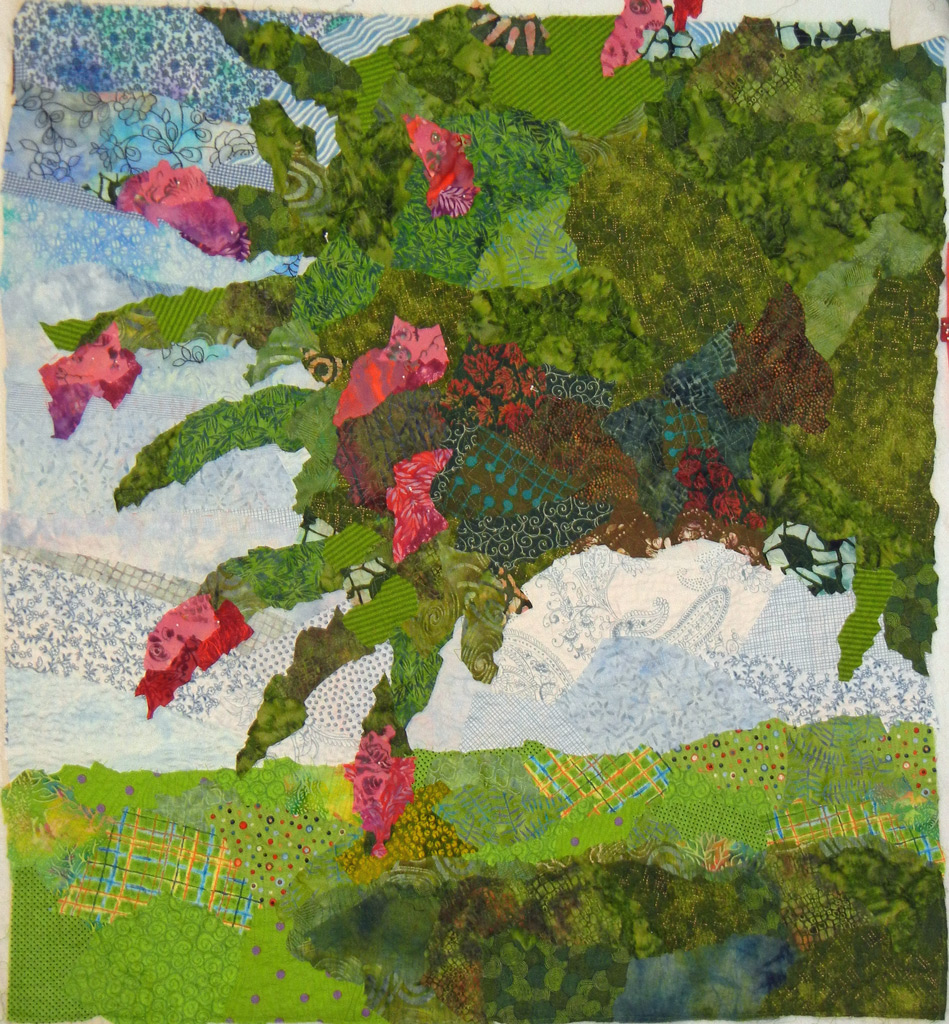
It was a little bit of a challenge to decide on the proper level of accuracy. I wanted the heavy blossoms on the left to have the almost triangular crepe myrtle shape, but I also wanted the interior ones to be rather loose. This made it really hard to stop! There was always something I could tweak.
The next photo shows the composition almost complete. I’ve added trunks, rounded a few blossom shapes, and filled in the “armpits” between some of the left branches. (You know what I mean, right?) It’s almost ready to have the flowers quilted.
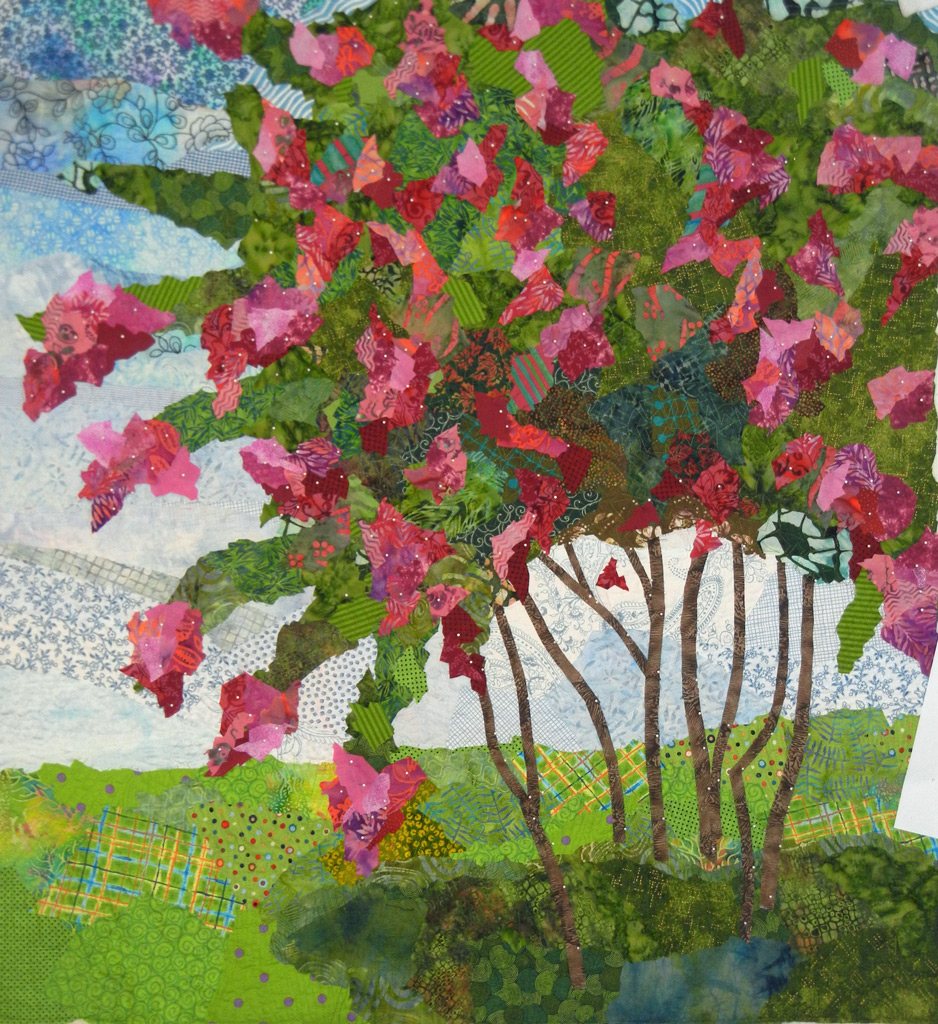
I’m pretty happy with it.
Ellen Lindner
P.S. Did you notice the red object in some of these photos? It’s a wrist pincushion. The fabric end allows me to pin it to my design wall. Very handy.

Looks GREAT! Ellen, you always do a fantastic interpretation of flora and fauna. When I “grow up” I hope to be just like you!
Lovely! Thanks for sharing your process. I love to see how other artists go about their work. There is always something new to be learned.
Looking good, Ellen.
That light blue and dark green fabric did work, and I love your pin cushion idea.
Hi Lynn,
I’m glad you’re enjoying seeing this in-progress! I always enjoy seeing how others do things, as well.
Thanks, Terri!
Genevieve, you get the prize for the most observant! I, too, think that fabric worked. I’ll use that trick again.
(For others who are curious about Genevieve’s comment, see the previous post, in which I was trying out some “clever” things.)
O glad you explained the red thing in some photos, I thought my eyes were gaming me. Love all the pinks and oranges..it works, it works! Thanks for sharing your processes, always fascinating.
Glad you like it Cindy. It’s fun to show the in-progress stuff.