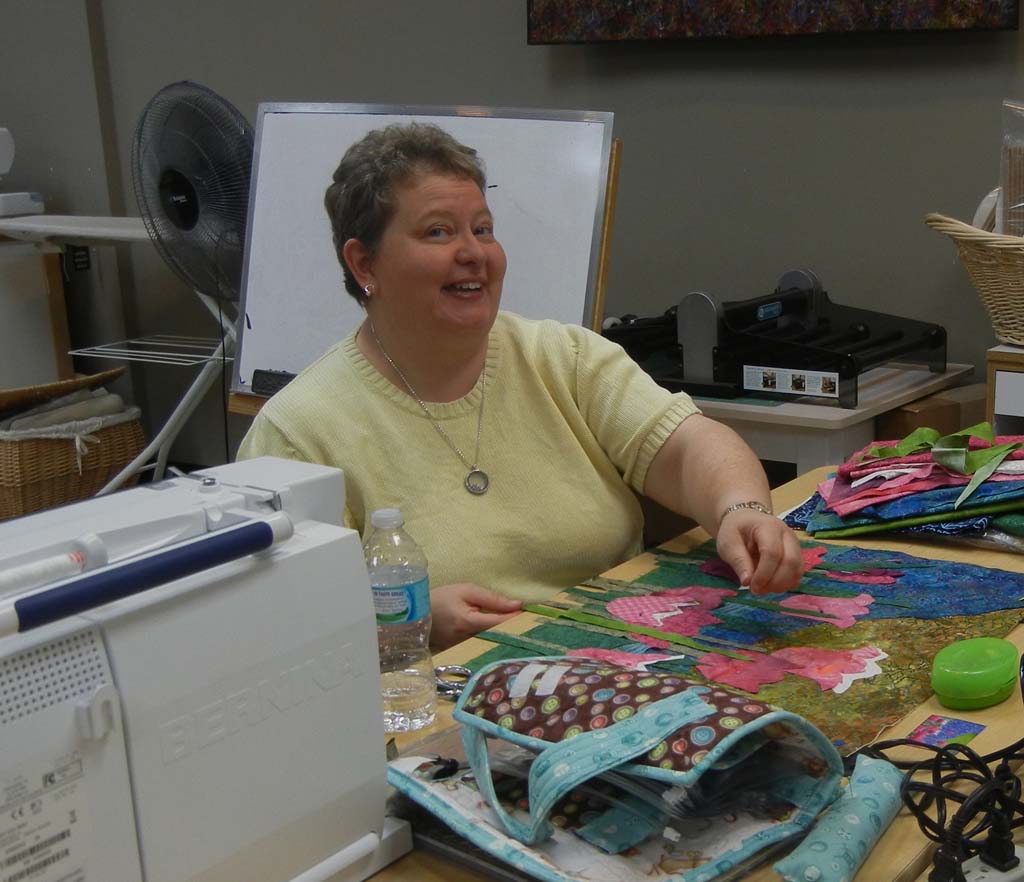
Artistic Courage in Lake Mary
The supply list for my “Design Your Own Nature Quilt” class includes artistic courage. Fortunately, the group I recently taught in Lake Mary was very brave! None of them had ever designed a quilt before, but they all had wonderful art quilts at the end of day two.
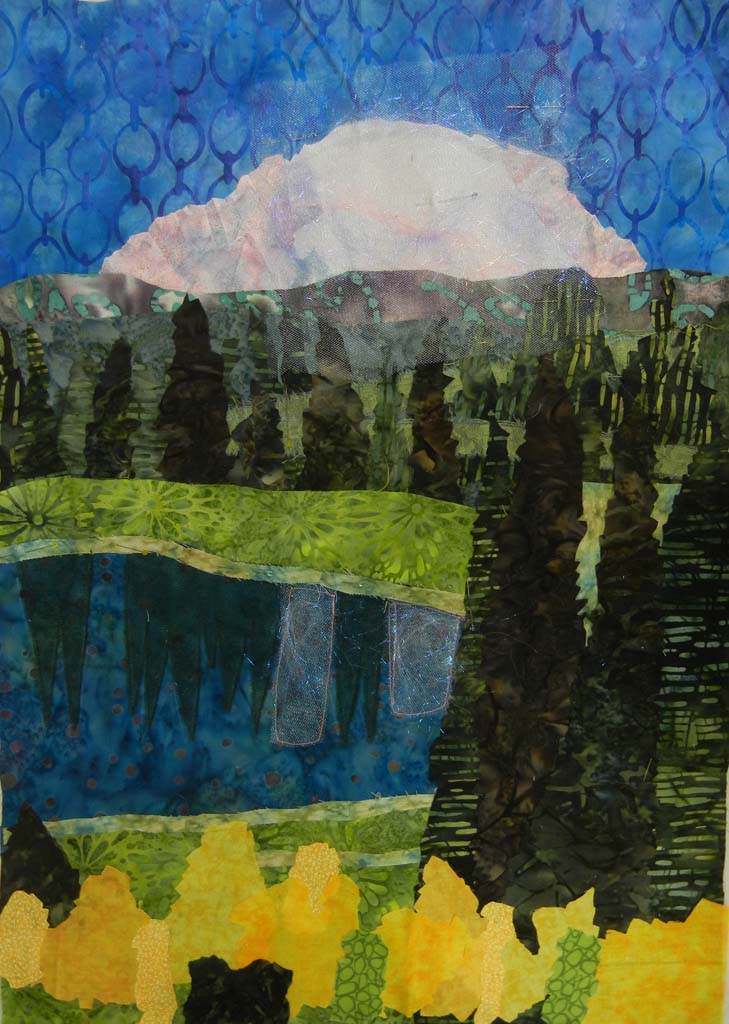
Laura’s mountain quilt rocks! She used tulle to get the reflection in the water, and Angelina in both the water and mountain peak. (It’s ready for facing, below.)
Click any image for a larger view
Here’s a better in-progress image, (although Laura later removed the pink stitching.)
This was her inspiration photo.
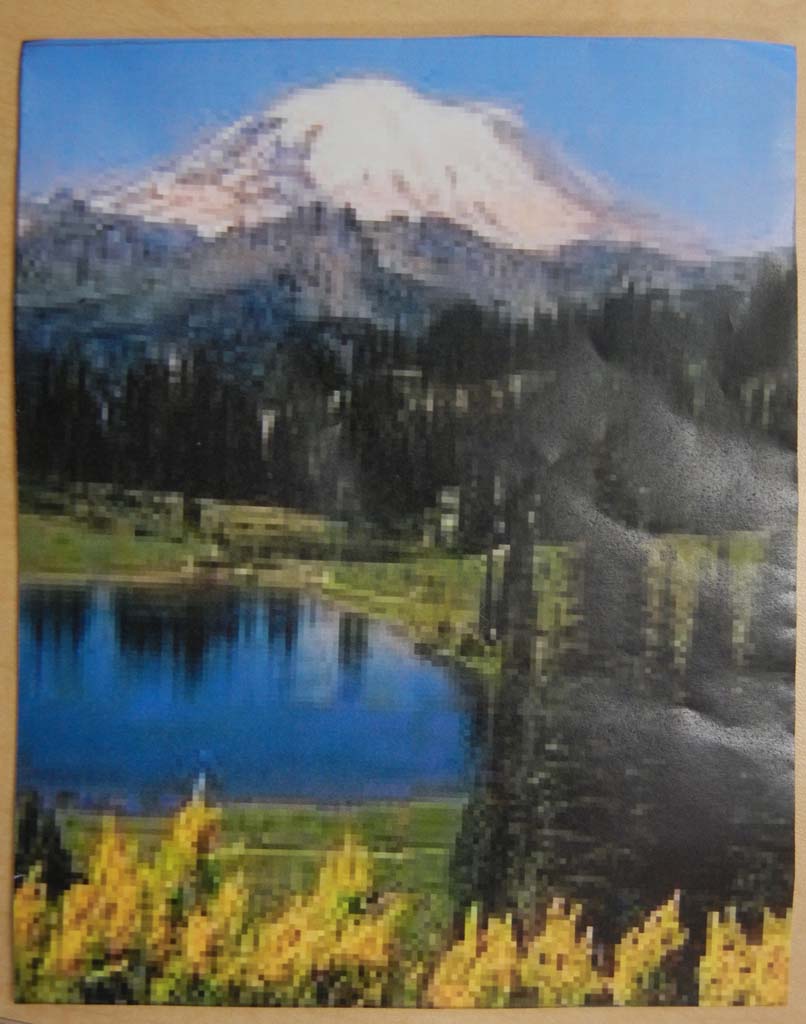
Dead on, right? Her photo was very pixelated, which is actually helpful when trying to interpret something loosely.
In this two day class, Laura was able to COMPLETELY finish her quilt. It was faced, ironed, and the sleeve was even attached! The only thing it still needed was a label.
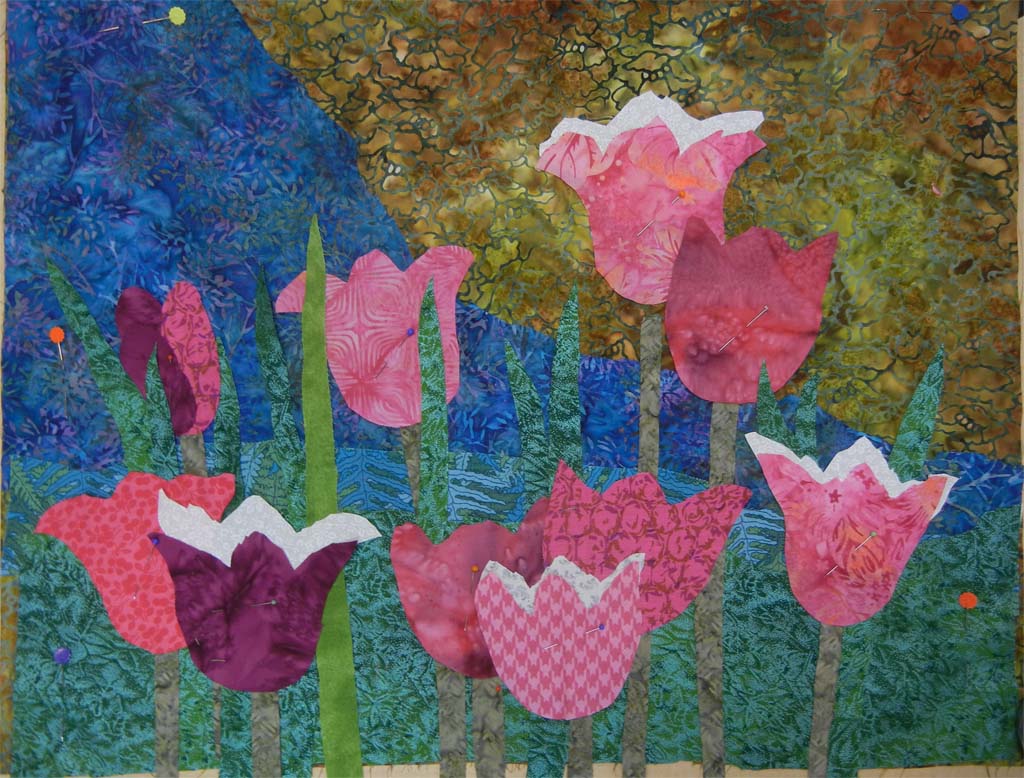
Susan worked from a tiny photo.
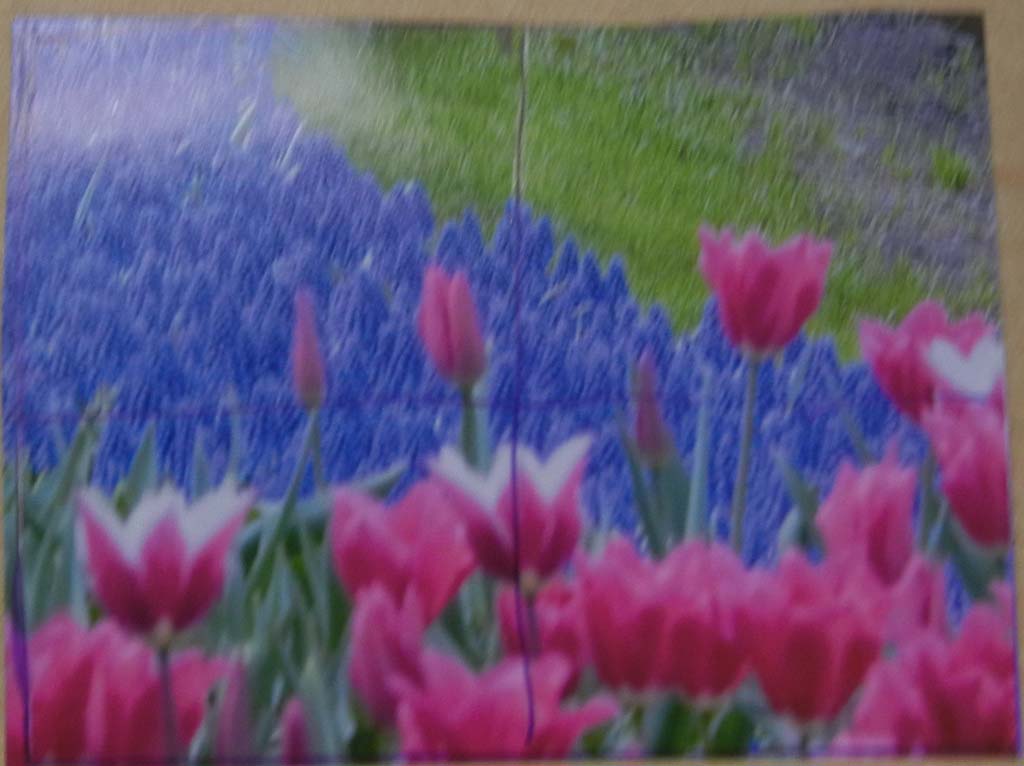
But that didn’t slow her down.
She created a very nice piece with tulips as the main element. (Before quilting, below.)
Julie’s photo had a pretty nice composition, but the colors were a little dull.
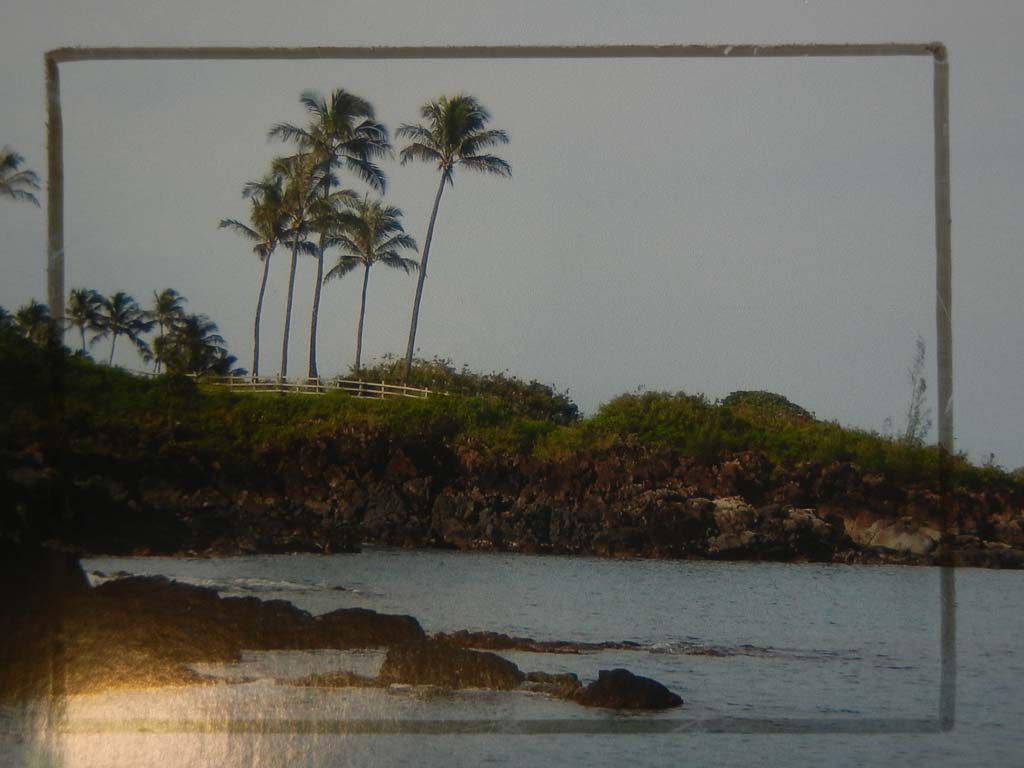
No worries. She kicked up the colors and got to work.
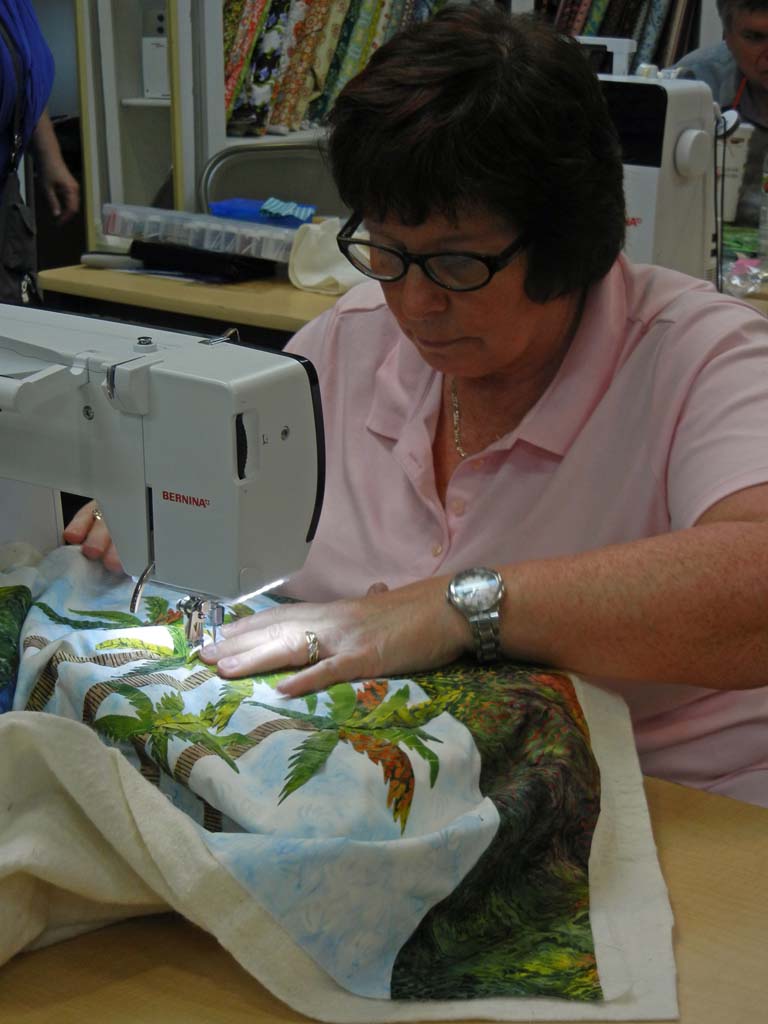
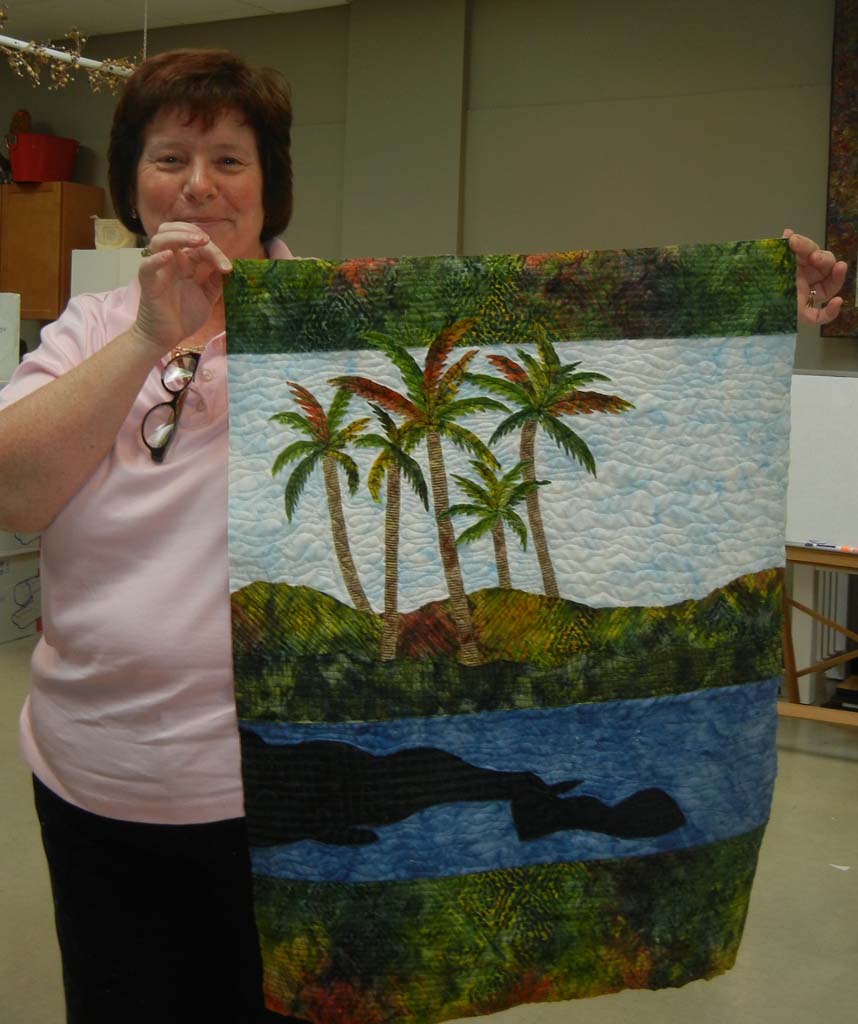
Even though she made her quilt larger than most, she was still able to finish the quilting and trim it. Maybe you can tell (if you enlarge it,) that her palm fronds have a lot of texture. She stitched them only in the middle, so the fringed edges flare up. No photo can do that!
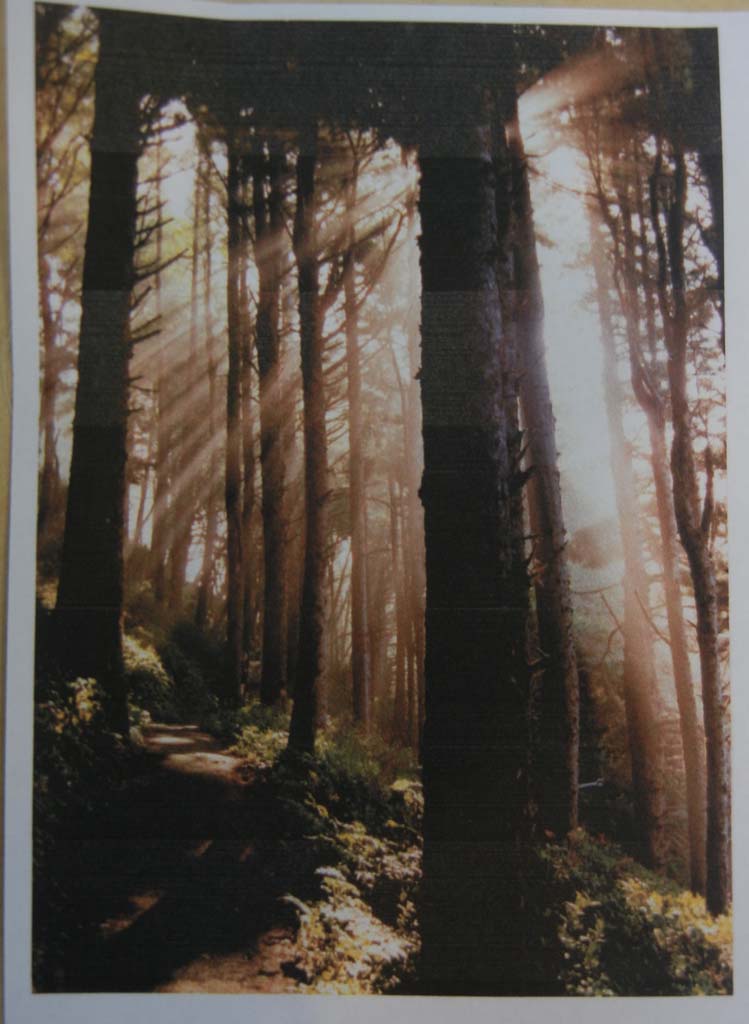
Betty’s photo posed some challenges, but she was willing to take them on. The plan? Use tulle (bridal netting) to strategically darken and lighten.
Here’s her base quilt, well under way.
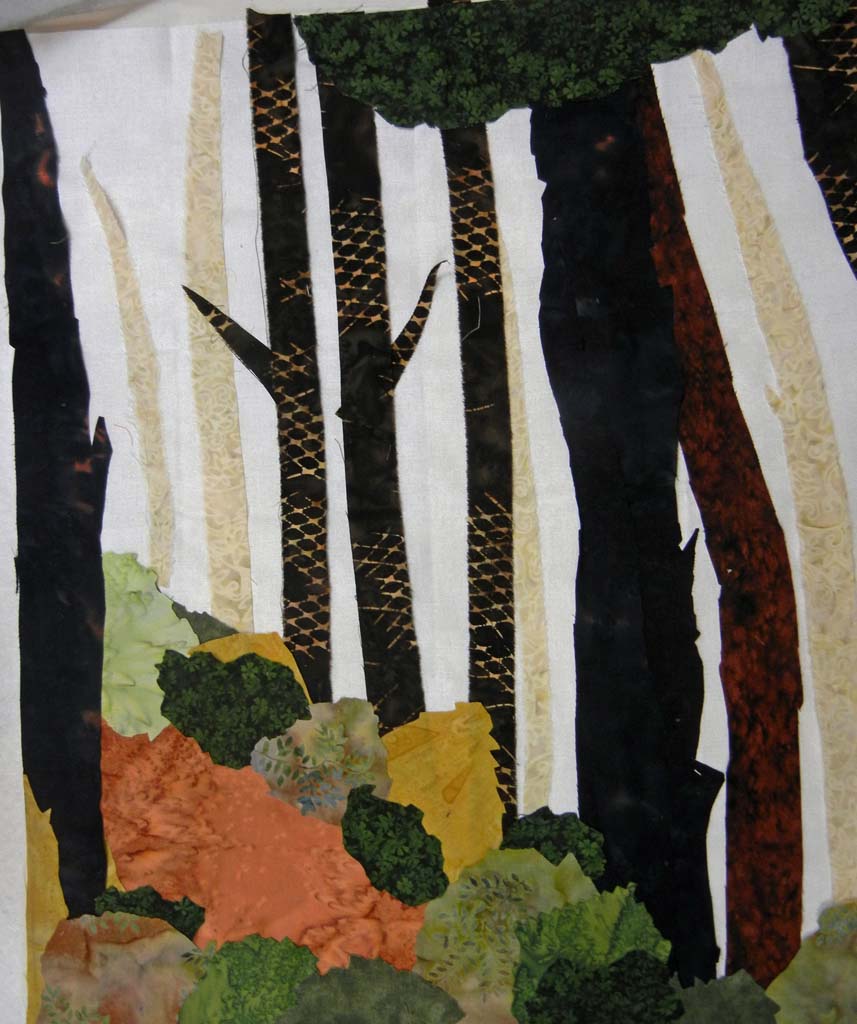
Can you visualize how the tulle will transform this piece? She’ll use several layers of black to add the foreground shadows, and white tulle to represent the streaming sunlight. We played with samples in class, and I think it’s going to be extraordinary!
Isn’t Carla’s photo great, below? But we knew it would be challenging for a couple of reasons. 1 – The tiny parts at the center of the flower. (We were working at about placemat size, to give you and idea.) 2 – She’d need the perfect gray fabrics to depict the shadows in the water.

She really knocked it out of the park, though. Here it is glued, ready for quilting.
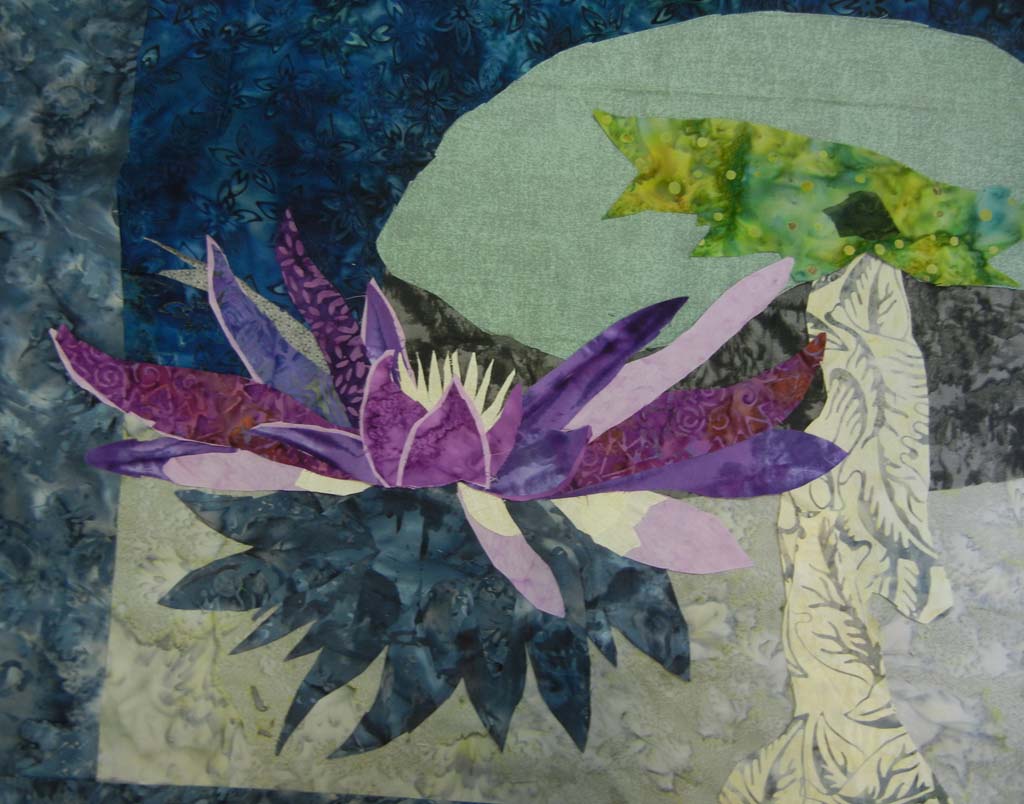
Awesome, right? Notice how she added a light edge to many of the petals. This was critical to making them show up and to get them to read as individual flower pieces.
Aren’t you impressed with these quilters? And that’s only half of them! I’ll show you another six in the next post.
Although it’s hard work, I thoroughly enjoy teaching this class! I’d love to do so for your Florida or South Georgia guild. Or, get advance notification about the next time I teach it online.
Ellen Lindner
