Growing with the Flow
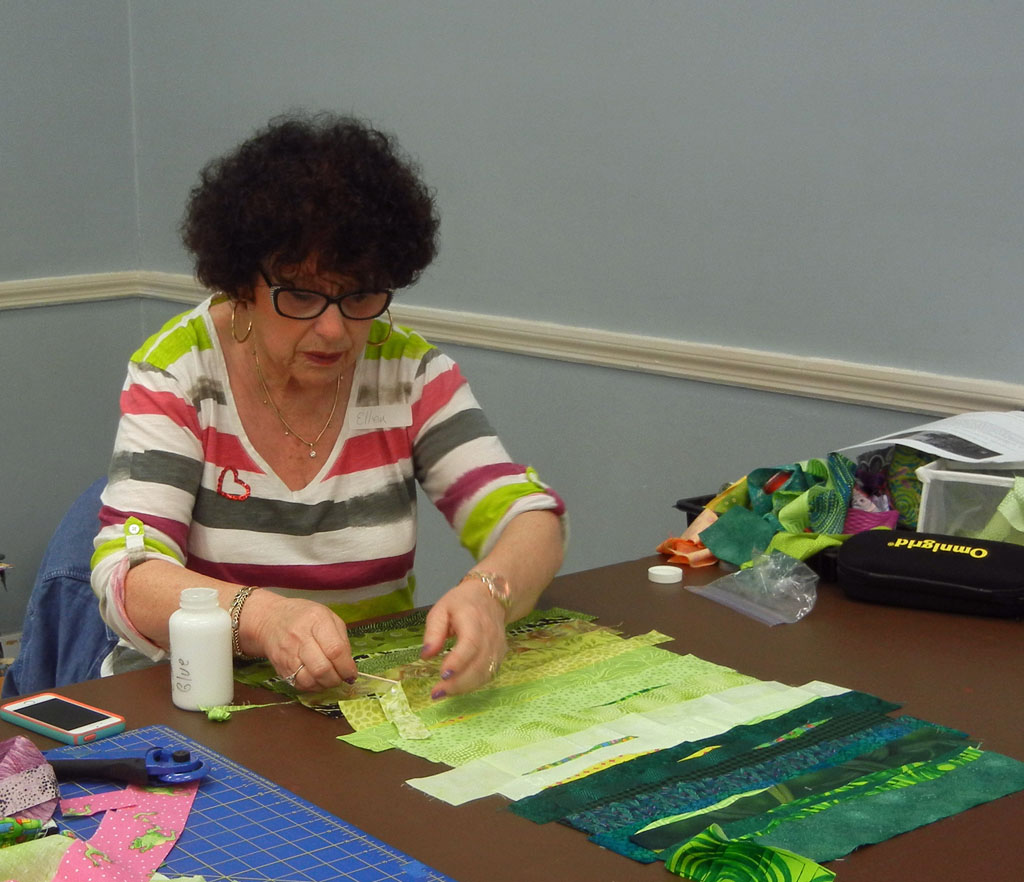
Want to make a “Grow with the Flow” quilt? It’s fast and fun. These photos of my recent class in Boca Raton, FL will give you the general idea.
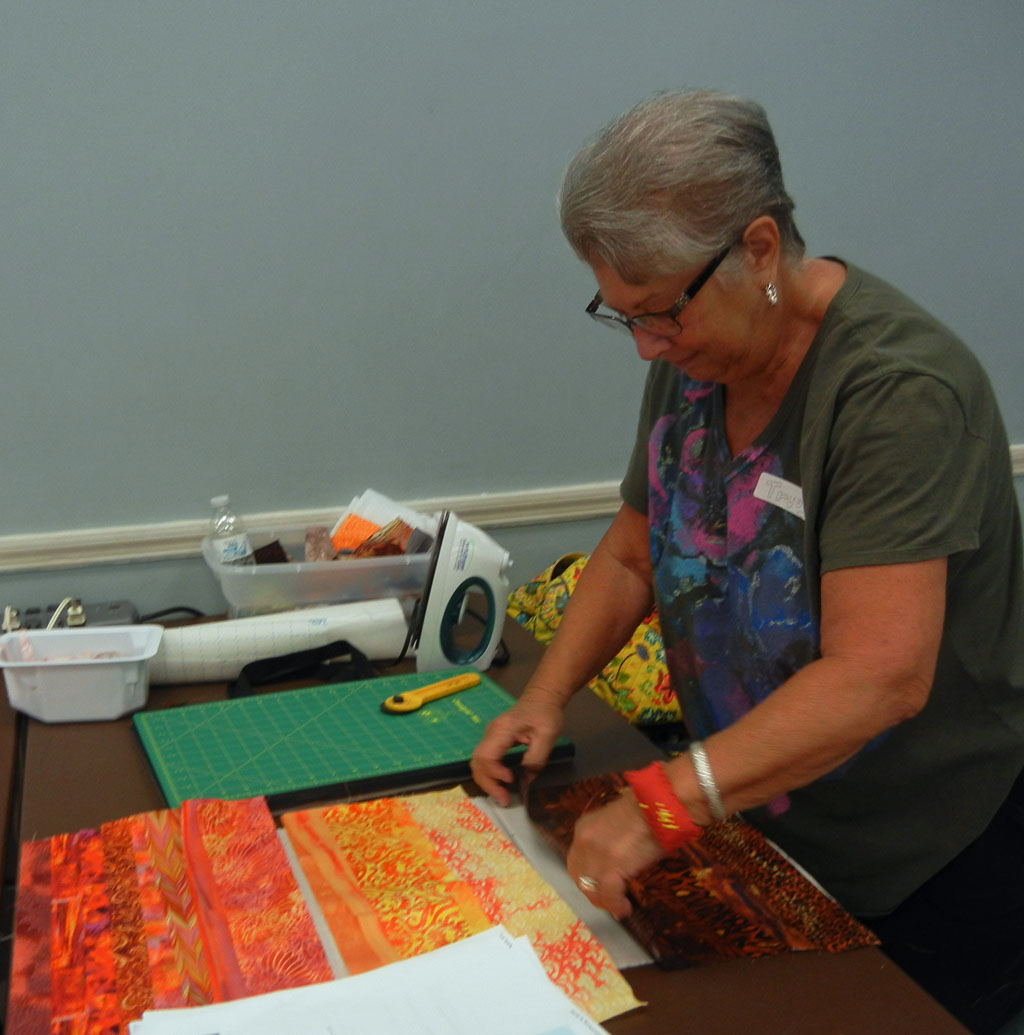
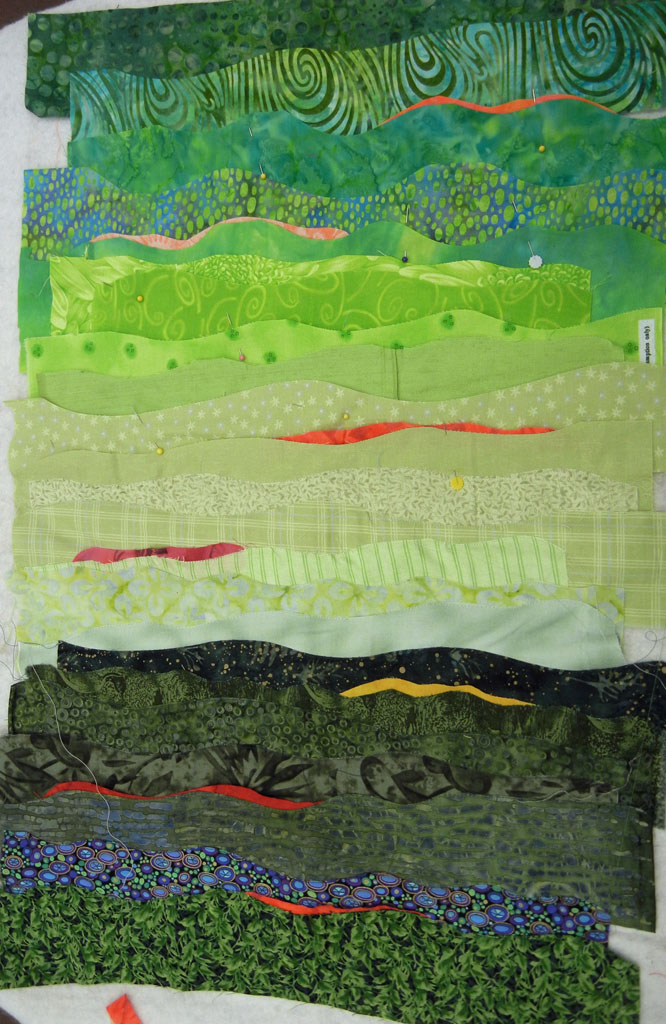
Step 1: Create a monochromatic background with strips of fabrics.
Click any image for a larger view

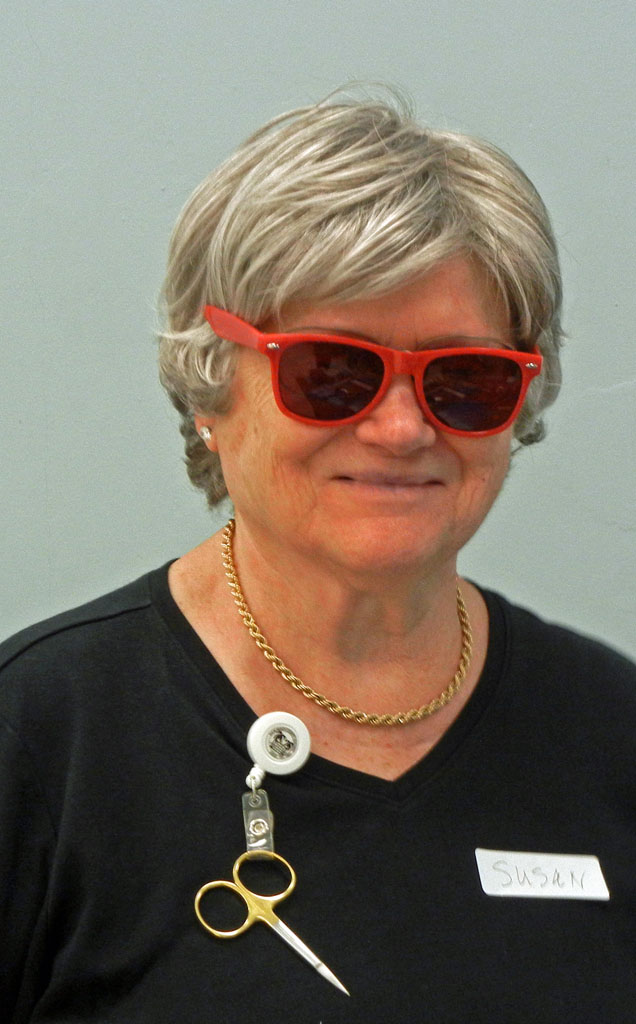
Since value is an important aspect of step 1, you might appreciate value finder tools, like these red glasses.
Actually, the background doesn’t really have to be monochromatic,
and I applaud creativity!
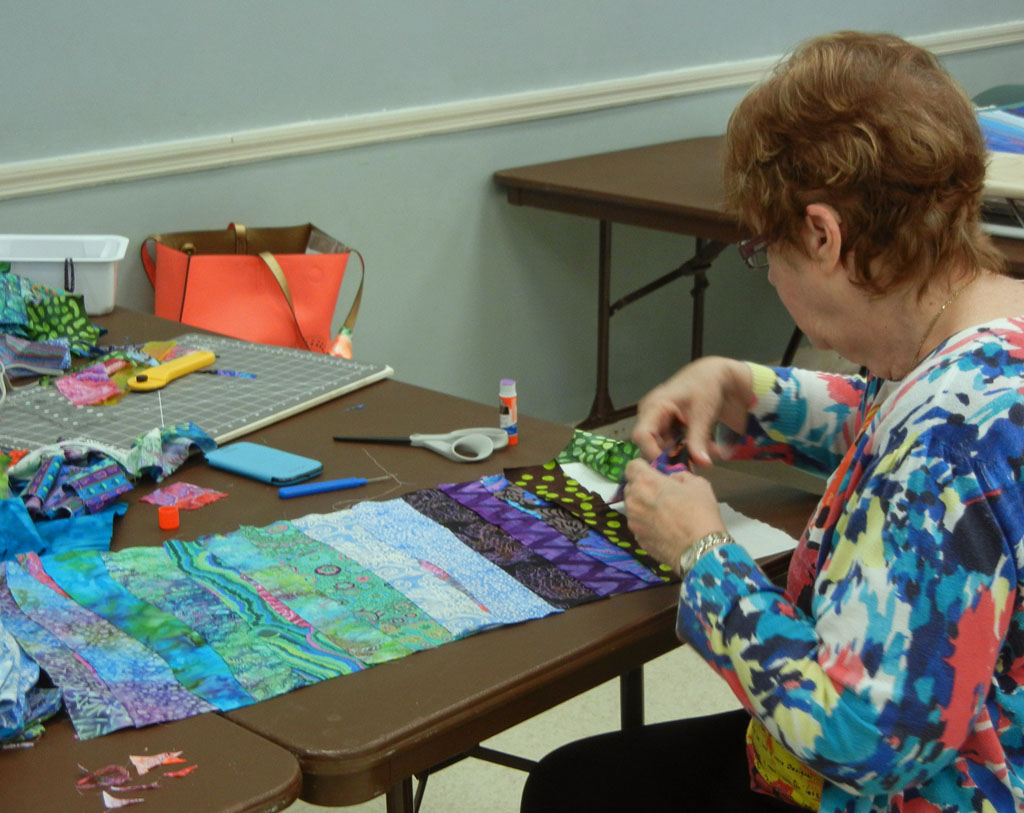
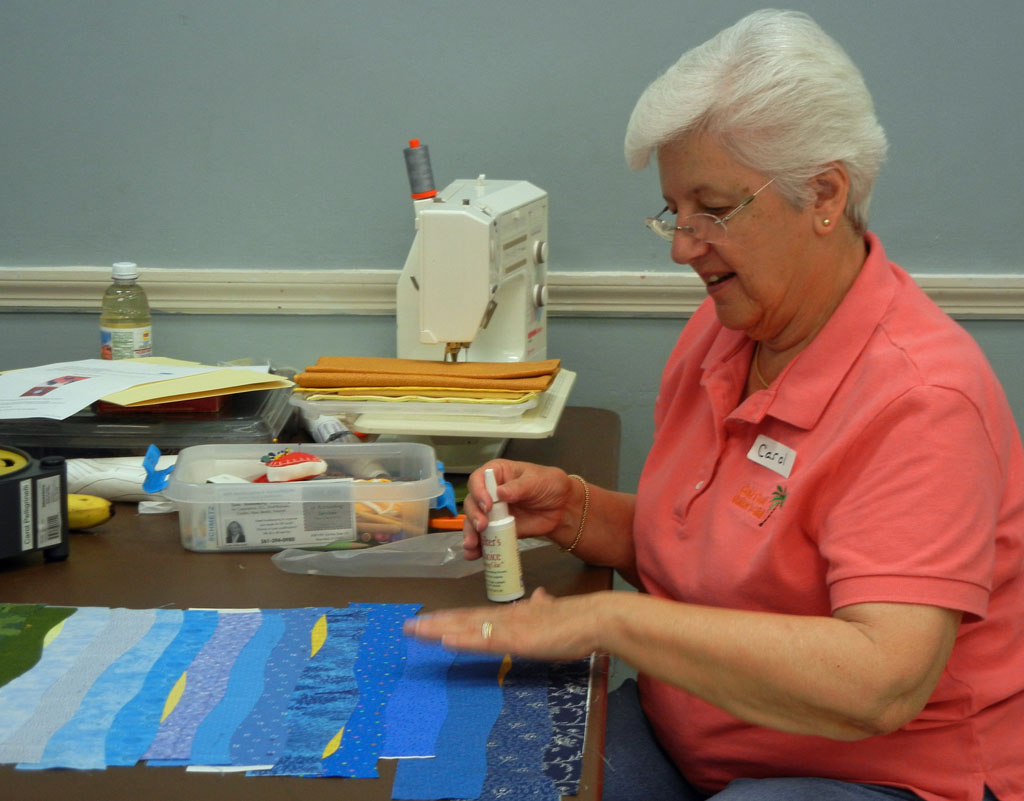
Step 2: Add skinny accent fabrics to the background.
Step 3: Glue it all in place.
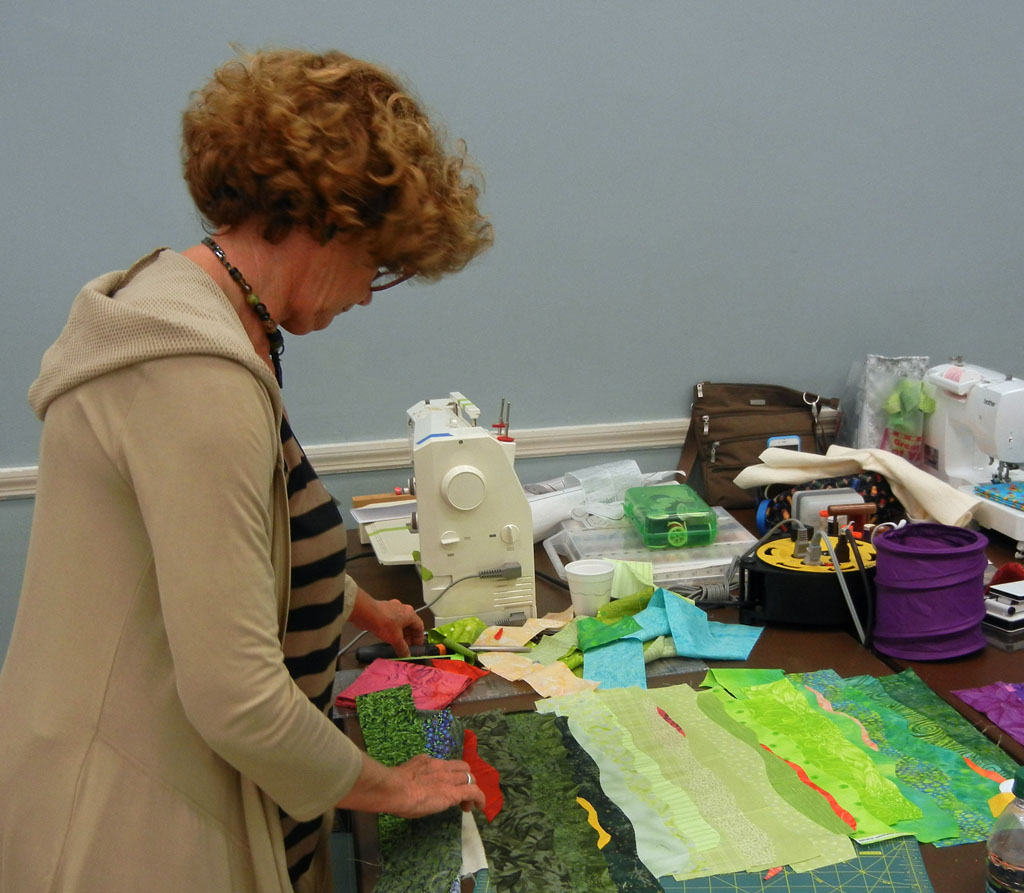
Step 4: Quilt the background.
Step 5: Create the plant pieces in black and white. (Sorry, no pictures of that.)
Step 6: Place your plant components to create your design.
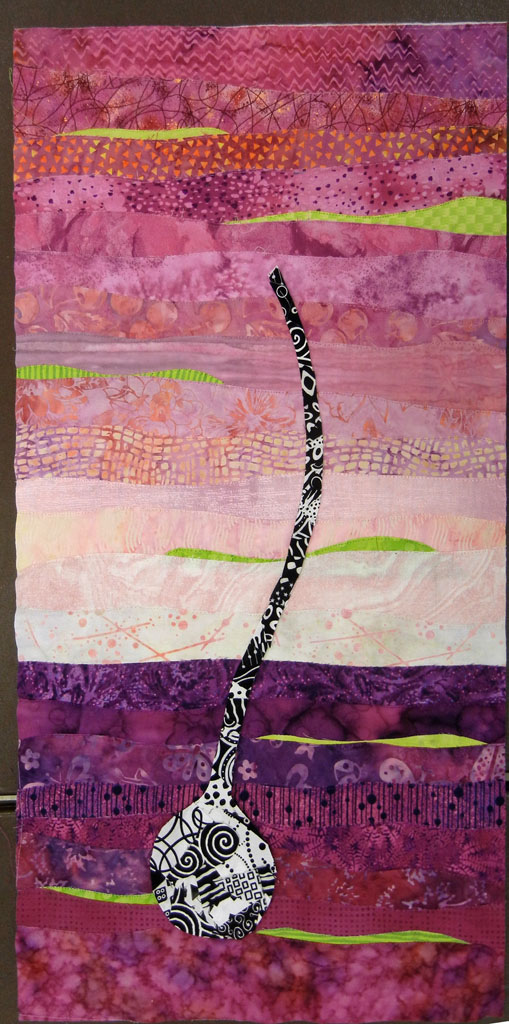
Step 7: Quilt the plant. Trim and face.
Can you tell we were having fun? Watch for the next blog post where I’ll show the fantastic results this group produced.
Ellen Lindner
P.S. You can find more details about this class here.
