Finishing Up

I’m winding down on the latest EIGHT Notes for a Friend.  (The ones I cut from a finished quilt.)

After finishing the design of each one, I added a facing.  After turning them right side out, but before pressing them, they had a wonderful little puffy shape.

Click any image for a larger viewNotes for a Friend, in-progress.  Tiny art quilts by Ellen Lindner.  AdventureQuilter.com/blog

Kinda cute, huh?

Notes for a Friend, in-progress.  Tiny art quilts by Ellen Lindner.  AdventureQuilter.com/blog

After pressing the facings in place, it was time for labels.

Making labels.  Ellen Lindner, AdventureQuilter.com/blog

Next, photography.  Then, I’ll be able to show you the finished notes.

Ellen Lindner
P.S. Hmm, should I write a separate post about how I do the labels?  Would you like to read about that?

I Did It Again

I cut up a finished quilt.

Don’t panic, though.  The quilt just wasn’t that great.  Here it is, As I Watched in Wonder.

Click any image for a larger viewAs I Watch in Wonder, an art quilt by Ellen Lindner. AdventureQuilter.com

Thankfully, the colors aren’t quite so jarring in person, but this quilt just never quite sang.  (At least not on key!)  It had wonderful little details of hand stitching and  hand dyed splotchiness.  I knew I could at least do something with the nice little details, so I began to consider cutting it up to make more Notes for a Friend.

First, I used a 5 x 7 paper window to identify and mark the sections I wanted to turn into notes.

8c-ip1

I spent some time deciding on the orientation for each one (although that’s flexible.)

Note for a Friend in-progress.  Ellen Lindner, AdventureQuilter.com/blog

Then, I added small pieces of fabric to create or enhance a focal point.

Note for a Friend in-progress.  Ellen Lindner, AdventureQuilter.com/blog

Finally, I added more hand stitching to the seed stitching and French knots  already there.

Note for a Friend in-progress.  Ellen Lindner, AdventureQuilter.com/blog

Note for a Friend in-progress.  Ellen Lindner, AdventureQuilter.com/blog

Don’t you love those details?

Note for a Friend in-progress.  Ellen Lindner, AdventureQuilter.com/blog

Hey, these were starting to look really good!  (MUCH better than the original quilt.)

On a related note, I have a reputation, locally, for being the Queen of the Crop.  And it’s not undeserved.  Once, in a round robin style exercise, I asked a quilter if I could crop her piece.  She agreed and I returned it to her with about 2/3 of it removed.  Apparently, this was not what she was expecting!  I still get ribbed about that today, and there are frequently jokes about keeping quilts away from me and my rotary cutter.

Still, it’s served me well on other occasions.

Ellen Lindner
P.S.  See the other quilts in the Notes for a Friend series.

Scandinavian Influence

I just had to show you two more photos from our trip to Door county, Wisconsin.  Many Scandinavians settled this area in the 1800’s and their influence can still be seen today.

On Washington Island, a wooden church has been built to replicate a Norwegian one from the 1100’s.  It was very interesting.

Click any image for a larger view
A visit to Door County, WI with Ellen Lindner. AdventureQuilter.com/blog

While that was unexpected, it didn’t match THIS.

A visit to Door County, WI with Ellen Lindner. AdventureQuilter.com/blog

Goats grazing on the roof of a Swedish restaurant!  (They do it every day.)  Now that’s novel.

And definitely NOT boring!

Ellen Lindner
P.S.  You can see a video of the goats here, at about 3:20 into it.

Rocky Shorelines

My favorite spot on our Door county trip was a shoreline park near Jacksonport.  Check THIS out!

Click any image for a larger viewA visit to Door County, WI with Ellen Lindner. AdventureQuilter.com/blog

Amazing right?  The trees went almost all the way to the water, which was lapping rather enthusiastically against the rocky shore.  On top of that, visitors have built cairns.  Tons of them!

A visit to Door County, WI with Ellen Lindner. AdventureQuilter.com/blog

Aren’t they cool?  Some of them are pretty big, too.  The tallest one in the first photo is about 6′ tall.

In such a setting it’s almost impossible to resist building one yourself.  Here’s my sister adding to one.

A visit to Door County, WI with Ellen Lindner. AdventureQuilter.com/blog

And Mom got into it, too.

A visit to Door County, WI with Ellen Lindner. AdventureQuilter.com/blog

Later, we visited a beach on Washington Island that has nothing but smooth stones both on the beach and in the water.  Can you see the water line below?  As you can see, the water was extremely clear.

A visit to Door County, WI with Ellen Lindner. AdventureQuilter.com/blog

But, it was almost impossible to walk on that stuff!

A visit to Door County, WI with Ellen Lindner. AdventureQuilter.com/blog

These shorelines were very beautiful and unlike anything I’d ever seen.

NOT boring!

Ellen Lindner

Door County, Wisconsin

When I told my husband about all the fun things my mom and sister and I would be doing in Door county, WI, he started calling it “Bore county.”  I guess visiting art galleries, cool boutiques, and antique shops, while enjoying beautifully scenery and weather just didn’t appeal to him.  But, it sure did to us!

Click any image for a larger viewA visit to Door County, WI with Ellen Lindner.  AdventureQuilter.com/blog

Door county is a skinny peninsula in northern Wisconsin which sticks out into Lake Michigan.  The surrounding water creates mild weather and great growing conditions.  Which explains the plethora of gorgeous flowers we saw.

A visit to Door County, WI with Ellen Lindner.  AdventureQuilter.com/blog

The peonies were huge!

A visit to Door County, WI with Ellen Lindner.  AdventureQuilter.com/blog

And there were many other flowers to enjoy, too.

A visit to Door County, WI with Ellen Lindner.  AdventureQuilter.com/blog

All the quaint fishing villages are now quaint little homespun villages with mom ‘n pop motels, restaurants, and shops.  None of them have stop lights, and they’re all easy to investigate by foot.

Here are my mom and sister at a gallery with graffiti all over it.  You can pay for a little pot of paint and add to it, if you desire.

A visit to Door County, WI with Ellen Lindner. AdventureQuilter.com/blog
The weather was delightful and we enjoyed being pedestrians each evening as we strolled past flowers to dinner, or to watch the sunset, an evening ritual.

A visit to Door County, WI with Ellen Lindner.  AdventureQuilter.com/blog

sunset 2

It was NOT boring!

Ellen Lindner

The Fear of Black Thread – and How to Overcome It

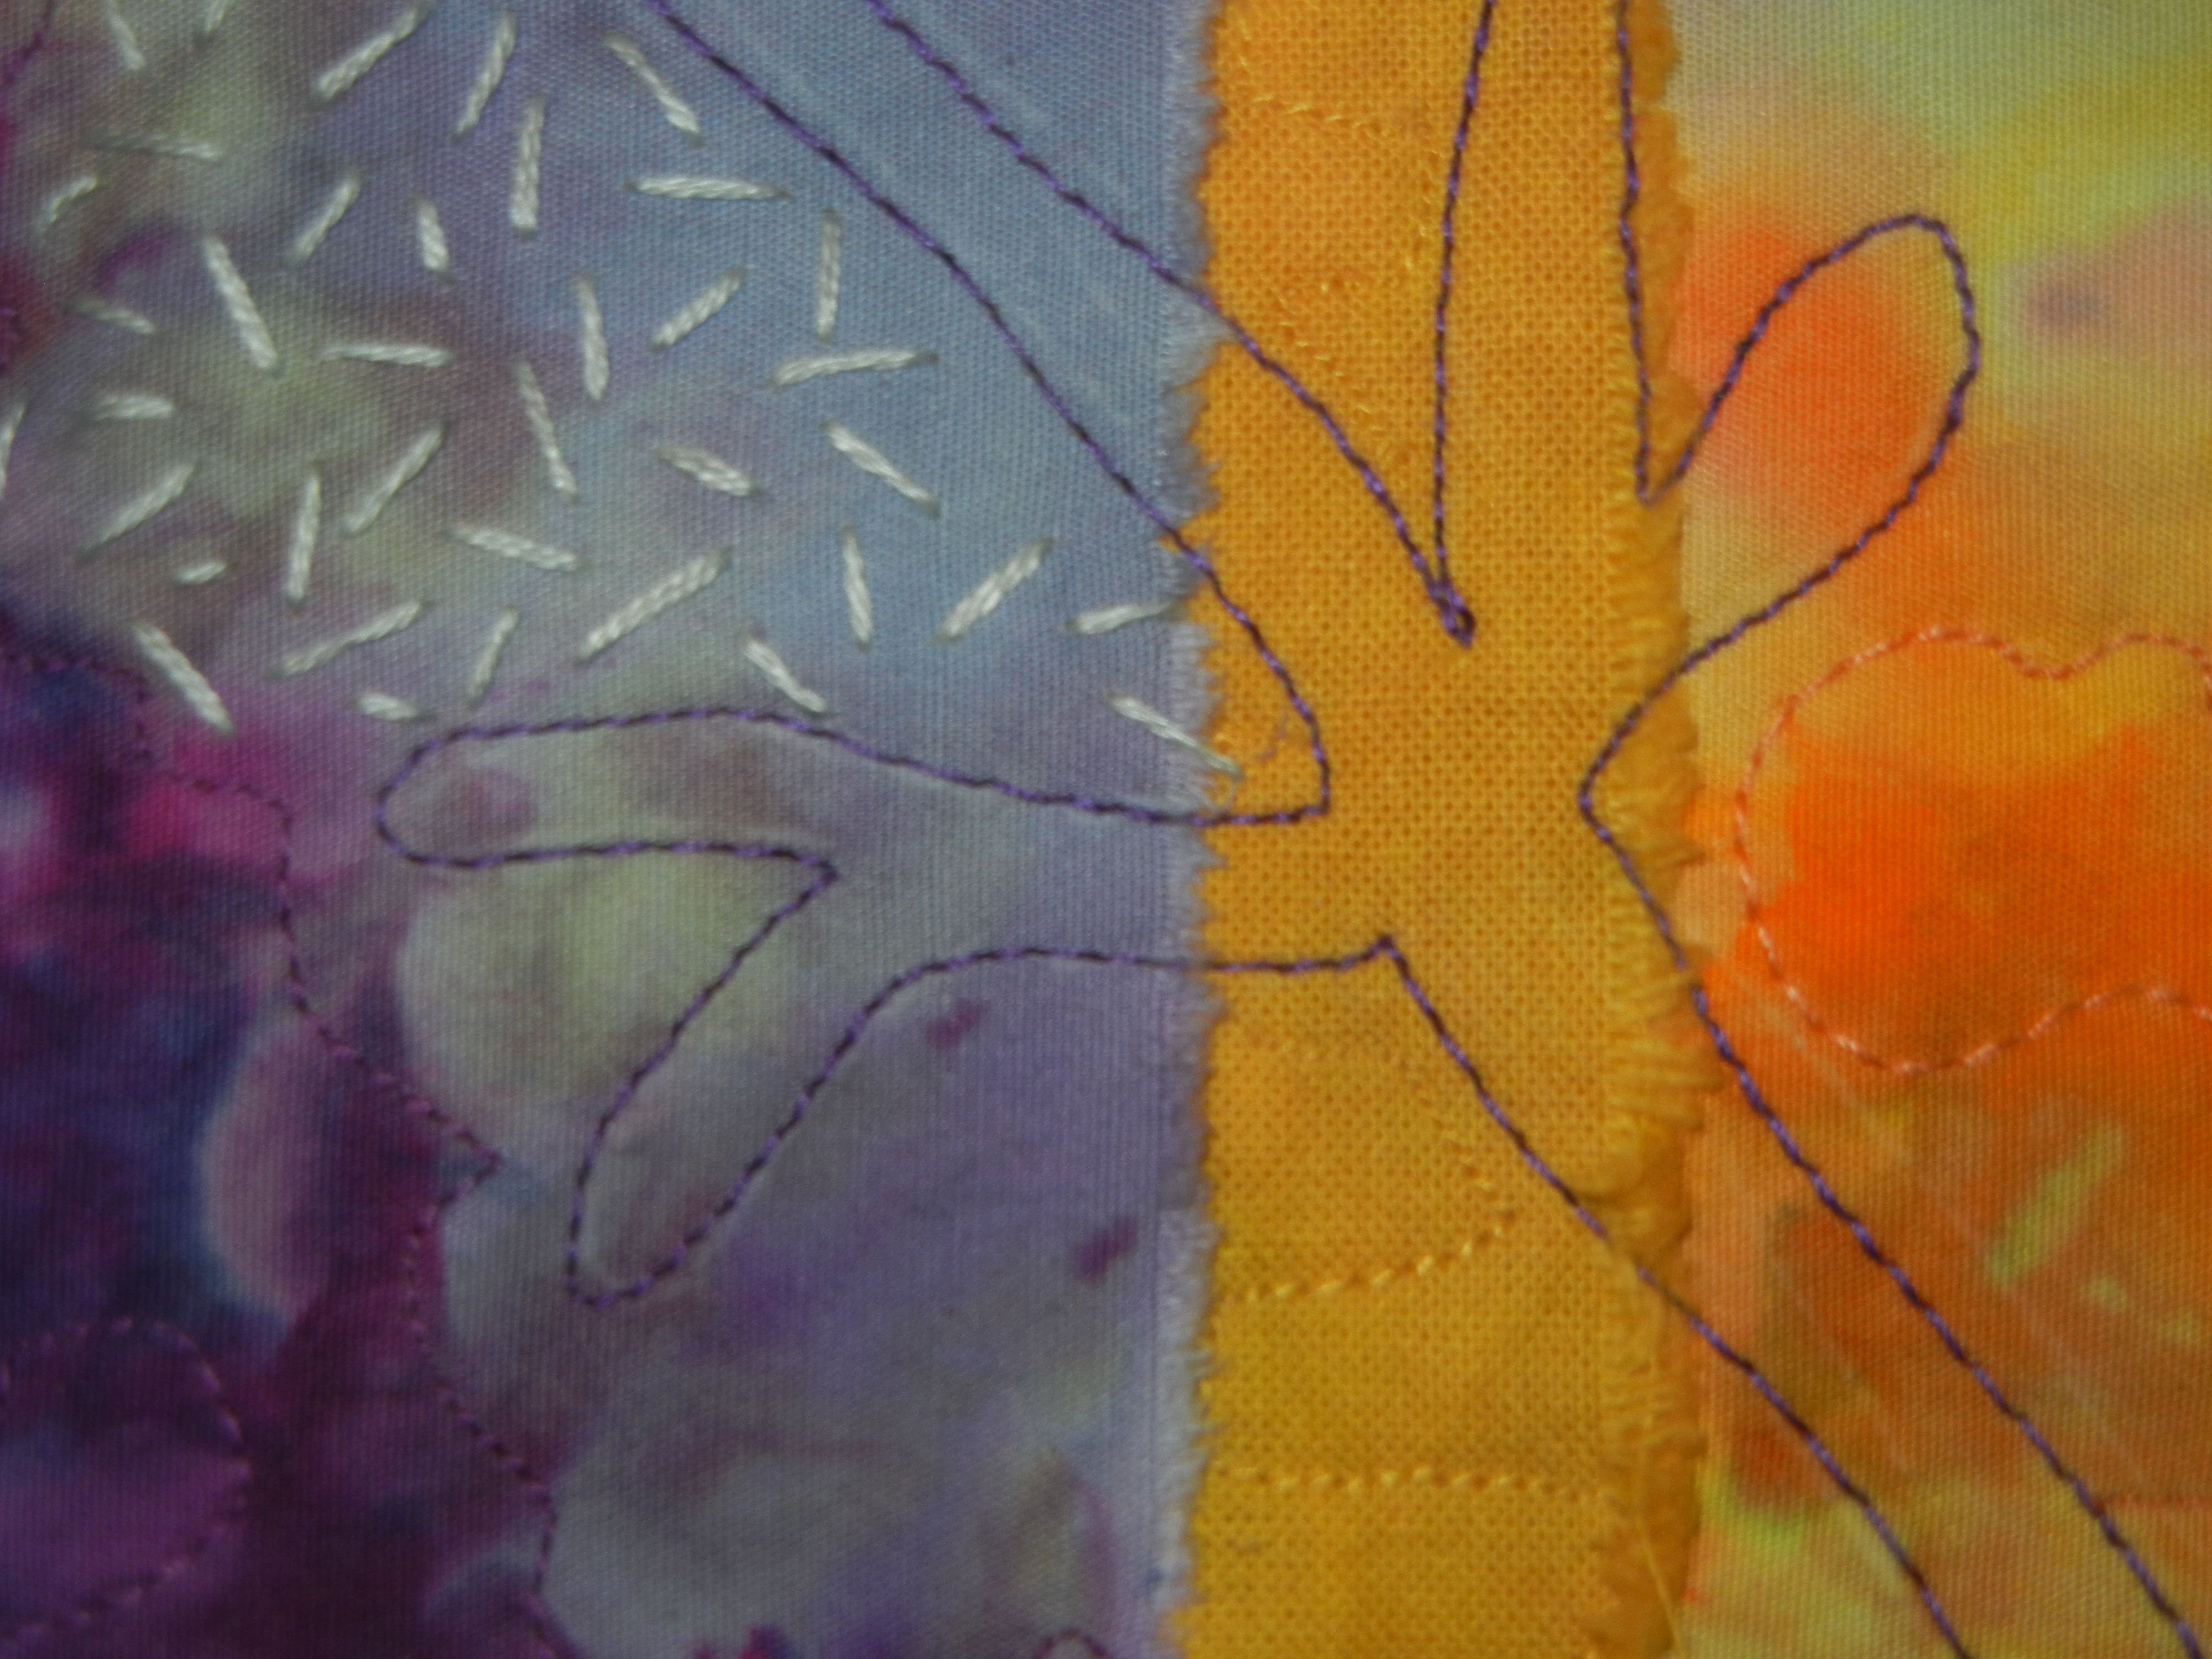
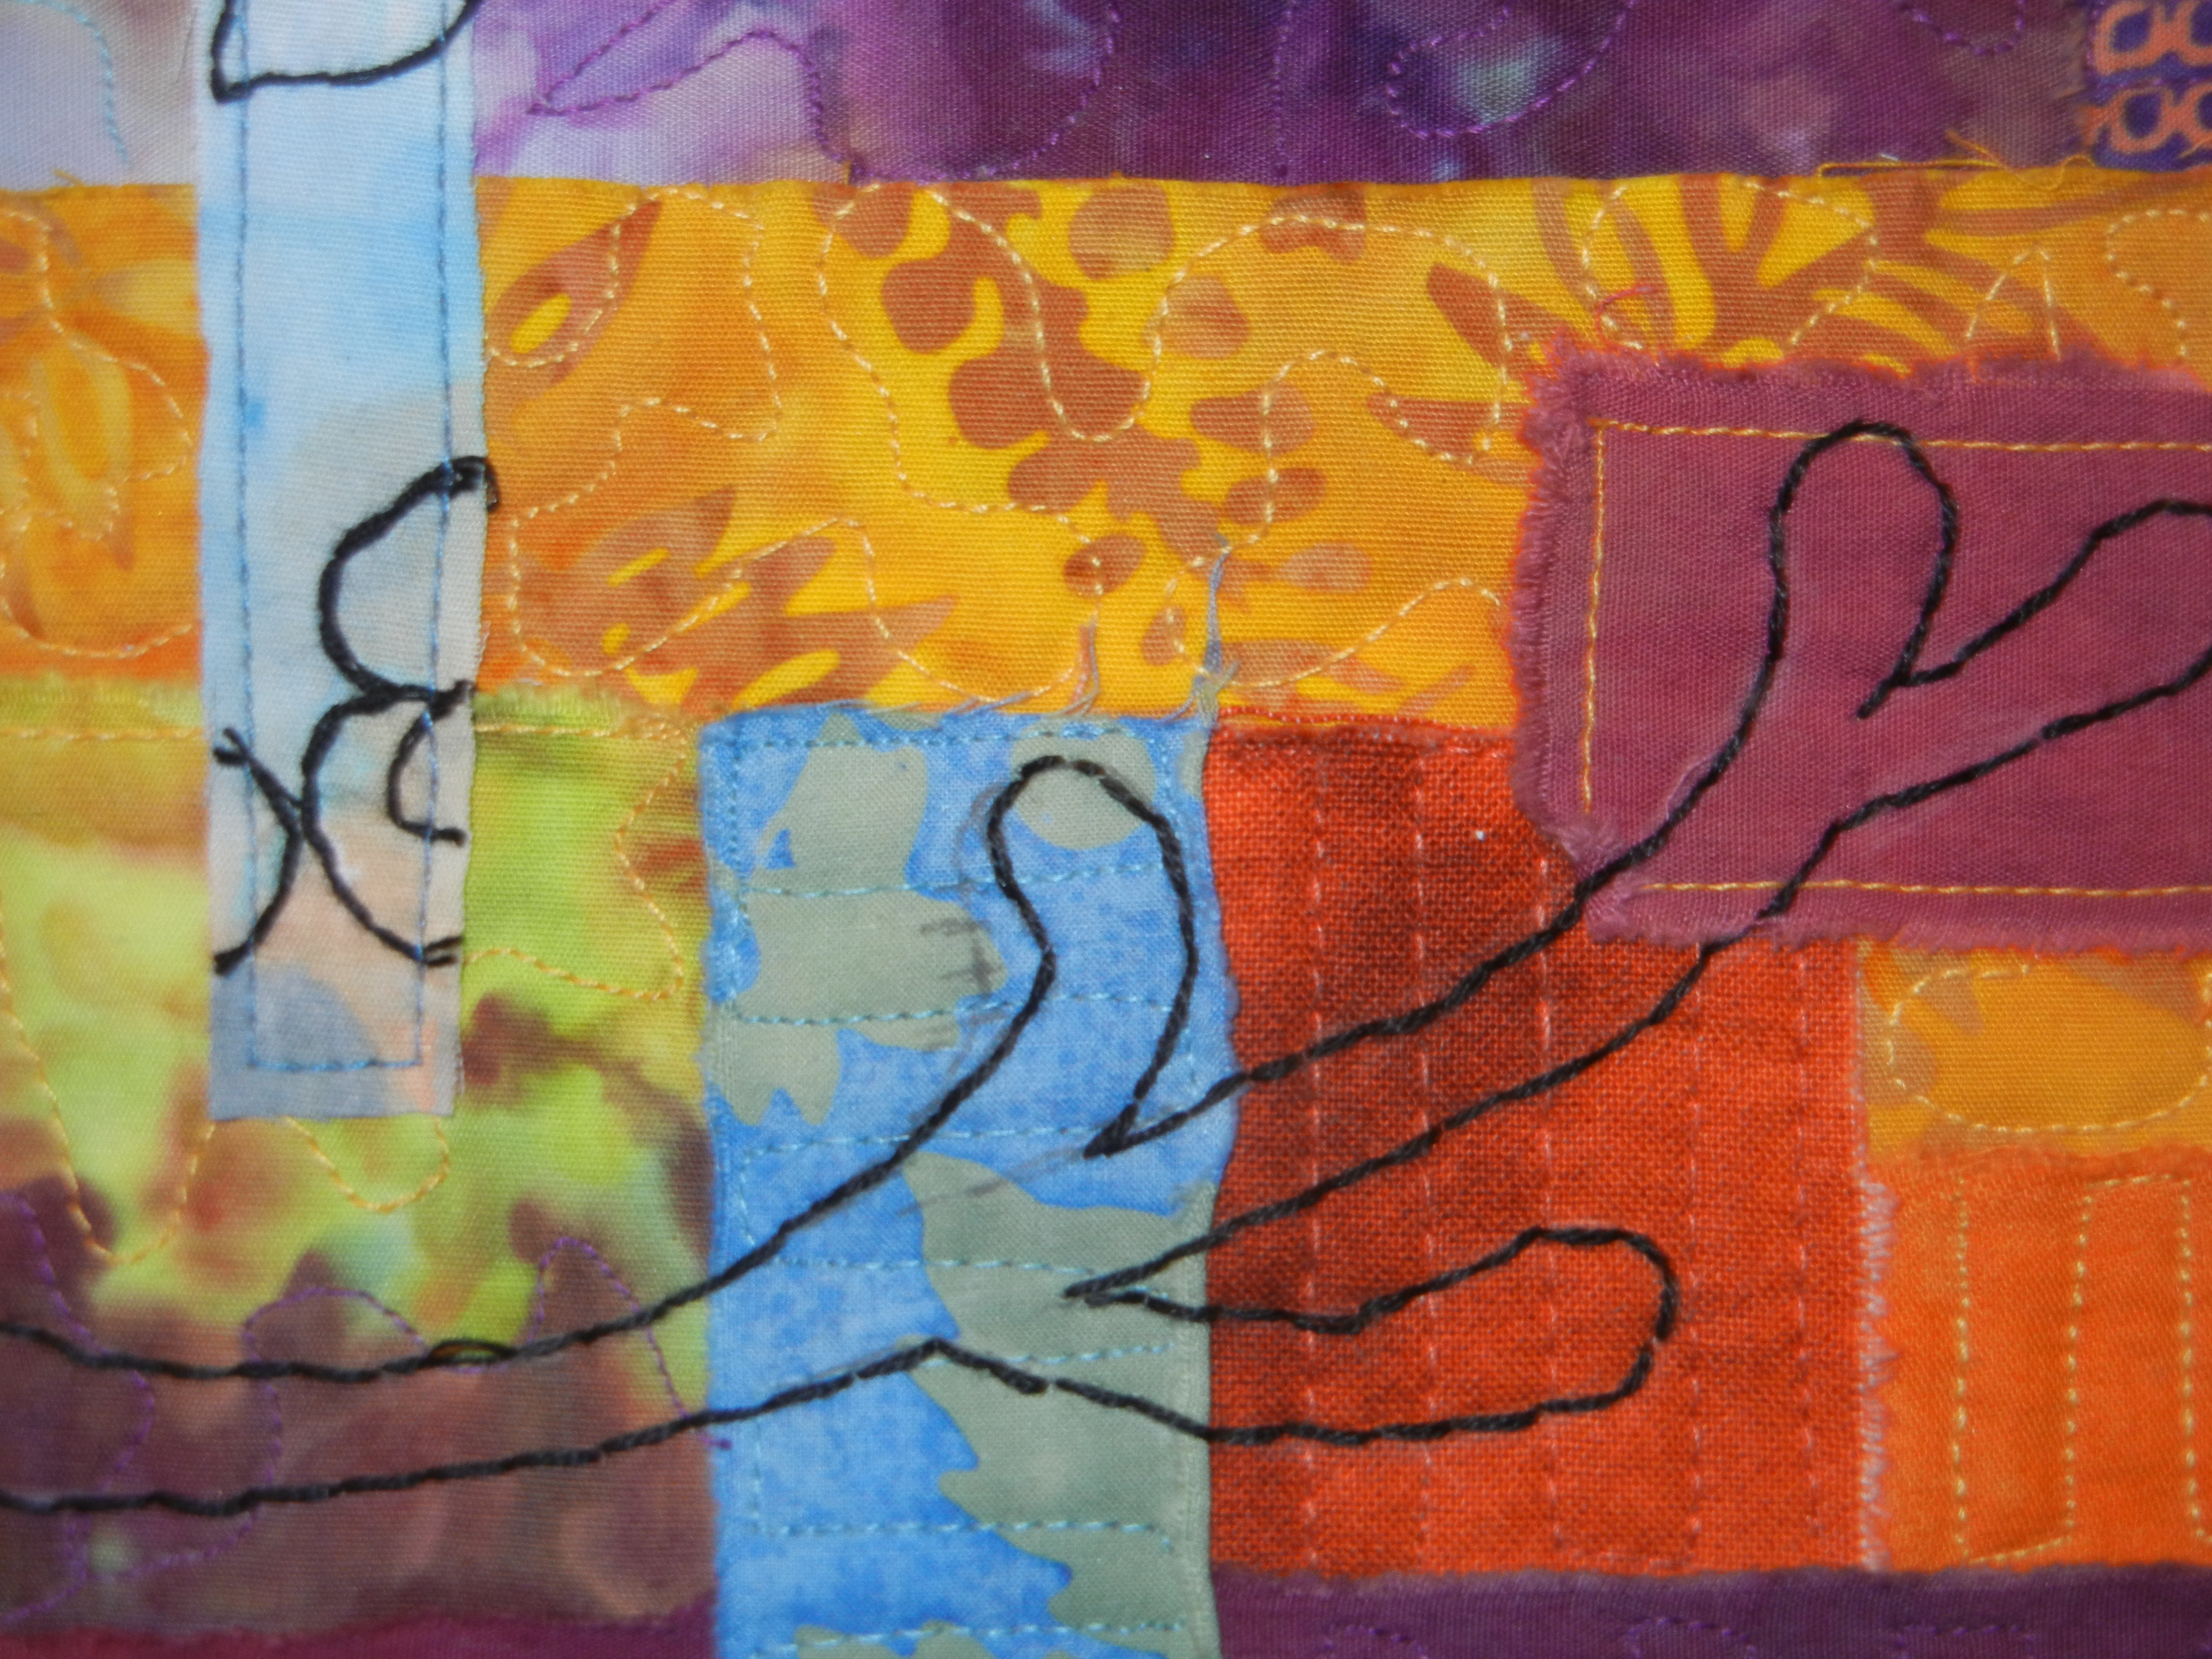
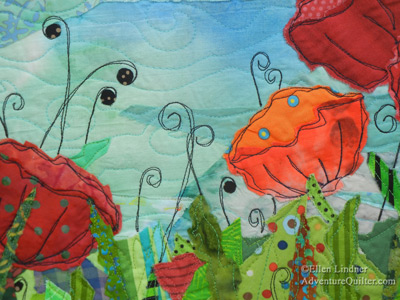
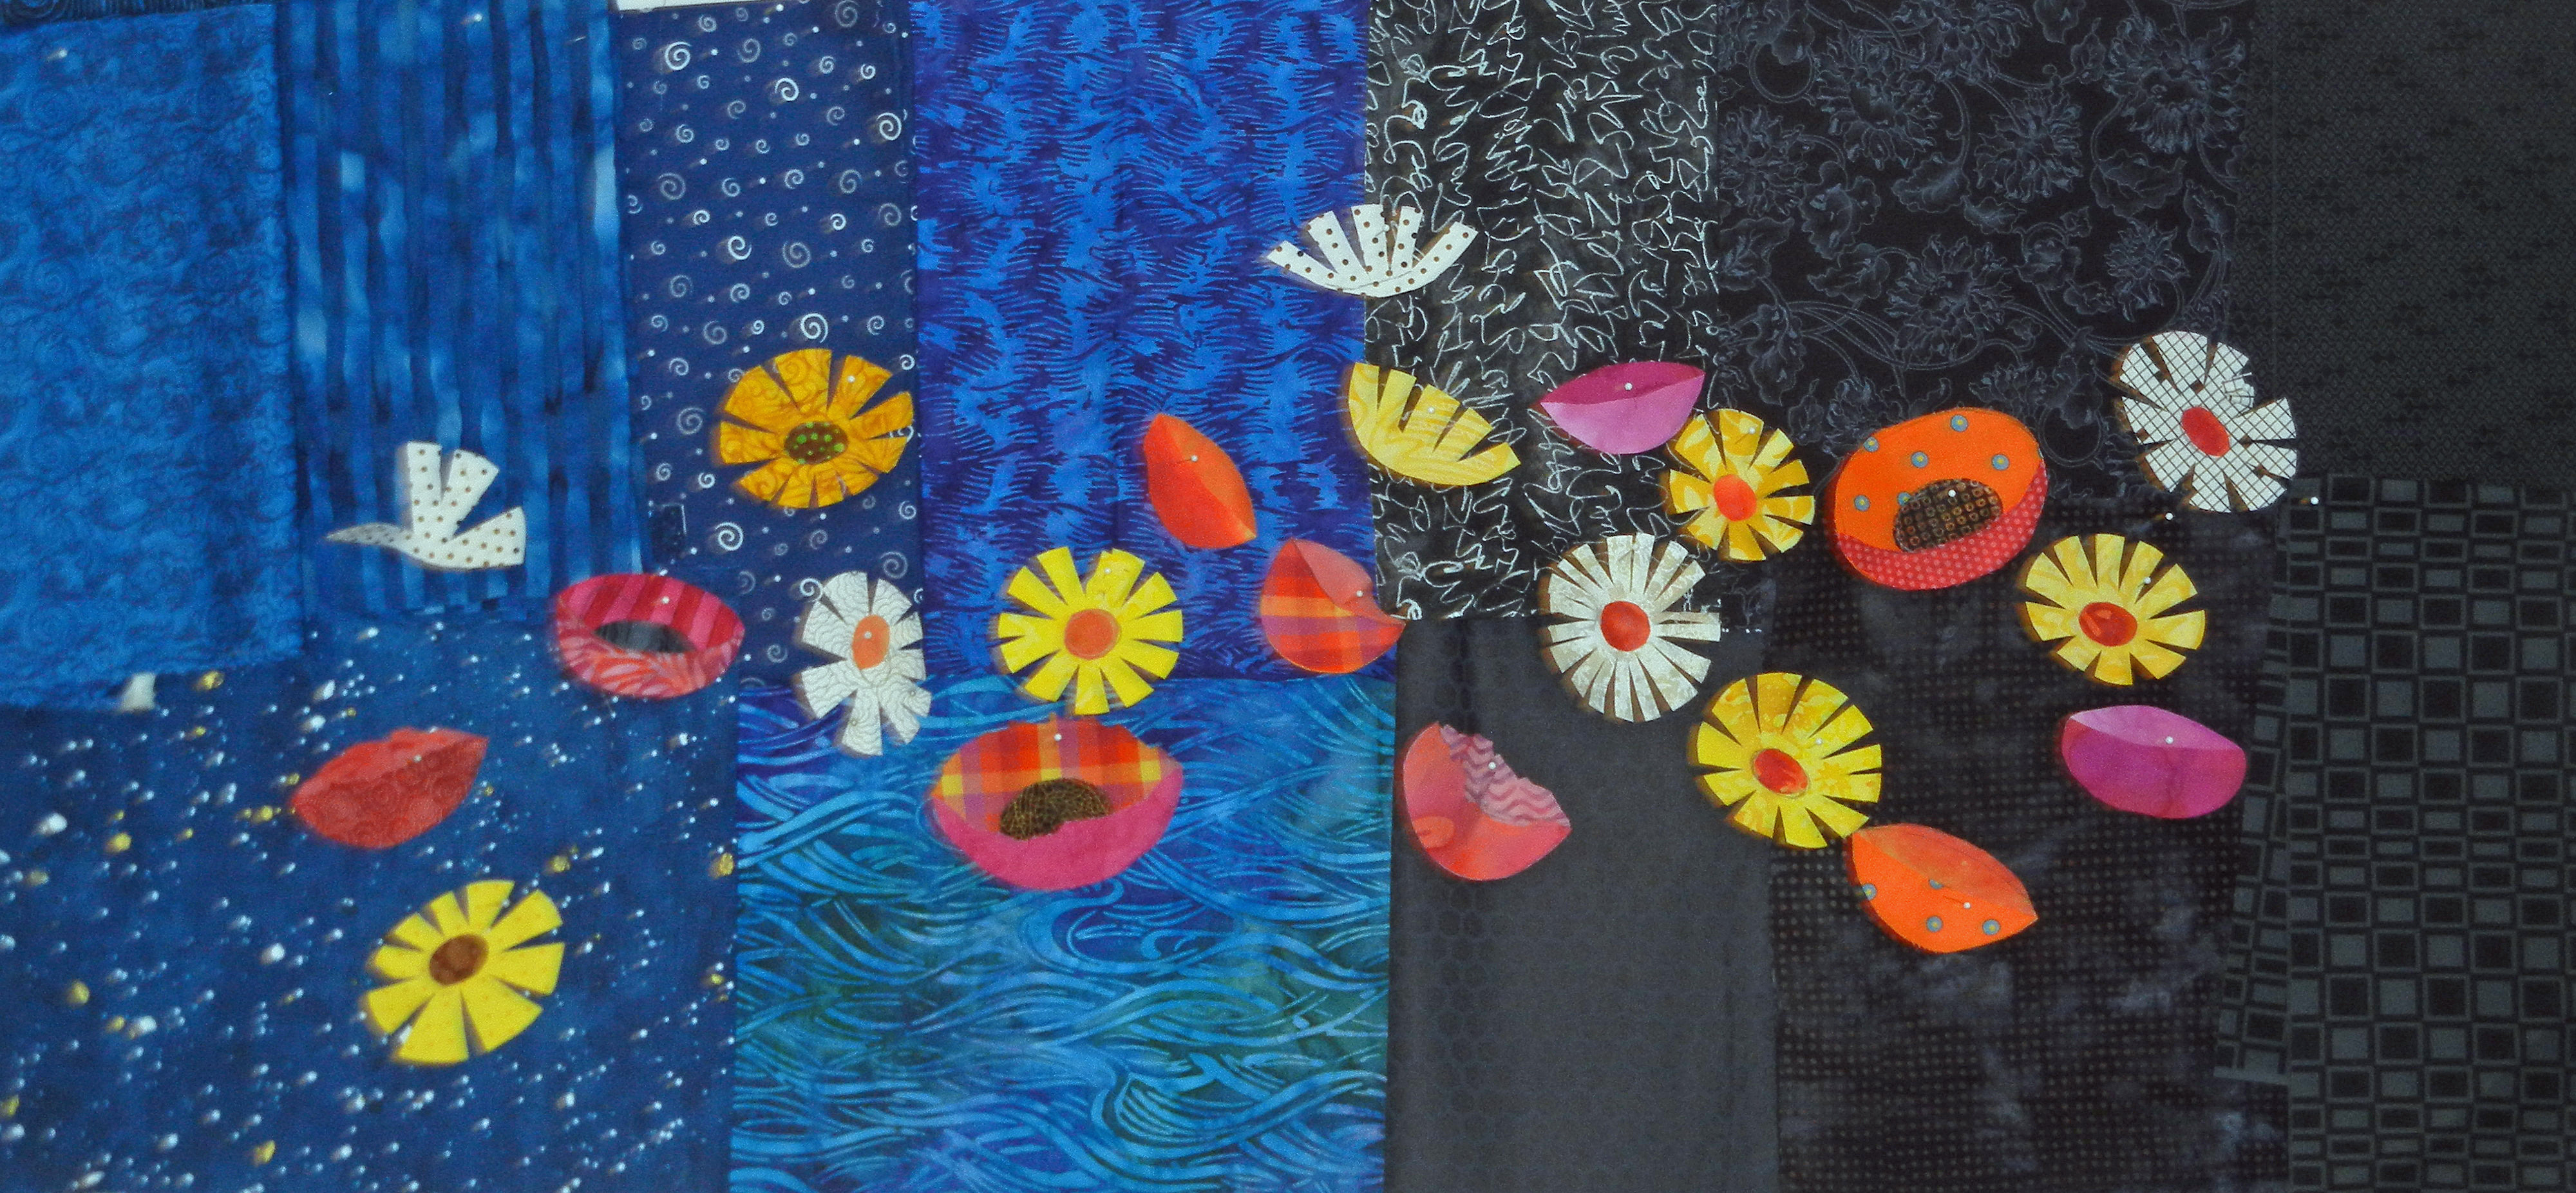
I often use black thread to add definition to my quilt designs.   Especially on the petals of flowers.

Click any image for a larger view

Blessings Underfoot - detail, and art quilt by Ellen Lindner.  AdventureQuilter.com
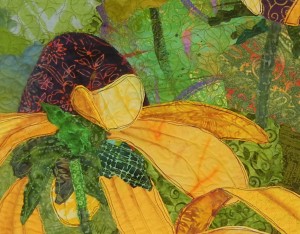
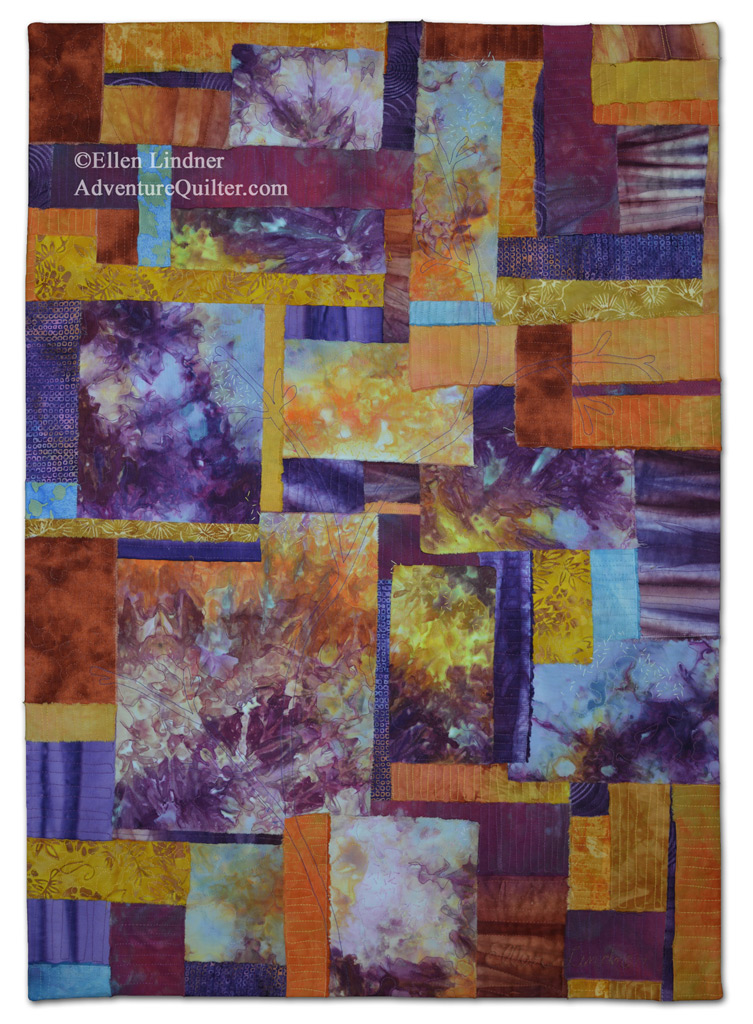
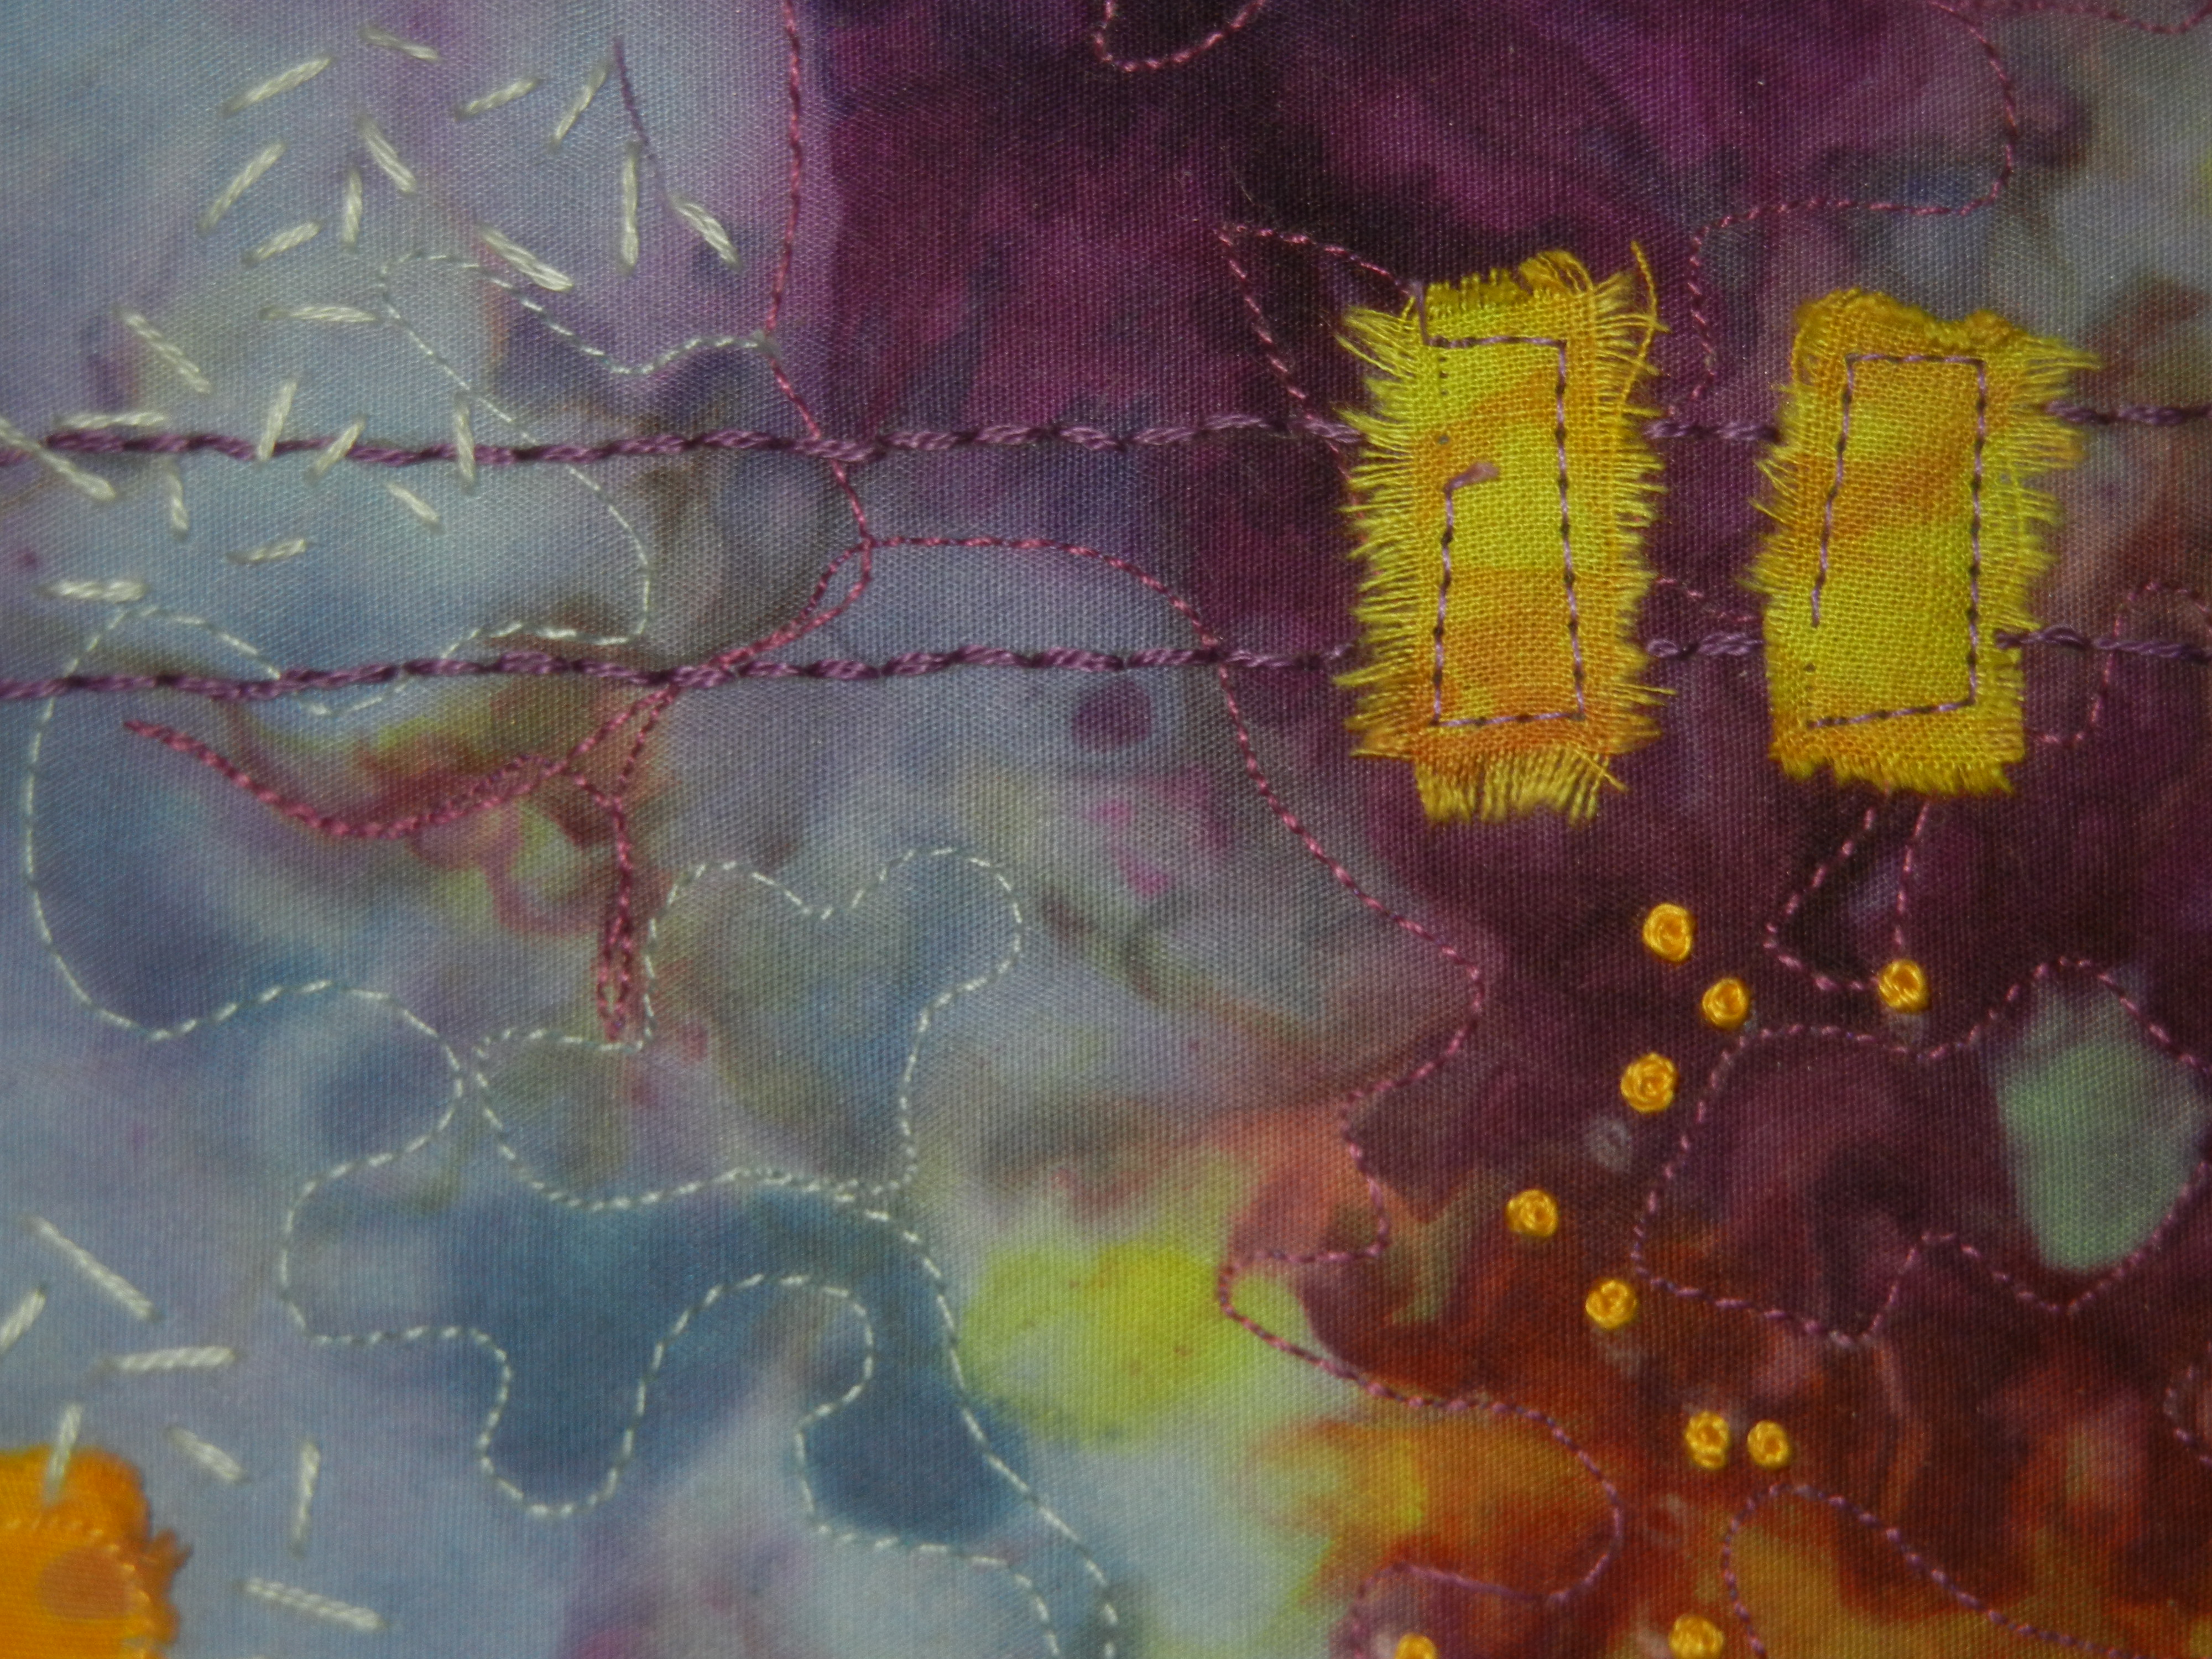
Blessings Underfoot – detail

Garden Party - detail, an art quilt by Ellen Lindner.  AdventureQuilter.com/blog

Garden Party – detail

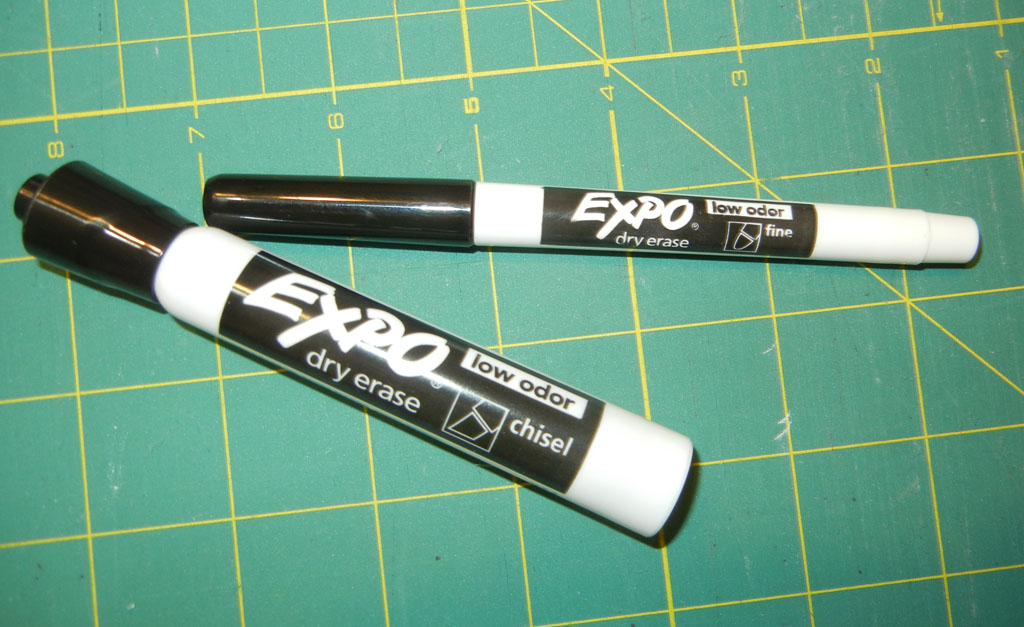
Of course, when I suggest dark thread to my students they’re, understandably, reluctant to try it.  So, I’ve developed a way for them to audition the idea.  The supplies needed are a plastic page protector and either dry erase or felt tip markers.

Auditioning black thread.  Ellen Lindner, AdventureQuilter.com/blog

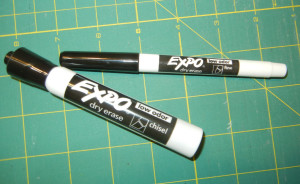
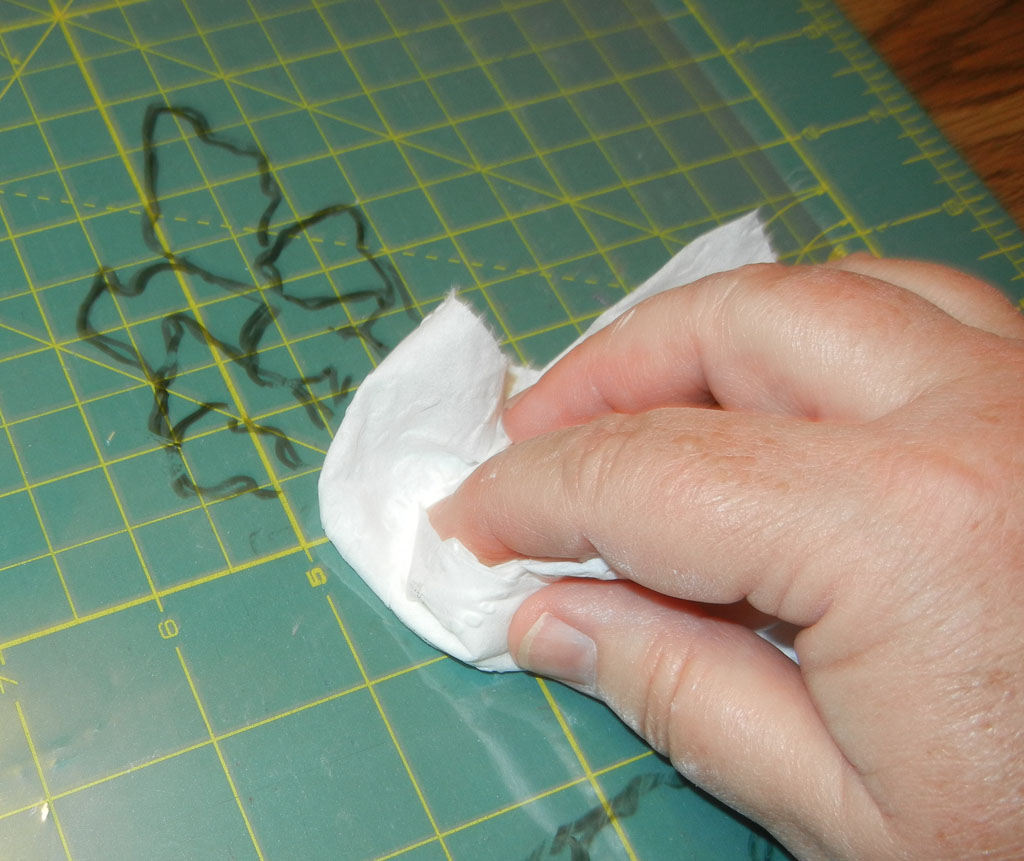
First, test that your marks will come off the page protector.  Dry erase markers can be wiped off with a paper towel.  Regular markers can be wiped off with a damp towel.

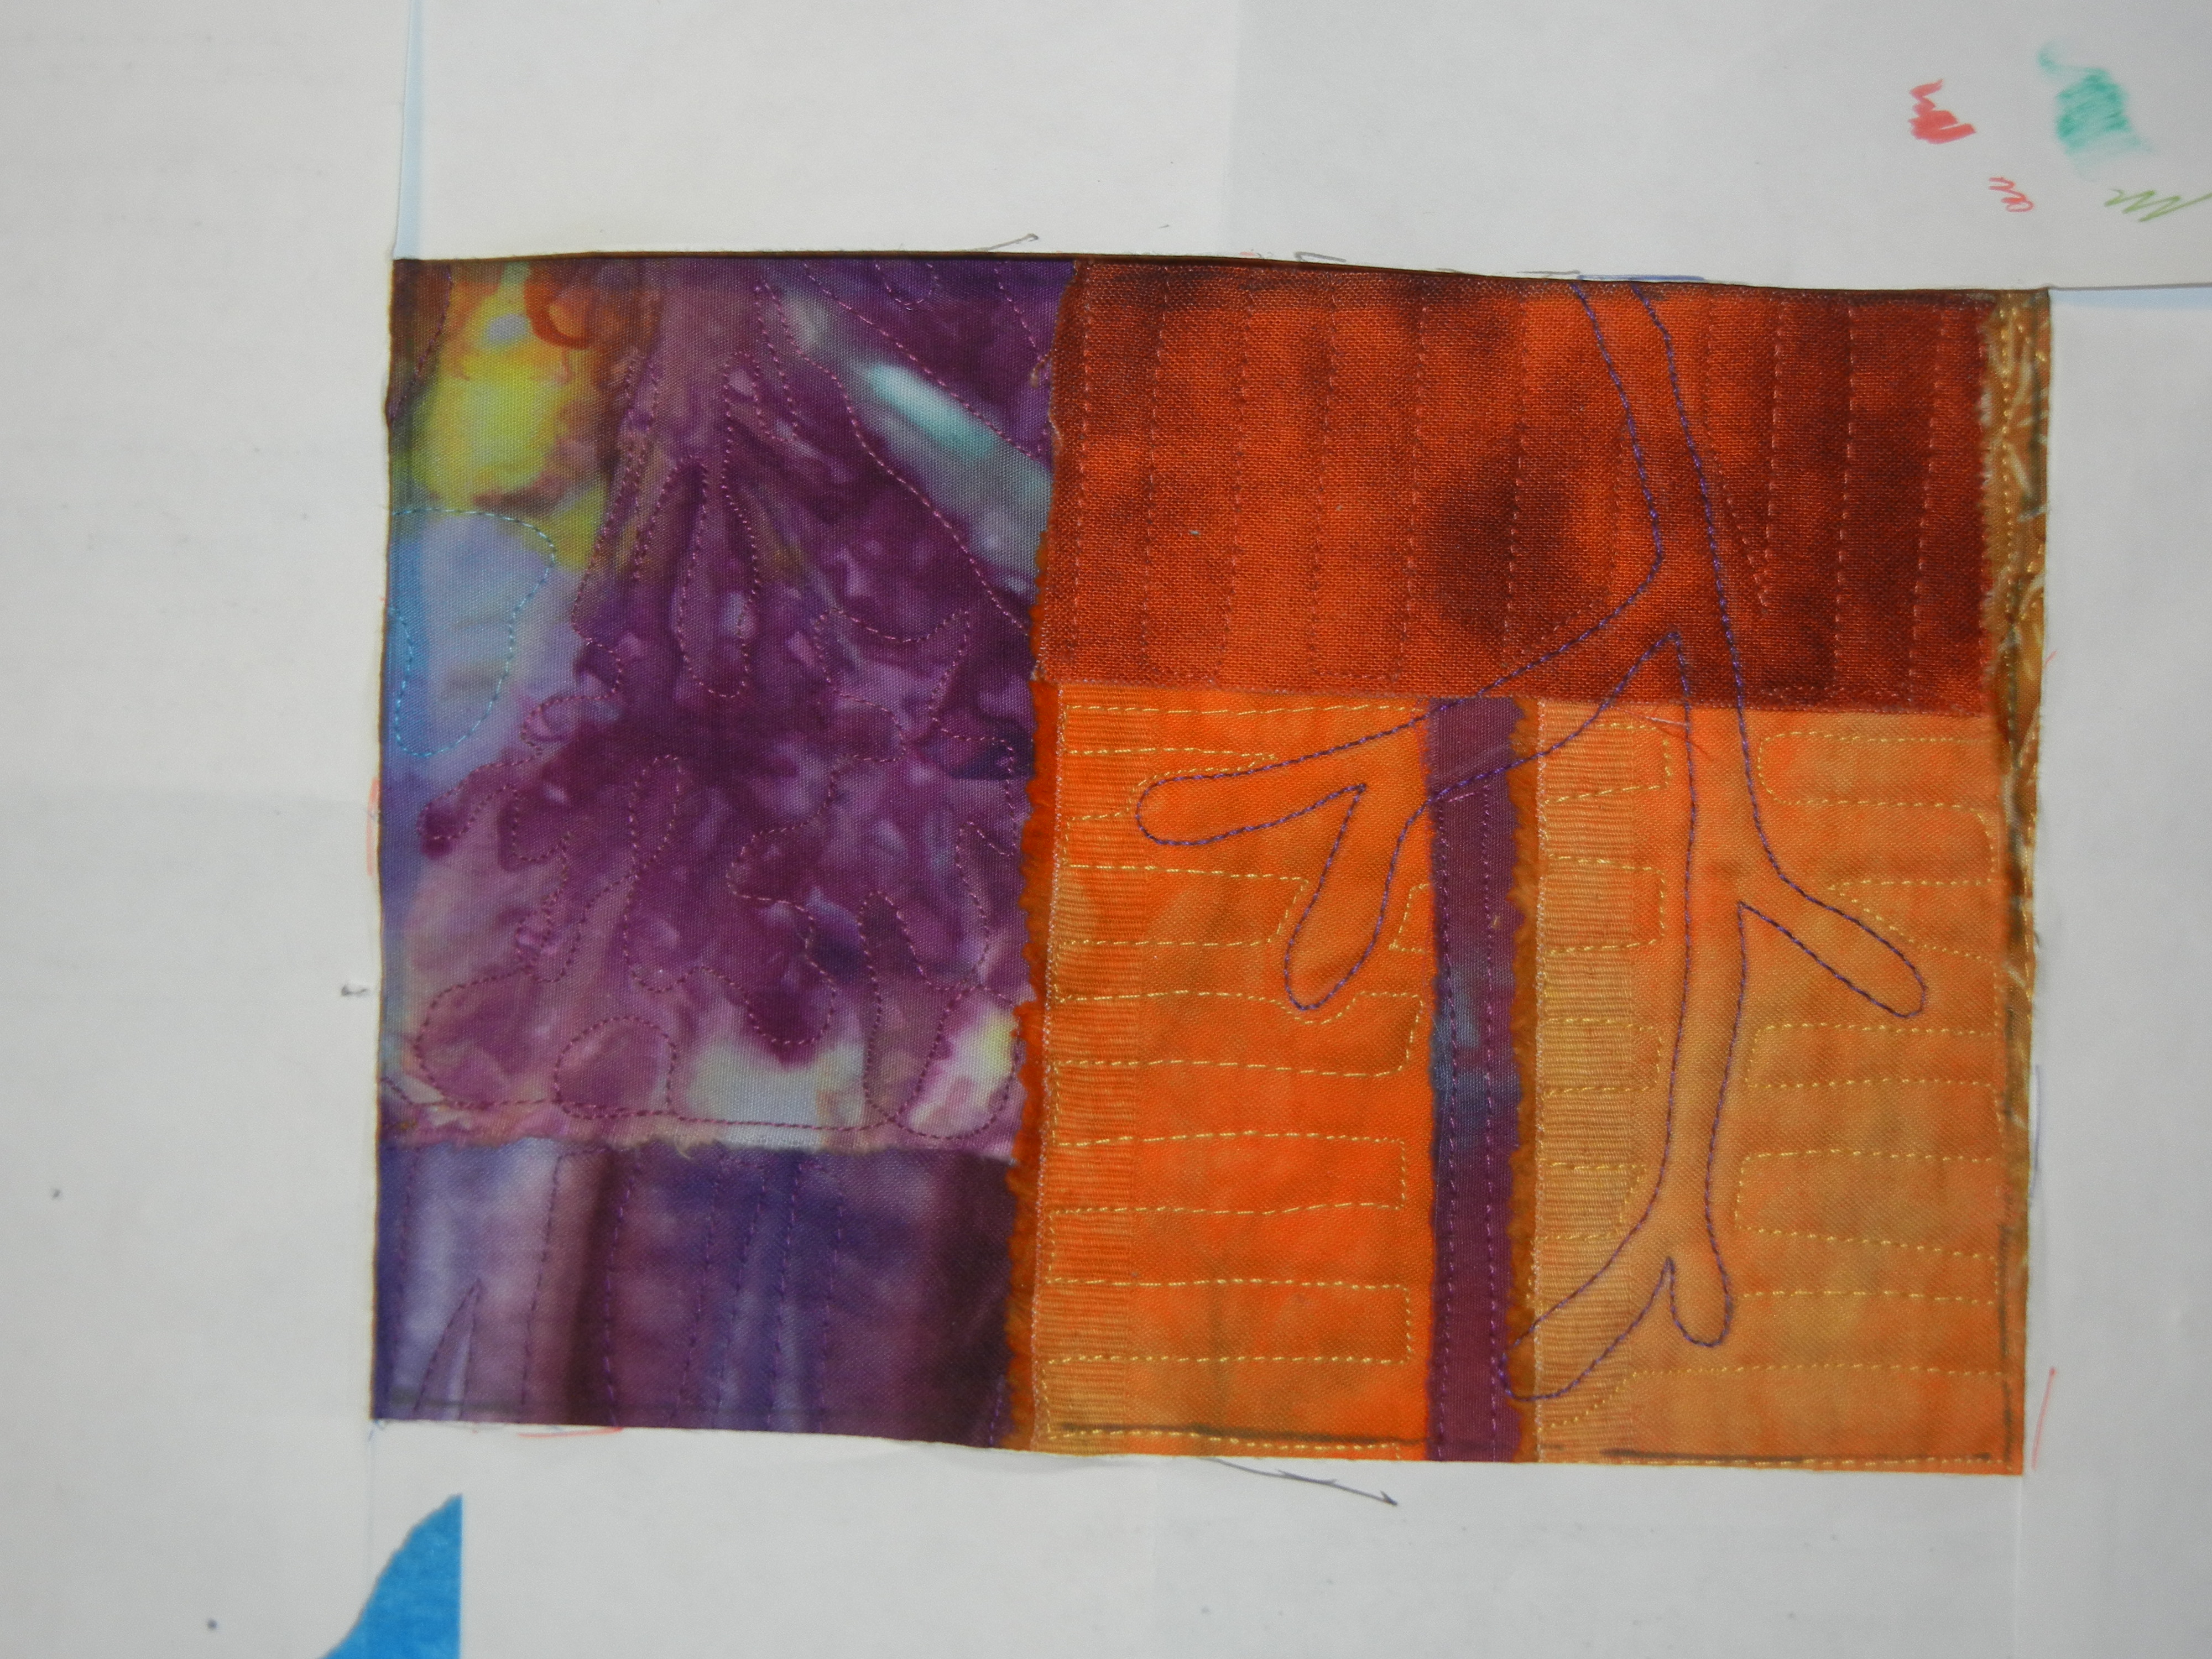
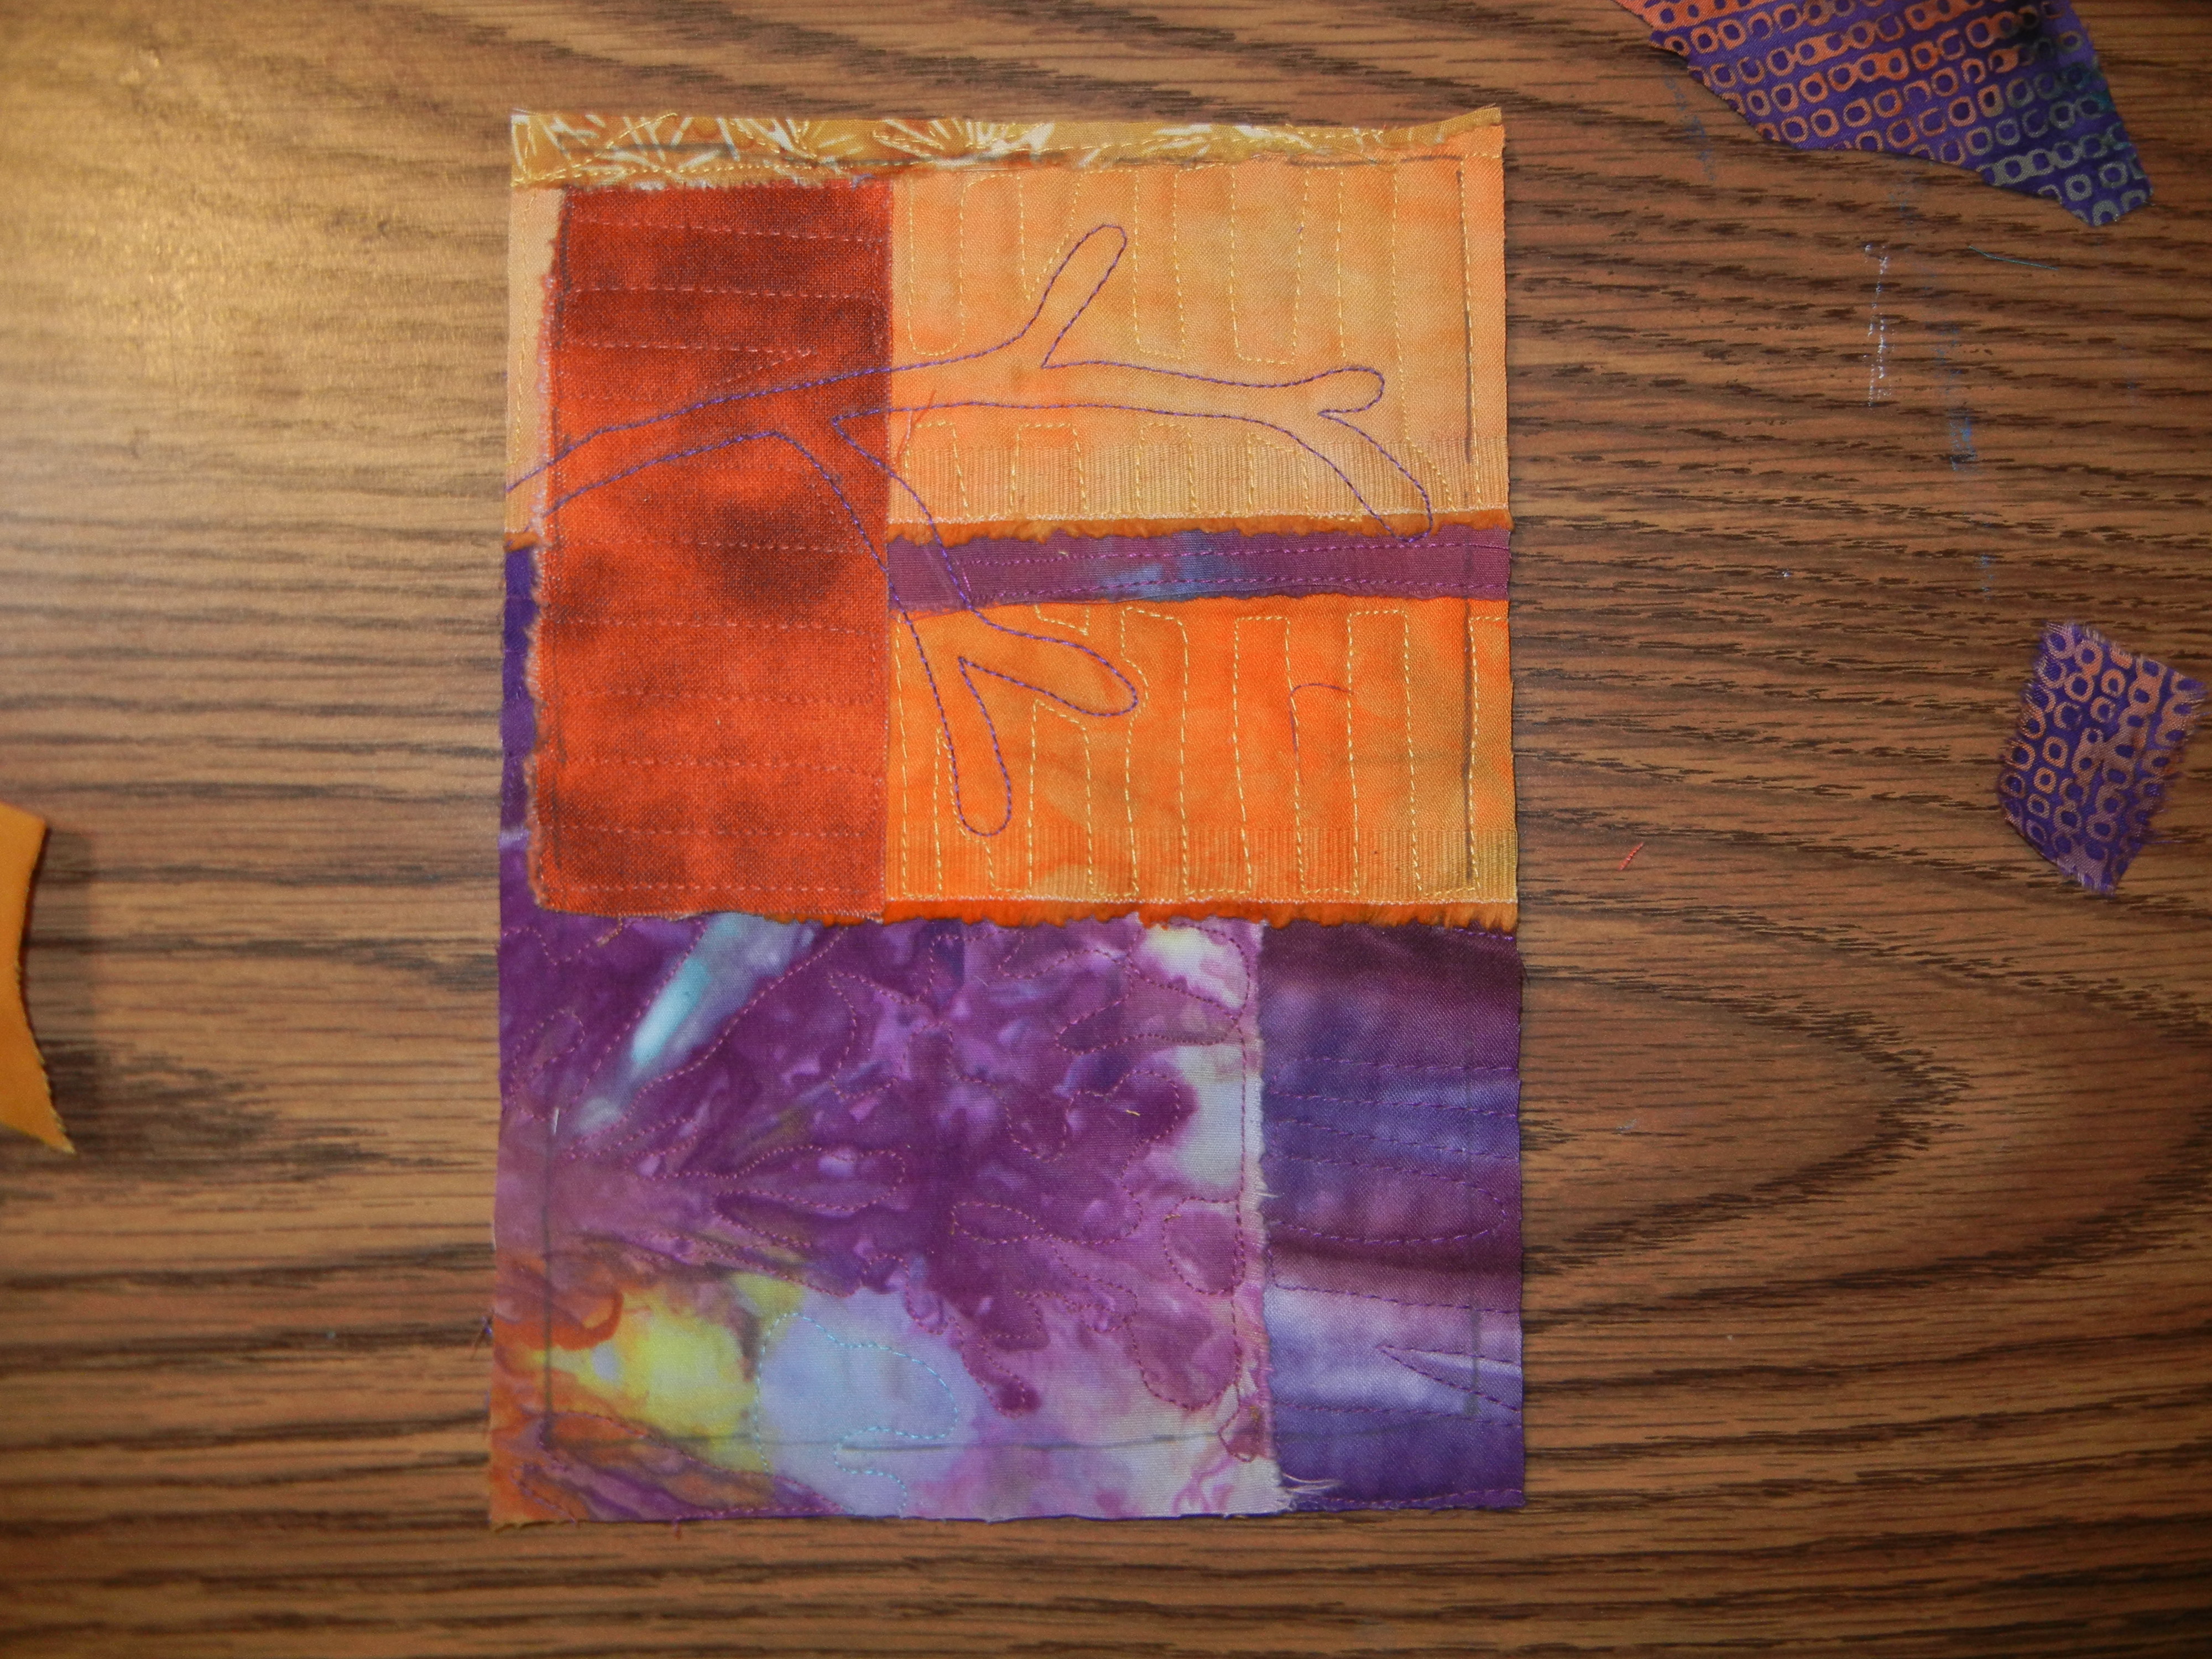
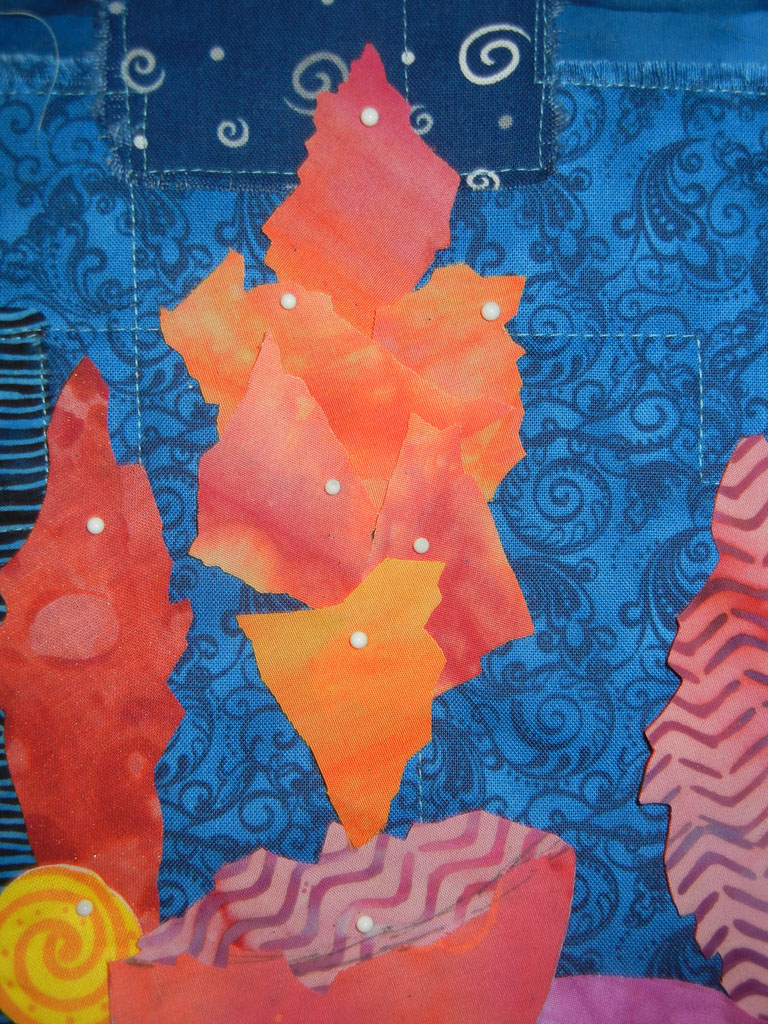
This is the flower needing some definition.  It’s supposed to be a snap dragon, but you can see that it doesn’t look quite like that just yet.

Auditioning black thread.  Ellen Lindner, AdventureQuilter.com/blog

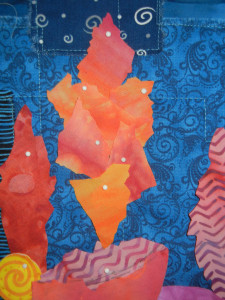
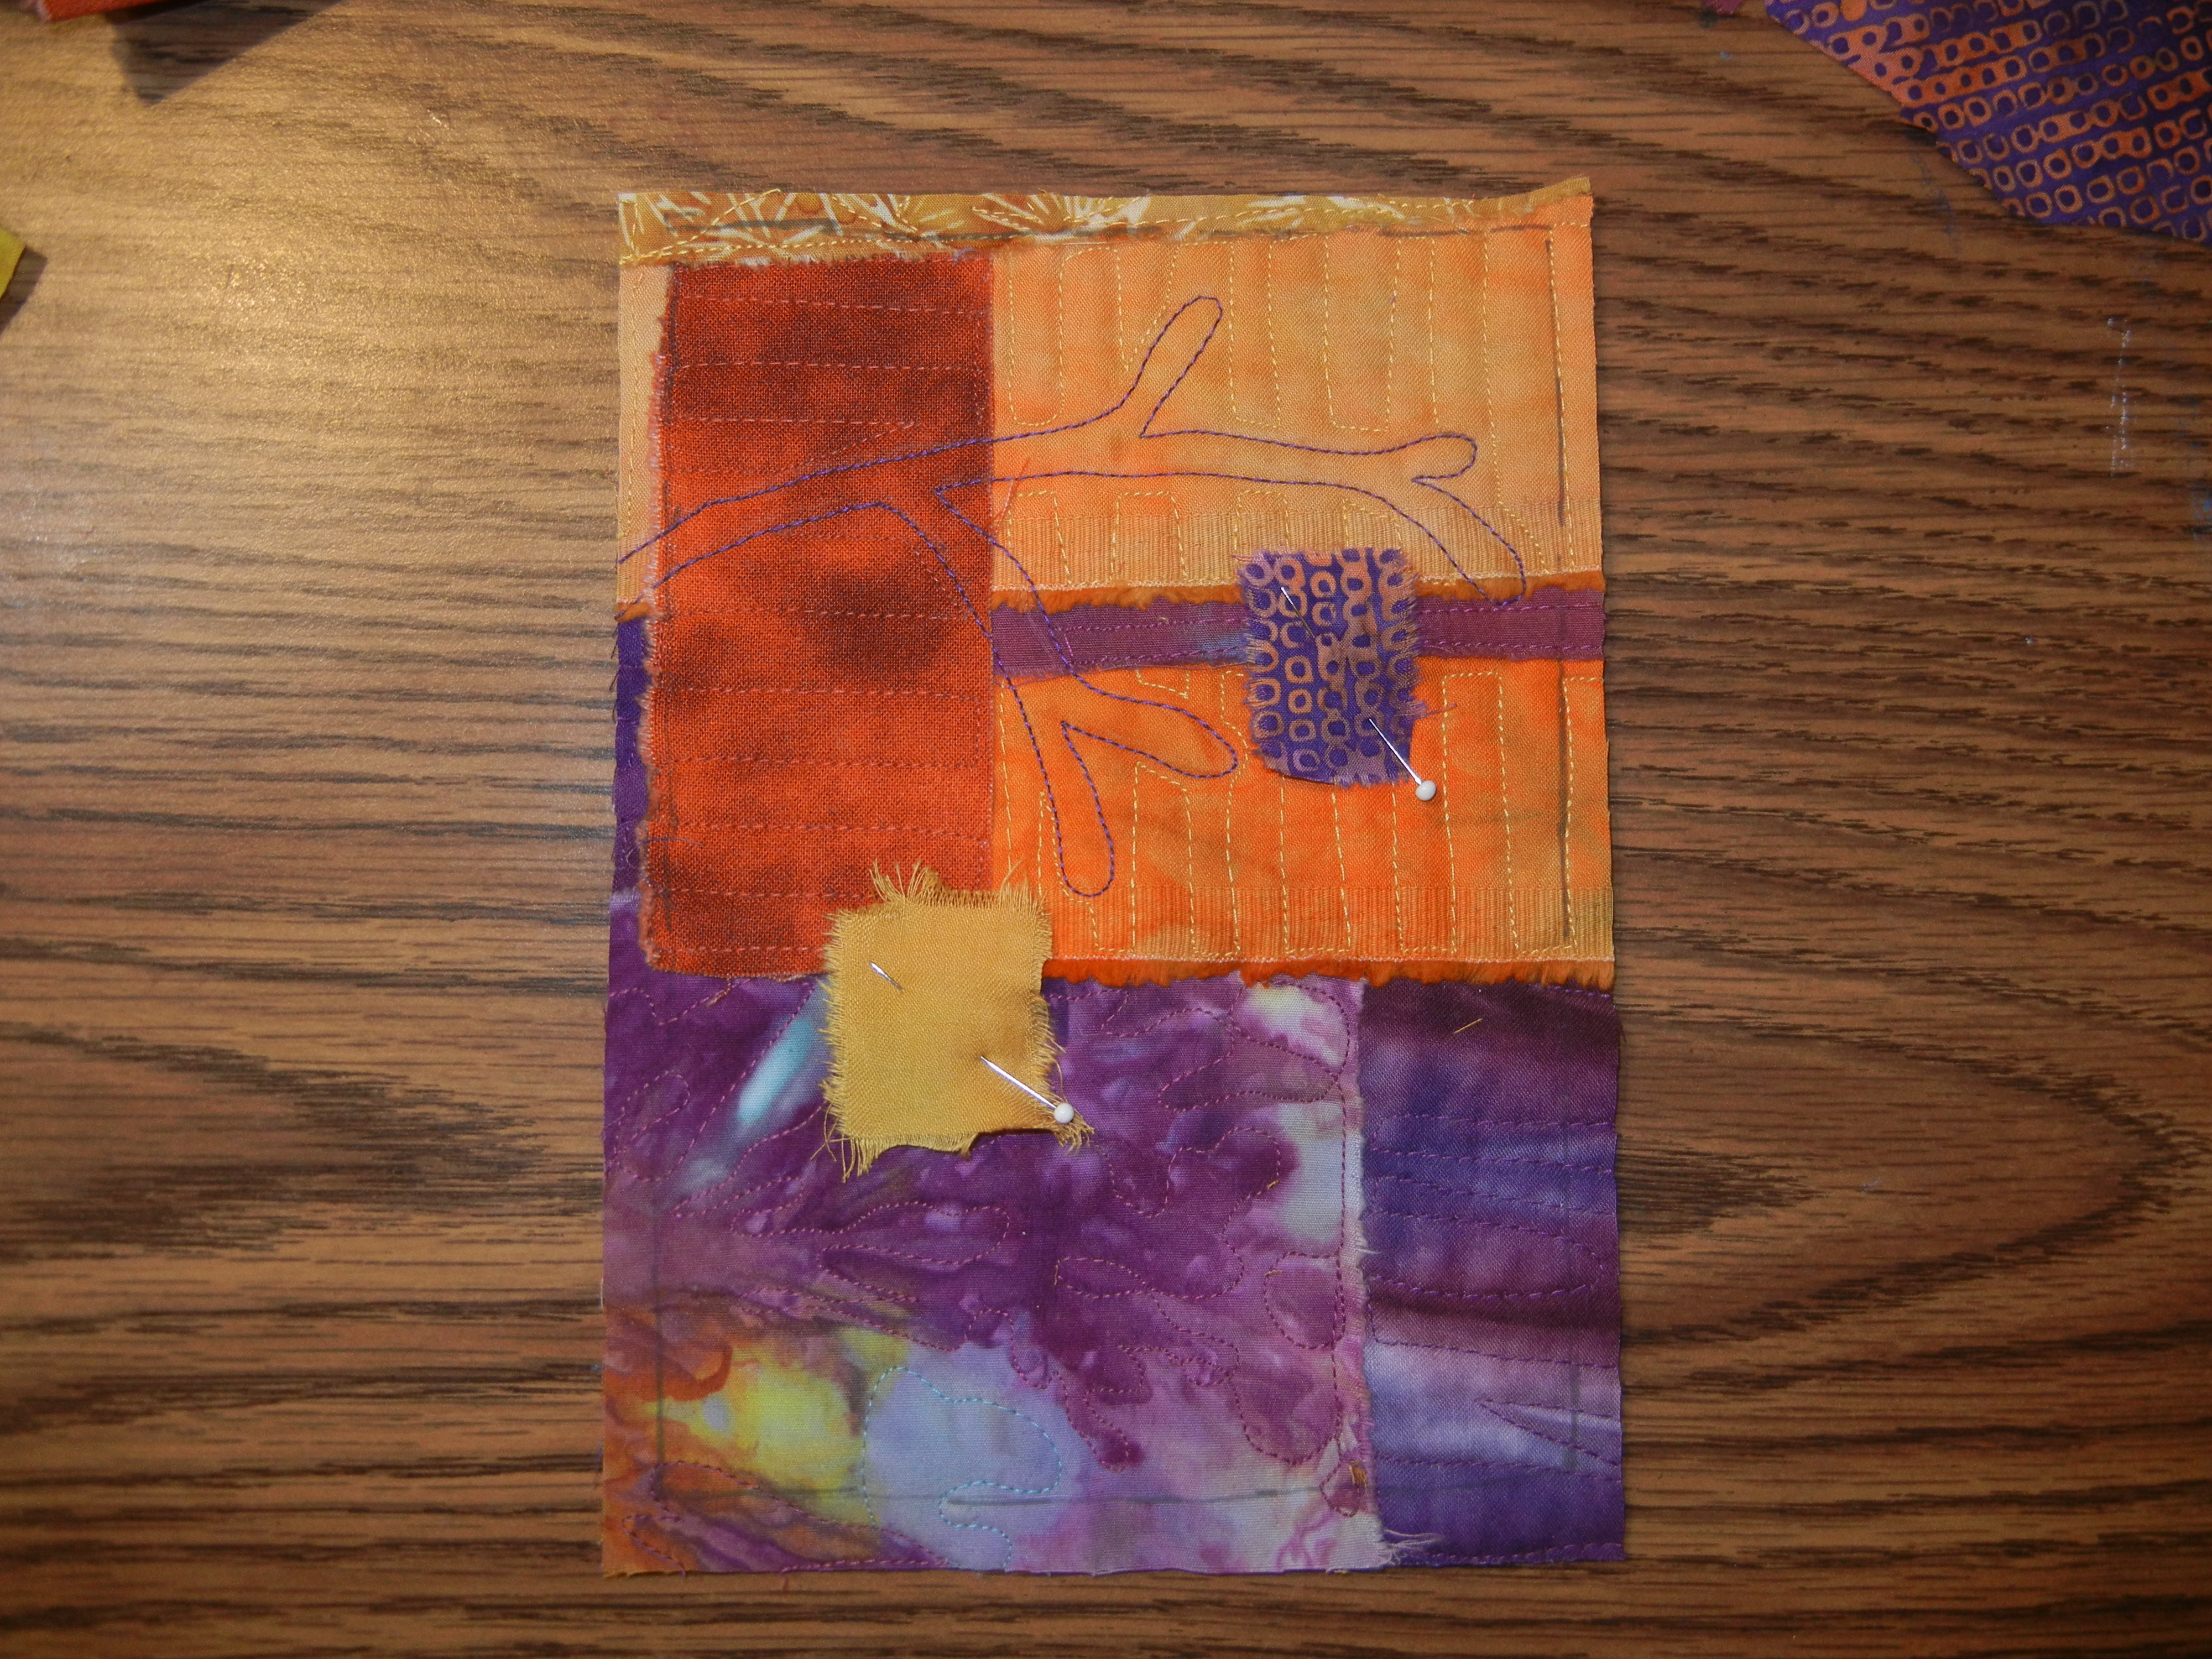
No worries.  Pin the page protector over the design area.  (Most of these photos were shot at an angle to avoid flash reflection.)

Auditioning black thread.  Ellen Lindner, AdventureQuilter.com/blog

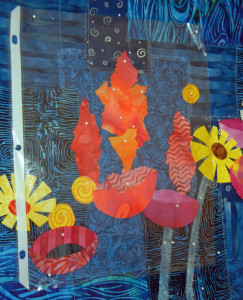
Once the page protector is in place, you can just draw directly on it.  In the one below, I just went around the edges of each piece of fabric.  (Another bonus of this technique is that you get to plan the stitching path.)

Auditioning black thread.  Ellen Lindner, AdventureQuilter.com/blog

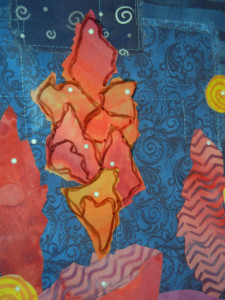
In this next drawing, I’ve drawn a pattern more like my usual mode. There are two changes:  I’ve drawn in petals even though there’s not a separate piece of fabric there, and I’ve added a second line, which is something I use a lot.  Now it looks a lot like a snap dragon, doesn’t it?

Auditioning black thread.  Ellen Lindner, AdventureQuilter.com/blog

Here’s the same technique at work on a poppy-ish sort of flower.  Can you see how much dimension those lines add?

Auditioning black thread. Ellen Lindner, AdventureQuilter.com/blog

The lines come off very easily.

Auditioning black thread. Ellen Lindner, AdventureQuilter.com/blog

There are, of course, other ways to audition stitching.  One is to take a photo, print it out in color, and draw directly on it.

Maybe you’d like to try some dark stitching?

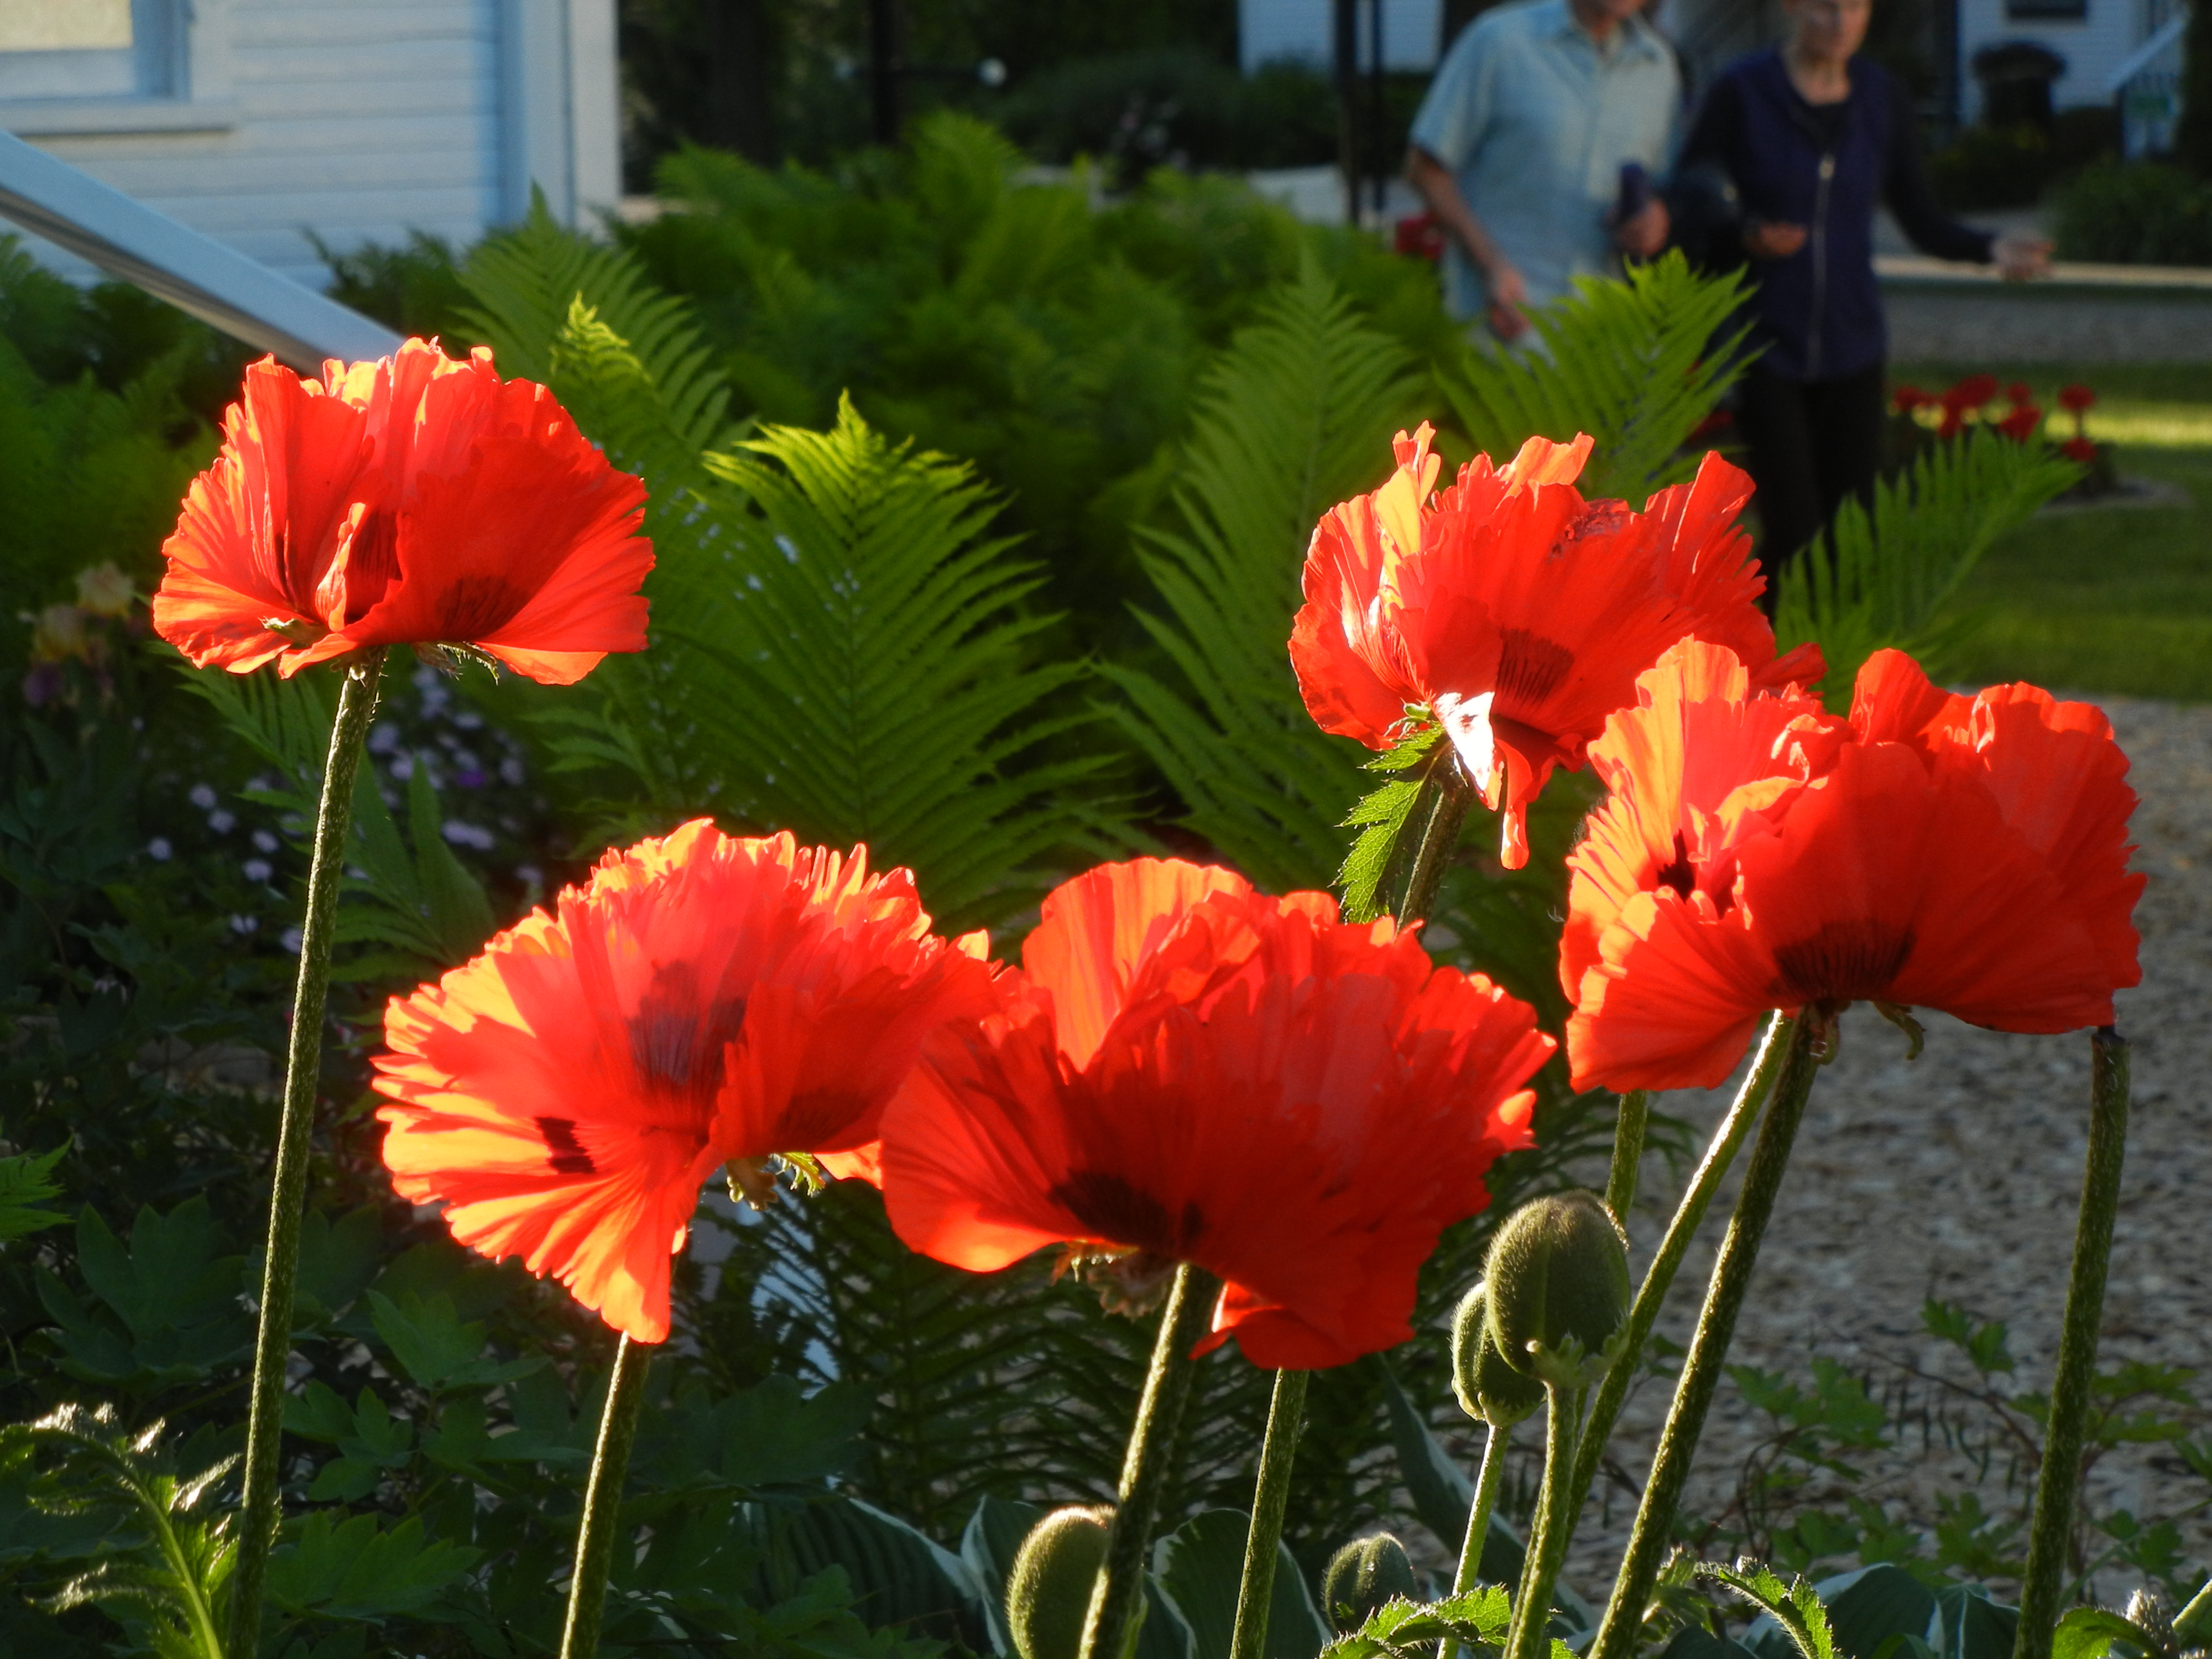
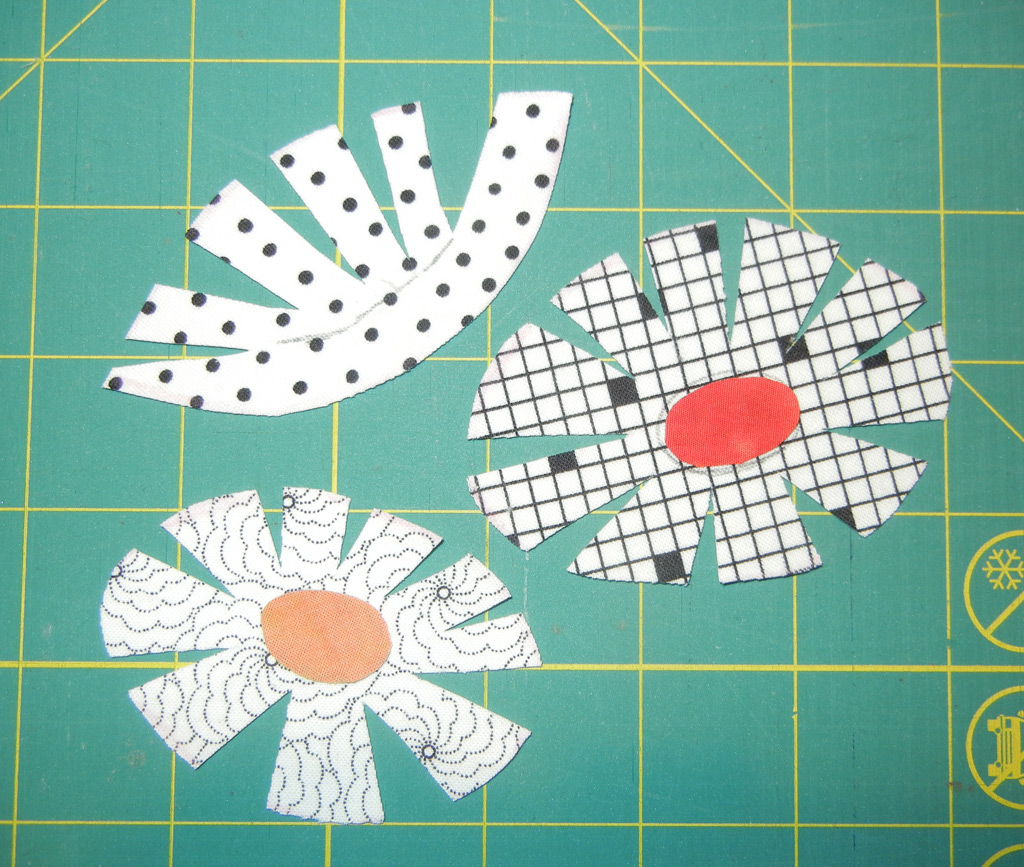
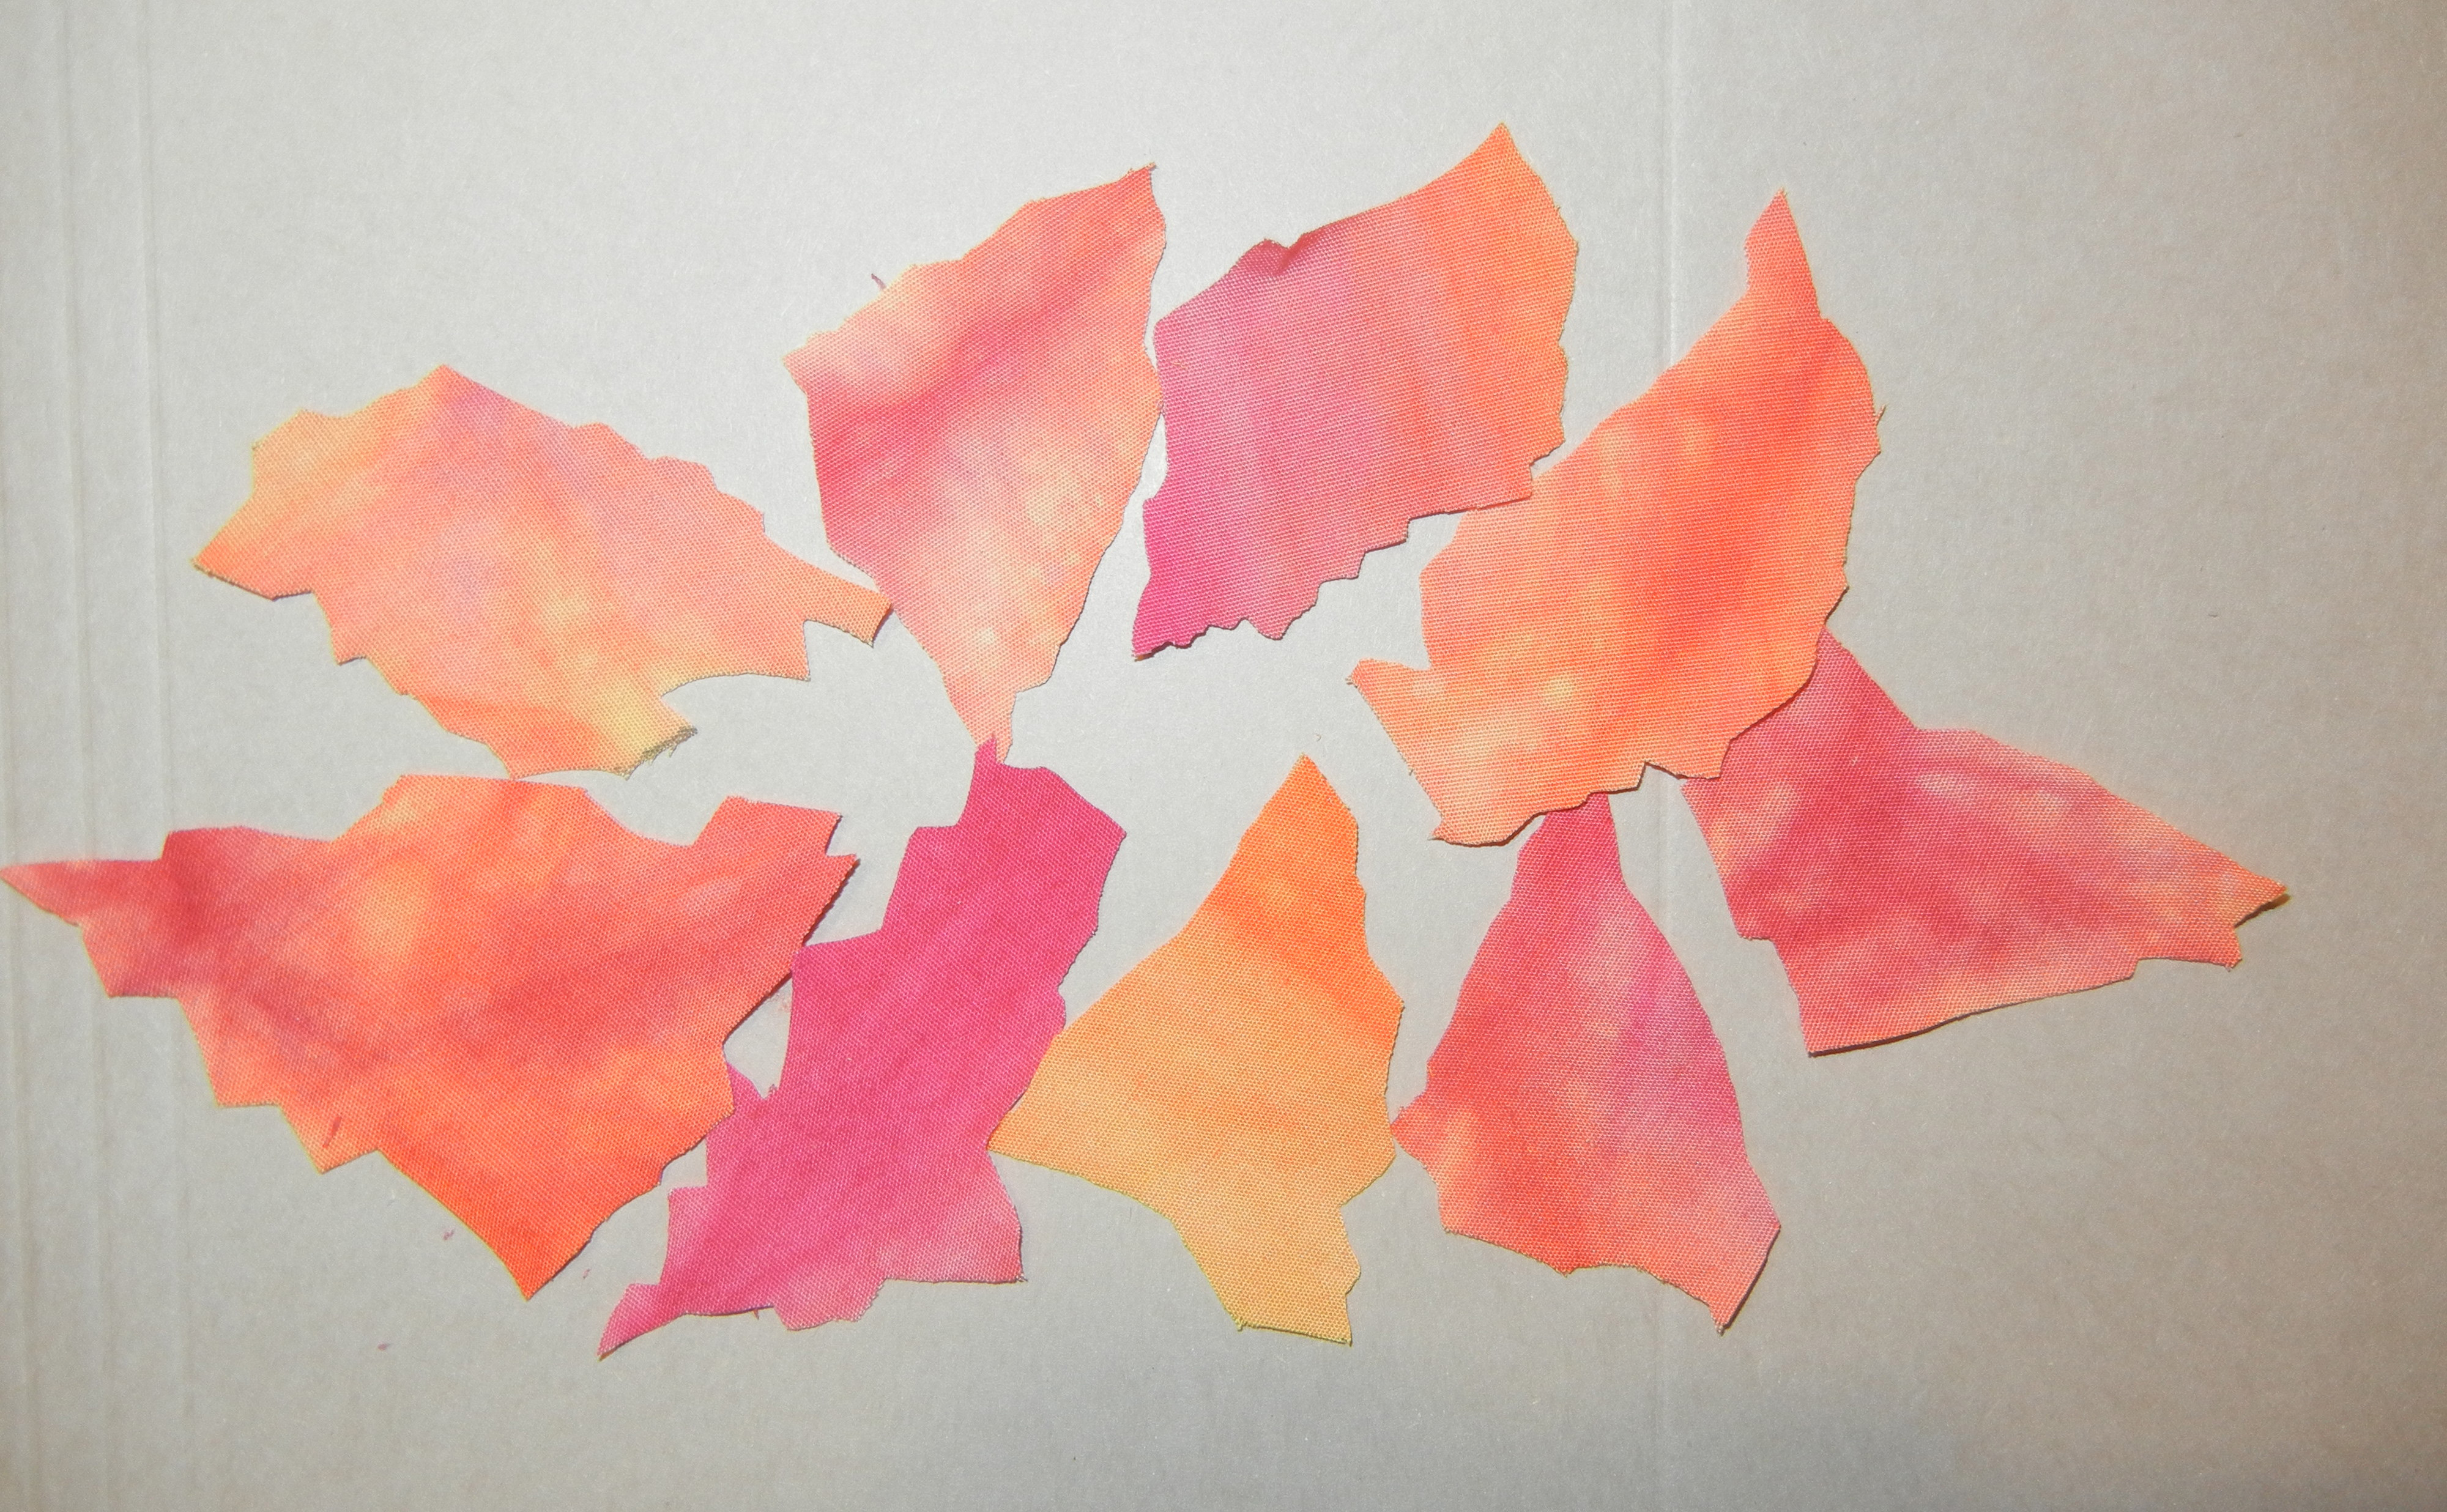
BTW, the flowers shown in this post will be used in the class I’m currently developing.  It’s called “Floral Improv” and it will include several ways to make flowers without a pattern, among other things.

Ellen Lindner
P.S.  See these other quilts where I’ve used dark stitching:
Rhapsody in Blue Berries
Ti Party
White Poppies (This is a glued collage so the black line is actually drawn on.  It serves the same purpose of adding definition.)

Developing a New Class

I’m working on a new class, to be called Floral Improv.  In it, I’ll show several different ways to make flowers without a pattern.

Click any image for a larger view
Floral Improv, a class being developed by Ellen Lindner.  AdventureQuilter.com/blog

Can you tell what type of flower this will become?

Floral Improv, a class being developed by Ellen Lindner.  AdventureQuilter.com/blog
Right, a snap dragon.  If you imagine it turned 90 degrees, you can almost see how it will come together.

Now that I’ve made quite a few flowers, I’m deciding on the best background color.

Floral Improv, a class being developed by Ellen Lindner.  AdventureQuilter.com/blog

Hmm.  Both blue and black seem to work well.

Ellen Lindner

Slavery in Louisiana

While touring Oak Alley, we also got to see replicas of slave cabins and to learn a little bit about the life of slaves.

I didn’t realize that a hierarchy existed among the slaves.  House slaves had better clothing, which I expected, but they also had better quarters.  This photo shows the bed included in the quarters of a house slave.  Field slaves did not have this luxury and slept on some sort of pallet.

Learning about slavery.  AdventureQuilter.com/blog

Of even more value to their owners were the craftsmen slaves:  blacksmiths, masons, ferriers, and more.  These brought the highest prices.

It was very sobering to see a wall with the names of all the slaves ever to live at Oak Alley.

Learning about slavery.  AdventureQuilter.com/blog

The list was actually pretty short because the plantation wasn’t established until around 1845.  Still, there were 57 people, known only by their first names, who suffered and served there.

Learning about slavery.  AdventureQuilter.com/blog

On a slightly happier note, the exhibit also explained a little about the lives of former slaves immediately after they were freed.  Things changed very slowly.

In Louisiana free women who were former slaves were required to wear tignons, a sort of wrapped head dress.  Although this was meant to be an insult to these women, they made it their own by adding feathers and other embellishments.

I found all of this very interesting.  Growing up in the south, the lives of the slaves and the conditions of slavery were somewhat glossed over in school.  I was glad to learn a little more.

Ellen Lindner

A Happy Little Card

My sister has just retired and I made her a pretty little card as part of the celebration.  I had some painted heavy paper from an earlier play session, and some vintage lace.  Little cuts from the lace created a simple garden scene.

Click any image for a larger view
A card made by Ellen Lindner.  AdventureQuilter.com/blog
The card needed a little color, which I added with blue French knots.

I covered the knots and threads on the inside with a plain piece of paper.  And a decorative piece on the message side.

A card made by Ellen Lindner.  AdventureQuilter.com/blog

I was in a hurry when I made the envelope, so I didn’t measure anything.  I just folded paper around the card to create reference lines and went from there.  I think it turned out pretty well.  And I like the contrasting strip used to create a spot for tucking the top.

A card and envelope made by Ellen Lindner.  AdventureQuilter.com/blog


I was pretty rushed when I did the front of the envelope and I think it shows.  But, my sister will love it anyway!

A card and envelope made by Ellen Lindner.  AdventureQuilter.com/blog

Special cards like this make a nice gift when you’re invited to a party that doesn’t allow gifts.

Need a special envelope?  Check this out.

Ellen Lindner

THAT Plantation

If you’ve ever googled “southern plantation” you’ve probably seen an image of Oak Alley.  It is the quintessential plantation with, as the name implies, a long approach path with 300 year old oaks lining both sides.  It’s all quite majestic!

Here’s the distant view, in which the oaks nearly obliterate the view of the  home.  This would be the view that greeted you if you came to visit by boat in the mid-1800s.

Click on any image for a larger viewOak Alley plantation, AdventureQuilter.com/blog
Aren’t those oaks magnificent?

Moving closer, you can finally see the house itself.  Like other southern Louisiana homes of the time, it has very tall windows to allow for breezes on hot summer days.  And the wrap-around porches allow the windows to stay open during rain showers.

Oak Alley plantation, AdventureQuilter.com/blog

This is the view looking from the manor’s balcony back toward the Mississippi river.  It’s out of sight, however, just past the grassy levee.

Oak Alley plantation, AdventureQuilter.com/blog

Built in the mid-1800s, Oak Alley is still in very good condition.

On our visit, the dining room was set for about 20 people.

Oak Alley plantation, AdventureQuilter.com/blog

Our guide pointed out that the table and chairs are lower than modern day ones.  This reflects the average heights of the day:  under 5′ for women, and 5’4″ for men.

Oak Alley plantation, AdventureQuilter.com/blog

Dealing with the summer heat was always an issue and this room had a simple but effective tool:  a ceiling fan.

Oak Alley plantation, AdventureQuilter.com/blog

A rope led from the fan across the ceiling and then down to a chair in the corner.  A slave child would have been given the task of pulling on the rope in order to keep the fan moving.  This not only kept the diners cool, but it also kept the flies and other insects from landing.

More photos in the next post.

Ellen Lindner