

Dying with Sharpies and Alcohol: Part Two
In Part One I showed you how to mark large irregular circle shapes. Now, let’s learn how to make smaller flowers.
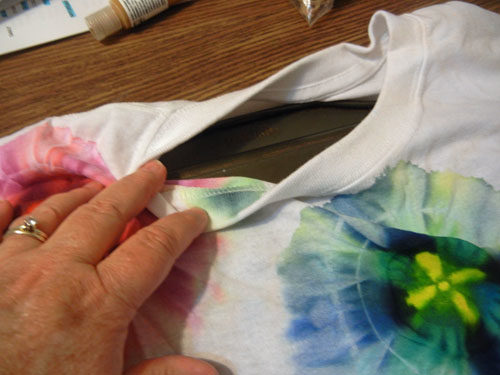
I did this sample on a t-shirt and I wanted the design to be on the front only. Therefore, I put a baking sheet inside the shirt.
Draw 5 small dots with a Sharpie.
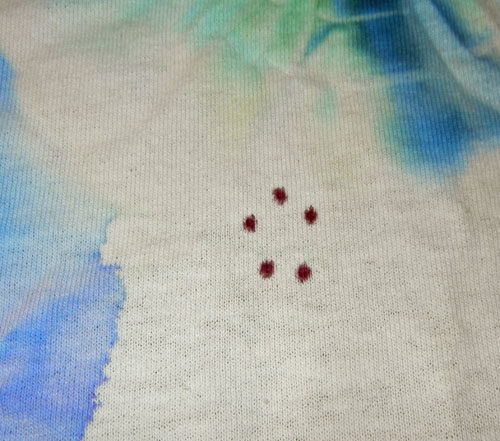
Add a few drops of alcohol in the center of the dots. It will wick outward, taking the pigment with it.
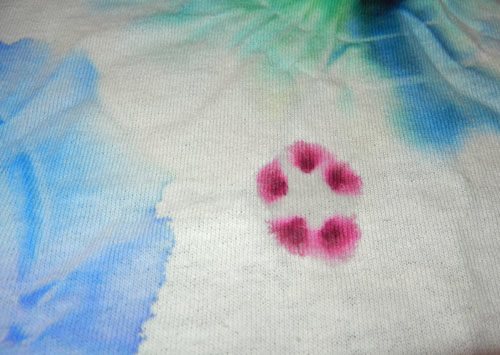
Add more if additional bleeding is desired, but be sure to add it only in the center. Eventually, the color will travel far enough to create a petal effect. Some colors change as they become diluted.
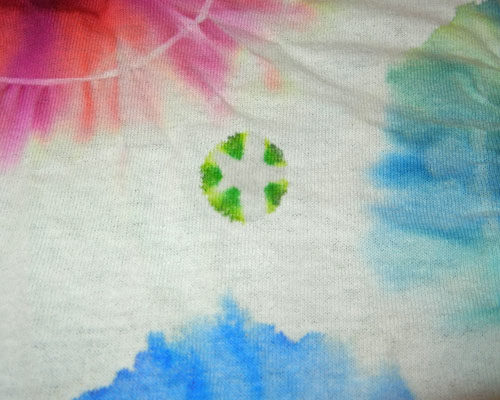
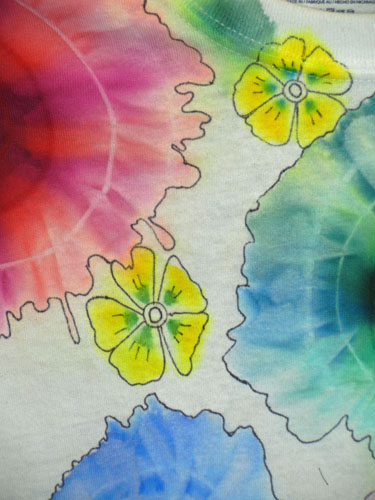
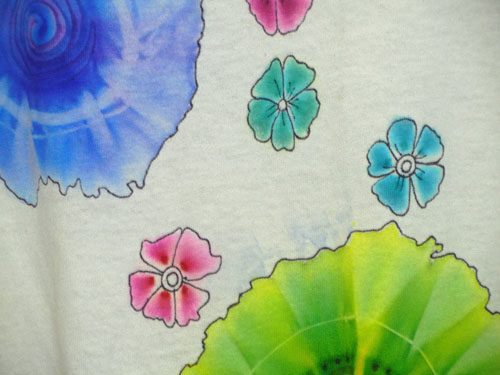
These yellow-green dots turned into the yellow flowers you see below.

Once dry, details can be added with a thin Sharpie, if desired.
When dry, heat set in the dryer for 20 minutes and you’re done!
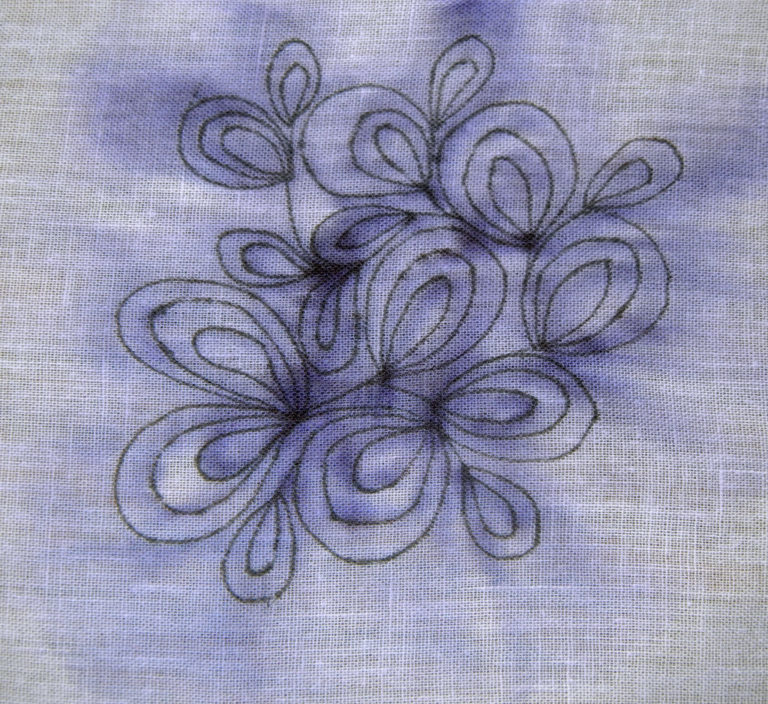
You can also make all-over delicate designs. The examples below were done with a black marker (yes, black) which turned purple and bled when lightly sprayed. It’s an interesting effect.

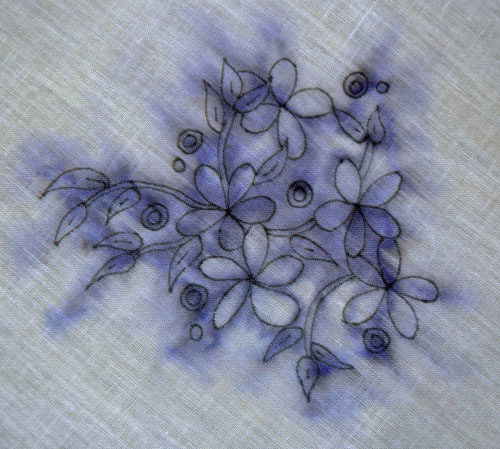
I’ve shown you these methods done on cotton fabric. They can also be used on silk, but the color will bleed MUCH more, giving a lovely water color effect.
I’m sure there are many more things that can be done with this concept. The basic principle is this: alcohol will wick into dry areas, taking the color with it. You can use this knowledge to control the movement of color: add alcohol on the left of the pigment if you want the color to move right, and vice versa. Or, of course, you can spray the entire design for overall bleeding.
Have fun playing!
Ellen Lindner
I know you say to heat set for 20 minutes in the dryer. When you wash the shirt, does it fade or do the colors stay true?
I haven’t washed it yet, Theresa. I’ll try to remember to post about it when I do. Actually, my t-shirt was a poor fit, so maybe I’ll tear it up in order to do some heating and washing experiments.
Ok, thanks for the info😊
I LOVE this idea, I’m sure I must have some scraps of fabric to play with before committing. Would ironing set the colors too, or is it best to toss in a dryer for the 20 minutes?
Hi Lisa, This is a lot of fun. I think ironing is actually recommended. I’m just lazy and let the dryer do the work. Your choice.
So, how did the heating and washing experiments turn out?
The colors don’t wash out but they did fade some.
Thanks! Good to know.
Another way of setting the ink is to iron both sides on the highest setting for a total of ten minutes. Then put it in the dryer!
Good to know, Chris. Thanks.
This is best way for sure… dryer alone dies not work well