

Poppy Stems
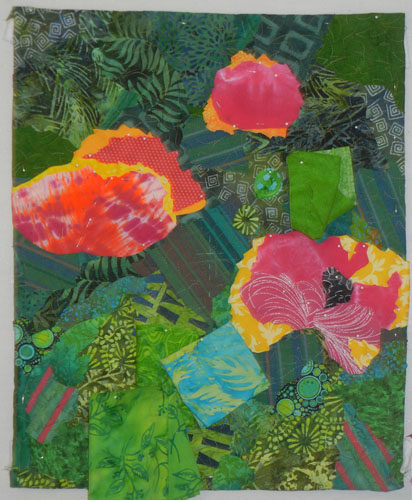
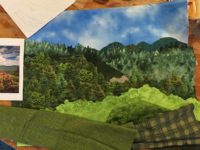
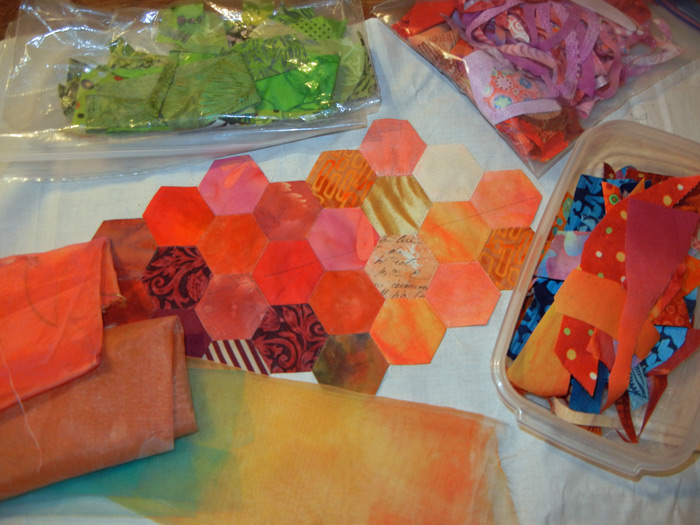
After completing the flowers in my poppy project, it was time to audition fabrics for stems and buds.
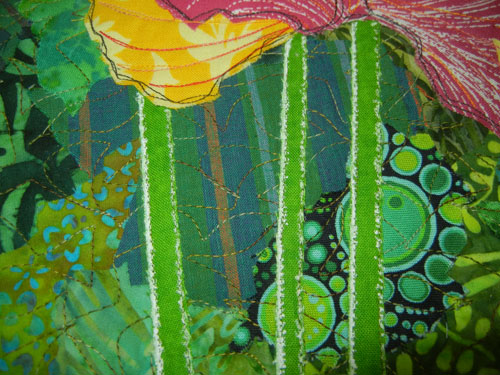
I also played around with how to best achieve the back lighting on the stems. My plan was to use a white paint pen, in a sort of dotted (fuzzy) effect.
That seems to be the right direction, but I’ll probably need to kick it up a notch.
(Did you notice that most of the background pins have disappeared? That’s because I quilted the background before adding the flowers. Much easier stitching that way.)
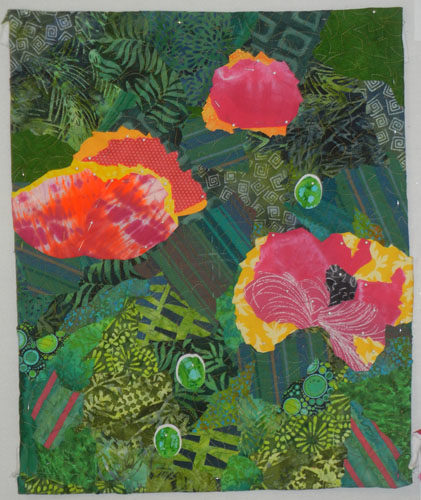
To represent the back lighting on the buds I backed each of them with white fabric, trimming it closely to give a skinny halo effect.
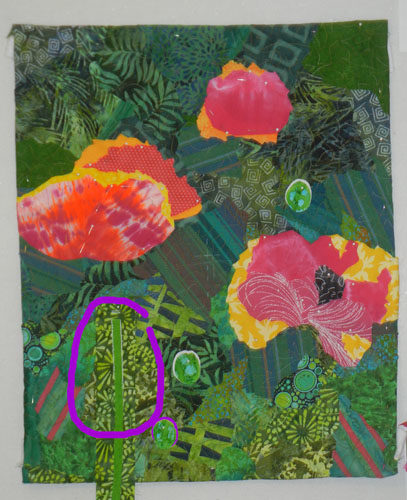
On to the stems. They didn’t show up that well, but I knew they’d show up more once I added the back lighting effect. But wait, are they too skinny?
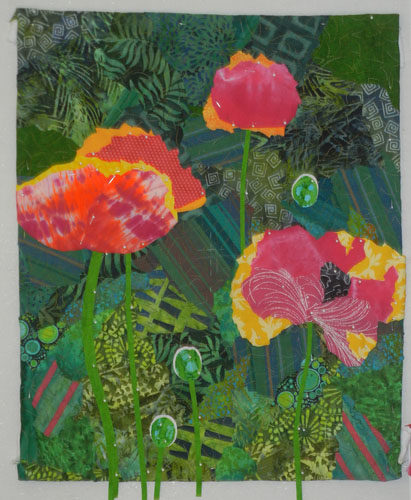
I made one (left) stem fatter, above, to test stem widths. Yep, I needed to bulk them up. Below, they’ve been reworked.
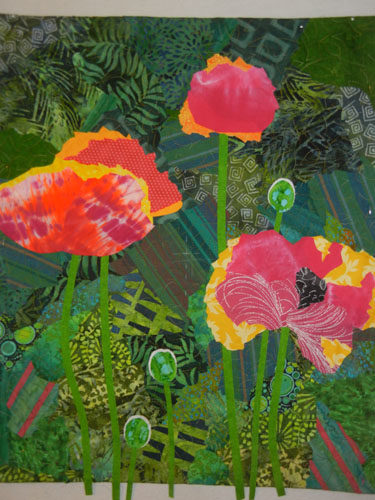
Next, came the white paint. Slightly intimidating. I started with just a little, but it didn’t show up that well, so I kept adding. I ended up here. It looks kinda heavy and messy up close, but I think it works correctly from a distance.

Next comes flower stitching.
*I just started an online version of this class last week. We’re just finishing lesson one so it’s easy to catch up, if you’re interested. Full details here.
Ellen Lindner


Love the look. Poppies are my favorites.
Thanks, Barb. It was a really fun project.
I love the free-form and looseness of your poppy project. The white paint was a bold move, but worked effectively. Nice!
Yes, Martha: I had to hold my mouth just right when applying that white paint!
Looks like white yarn couched along those stems, rather than white paint. Either way, it represents the light beautifully.
Thanks, Eleanor. I’m happy with it.