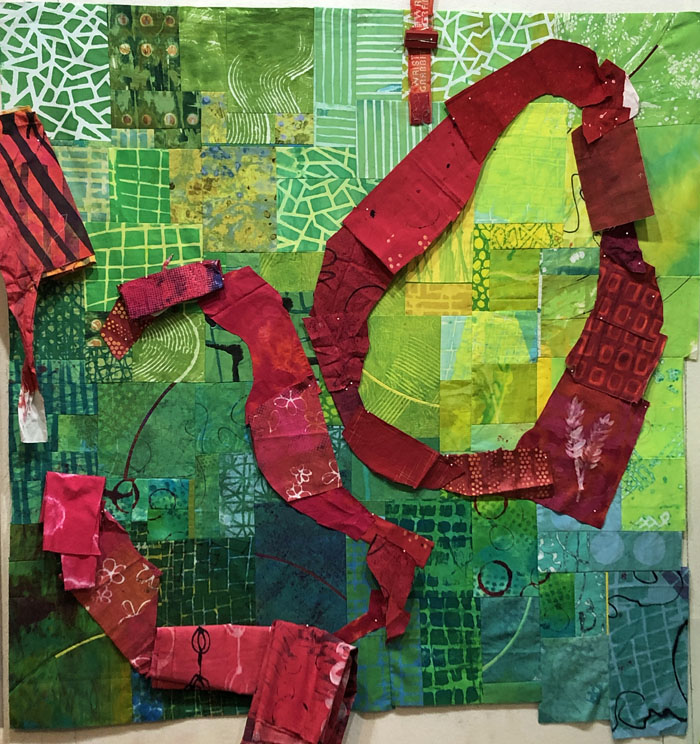
Adding Interest to a Background
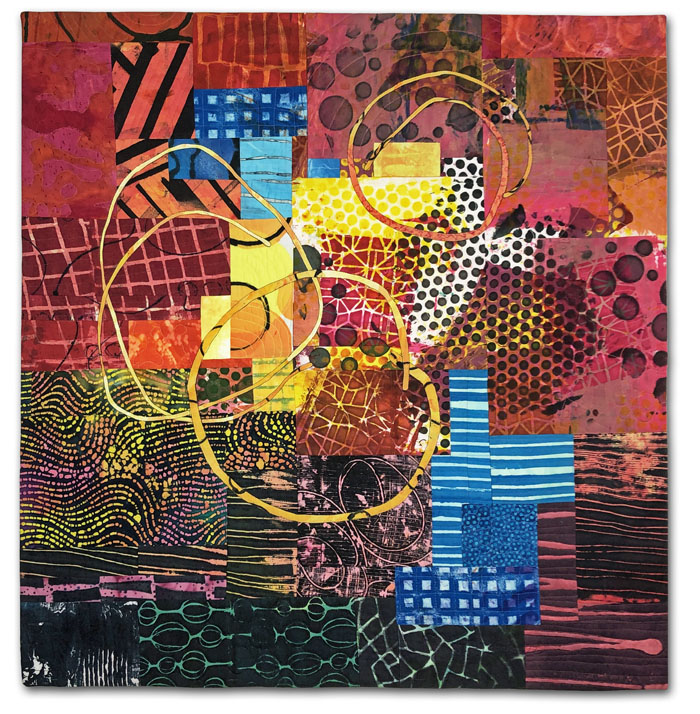
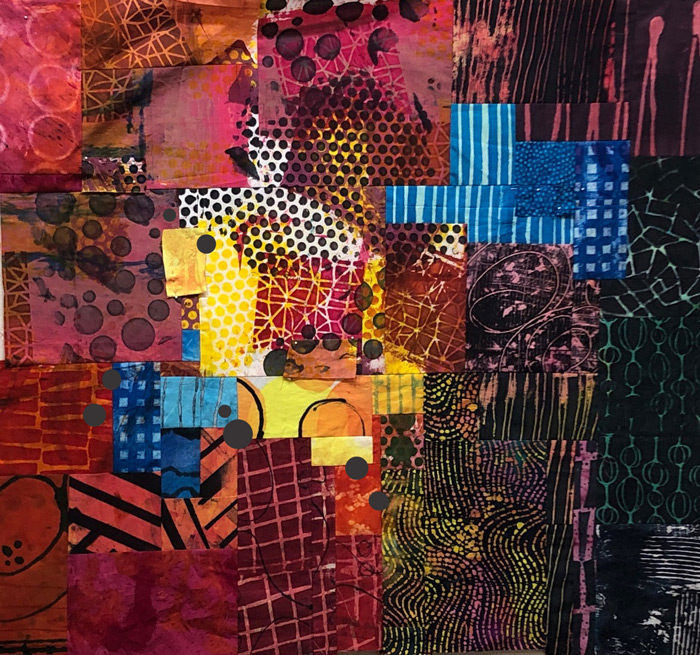
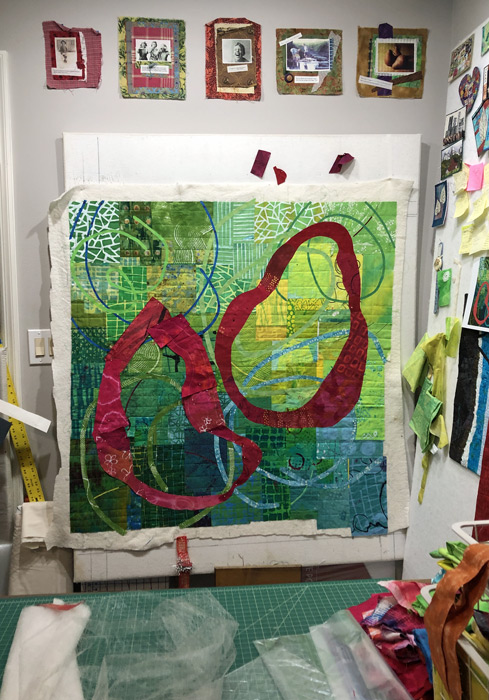
My current quilt is progressing along nicely, (but slowly.) I spent a LOT of time piecing the background and was quite happy with it. But, I wanted to tie the background of angular shapes into the design more. Since I planned to use large circular shapes in the foreground I thought skinny circles in the…