
Perfectly Flat Quilts
Blocking Part Two: Tricky Scenarios
Part One

Part One covered the basics of blocking a quilt. But, some quilts require special handling. For instance, if the quilt has a border, it's imperative that the line between the interior and the border be straight. In this case, blocking should be done before the quilt is even trimmed.
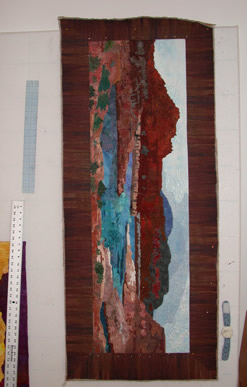
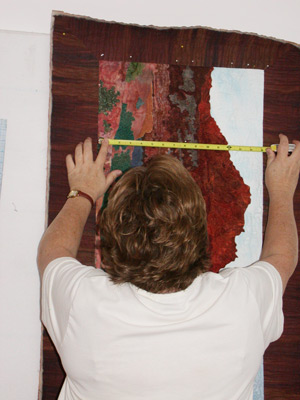
Such was the case with the quilt at right. I blocked it before trimming or binding it, only paying attention to the border line. To do so, I used a long metal ruler and did a lot of measuring.

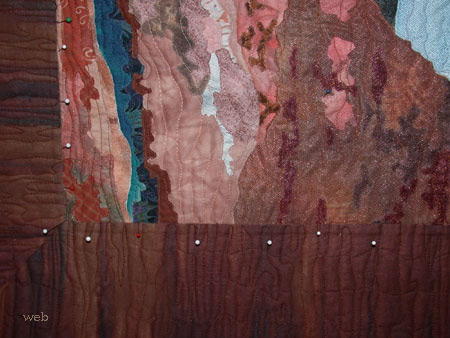
I inserted pins exactly at the edge of the border and blocked it in the normal fashion.

After removing the pins, I found that the borders themselves didn't need additional blocking. However, this may not always be the case.
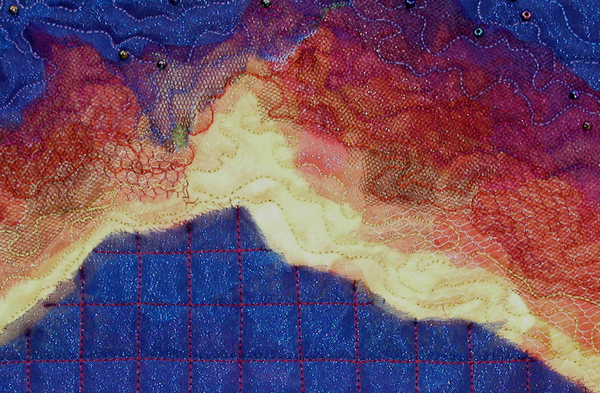
Another tricky scenario is the use of materials that can't take the heat of typical blocking. An example is synthetic sheers like those used on the quilt below. That's okay. Just use the heat that they can take. Since I use cotton batting and backing, I'll also give these quilts a little more heat from the back, after the initial blocking is complete.

If beads or other embellishments get in the way of the iron, just go around them. No problem.
In all the years I've been blocking my quilts, I've only had one for which that wasn't enough. In that case, I added buried running stitches and sort of gathered up the quilt. I learned about this technique from a tutorial on Alison Schwabe's blog.
I know some art quilters don't mind their quilts waving and curling. But, I want mine to be perfectly flat. If you do, too, try these techniques.
If you found this information useful, you may be interested in my other free articles, online classes, and e-books. You'll find a full directory here.
©2007-2012 Ellen
Lindner
|