
Machine Quilting:
Easier Options
©2006
Ellen Lindner
Have
you taken a machine quilting class, but still find it humbling? If so, join the crowd. EVERYONE finds it
difficult, at first! With
practice, you’ll notice great
improvements. In
the meantime, you can
use these quilting patterns and techniques to make things easier.
Hide imperfections
with these
tricks:
-
Match
your top thread to the fabric on which you’re stitching.
-
Choose
a bobbin thread that is similar to the top thread, at least in value
(light/dark.)
-
Consider
using a bobbin thread that is designed for this purpose. These threads are thinner,
and less likely to
create big knots.
-
Choose
a backing fabric that’s a print.
It will
hide a lot!
Make straight lines
easier
with these tips:
-
Use
a walking foot. (You
don’t have to do
everything free motion, right?)
-
If
stitching straight lines free motion, turn the quilt so
you’re moving it
forward and back, rather than side to side.
This motion is much easier to control.
-
For
better visibility, stitch forward only.
Yes, you’ll need to start a new line each time,
but at least you’ll be
able to see where you’re headed.
-
AVOID
any attempt at very precise parallel lines!
Instead make them loose and wavy.
This is much easier, but it still gives the impression of
lines
traveling in the same direction.
|
Hardest |
Easier |
Easiest |
|
|
|
|
The
problem with stippling –
and what to do about it:
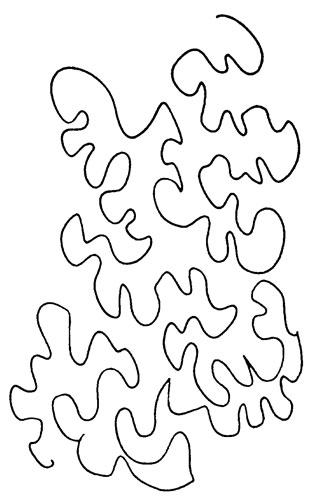
Stippling
is great for covering
background areas, and is, therefore, often one of the first patterns
taught to
beginning machine quilters. However,
I
just don’t think it’s that easy.
The
difficulty comes from two things: reversing
course, and avoiding crossing
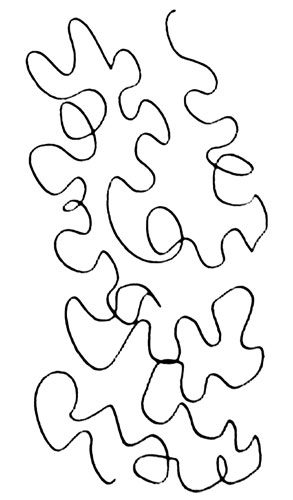
lines. So, why not choose an easier variation?
|
Hardest: Stippling |
Easier:
“Worms” |
Easiest: Loops |
Also Easy: |
 |
 |
|
|
Pattern
size &
complexity:
No
matter what pattern you
choose, start out stitching it fairly large.
It’s easier to stitch 3” loops than
half inch ones. If
you think you need more coverage, go back
with an overlapping round of 3” loops.
Remember, too, to avoid very precise patterns, such as
designs that
require matching a previously stitched line.
“Practice”
on the real thing:
Don’t
feel like you have to
limit your machine quilting to samples.
Go ahead and use it on an actual quilt.
You’ve got enough skill to try simple patterns,
like those above. As
you stitch them, you’ll be improving your
coordination and dexterity. This
will be
evident, even as you undertake entirely new, more difficult, designs.
Speed
In
order to avoid super large
stitches, you’ll find that you generally need to run your
machine much faster
than usual. However,
you may also find
yourself in some tight spots, where accuracy is important. In those situations, go
ahead and slow down
to the “plunk-plunk-plunk” speed.
For
starters, run both the machine and your hands at a speed
that’s comfortable for
you. IN MY OPINION,
as long as your
stitching is structurally sound, you don’t need to worry too
much about stitch
length. (Many
quilters will disagree
with that last statement, so decide for yourself.
It’s YOUR quilt.
Do what YOU want.)
If
you run into some really
tight spots, don’t be afraid to mix things up.
Consider hand quilting isolated motifs, or raising the
feed
dogs, and
steering through that area.
©2007-2012 Ellen
Lindner
|