 When shipping a quilt, whether to an exhibit or to a buyer, I like it to arrive looking as good as possible. That means free from damage and, as much as possible, free from wrinkles. Which means I pay attention to how I pack it.
Packing a Quilt for Shipping
 When shipping a quilt, whether to an exhibit or to a buyer, I like it to arrive looking as good as possible. That means free from damage and, as much as possible, free from wrinkles. Which means I pay attention to how I pack it.
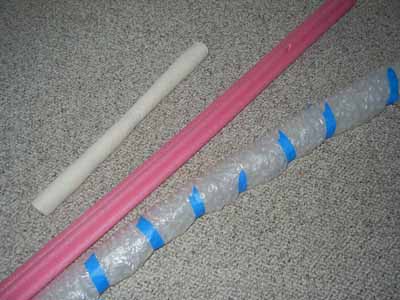
The first thing I need is something lightweight that I can roll the quilt around. This needs to be at least as long as the width of the quilt. Potential candidates include swimming "noodles," rolls of bubble wrap, or rolls of batting covered with muslin..
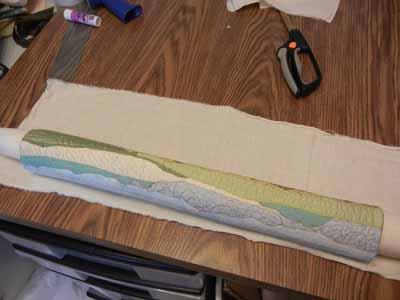
Next, I roll the quilt, with the front side facing out. (This puts the tightest wrinkles on the back of the quilt.) Starting at the bottom puts the tightest curl there, where it can most easily fall out when hung.
(In this example, I'm packing a very small quilt, only 20" wide. It's rolled around a tube of batting that's been covered with muslin.)
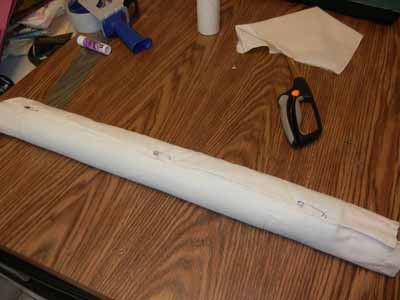
After rolling, I add a piece of muslin around the quilt. This protects it and gives me something to pin into. In the photo at right, the pins go through only to the muslin below. Not into the quilt!
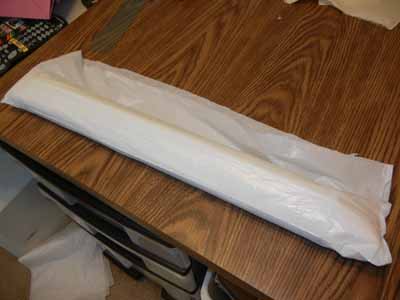
The next layer of protection is a plastic bag. It can be rather tricky to find a bag big enough for most quilts, but plastic garbage bags can often be joined with packing tape for this purpose. For this little example quilt, a trimmed down garbage bag did the trick nicely.
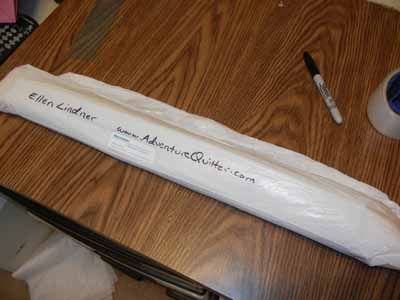
The plastic bag needs to be secured well enough to be water tight. However, I don't recommend snugging it up too tightly around the quilt. That just invites damage to the quilt when the bag is cut open. Instead, I leave excess on one side and tape it shut with packing tape. (It's hard to see in the photo at right, but the excess flap of plastic has been well sealed.)
This is a good time to add some contact info to the bag, as well.
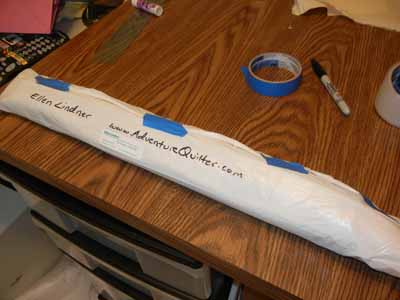
Next, I fold the excess flap around the quilt, securing it in a few spots with tape. This makes it obvious to the unpacker to start here.
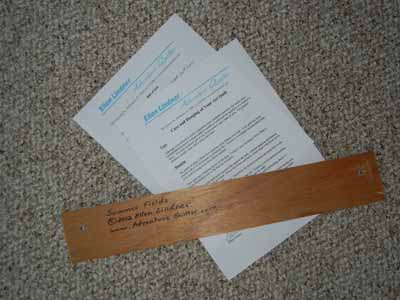
Now, it's time to consider what other things might need to be shipped with the quilt. Maybe exhibit paper work. Or, in the case of this quilt going to a buyer, a hanging slat, bill of sale, and hanging and care instructions.
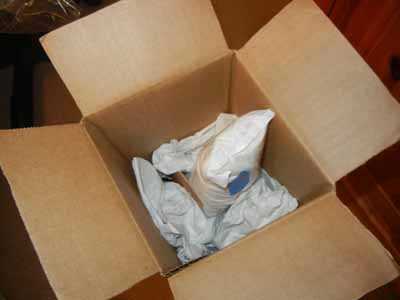
Finally, I'm ready for a box. I buy long skinny ones online, in two lengths: 24" and 48".
At left, the quilt and other items are packed in the box and it's almost ready to be closed. I've added crumpled paper at the bottom, and around the quilt to hold it centered. More paper will go on top before closing. The paper on the ends is important to protect the quilt when the box is opened.
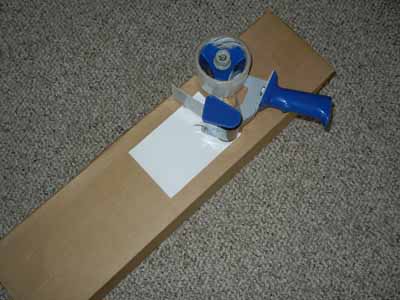
All that's left is a label and the actual shipping. I always put packing tape over the label, since I'm never sure the ink will hold up to moisture.
I've used USPS, UPS, and Fed Ex for shipping. They all have their pros and cons. USPS is by far the cheapest, but it's also the least secure. And their insurance is sorta pricey. UPS and Fed Ex are very similar. I generally use UPS out of habit, but many quilters prefer Fed Ex. It's best to declare the contents as linens. (Apparently the risk of theft is higher if the shipping label says quilt.)
Insurance is a toss up. You can buy it, but that doesn't mean you'll be compensated for the full amount purchased. The shipper will require you to prove the value, so unless you have an appraisal, you may be out of luck.
I'd love to hear your packing tips. If you have some to add, please comment on this blog post.
Source for boxes: www.uline.com (Link to 48 x 6 x 6 size) Warning: you have to buy these in quantities of 25, so you might want to share them with your shipping buddies.
If you found this information useful, you may be interested in my other free articles, online classes, and e-books. You'll find a full directory here.
©2012 Ellen
Lindner
|