More Over Dyeing
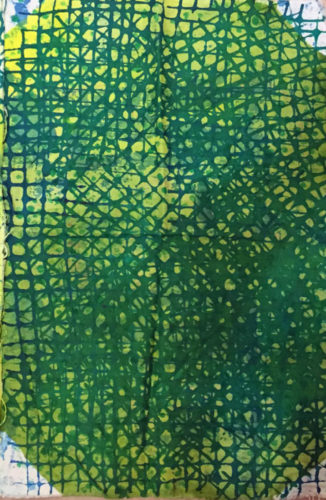
Now that I’ve started using those new stencils I can show you my results. I started out by over dyeing some of the duds from my previous dyeing session. Like this one. Not horrible, but definitely not exciting either.
I simply over dyed it with the same stencil and roughly the same colors. As you can see, I went wild with the stencil and layered it over and over in different directions. This was an eye-opening moment for me. Who says you can just do one print? This quickly became a favorite technique.
Sorta wish I’d covered the edges better. A flaw I repeated quite often, so something to work on for next time.
Now, what to do with this ugly thing?
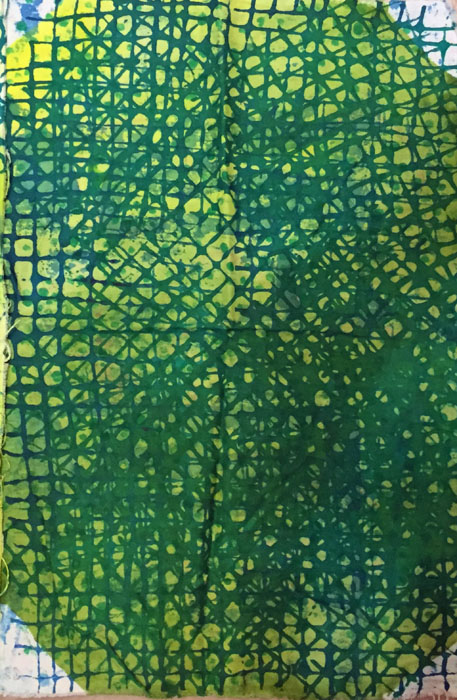
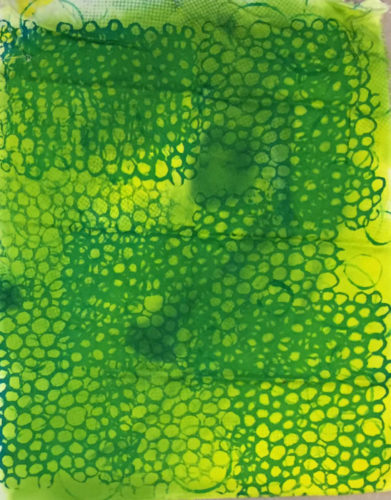
This time I just visualized my starting fabric as the background and, again, I over printed with the same stencil in a variety of directions and mostly one color. This time I realized I didn’t need to keep the density/spacing of the pattern consistent throughout, and I REALLY liked mixing it up. Bam, another favorite procedure right away!
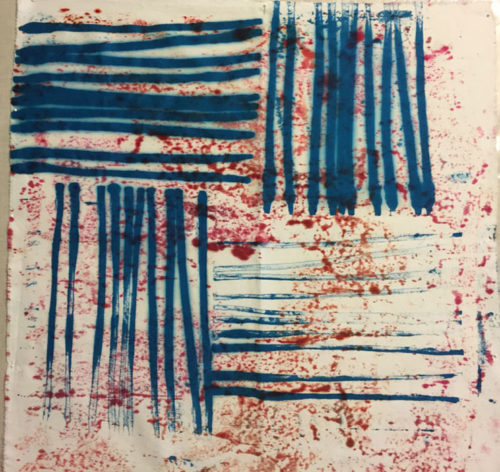
Next came a variation on the theme. The original piece was too basic.
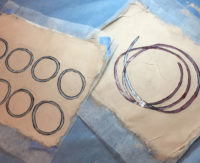
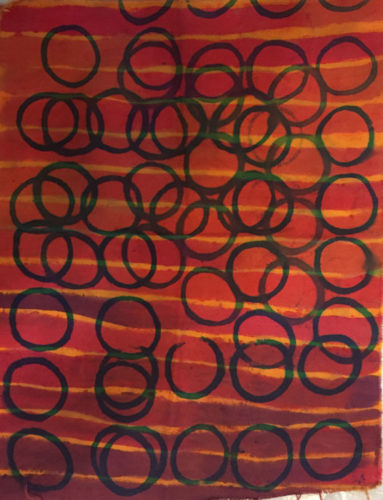
And another, with a little more restraint this time. I actually used blue dye for the circles I added, forgetting that the transparent nature of dye would make them look black. Oh well.
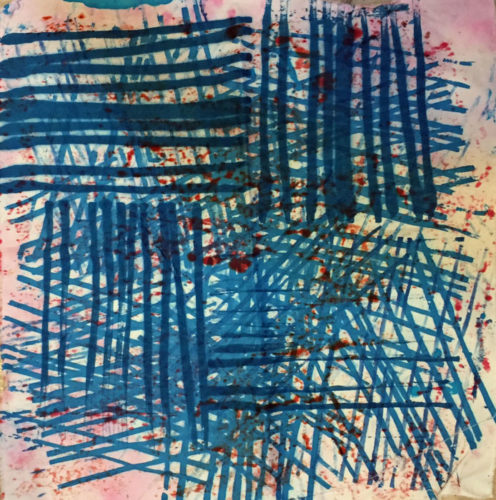
And one more with teal circles. I was pleasantly surprised to see how well they showed up in the blue corner I considered useless. Good to know.
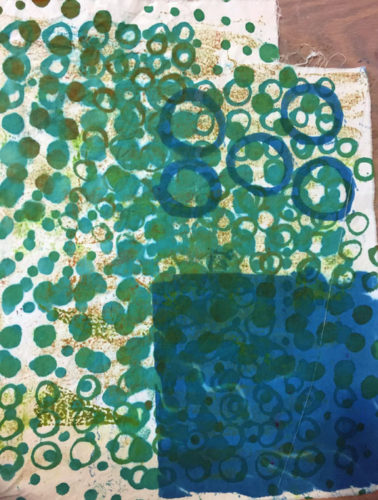
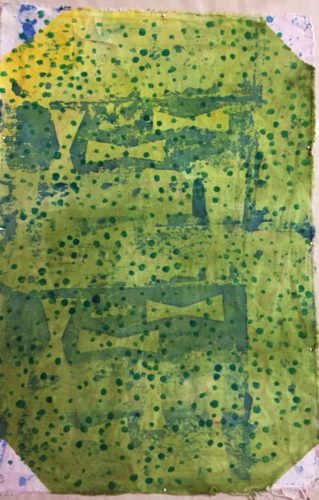
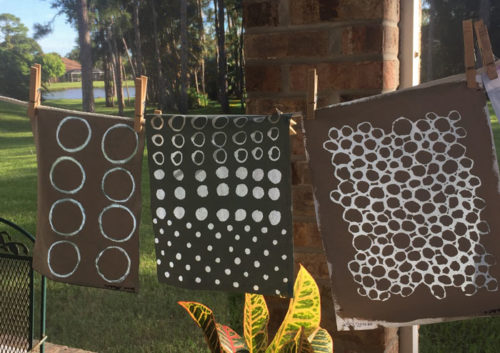
The center stencil, below, is the one I used on the fabric above. Again, you can see that I moved it all around. The far right stencil was used on the basic yellow-green fabric shown as the 5th image. Fun, right?
Even these modest results were exciting, since I was learning so much, and getting usable fabric.
Ellen Lindner