My class, Double Reverse Applique, is the most popular one I teach. And with good reason: the technique is easy and the results are always exciting. I’ve taught it recently in both Boca Raton and Tallahassee, FL.
Clicking on most images will show a larger view
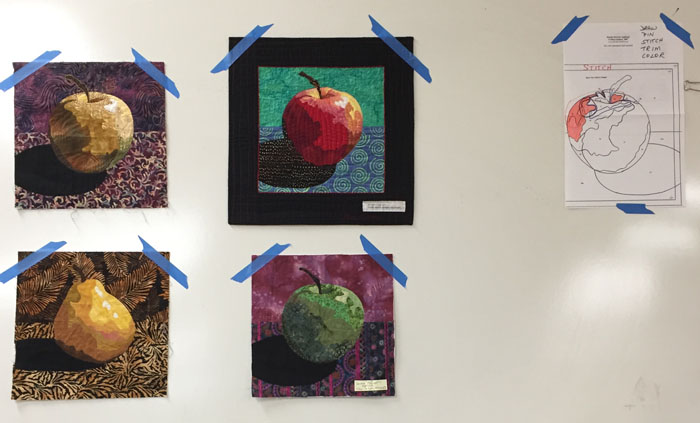
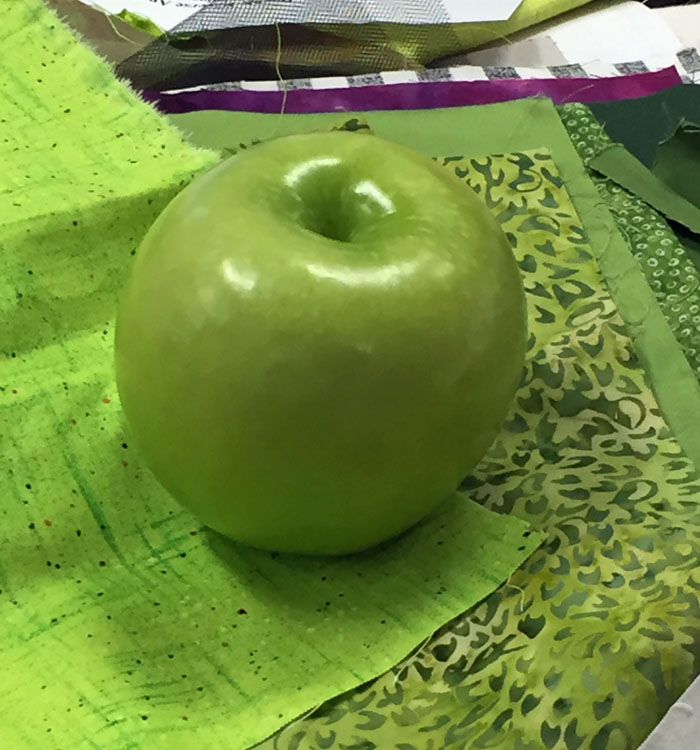
The goal: dramatic apples (and maybe even some pears.)
My samples are shown above.
The Process
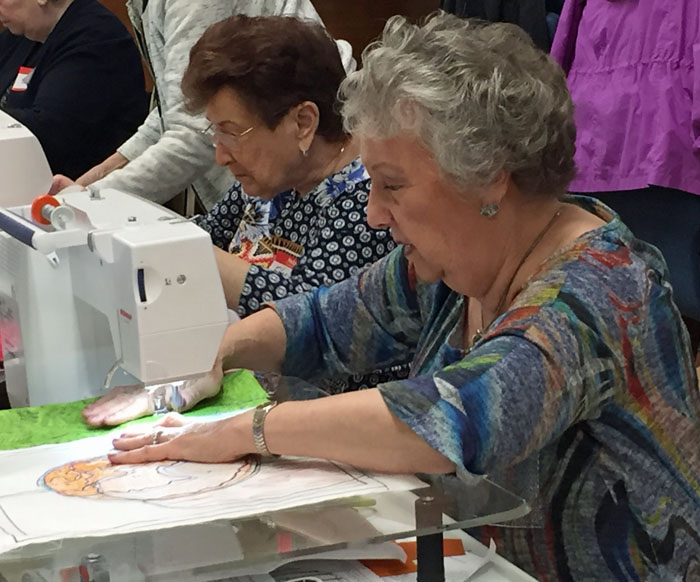
The technique involves two types of reversal. First of all, all the stitching is done from the back.
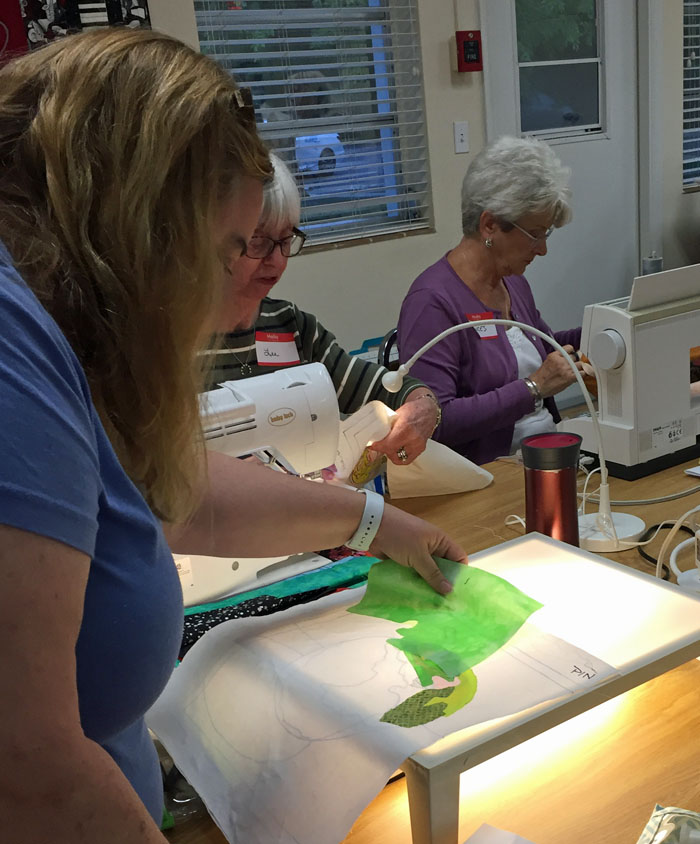
Which involves heavy use of a light box in order to place the fabrics properly on the front.
Excess fabric is trimmed away from the front, like typical Reverse Applique. Slowly, an apple takes shape.
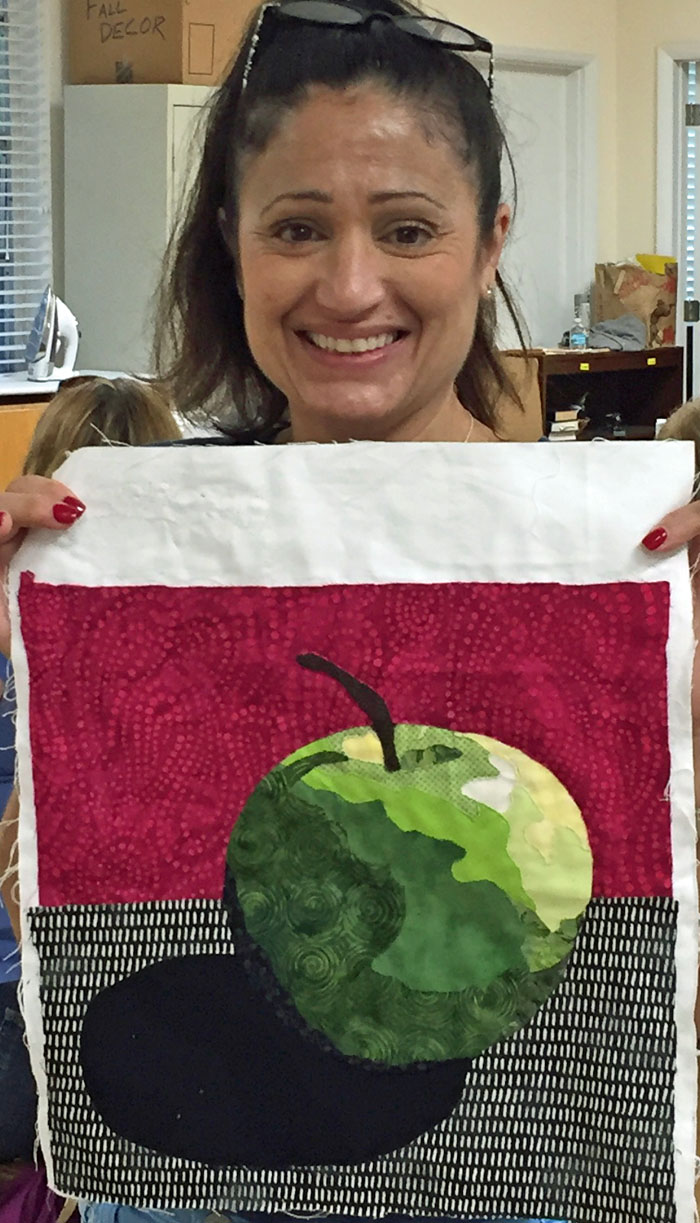
The Boca class was very full so I didn’t have much time for picture snapping. But, I did get this one of Johanna with her apple.
And looky there: “life imitating art.” This was part of a student’s lunch.
The Results
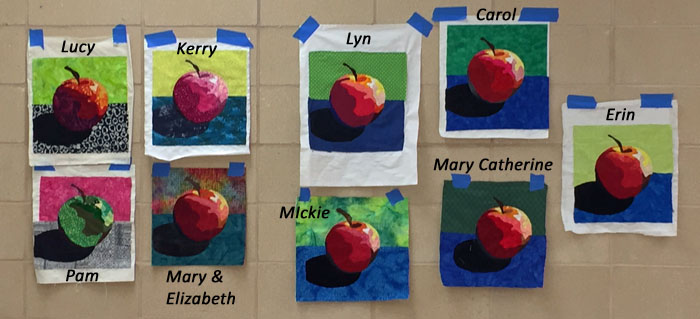
The Tallahassee class was much smaller so I got to take more pictures. Here’s the entire group of 9. Don’t they look great? I love how they always look different from one another.
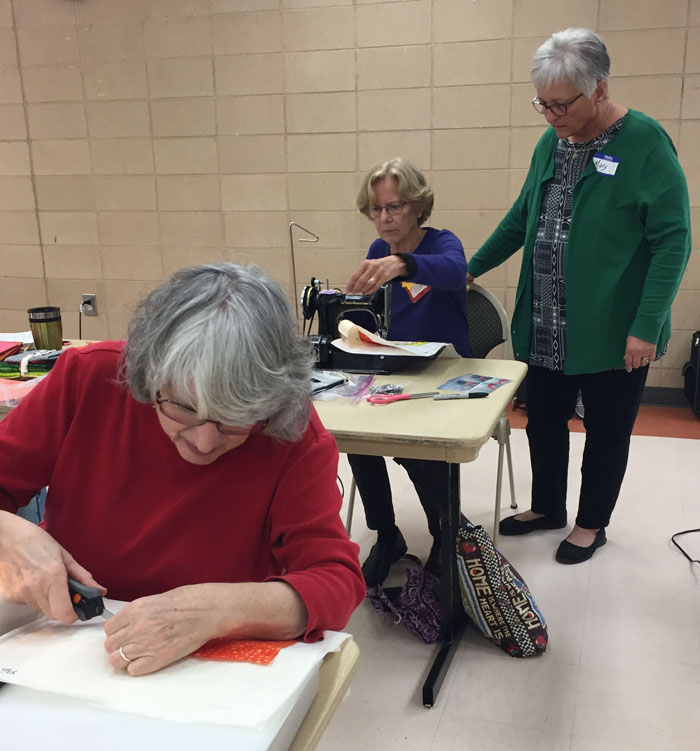
This class had a first for me: two women working together on the same apple. Mary and Elizabeth did a great job of working together and I gave each of them a “cooperation prize:” a postcard. That’s them in the back of the room, while Lucy labors away in the foreground.
Elizabeth and Mary plan to also make the pear together so they’ll each get to keep one piece of fruit.
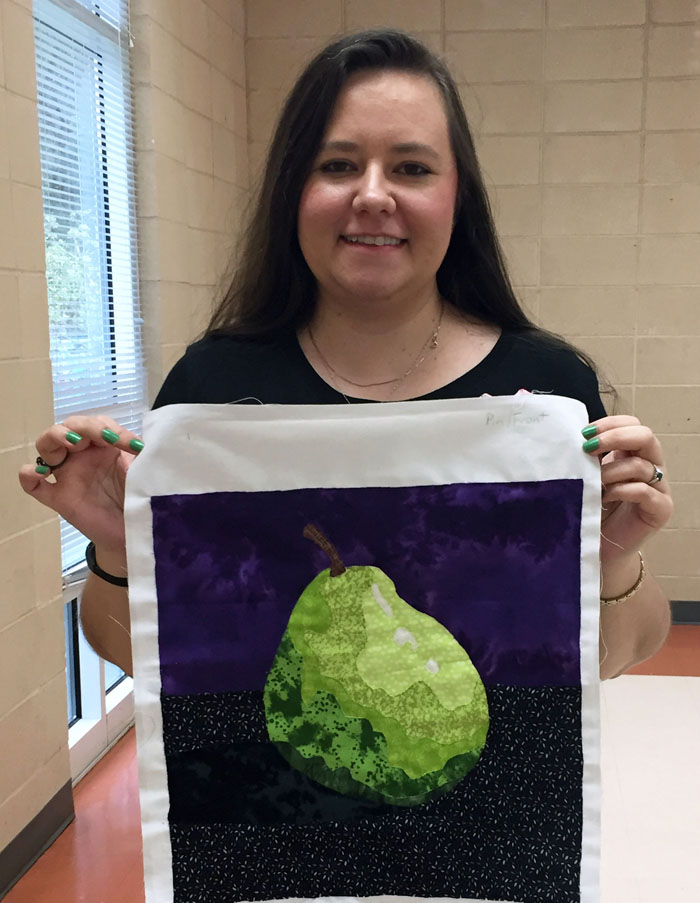
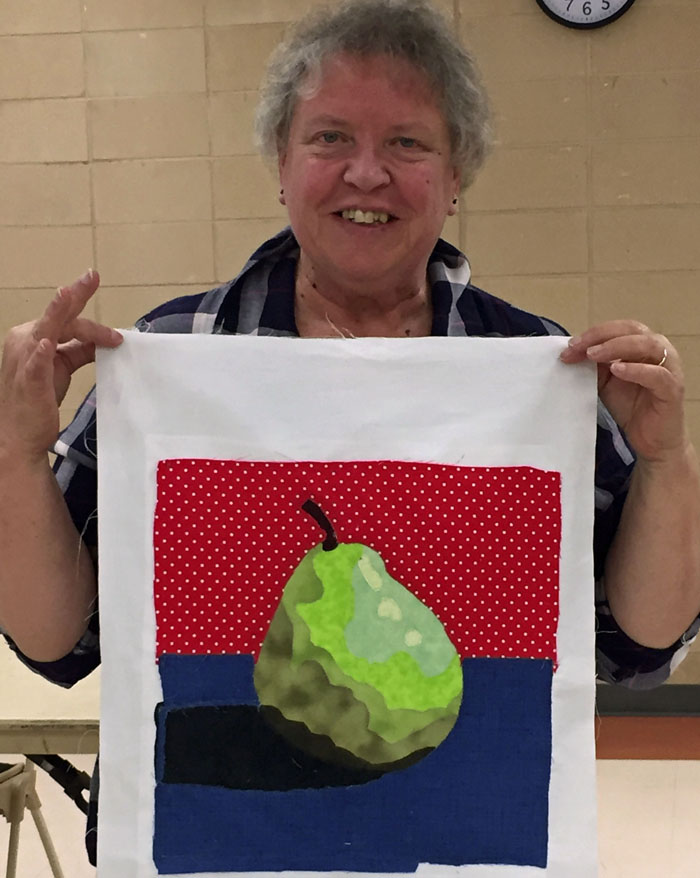
Several students had time to make a pear, too. Here’s Kerry with hers.
And Lyn.
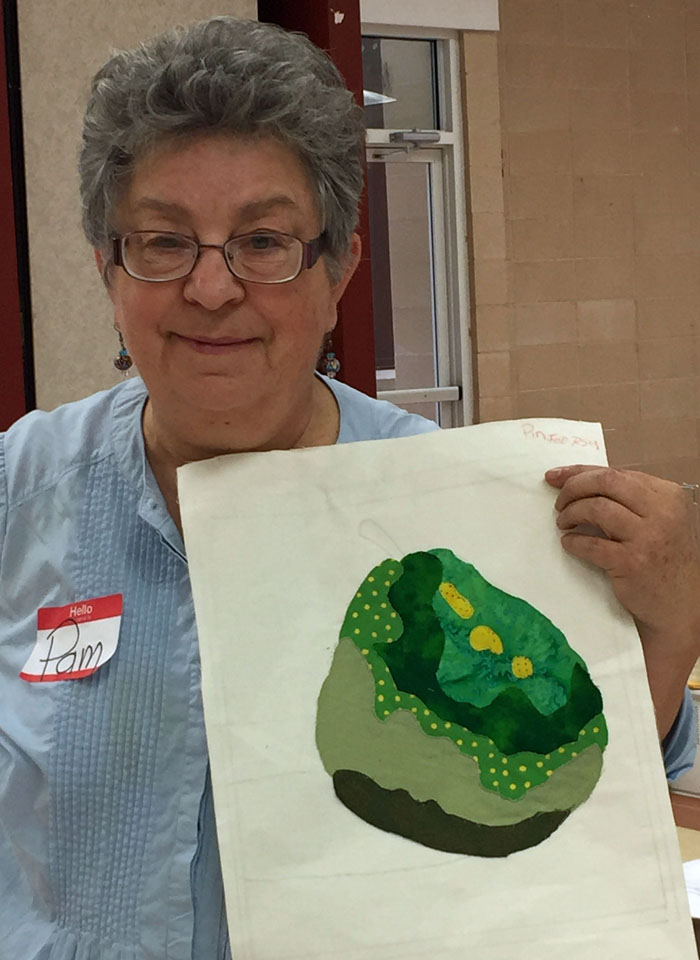
And Pam.
All of these students did great work and we had a lot of fun together!
Ellen Lindner
P.S. Learn more about this class or purchase an immediate download of the eBook about this technique.



No comments yet.