Archive | Uncategorized

“Coastal Overlook” Takes First Place

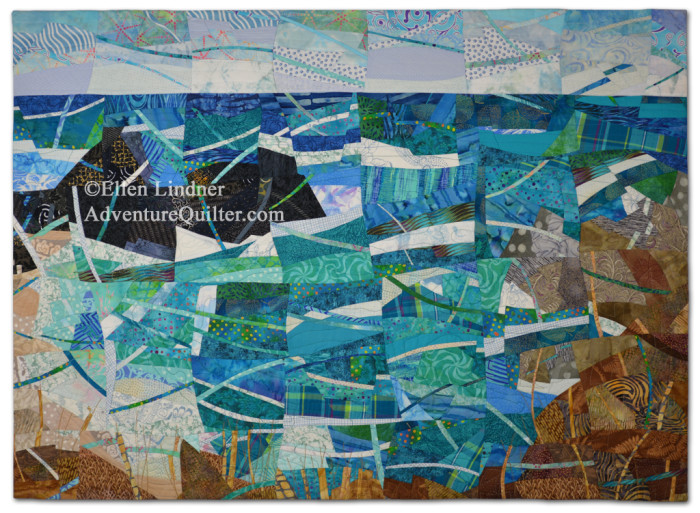
Woohoo!  My quit, Coastal Overlook, took first place in a local art show!  I’m delighted.

Coastal Overlook, an art quilt by Ellen Lindner. AdventureQuilter.com/blog

Coastal Overlook

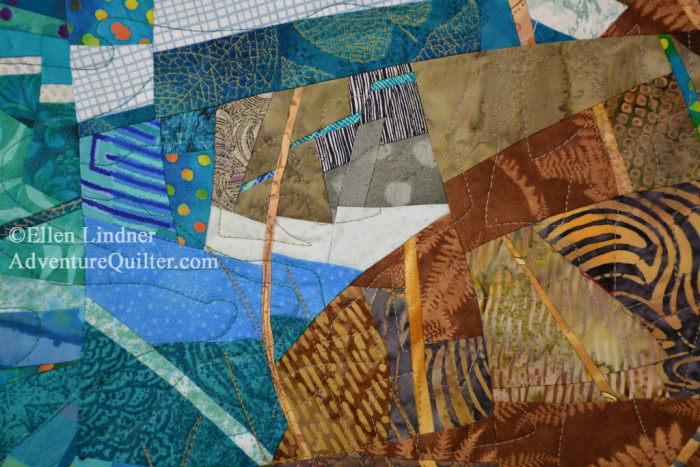
It’s always nice to win an award but it’s even better when it includes exposing art enthusiasts to quilts as art.  Yes!

Coastal Overlook - detail, an art quilt by Ellen Lindner. AdventureQuilter.com/blog

The show is the Titusville Art League’s Spring Show and I won in the mixed media category.  The show is free and it continues until 3 PM on Sunday, the 24th.  It’s at the Police Hall of Fame in Titusville, FL.

This piece is available for purchase.

Ellen Lindner

4

A Visit to Focus on Fiber

Are you familiar with Focus on Fiber?  It’s an annual retreat for fiber artists at a wonderful rustic facility in New Smyrna Beach, FL.  Artists can work on their own projects or take a class from one of the visiting teachers.  The retreat leader kindly invited The Quilt as Art artists to join them for dinner after the exhibit’s gallery walk.  What fun!

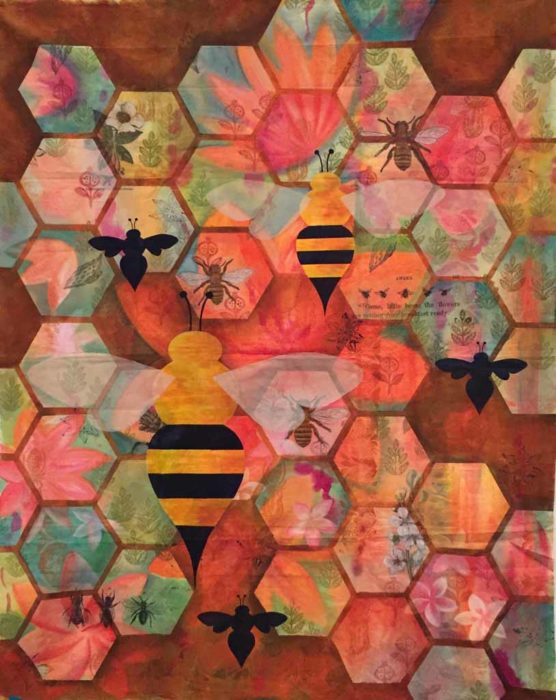
After a delicious salmon dinner, OF COURSE, we had to see what the artists were up to!  We visited Judy Coates-Perez’ acrylic ink class.  Oh my, did that look like fun!  She uses many transparent layers of ink, using dyeing techniques, stamping, painting, and more.  Just look at this sample of hers.  It totally grabbed me.

Focus on Fiber 2016. Ellen Lindner, AdventureQuilter.com/blog

Can you tell that an early layer had flowers and now they’re mostly covered?  There are many intriguing details as you notice things that are partially covered.  They seem to be embedded, like items in an encaustic painting.  You can see it better in the detail shot.

Focus on Fiber 2016. Ellen Lindner, AdventureQuilter.com/blog

Here are some more of Judy’s samples.

Focus on Fiber 2016. Ellen Lindner, AdventureQuilter.com/blog

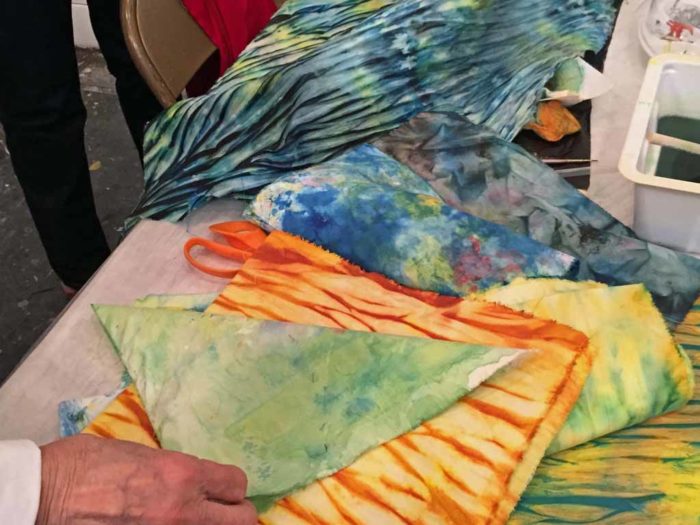
Wonderful things were happening all around her classroom.  The fabrics below were dyed and painted by Gabriele DiTota.  It’s hard to imagine that they are the FIRST layer of an artwork, and will be largely covered.  I’d have a HARD time covering some of these!

Focus on Fiber 2016. Ellen Lindner, AdventureQuilter.com/blog

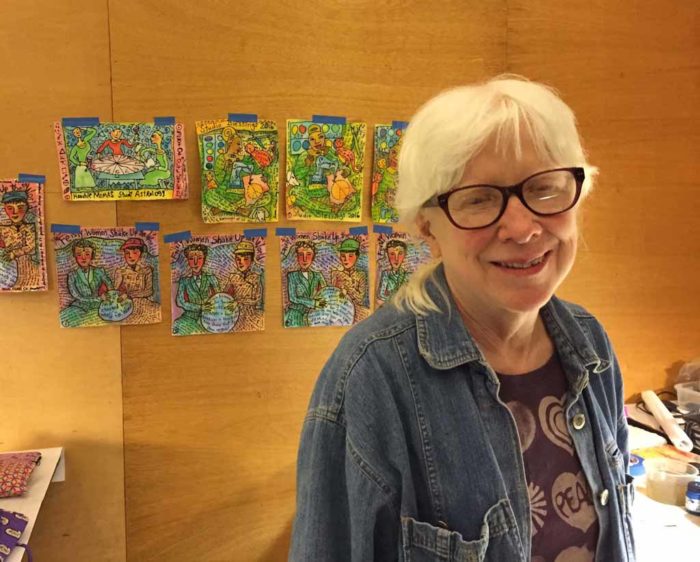
In the next class room we visited the participants who were doing their own thing.  We didn’t make it far into the room, though, before we noticed the unique work of Susan Shie.  As well as Susan, herself.

Focus on Fiber 2016. Ellen Lindner, AdventureQuilter.com/blog

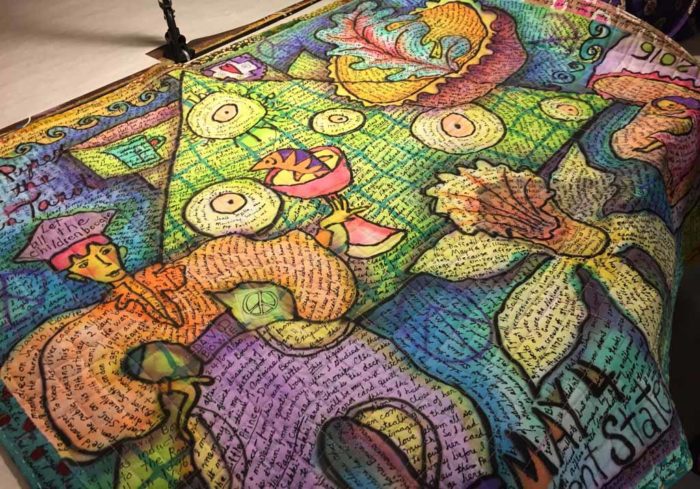
She was very generous with her knowledge as she explained her process to us.  Her work is all painted with an airbrush.  Afterwards, she writes ALL OVER IT with an air pen, (something I didn’t fully understand.)  She writes things in a journal fashion: whatever’s going on in her life at that time.  This piece is called May 4, the anniversary of the student killings at Kent State, her alma mater.  She’s written a lot about that.  Then, when David Bowie died, she noticed that the man on the left resembled him and labeled him as such.  And so it goes.  It was very interesting.

Focus on Fiber 2016. Ellen Lindner, AdventureQuilter.com/blog

It was only Day 2 of the retreat, but there were already many interesting things going on around the room.  Karol Kusmaul is working on the collaborative piece below.

Focus on Fiber 2016. Ellen Lindner, AdventureQuilter.com/blog

It was an exhilarating visit!  (Maybe I need to attend next year.)
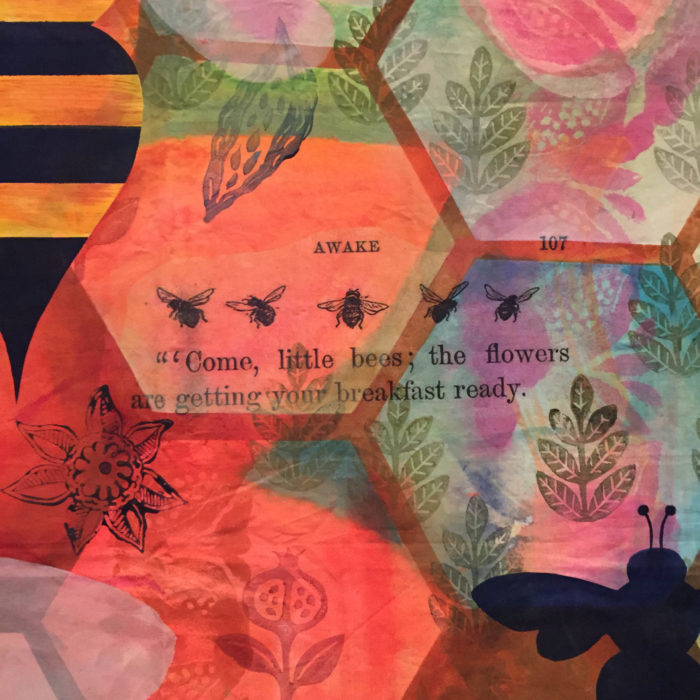
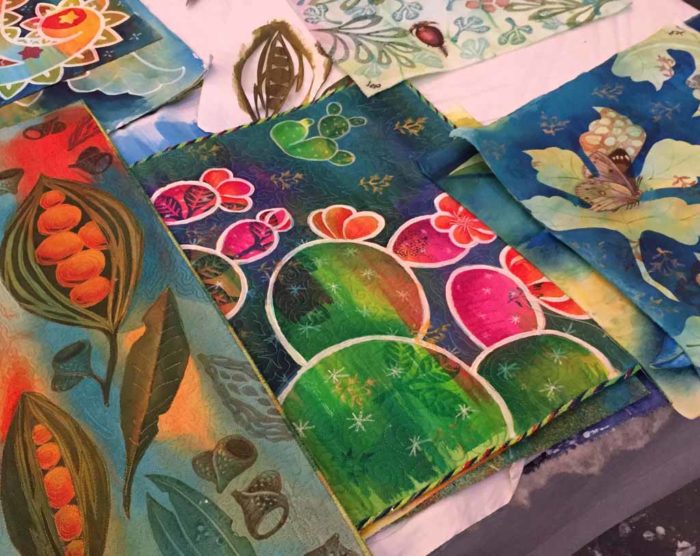
What great art retreats have you attended?  I’ve been to QSDS (Quilt Surface Design Symposium) several times, as well as taken a class at Arrowmont School of Arts and Crafts.  I highly recommend these multi-day classes!
Ellen Lindner

0

“The Quilt as Art”

The general population tends to translate the word quilt as “bedspread.”  If you say you make art quilts they might think, “She’s mighty proud of her bedspreads!”  This is the challenge of art quilters as we try to show our work and to educate the public about what we do.

Thankfully, exhibits of art quilts (and other textiles) are now becoming more common place in art centers and museums. And some even tackle the issue head on.  Such is the case with “The Quilt as Art,” currently on display at the Peabody Auditorium’s Rose Gallery in Daytona Beach, FL.

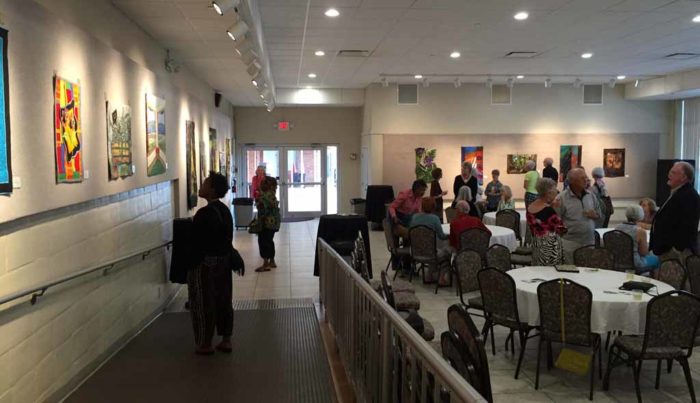
"The Quilt as Art" exhibit. Ellen Lindner, AdventureQuilter.com/blog

I got to attend a reception and gallery walk there, both of which were SO interesting!  Here are a few of the stunning quilts on display.

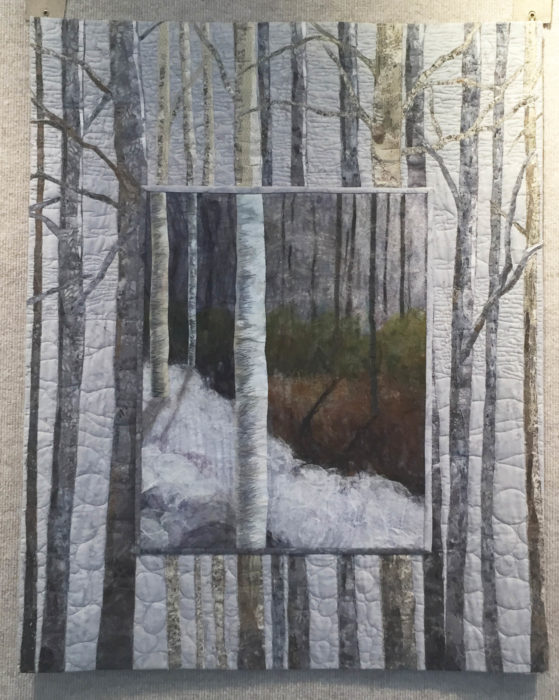
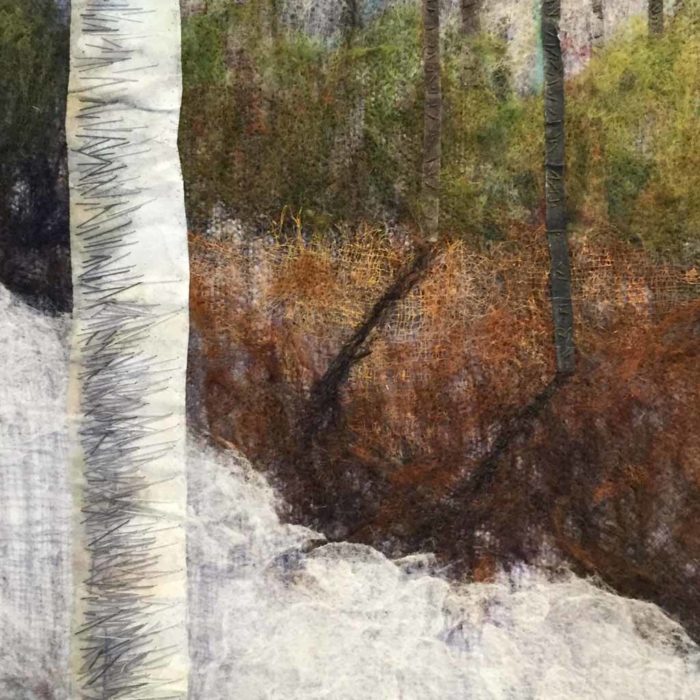
Winter Solitude, by Becky Stack.  The photo doesn’t begin to do this piece justice.

"The Quilt as Art" exhibit. Ellen Lindner, AdventureQuilter.com/blog

But the detail shot is better.

"The Quilt as Art" exhibit. Ellen Lindner, AdventureQuilter.com/blog

All the pieces on display were made by SAQA (Studio Art Quilt Associates) artists from the central Florida area.  A very talented group!

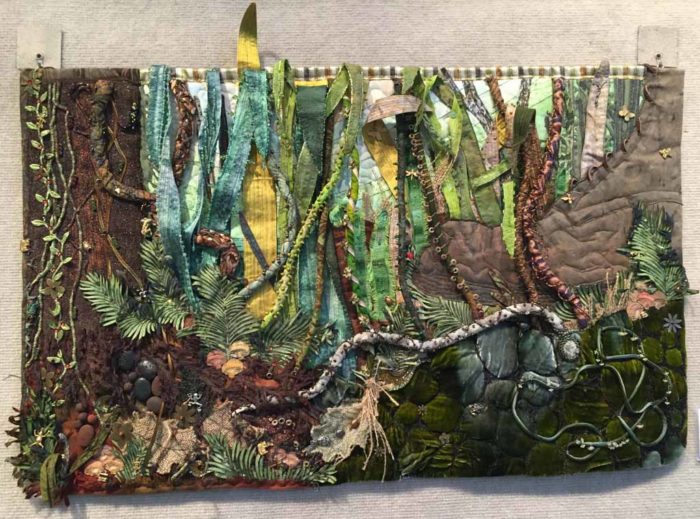
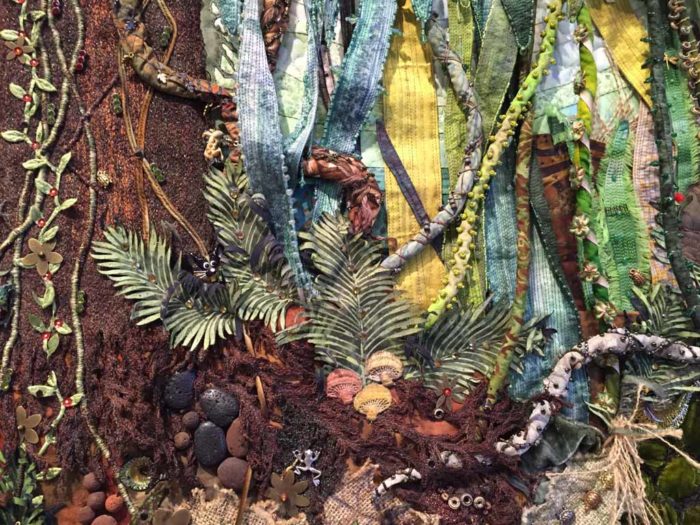
Jane Ashcroft’s quilt is called Different Perspective.  As you can see, it’s a close up view of forest vegetation.  Can you see the boot on the right?

"The Quilt as Art" exhibit. Ellen Lindner, AdventureQuilter.com/blog

Check out her 3D embellishments!

"The Quilt as Art" exhibit. Ellen Lindner, AdventureQuilter.com/blog

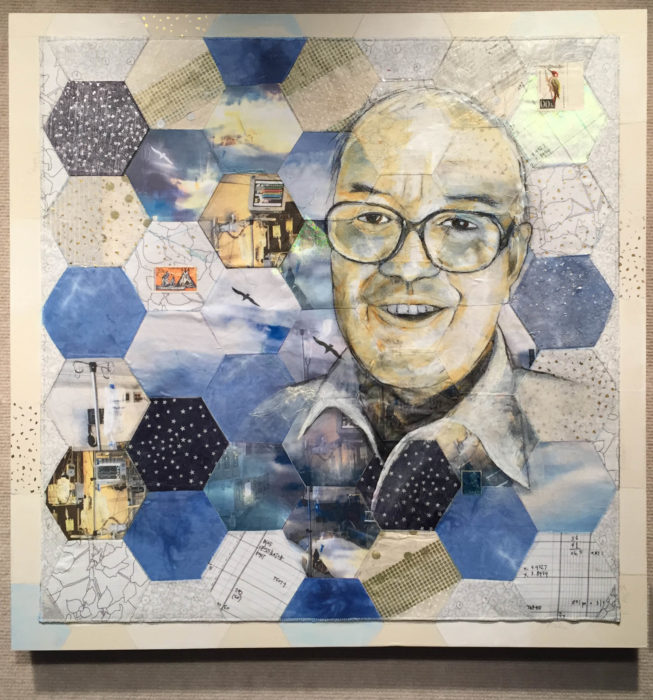
Kathryn Robinson’s quilt was the most moving in the exhibit.  It’s about her dad and it’s called Dad, Don’t Go.

"The Quilt as Art" exhibit. Ellen Lindner, AdventureQuilter.com/blog

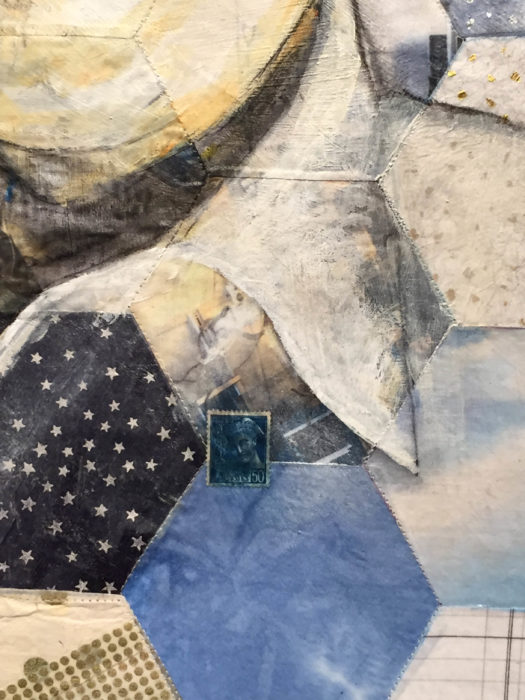
Kathryn used a wide variety of media, including paper, postage stamps, and paint.  She constructed a quilt and then mounted it on birch board.

"The Quilt as Art" exhibit. Ellen Lindner, AdventureQuilter.com/blog

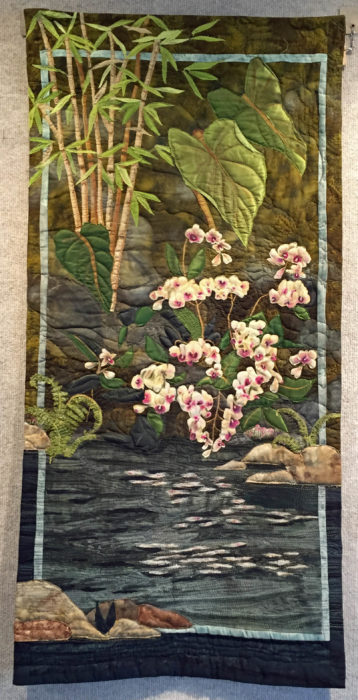
Doris Hulse imagined a setting and then filled it with beauty in Orchids in the Grotto.  (NOT a very good photo.)

"The Quilt as Art" exhibit. Ellen Lindner, AdventureQuilter.com/blog

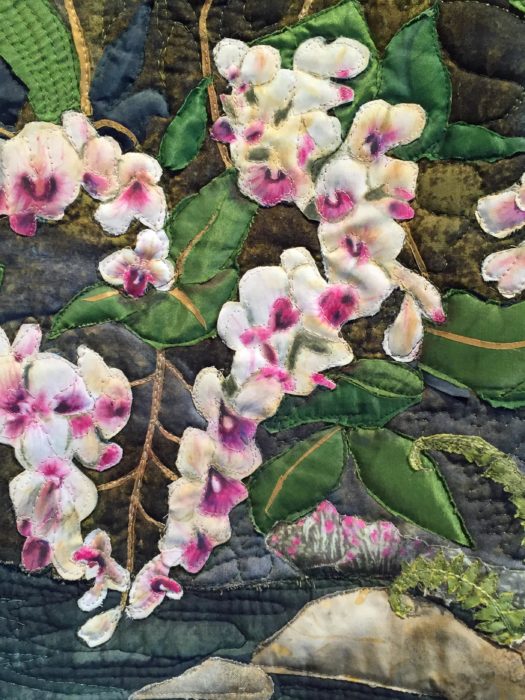
She is very skilled with Inktense pencils, which is what she used to create the orchids.

"The Quilt as Art" exhibit. Ellen Lindner, AdventureQuilter.com/blog

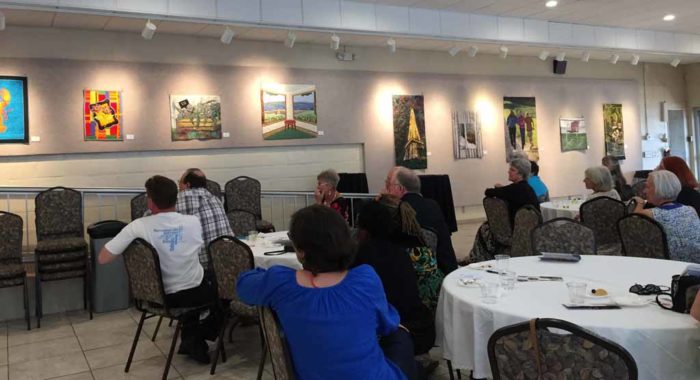
The gallery walk provided a chance for each of the artists to talk about her work.   This was very interesting and the audience was extremely attentive.

"The Quilt as Art" exhibit. Ellen Lindner, AdventureQuilter.com/blog

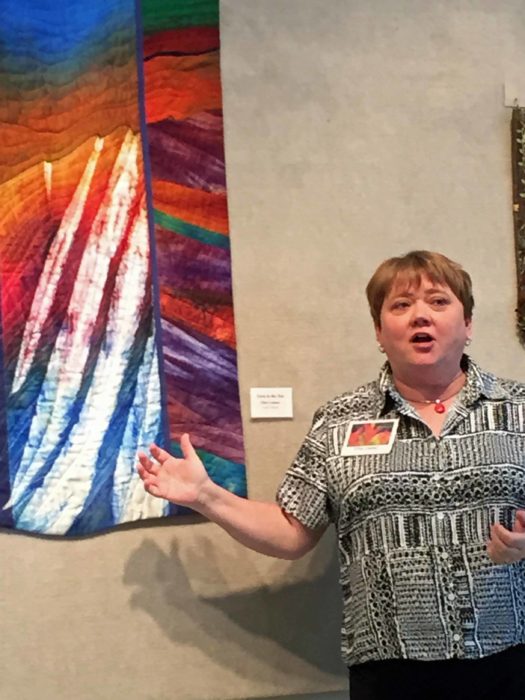
Here I am talking about my piece Lava to the Sea.

"The Quilt as Art" exhibit. Ellen Lindner, AdventureQuilter.com/blog

A funny thing happened with the label on one of my other pieces.  Taking Flight had a label showing its title as Taking Flight, White Cows.  Well, there are no cows on it, so I had a good chuckle about the “coordinator’s mistake.”  When I gently mentioned it to her she told me I had sent her the title that way!  What?!?  What was I thinking?  I DID grow up on a dairy farm.  Did my bovine auto correct kick in?  I have no idea!  No worries though, we all had a good laugh about it.

This exhibit is up through April 30th.  If you’re in the area, I hope you’ll check it out.

Ellen Lindner
P.S.  My quilt, Carefree, is also on display in this exhibit.

2

Cornell Fine Arts Museum, Rollins College

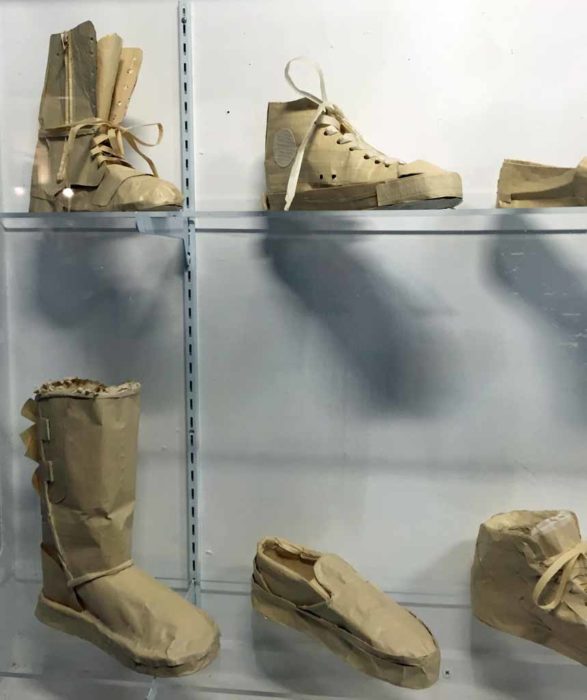
Rollins College, in Winter Park, FL has a beautiful campus on the edge of a lake, with huge oak trees.  It also has Cornell Fine Arts Museum, which I visited for the first time recently.  While looking for the museum, we ended up in an art building with a display of student work in the hallway.  Pretty cool, huh?

Student work, Rollins college. Ellen Lindner, AdventureQuilter.com/blog

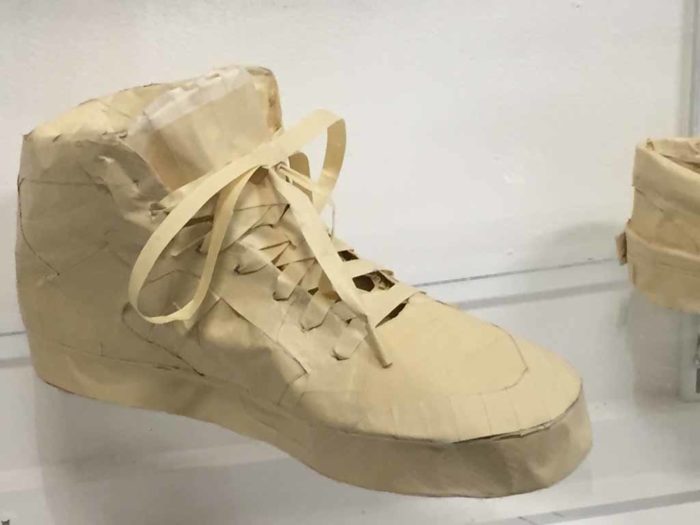
I think they’re made from masking tape and maybe lightweight cardboard.

Student work, Rollins college. Ellen Lindner, AdventureQuilter.com/blog

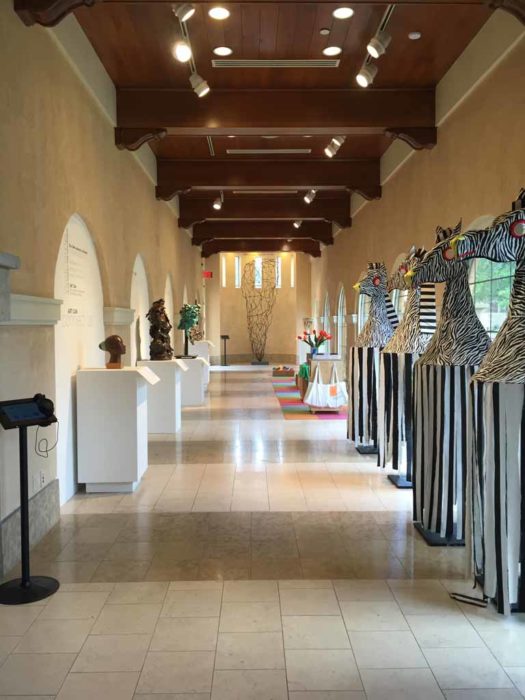
Next door, we found the museum.   It’s well designed and well-lit.  There were also activities for children.  This is the entry foyer.

Cornell Fine Arts Museum, Rollins College, Winter Park, FL. Ellen Lindner, AdventureQuilter.com/blog

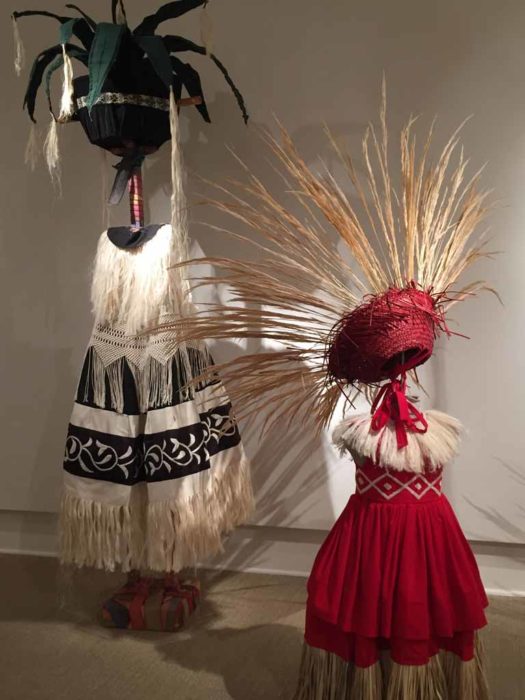
The zebra head costumes on the right relate to the primary exhibit, called “Transcommunality.”  Presented by artist Laura Anderson Barbata, it’s a culmination of her work with stilt-dancing communities in Latin America and the United States.

Cornell Fine Arts Museum, Rollins College, Winter Park, FL. Ellen Lindner, AdventureQuilter.com/blog

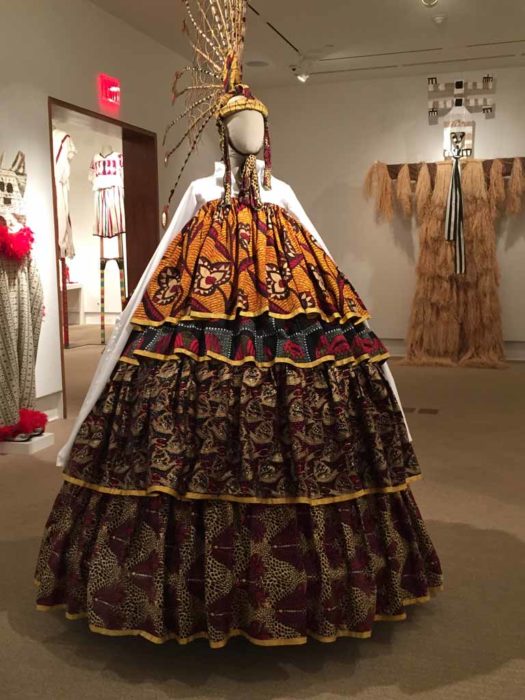
The exhibit features stilt-dancing costumes that were made by hand with a wide variety of materials.  The one below was made with cotton fabric, wood, cane, fiberglass rods, mesh, decorative trim, mirrors, papier-mache and paint.

Cornell Fine Arts Museum, Rollins College, Winter Park, FL. Ellen Lindner, AdventureQuilter.com/blog

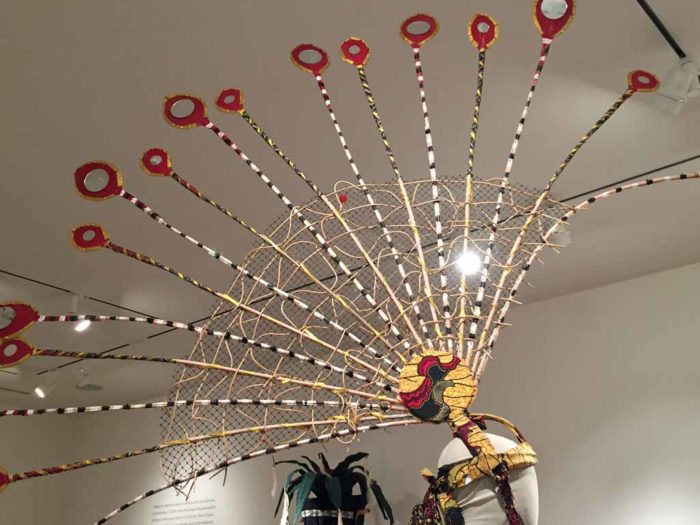
Here’s a closer look at the head dress.

Cornell Fine Arts Museum, Rollins College, Winter Park, FL. Ellen Lindner, AdventureQuilter.com/blog

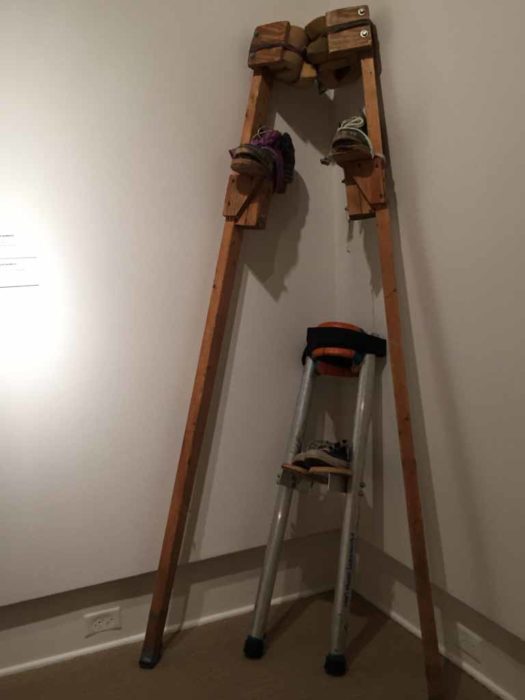
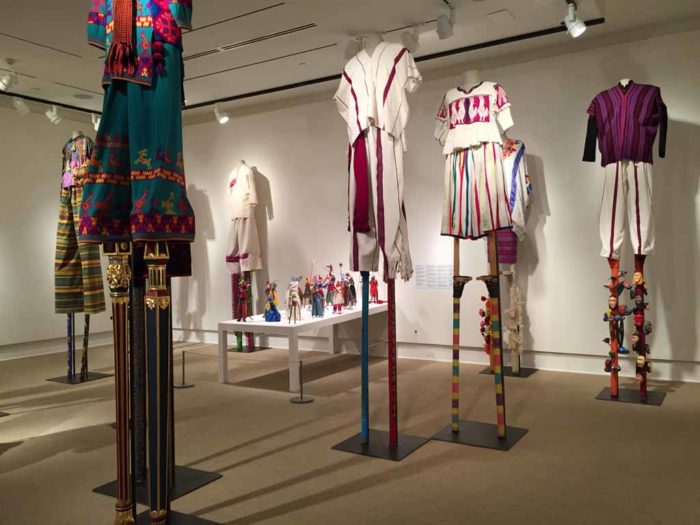
Dancers perform in these outfits while wearing homemade stilts.

Cornell Fine Arts Museum, Rollins College, Winter Park, FL. Ellen Lindner, AdventureQuilter.com/blog

Children apparently participate in this, as well.

Cornell Fine Arts Museum, Rollins College, Winter Park, FL. Ellen Lindner, AdventureQuilter.com/blog

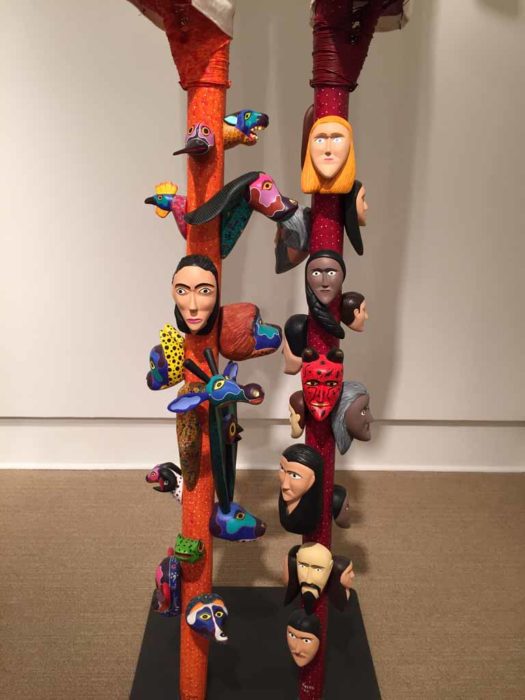
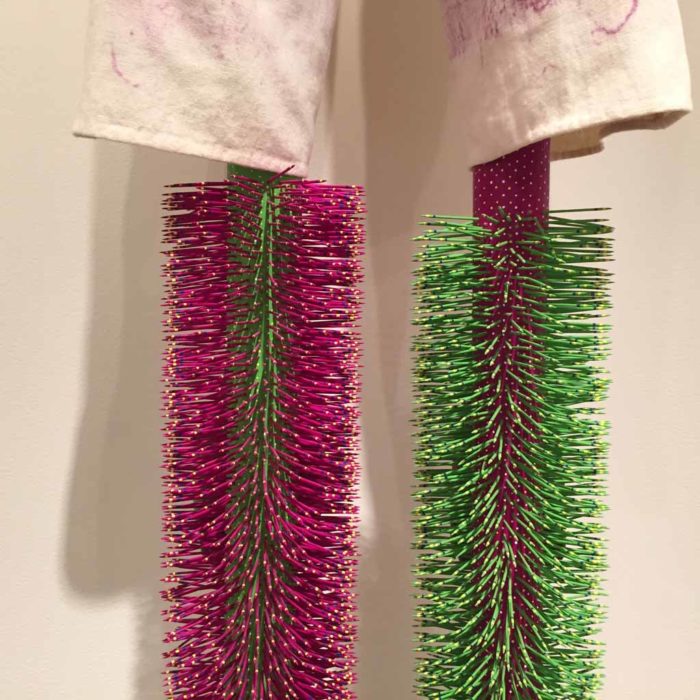
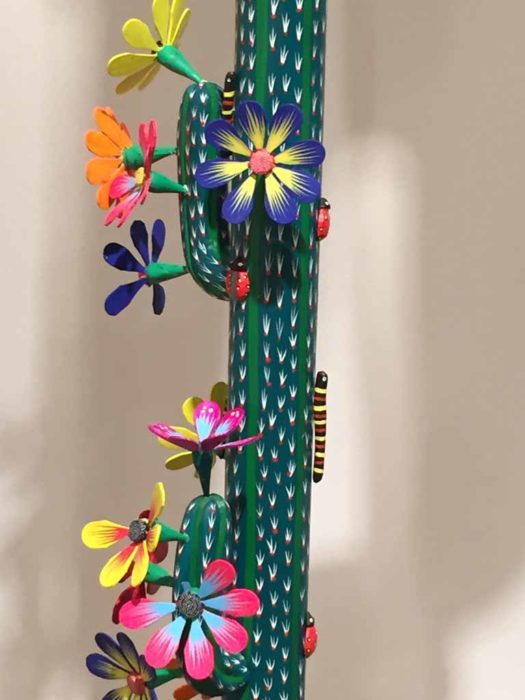
One room was full of costumes with stilts that had also been carved or decorated.

Cornell Fine Arts Museum, Rollins College, Winter Park, FL. Ellen Lindner, AdventureQuilter.com/blog

Cornell Fine Arts Museum, Rollins College, Winter Park, FL. Ellen Lindner, AdventureQuilter.com/blog

Cornell Fine Arts Museum, Rollins College, Winter Park, FL. Ellen Lindner, AdventureQuilter.com/blog

Cornell Fine Arts Museum, Rollins College, Winter Park, FL. Ellen Lindner, AdventureQuilter.com/blog

The one above even has a caterpillar and several lady bugs!

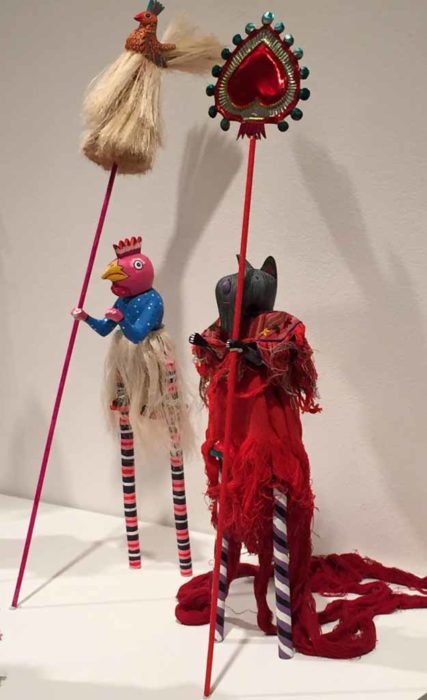
Dolls showed more stilt-dancers.

Cornell Fine Arts Museum, Rollins College, Winter Park, FL. Ellen Lindner, AdventureQuilter.com/blog

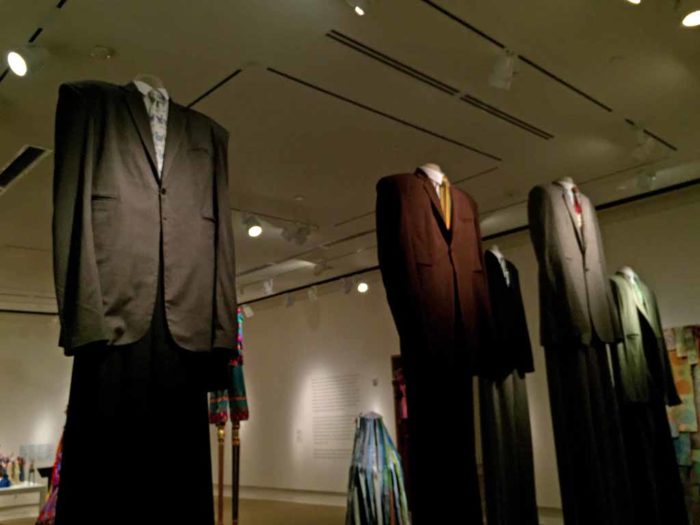
I didn’t get a very good shot of the giant suits, made in the USA.  They were used in a performance as part of “Occupy Wall Street.”

Cornell Fine Arts Museum, Rollins College, Winter Park, FL. Ellen Lindner, AdventureQuilter.com/blog

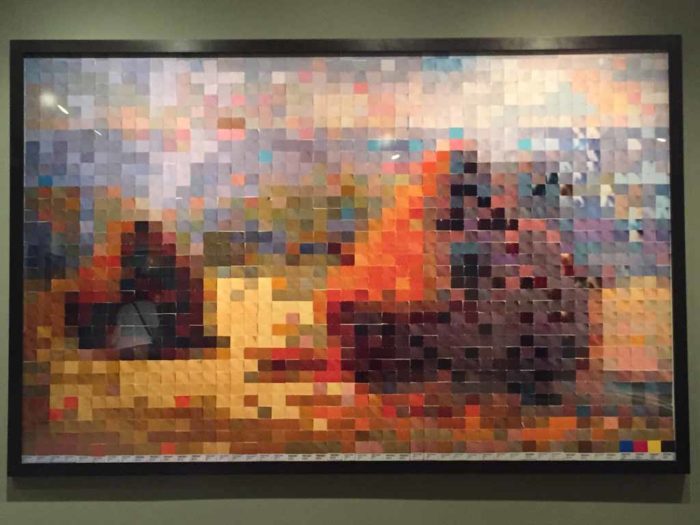
In addition to the stilt-dancing exhibit, there were several other interesting pieces on display.  The one below is called Haystack After Monet #2, by Vik Muniz.  It definitely resembles Monet’s painting.

Cornell Fine Arts Museum, Rollins College, Winter Park, FL. Ellen Lindner, AdventureQuilter.com/blog

But, this one was made from pieces of colored paper.  See the close up below.

Cornell Fine Arts Museum, Rollins College, Winter Park, FL. Ellen Lindner, AdventureQuilter.com/blog

This particular exhibit has just ended, but it’s replaced with student and faculty exhibits.  I bet they’d really be worth seeing.  And if you’re in the area you may also enjoy the Morse Museum, which houses work by Lewis Tifany.  There’s lots to see and do in Winter Park.

Ellen Lindner

2

“The Quilt as Art” Reception

Art, food, good conversation, and interesting people make exhibit receptions some of my favorite events.  Throw in discussion about the pieces on display by the people who made them and it gets even better!

All of this will be happening on April 13th for an exhibit in Daytona Beach, FL, called “The Quilt as Art.”

"The Quilt as Art" exhibit. Ellen Lindner ,AdventureQuilter.com

I’ll have three quilts in the show.  Carefree:

Blessings Underfoot - detail, a fabric collage by Ellen Lindner. AdventureQuilter.com

Taking Flight:

Taking Flight, an art quilt by Ellen Lindner. AdventureQuilter.com

and Lava to the Sea:

Lava to the Sea, an art quilt by Ellen Lindner. AdventureQuilter.com

I’ll be at the reception and I hope to see you there!
Peabody Auditorium

Ellen Lindner

0

An Interesting Exhibit

On a recent visit to the Maitland Art Center I saw some very interesting art, both inside and out.  There were several vessels made by Dale Chihuly, but they were over shadowed by this large installation piece in the next room.

A visit to the Maitland Art Center. Ellen Lindner, AdventureQuilter.com/blog

It’s called The Lack of Distinction, by Lorrie Fredette.  Pretty cool, right?  Here it is viewed from the other direction.

A visit to the Maitland Art Center. Ellen Lindner, AdventureQuilter.com/blog

From reading the sign, we figured out that each pod is built around a brass armature. They’re covered in muslin and coated in beeswax.  After being joined together they’re suspended with nylon line.

A visit to the Maitland Art Center. Ellen Lindner, AdventureQuilter.com/blog

It was quite intriguing.

The friend who was with me has an excellent sense of smell, so she smelled the latex in the next room before we even saw it.

A visit to the Maitland Art Center. Ellen Lindner, AdventureQuilter.com/blog

Since I gave you a hint, maybe you can tell it’s made from balloons.

A visit to the Maitland Art Center. Ellen Lindner, AdventureQuilter.com/blog

This piece was made by Jason Hackenwerth and it’s called It Tasted Like Lead.  The title is a reference to the first hydrogen bomb dropped on Japan.

After viewing the art by these three artists we were a little puzzled, because four artists were listed as having work in the exhibit.  We asked, “Where is the work by Paige Smith?”  The answer was that her installation was located all over the premises, sort of like an Easter egg hunt.  Well, that sounded like fun, so we set off to look for the geode-like crystals described to us.

And we found some right away.

A visit to the Maitland Art Center. Ellen Lindner, AdventureQuilter.com/blog

A visit to the Maitland Art Center. Ellen Lindner, AdventureQuilter.com/blog

As in the example above, most of the crystals were nestled into “wounded” spaces.

A visit to the Maitland Art Center. Ellen Lindner, AdventureQuilter.com/blog

The outdoor fireplace, above, shows more of the Mayan Revival architecture.

It was especially fun to discover little “geodes” underfoot or tucked into some crevice.  Can you see them there?

A visit to the Maitland Art Center. Ellen Lindner, AdventureQuilter.com/blog

A very delightful stop.

Ellen Lindner
P.S.  I love the work of Dale Chihuly, even though the vessels in this exhibit didn’t excite me.  If you’re not familiar with his work, you should definitely check out his website.

0

Maitland Art Center

Surrounding Orlando are several quaint neighborhoods and Maitland is one of them.  With sprawling oaks, brick streets, and old buildings, this tiny neighborhood is full of charm. Perfectly in step with the area, the Maitland Art Center sets the standard.  It’s a cluster of small buildings and it was built in the 1930’s as an artists’ retreat.

A visit to the Maitland Art Center. Ellen Lindner, AdventureQuilter.com/blog

A visit to the Maitland Art Center. Ellen Lindner, AdventureQuilter.com/blog

A visit to the Maitland Art Center. Ellen Lindner, AdventureQuilter.com/blog

A visit to the Maitland Art Center. Ellen Lindner, AdventureQuilter.com/blog

 The buildings and outdoor spaces are designed in the rare Mayan Revival style and are as interesting as the art held within.

A visit to the Maitland Art Center. Ellen Lindner, AdventureQuilter.com/blog

A visit to the Maitland Art Center. Ellen Lindner, AdventureQuilter.com/blog

A visit to the Maitland Art Center. Ellen Lindner, AdventureQuilter.com/blog

The grounds are beautiful, especially on a perfect spring day.

In the next post I’ll show you the art that was on exhibit.

Ellen Lindner

0

Twisty Tomato Leaves

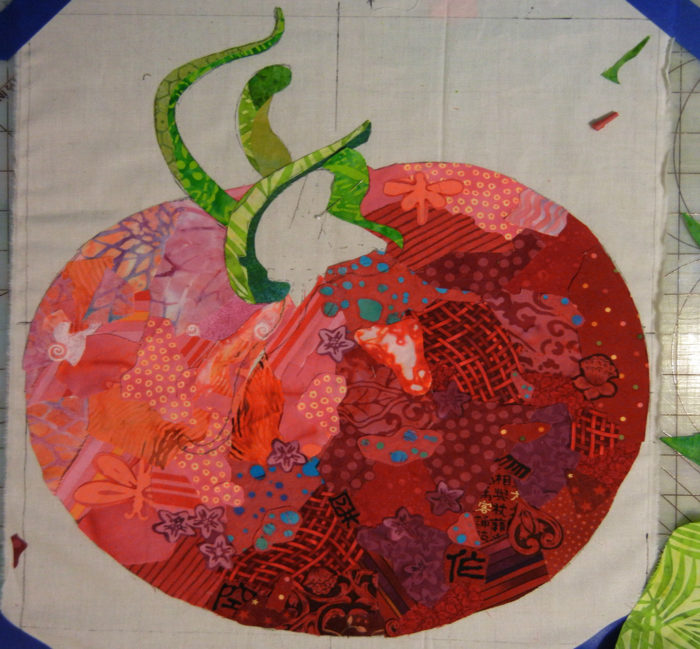
What is it about little twisty leaves that add so much character to a simple tomato?  I’m not sure, but it’s clear that they’re a wonderful addition. Per Susan Carlson’s instructions, I had left the edges of the red pieces unglued so the green leaf fabrics could slip right under.  At least I THOUGHT I had left them unglued.  Apparently I got a little carried away with the gluing, making it difficult to add the green. I’ll need to tweak my technique for sure.

Ellen Lindner's tomato quilt in-progress. AdventureQuilter.com/blog

See the blue circled area above?  Those are little individual leaf motifs which I’ll use to merge the fabrics. Perhaps you can find a few of them in the next picture.

Here’s what it looked like when I finished the leaves.  I’m very pleased with them!  They don’t have quite the definition I’d like, but I’ll remedy that with some black outline stitching. (Oops, ignore that out of place red piece on the left.)

Ellen Lindner's tomato quilt in-progress. AdventureQuilter.com/blog

Even though I declared this “finished” in the above picture, I did find something that bugged me:  the highlight on the right side.  I decided it was just too light – causing a very strong contrast in that area.  I switched out the dark outer fabric and started fiddling to soften the light center.

Ellen Lindner's tomato quilt in-progress. AdventureQuilter.com/blog

And ended up with this.

Ellen Lindner's tomato quilt in-progress. AdventureQuilter.com/blog

Eventually the pink patch below the highlight also bothered me and I changed it as you can see below.

v

You can really adjust something like this forever!  But, I had my fill after a while.

As you might imagine, all those little snippets go everywhere, making for a messy work station.  (Not that mine is ever that neat.)

Ellen Lindner's tomato quilt in-progress. AdventureQuilter.com/blog

Having completed this first tomato, I’m assessing the technique.
I like: softening the edges with little overlapping bits of fabric, and working sitting down.
I don’t like:  the difficulty tucking tiny green leaf fabrics under the red ones.  For the next tomato, I think I’ll apply the leaves on top.

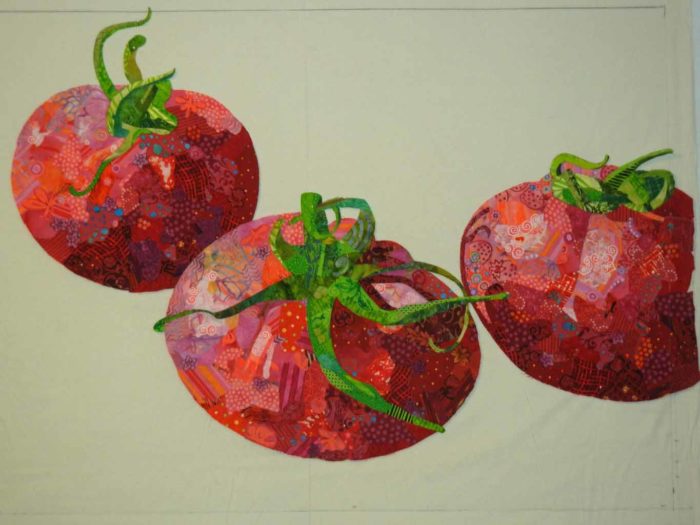
I’m happy with this tomato and fully intend to integrate it into a full composition. But first, I need to get back to my leaf quilts!

Ellen Lindner


9

My Train Jumped the Track

I was making good progress on my two large leaf quilts when I got BADLY distracted.  The culprit was the book  Serendipity, by Susan Carlson.  In it she explains her fabric collage techniques.  In many ways they’re the same as my own, but with a much higher level of tiny details.  It was all SO intriguing and I just had to give it a try.  “BAM!  SCREECH!” The sounds of my leaf train derailing.

Learning Susan Carlosn's technique. Ellen Lindner, AdventureQuilter.com/blog

I pretty much never switch gears once I start on a quilt, but this time I did so quite gleefully.  I searched my photos for inspiration and decided to work with a photo of three tomatoes.  I tweaked the composition and will probably do some more down the road.

Ellen Lindner's tomato quilt in-progress. AdventureQuilter.com/blog

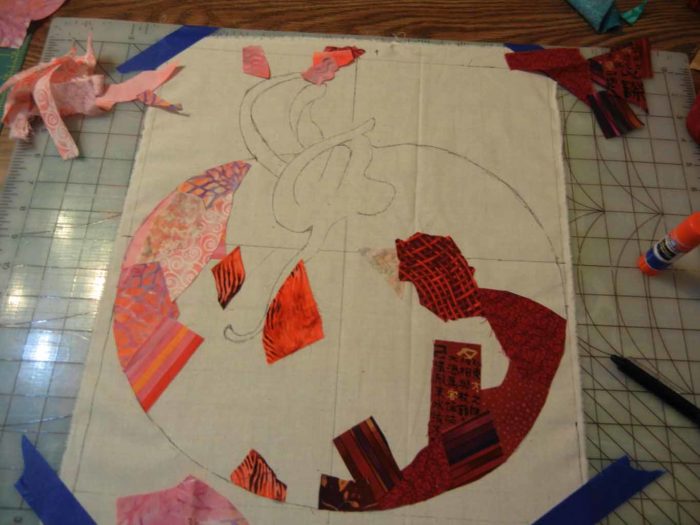
Susan typically constructs her design elements as stand-alone units.  This enables her to move them around later and to easily audition background options when the time comes.  So, I followed suit and drew a  20″ tomato.

Ellen Lindner's tomato quilt in-progress. AdventureQuilter.com/blog

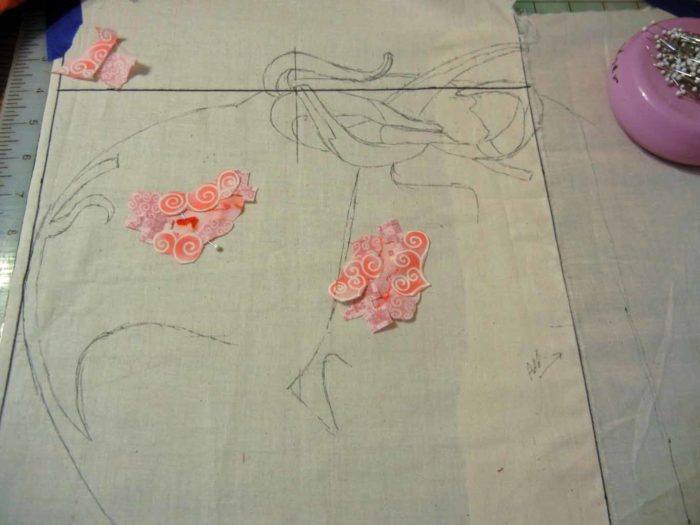
I drew the design onto muslin with a Frixion (heat-way) pen.  The mini iron was my “eraser.”

Ellen Lindner's tomato quilt in-progress. AdventureQuilter.com/blog

The idea is to fill the shape with the proper VALUE, leaving the detail areas as cutouts.

Ellen Lindner's tomato quilt in-progress. AdventureQuilter.com/blog

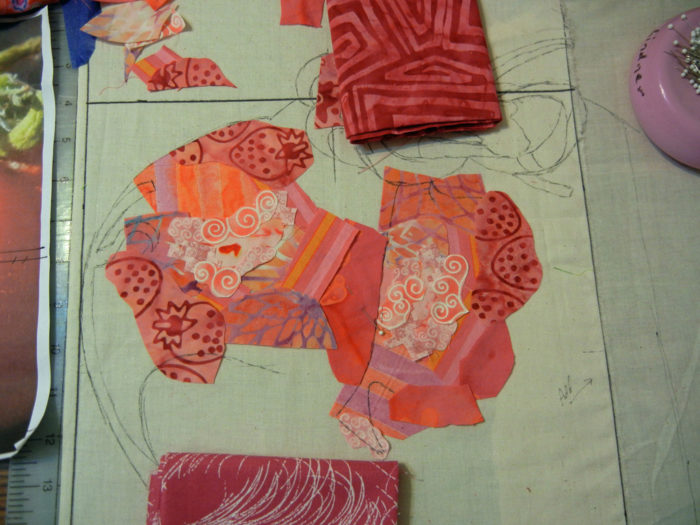
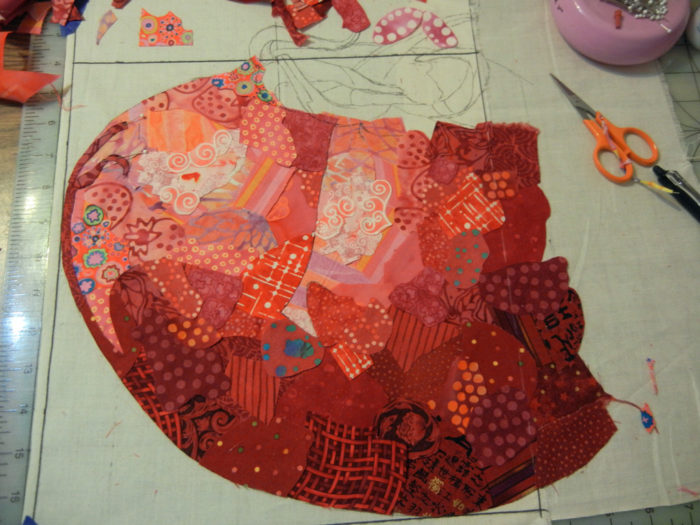
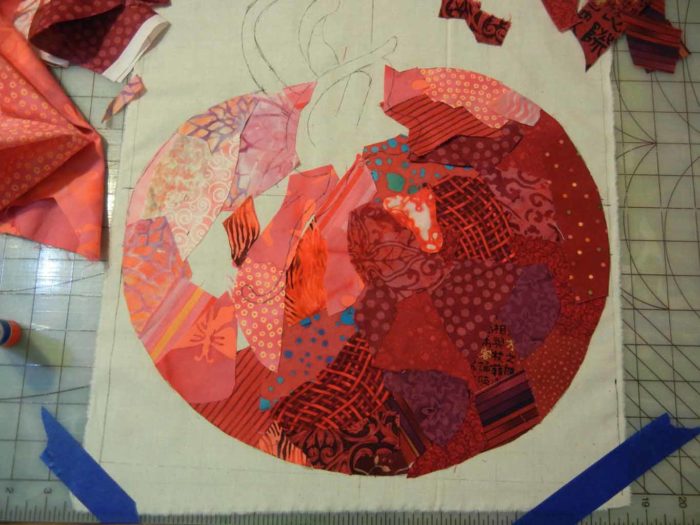
This was my first draft as I was nearing completion of the red fabrics.  The space was covered, but it was lacking some finesse.

Ellen Lindner's tomato quilt in-progress. AdventureQuilter.com/blog

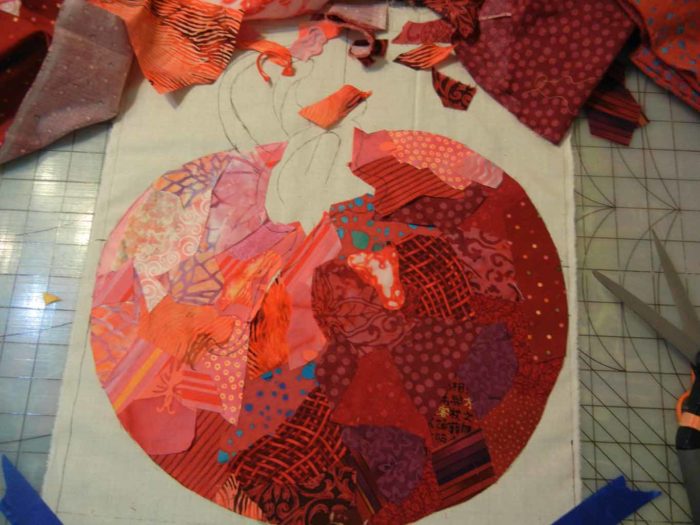
I switched the light spot from yellow to pink.  But, it still looked pretty chunky.

Ellen Lindner's tomato quilt in-progress. AdventureQuilter.com/blog
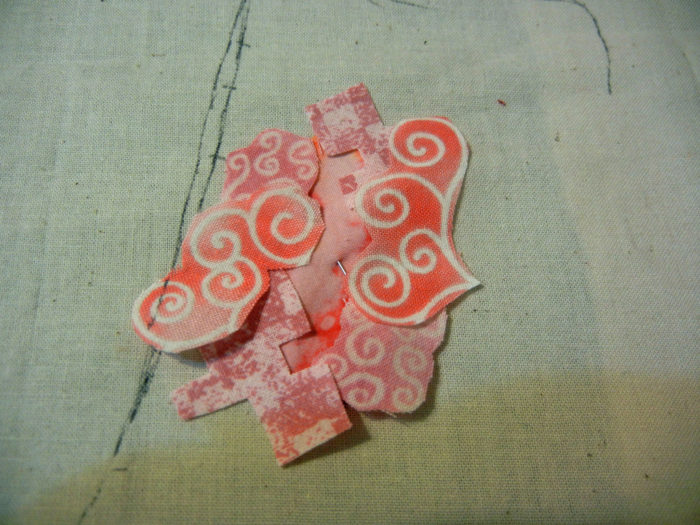
Next, I started fiddling with the details.  Susan explained the basics in her book, about how to soften any hard edges.  From studying her blog and website, I could also see that she often cut little motifs from her fabrics and used them to merge the colors and patterns better.  Like this.

Ellen Lindner's tomato quilt in-progress. AdventureQuilter.com/blog

Instead of abruptly cutting off a motif, soften the edge by continuing it onto the next fabric.

Ellen Lindner's tomato quilt in-progress. AdventureQuilter.com/blog

Well, that sort of thing is totally addicting!  AND it adds a lot of interest to the piece, as well as softening hard edges.

Here it is after a ton of fiddling (with the leaves still showing as cutouts.)  Much better, right?

Ellen Lindner's tomato quilt in-progress. AdventureQuilter.com/blog

I’m really having a lot of fun working this way.  Perhaps it will become too persnickety for me in the future.  We’ll see.

On to those twisty little leaves.

Ellen Lindner
P.S.  I’ve made several other quilts featuring produce.  Like  Mangolicious.
P
.P.S.  Did you know you can susbscribe to my blog?  When doing so, you’ll get every post in  your email inbox.  Just click the Subscribe button, top right.

12

Leaf Quilt Progressing

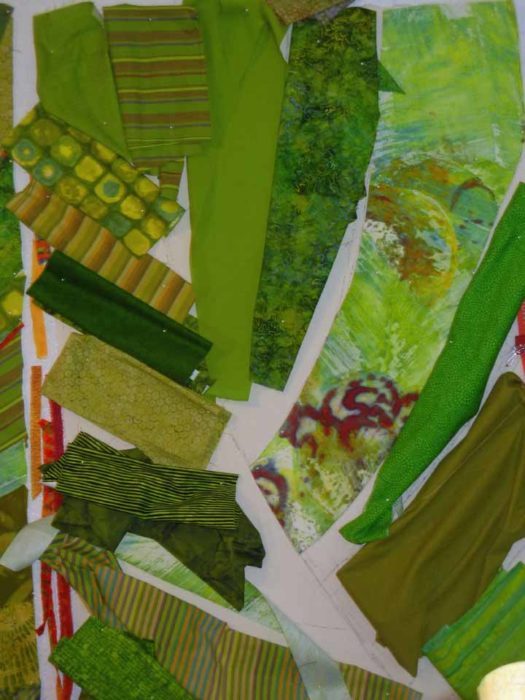
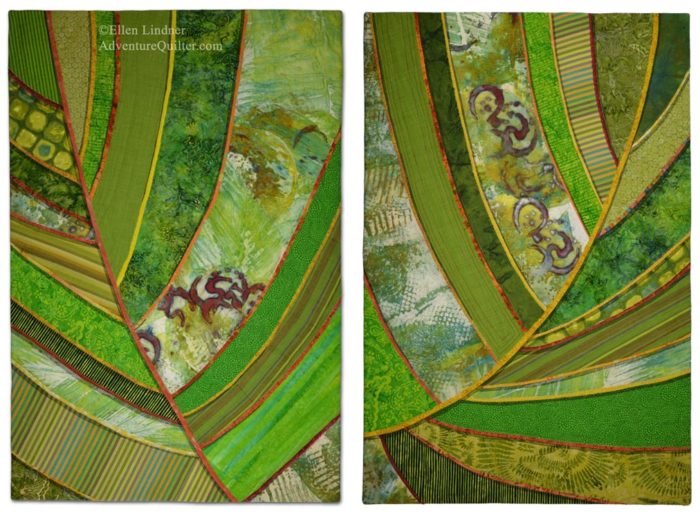
After getting started on two big leaf quilts, things went pretty smoothly.  (The photos in this post show the left quilt.)  Having previously drawn the design on a large piece of muslin, I auditioned which green to use where.

Ellen Lindner creating a leaf quilt. AdventureQuilter.com/blog

Can you believe I had to buy MORE fabric?  Very unexpected.

Here’s the final arrangement of greens.  Which ended up being not so final after all.

Ellen Lindner creating a leaf quilt. AdventureQuilter.com/blogEllen Lindner creating a leaf quilt. AdventureQuilter.com/blogEllen Lindner creating a leaf quilt. AdventureQuilter.com/blogEllen Lindner creating a leaf quilt. AdventureQuilter.com/blogEllen Lindner creating a leaf quilt. AdventureQuilter.com/blog

I was beginning to audition vein colors and widths.  I loved the color above, but thought it was a little fat.  More experimenting was needed.

In the photo below, I’ve changed some of the bottom right fabrics and I was continuing to add veins.  I REALLY liked these colors!

Ellen Lindner creating a leaf quilt. AdventureQuilter.com/blog

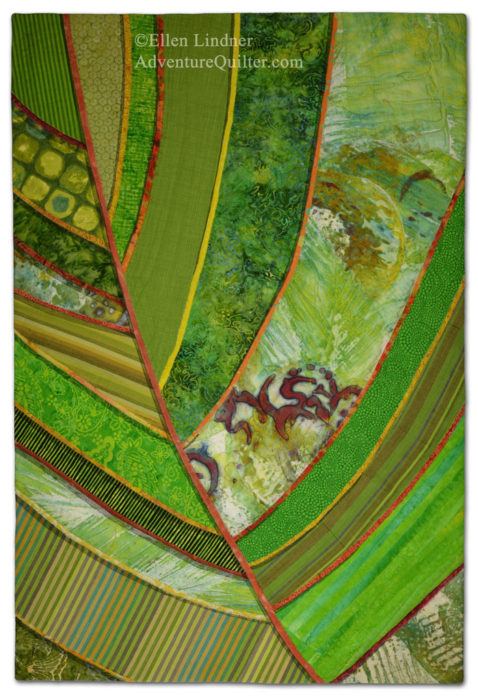
Here’s the final version, with veins complete.  I was quite happy with it.

Ellen Lindner creating a leaf quilt. AdventureQuilter.com/blog

Then, I got to thinking about adding shadows to make the veins looked raised.  I did a little experimenting and decided to do this with two layers of black tulle.

I covered the entire quilt with the tulle (2 layers.)  Next, I decided on the light source and did some crazy calculating (and guessing) to determine the correct width of the shadow at each location.  I drew in the shadow dimensions and stitched them with dark monofilament thread.  Finally, I cut away the extra tulle.

In the photo below the entire quilt has tulle on it.  I’ve stitched the first few shadow lines, on the right. allowing me to cut away the tulle in those areas.  I was pleased to see that it was developing as I had hoped.

Ellen Lindner creating a leaf quilt. AdventureQuilter.com/blog

In the next photo, the left side is still covered with tulle and the right has had the shadows completed.

Ellen Lindner creating a leaf quilt. AdventureQuilter.com/blog

And here it is finished.

Ellen Lindner creating a leaf quilt. AdventureQuilter.com/blogEllen Lindner creating a leaf quilt. AdventureQuilter.com/blogEllen Lindner creating a leaf quilt. AdventureQuilter.com/blogEllen Lindner creating a leaf quilt. AdventureQuilter.com/blogEllen Lindner creating a leaf quilt. AdventureQuilter.com/blogEllen Lindner creating a leaf quilt. AdventureQuilter.com/blogEllen Lindner creating a leaf quilt. AdventureQuilter.com/blogEllen Lindner creating a leaf quilt. AdventureQuilter.com/blogEllen Lindner creating a leaf quilt. AdventureQuilter.com/blogEllen Lindner creating a leaf quilt. AdventureQuilter.com/blogEllen Lindner creating a leaf quilt. AdventureQuilter.com/blogEllen Lindner creating a leaf quilt. AdventureQuilter.com/blog

I think the shadow effect worked perfectly.  What do you think?

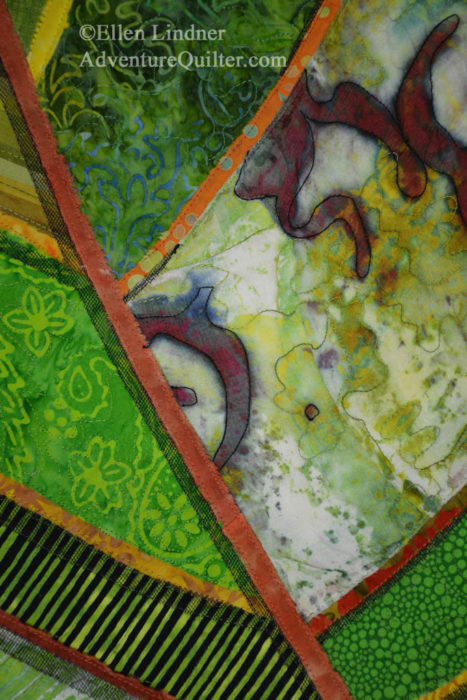
Want to see it up close?  I know you do, so here it is.

Ellen Lindner creating a leaf quilt. AdventureQuilter.com/blog

I think I might use clear thread next time.

The left quilt is now almost complete.  I’ll wait to trim and face it until the second quilt is finished, so I can make sure they’re the same size.

BTW, I’ve used tulle to add a shadow, or to change a color many other times.  See several examples on this page.  
– Misty Morn 
required four layers of black tulle to create the shadows in the foreground.
– Blue tulle was used to created the shadows on the oranges in Lakeside Citrus.
– Black oraganza (more opaque than tulle) was used for the berry shadows in Ripening.
– Two layers of black tulle created the border for Autumn Breeze.  Can you see how the interior image continues right into the border?

TIP:  Using tulle in this way is very easy.
– Start with a piece significantly larger than needed.  Pin well.
– Stitch along desired lines.
– Trim closely.
Because tulle is extruded plastic it will not ravel!  (Other woven sheers generally ravel very badly.)

Have you ever used tulle to alter a color?

Ellen Lindner

15