
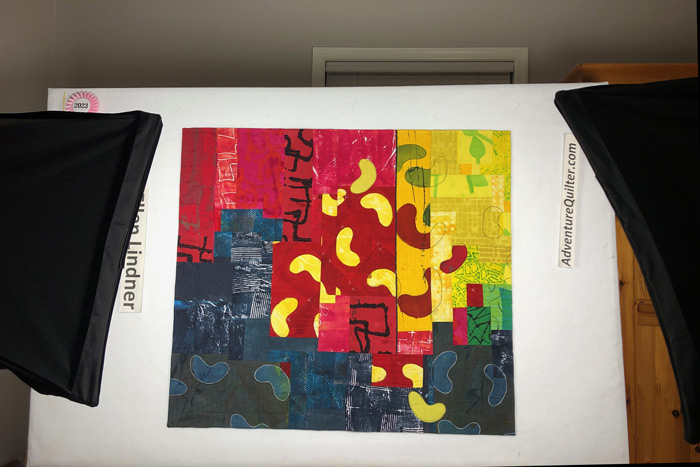
Photographing "Spilling the Beans," and art quilt by Ellen Lindner. AdventureQuilter.com/blog

Finishing Up the Red and Yellow Quilt

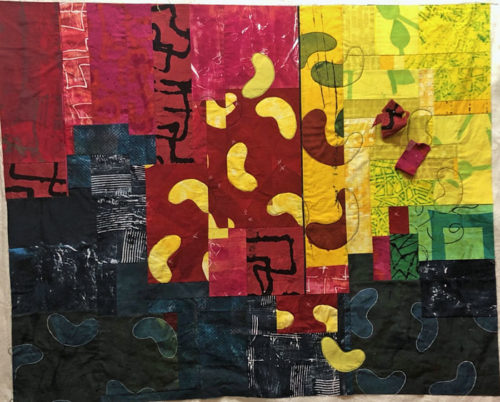
After finishing up the left 2/3 of my red and yellow “bean” quilt, it was time to tackle the right yellow portion. It came together pretty well. (Still in -progress below.)
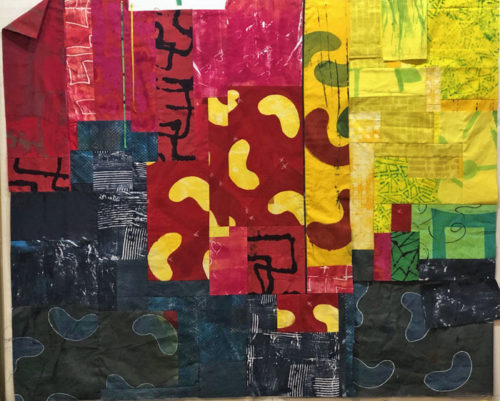
Red and Yellow Abstract. Ellen Lindner, AdventureQuilter.com/blog

During these final stages I also considered added some skinny lines, for energy. (See them pinned on at the top in the photo above?) I eventually decided against them, however, because I thought they’d attract too much attention. I wanted the other contrasts to be the attention getters. (And those bean shapes, of course.)

From early in the design phase I thought I’d probably want to applique on another couple yellow beans. (If you look back at the first post, you’ll see that I had one little piece of yellow fabric sitting on the red – near the top – as a place holder.) I auditioned that idea further near the end.
Red and Yellow Abstract. Ellen Lindner, AdventureQuilter.com/blog

I also considered adding some red ones. That’s what the red blobs are for in the photo above. I decided I just needed one. I made it a partial bean, like the other red ones.

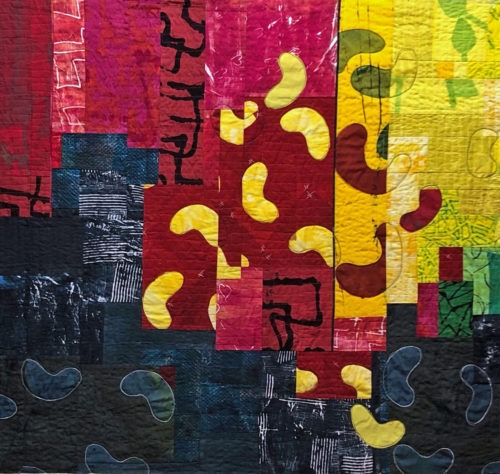
And then I cropped both sides. (But, I later added some of the red side back.)
Red and Yellow Abstract. Ellen Lindner, AdventureQuilter.com/blog

Finally, I had it all put together and quilted.  As you can see above, I added some more bean outlines during the quilting process. I really like using a double black line for emphasis.

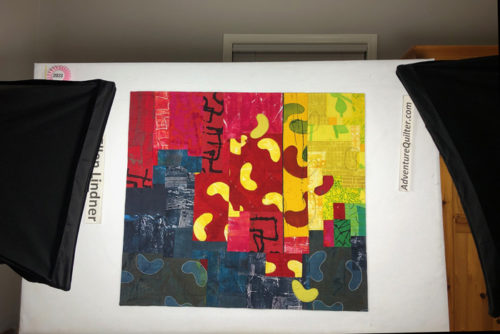
Then, it was time for photography.
Photographing "Spilling the Beans," and art quilt by Ellen Lindner. AdventureQuilter.com/blog

You can see the full finished quilt here. I’d really appreciate your thoughts about it – especially what you think about these two colors together. Yay or nay?

Ellen Lindner
Similar Posts

  • Rollins College, in Winter Park, FL has a beautiful campus on the edge of a lake, with huge oak trees.  It also has Cornell Fine Arts Museum, which I visited for the first time recently.  While looking for the museum, we ended up in an art building with a display of student work in the…

  • More Over Dyeing

    Now that I’ve started using those new stencils I can show you my results.  I started out by over dyeing some of the duds from my previous dyeing session.  Like this one.  Not horrible, but definitely not exciting either. I simply over dyed it with the same stencil and roughly the same colors.  As you…

  • Learn 2-Color Double Reverse Applique

    Recently, I wrote an article for Quilting Arts magazine about my Double Reverse Applique technique.  (You can find it in the February/March 2017 issue.) Double Reverse Applique is a really awesome technique, because it’s both accurate and easy.  Here’s the proof: my first attempt at using the technique. And here’s the photo that I used…

  • Welcome to Provence

    Every so often my small art quilt group, Dirty Dozen Fiber Artists, likes to have a group challenge.  Frequently, we use a photograph as our starting point.  We select something with lots going on so different people can respond to different elements. This is the photo we selected for our recent challenge, “Welcome to Provence.”…

  • Quilting and Cording

    When quilting my latest piece I decided to mimic the swirls/curves in the background. In addition to machine quilting, I also added some hand stitching around several of the curved shapes. My main reason for doing so was to add contrast to the white curves in the light areas. I intended to stitch around all the…

Leave a Reply

Your email address will not be published. Required fields are marked *