

Holding My Mouth Just Right
I recently added paint to a quilt! Gulp! This is something I’ve only done once or twice, so I definitely had to get my courage up.
It helped that I had done a bunch of painted exercises a few months ago. So, I did some practice samples, held my mouth just right and gave it a go.
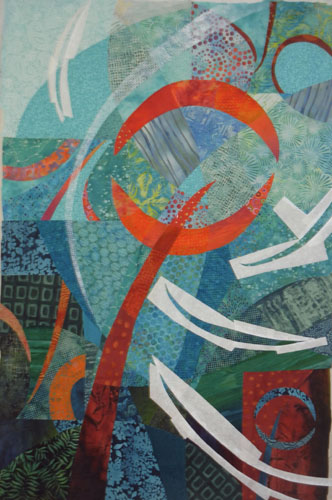
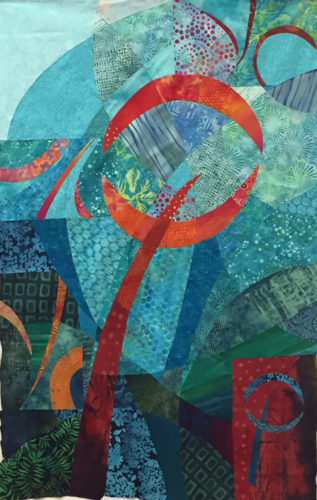
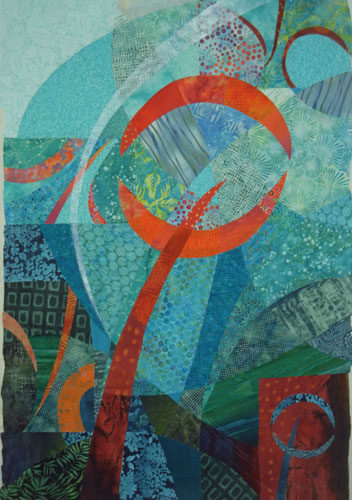
I had started this quilt at Quilting by the Lake, back in July, and had completed the fabric composition. After putting the quilt away for a few months, this is where I picked it up. I wanted to add some sheer swirling elements to the background. With paint. Gulp again.
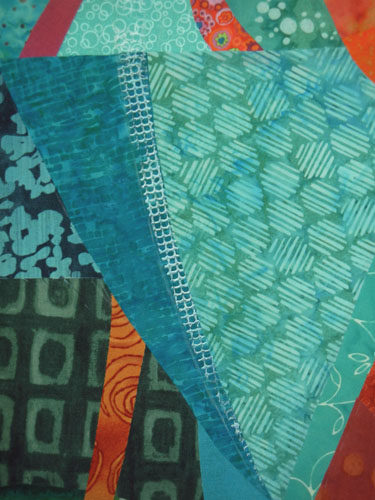
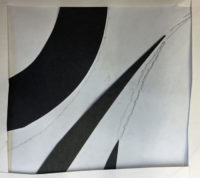
I had previously done some experimenting about how to best add a sheer layer with monoprinting. From that I knew that a certain scrap of shelf liner worked well. Like this. I thought it looked quite good.
But, it pretty much disappeared in the lighter patterned areas. Clearly, I’d need to beef it up some how. Back to experimenting.
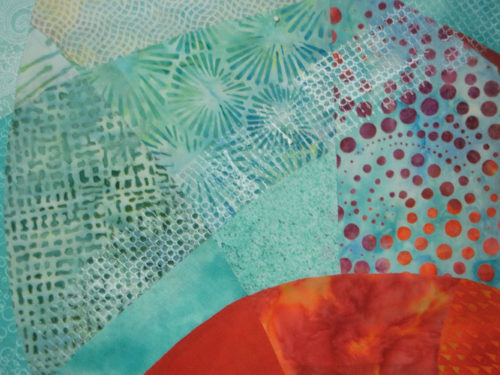
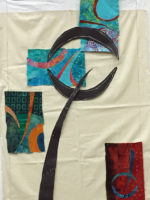
I figured out I could stencil on another light coat of paint to get my desired effect. Like this.
I used freezer paper to mask out the quilt areas that I wanted to stay paint free.

And this was the result. I was happy with it.

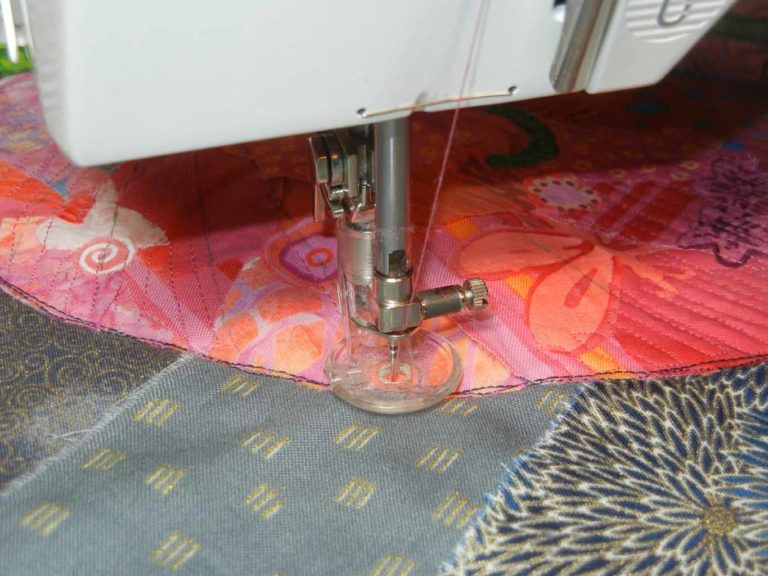
At this point, it was time to start thinking about the quilting design. I’ll show you what I did in the next post, plus something a little unexpected.
Ellen Lindner


Lovely piece–before and after! Fascinating to see how you added a sense of transparency to parts of the quilt with paint. I also loved seeing what you did in Jane Davies’ online class: I’m tempted to take it myself. It’s always fun to see what directions you take on your adventures as a quilter. I’m standing by to see how you quilted this piece….can’t wait!
Thanks, Laura.
Jane’s class was very worthwhile. Although I’d already done a bunch of exercises from her book, so there was some overlap. I chose one of her archived classes, which means there was no interaction. I’m a self-starter, so that was fine with me. Others might prefer interaction and feedback. Of course, those classes cost more.
I love that you share your creative process! Thank you and
Have a merry Christmas
Ingrid
Glad you’re enjoying my comments, Ingrid. I’m just so chatty!
Have a wonderful Christmas!
I loved the effect you got, makes me want to get out my paints again, looking forward to seeing the quilting.
Thanks, Linda. It was both easy and effective, so I’ll be using this technique again.
Amazing how just that subtle touch pulled it all together and added a very different texture element to look at. Here’s a cheer for mixed media! Glad the mouth technique worked!!
Oh yeah, the mouth technique is absolutely required! 🙂
I can definitely see myself doing this again.