Loosen Up with Torn Paper Collage
©2016 Ellen Lindner
Do you create artwork inspired by realistic images? Do you find yourself wanting to interpret these images somewhat loosely, instead of super realistically? If so, collaging with torn paper can really help you loosen up.
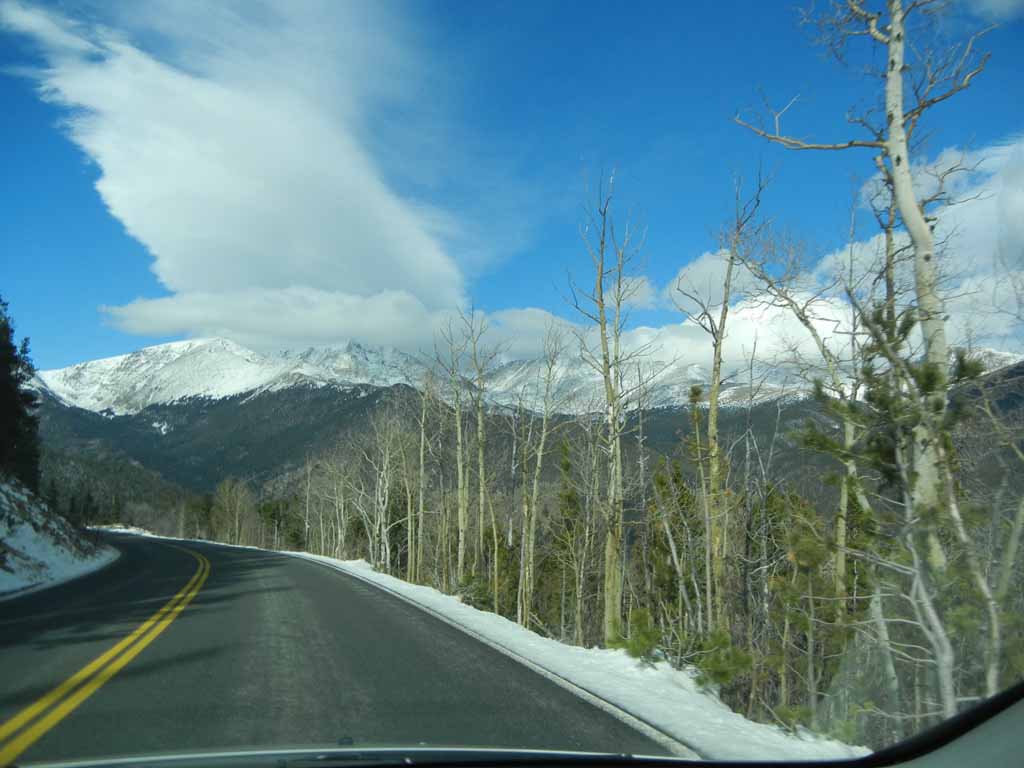
Inspiration photo taken in Colorado
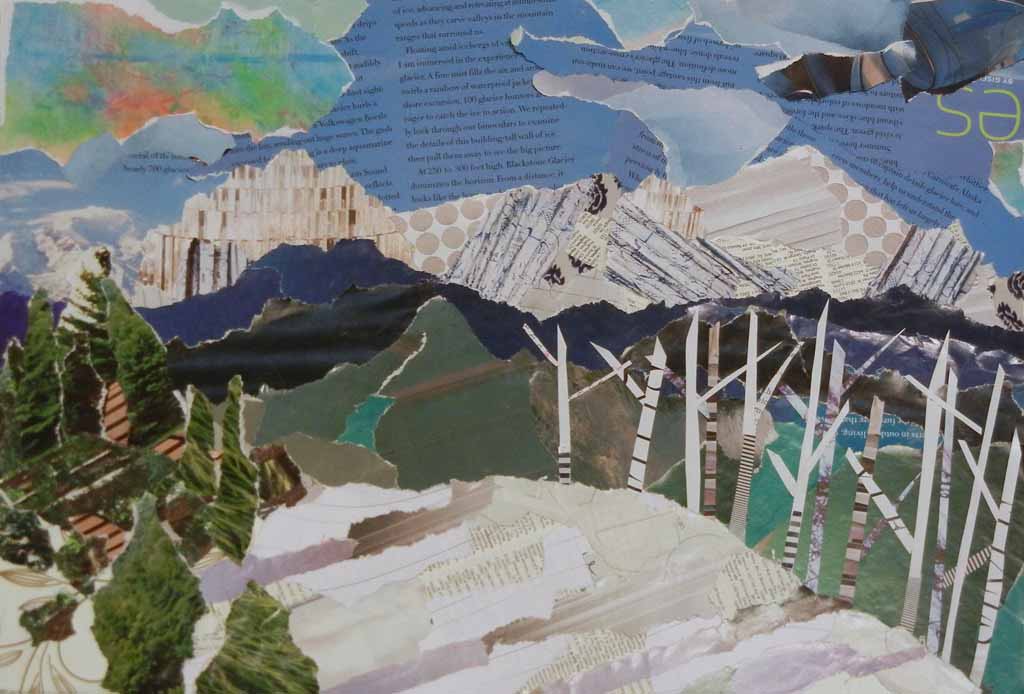
Resulting torn paper collage, High Country Impressions
This is the process. (Whenever I’m trying something creative I purposely take every detour that occurs to me, so feel free to do the same.)
- Find an inspiration photo you like.
- Study your photo and notice what combination of colors and patterns are in it.
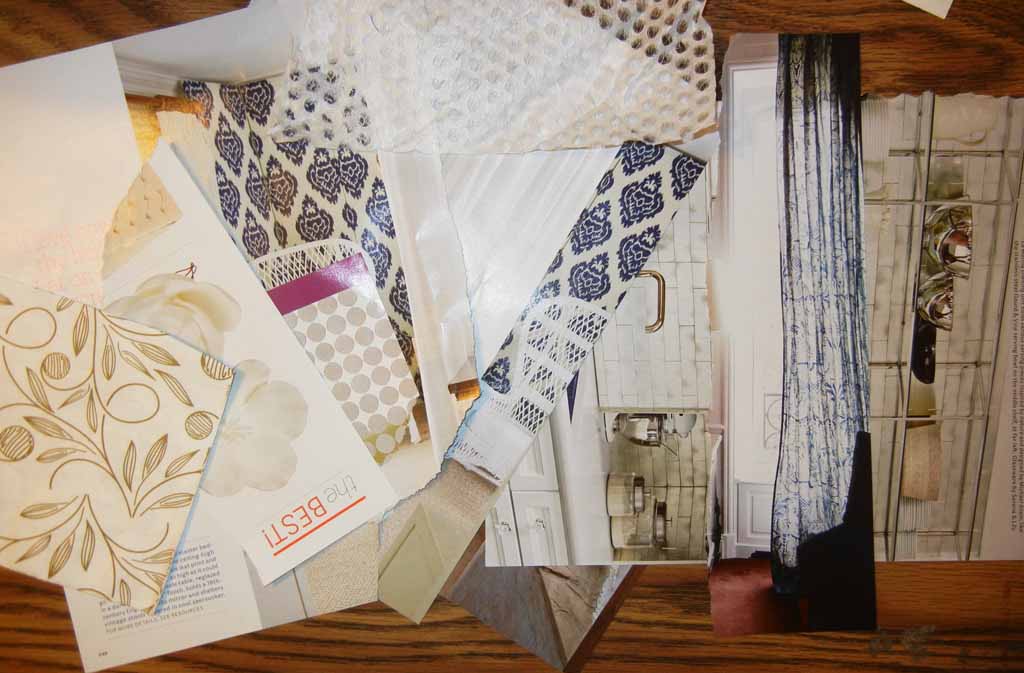
- Use one magazine, like home décor, etc., and tear out full pages that have the colors and patterns you’ve identified.
- Use a piece of paper or lightweight cardboard, 8 1/2” x 11” as the base for your collage. (The weight of a file folder is perfect.)
- Grab a glue stick.
- Starting with the background of your image (sky, etc.,) TEAR images from your magazine pages and glue them in place.
- The idea is that tearing won’t allow you to capture small details, so you’ll have to focus on the primary shapes only.
- Continue tearing and working your way down your page to the foreground.
Here’s a look at my process as I made the collage for Colorado Mountains, above.
- When studying the photo, I noticed the striated/striped effect of the mountains. So, I looked for pale blues and white on white patterns that had a linear effect. I found them in images of a chandelier, sheer curtains, text, etc.
- This was my first attempt at the mountains. As I laid the pieces in place, I put them on a diagonal to represent the slope of the mountains. It was not quite right, though.
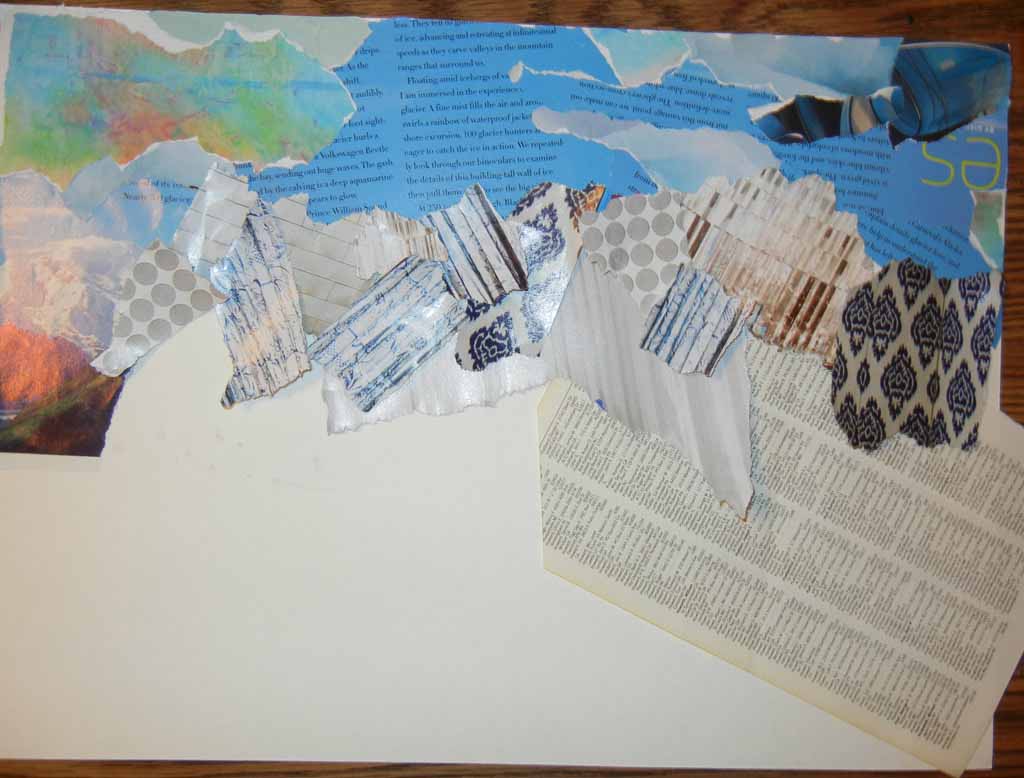
- I omitted the darkest papers and did a bit of finagling and I had it.
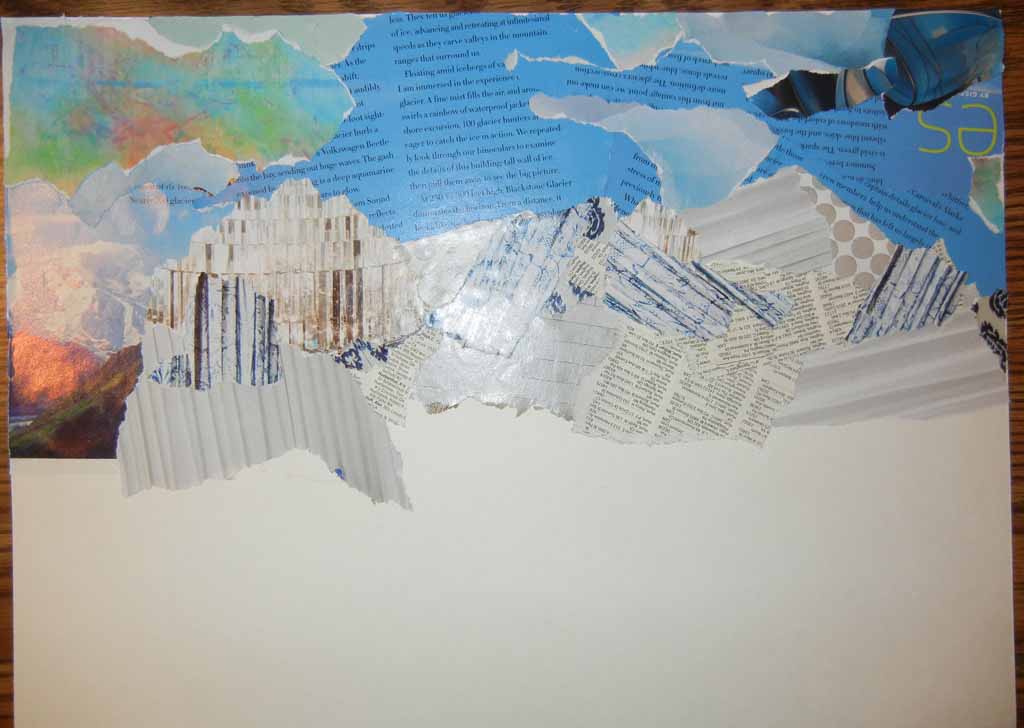
- The sky and mountains needed mostly solid greens and blues, so that was easy.
- The snow in the foreground had a similar linear effect to the snow on the mountains, due to the shadows from the trees. Of course, this area was actually a road in the photo, so I used artistic license and made a change.
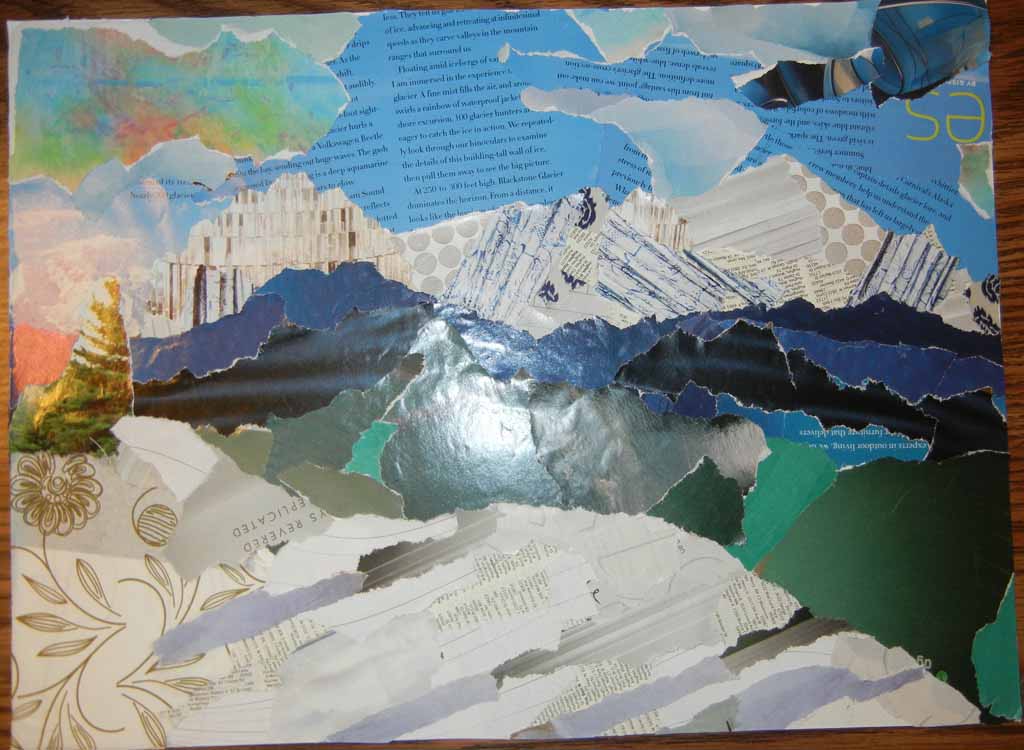
- For the trees, I found garden foliage photos and tore them to shape.
- And I CUT the striped paper for the trees. (Yep, I broke my own rule.)

I think this collage turned out very well. It’s definitely looser than the inspiration photo, but also more dramatic. If I wanted to make a quilt with this imagery, I’d reference the collage only and put the photo away.
Here’s another inspiration photo: Japanese Ti Plants in a nearby botanical garden. These plants had some frost damage and dead brown leaves. But, when backlit those leaves looked orange, and the healthy pink ones glowed.
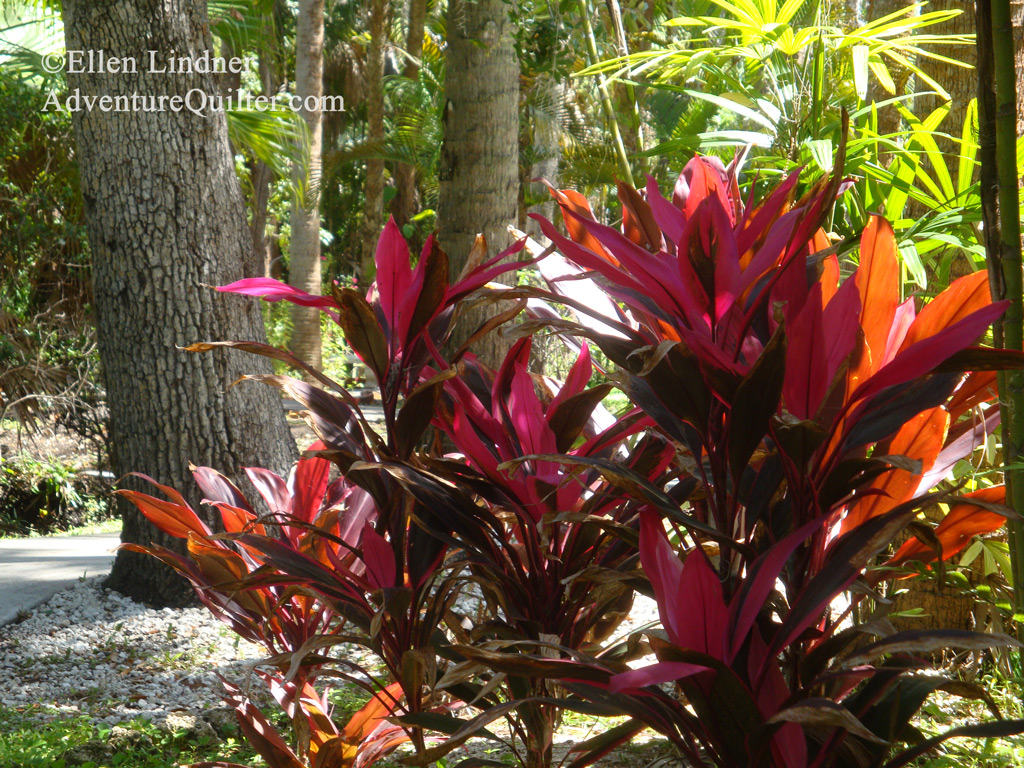
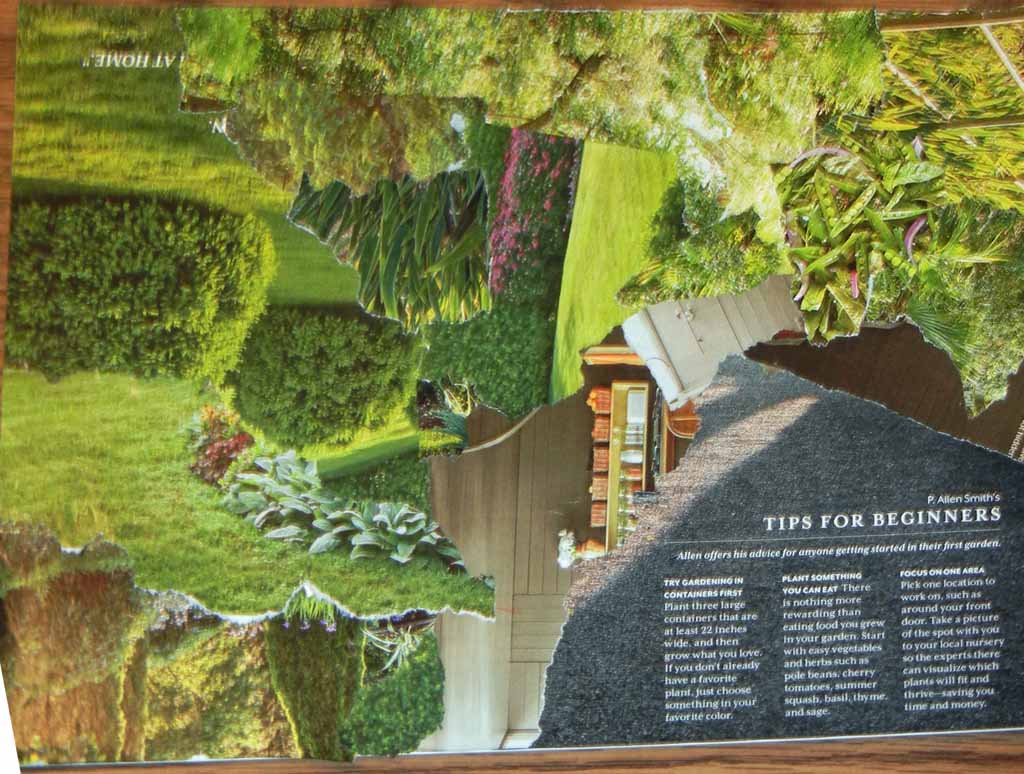
After studying the photo, the things I wanted to capture were the bright pink and orange colors, the darker foliage in the foreground, and the busy sunlit foliage in the background. I tore out magazine pages with those thoughts in mind.
First the background:
Then, some bright colors to establish the shape of the plants.
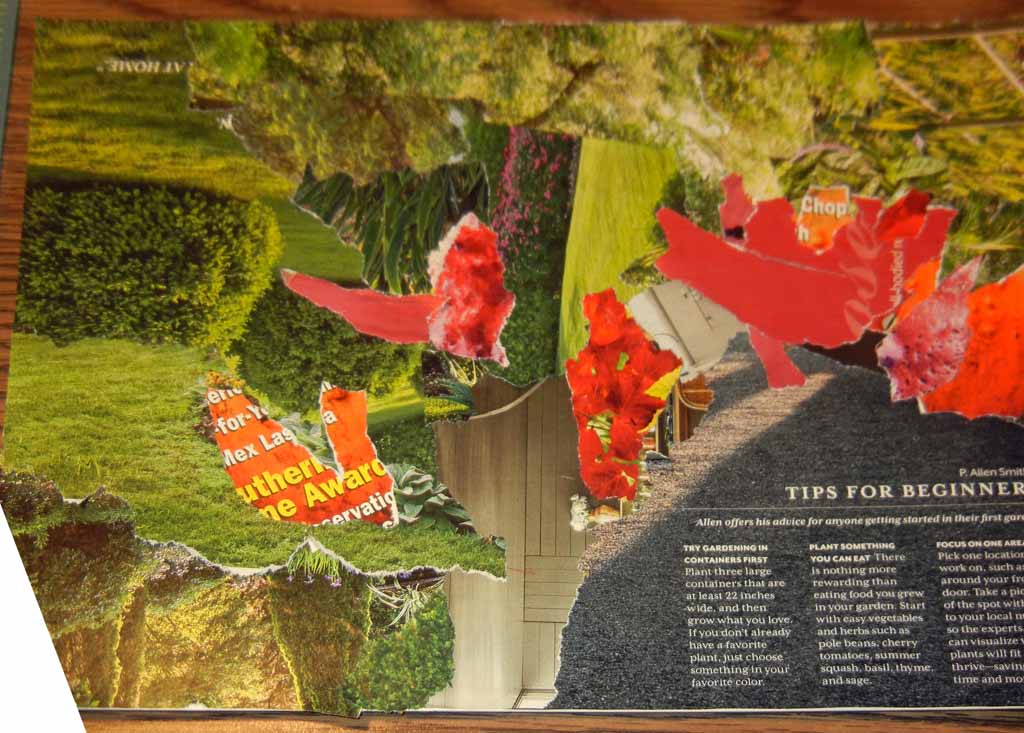
And the final result.
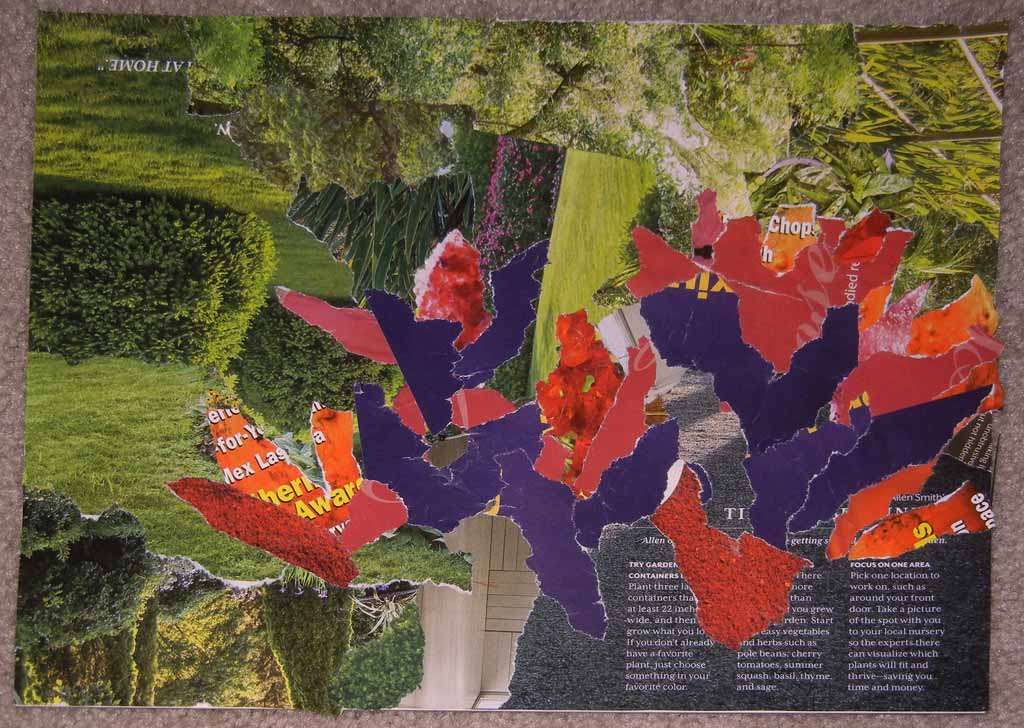
I really liked it! As you can see, I took some liberties with the color of the darker foliage in the foreground. And I left off the stems.
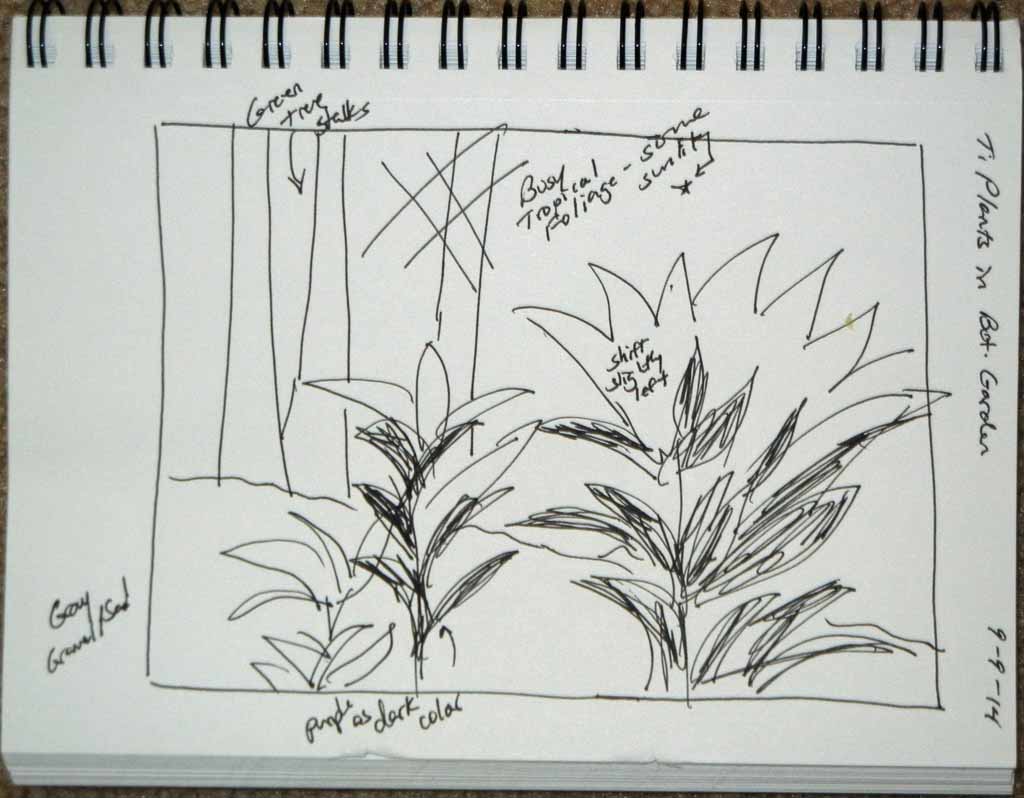
I liked this collage enough that I began to think about making it again as a quilt. First I drew a little sketch, having already identified the key components.
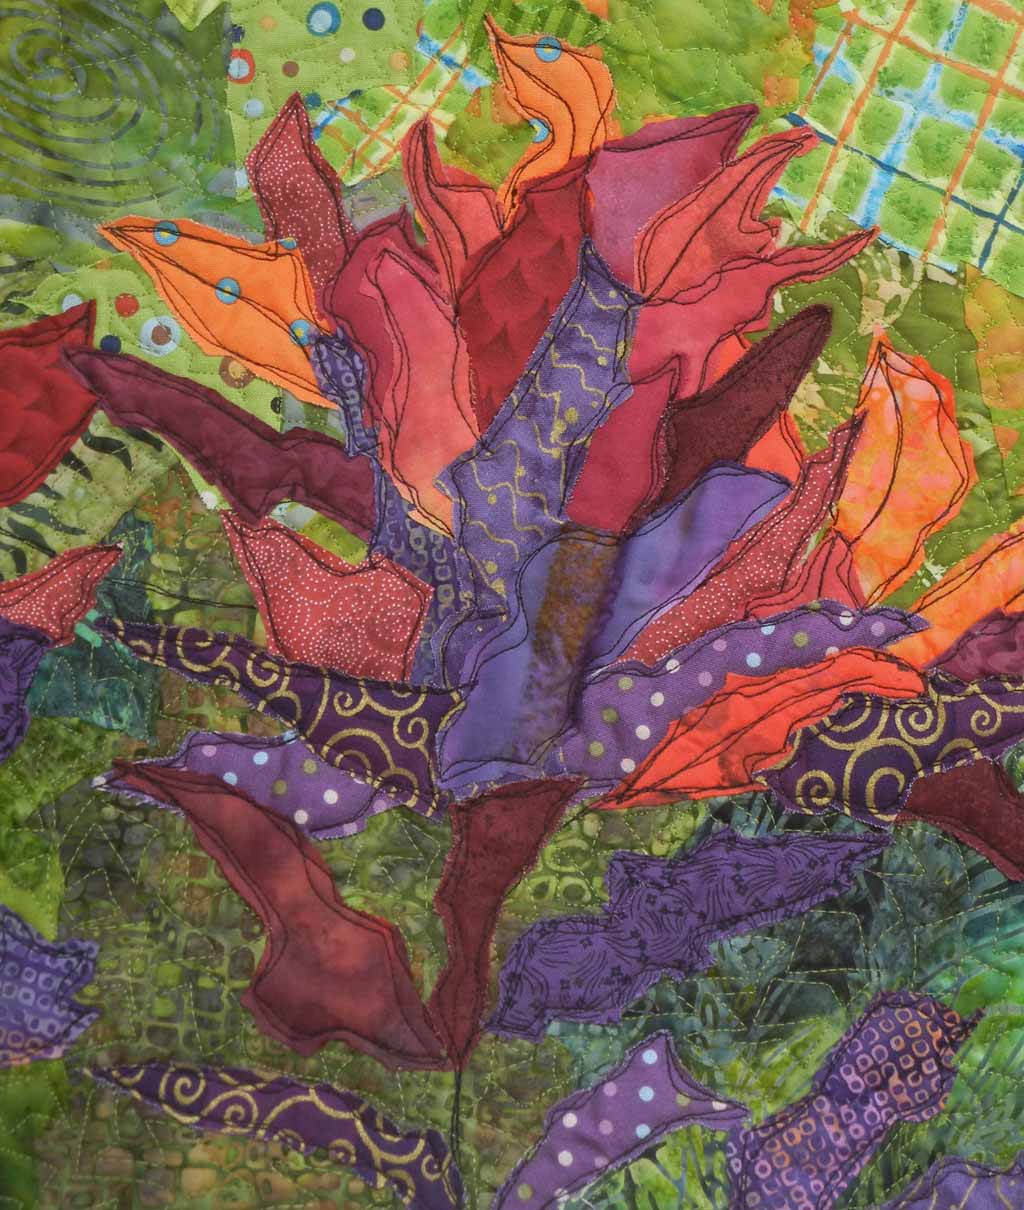
And this is the finished quilt, Ti Party. Can you see how the creation of the paper collage was a great help when loosely interpreting the original photo? I kinda love it.
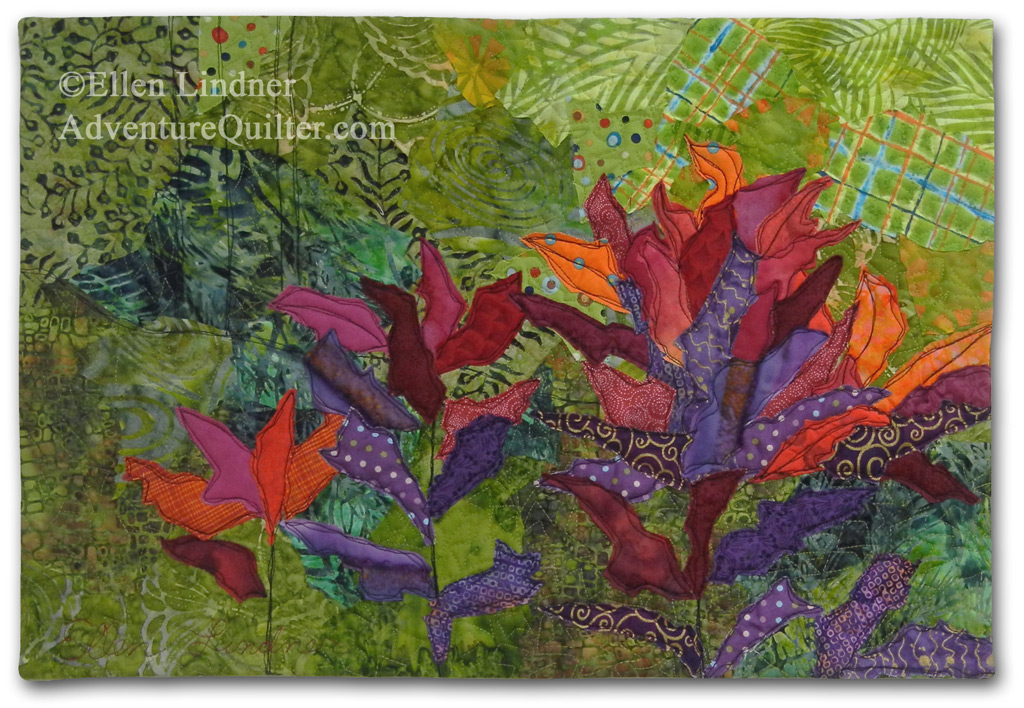
Here’s a detail shot.
Here’s another example.
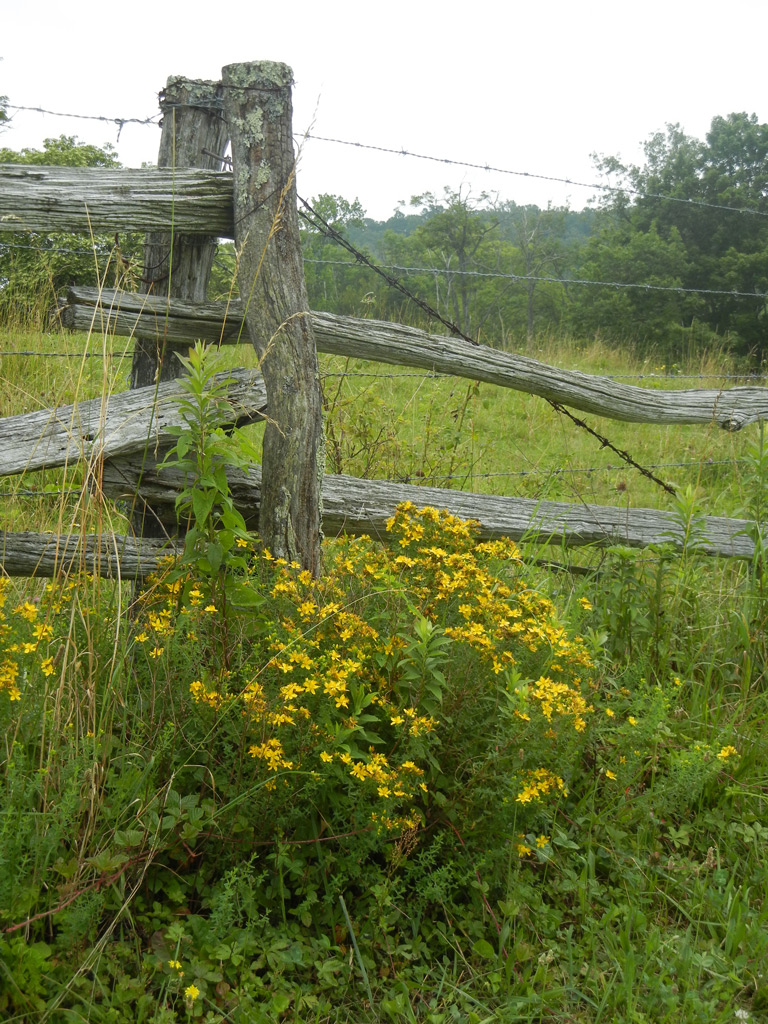
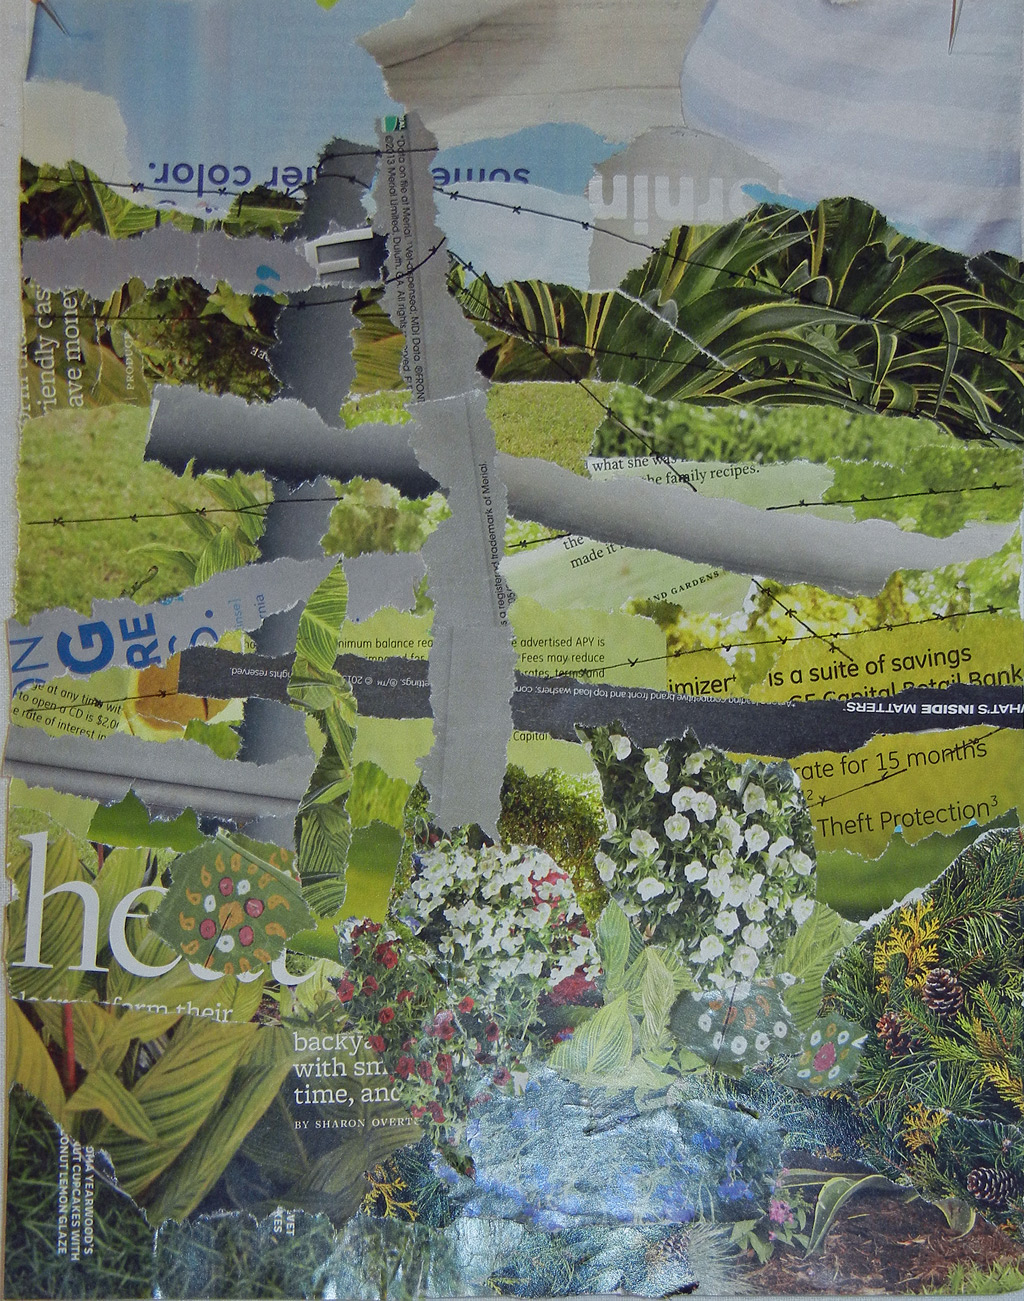
I don’t know. I might have managed to still get overly detailed on that one.
I first learned about this technique in a class taught by Cherilyn Martin.
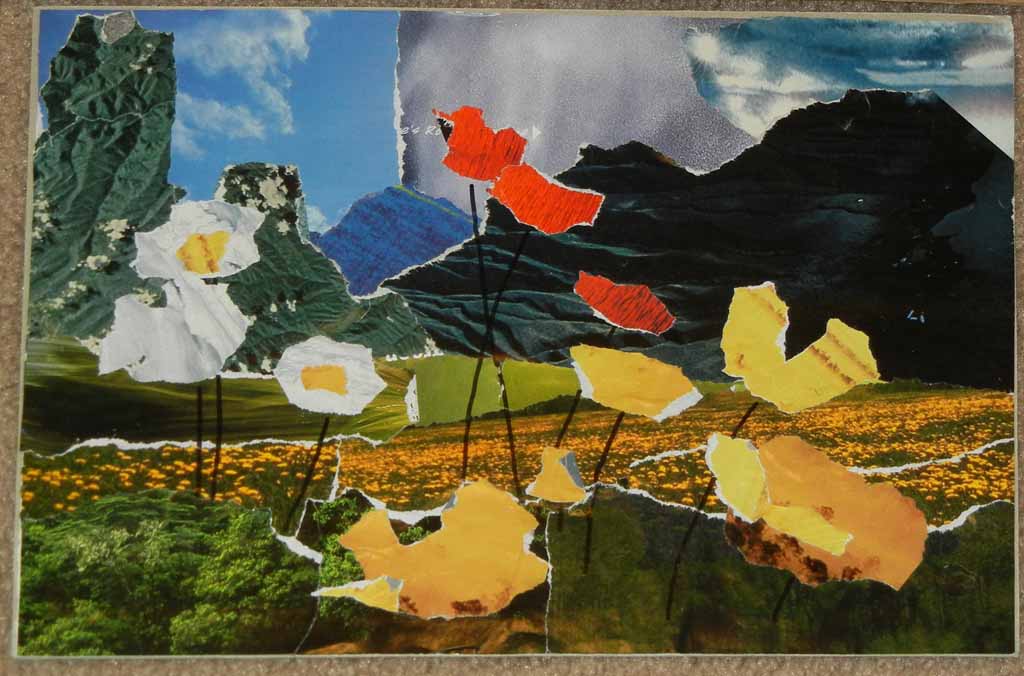
My inspiration photo for that first exercise was a beautiful photo of Rocky mountains, with white, yellow, and orange poppies in the foreground. (I don’t have permission to use the photo, so I’m not showing it.)
Here’s my completed collage.
I hope you’ll also find this technique useful. (It can also serve as a fun exercise in creativity.) If you give it a try, I’d love to see your results!
Ellen Lindner
