


Prepping for a Solo Show
I’m very excited to have a solo show coming up in August, in Bedford, VA!
I’ve been super busy prepping for it. First, I had to find all the pieces: 32 in all!
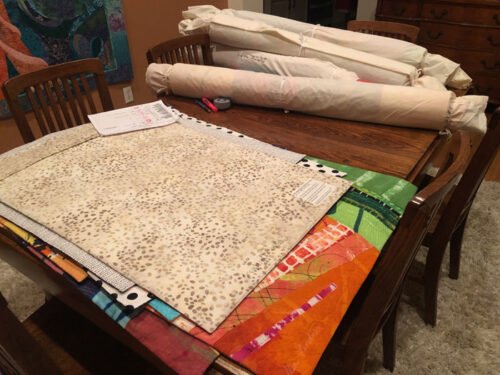
I’m a stickler for having my work hang nicely: flat, with no hardware showing. The venue shared information about their hanging hardware and preferred methods and I quickly realized I needed to make some changes. (I didn’t mind, since I was glad to have an opportunity to avoid problems for this exhibit and future ones.)
The bottom line: I needed to significantly lower my hanging sleeves. I didn’t want to actually remove and restitch the existing sleeves, so I hand stitched an additional line through the sleeve to act as the top of the new opening. I was careful not to let the stitching show on the front. (Later, I can remove the hand stitching and revert to a traditional sleeve, if needed.)
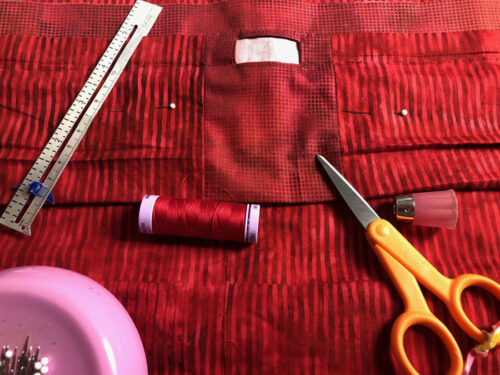
During this process I had to repress the sleeves and I used a ruler as a straight edge.
A plastic ruler.

Oops! That only worked for so long. (Duh!) Then, I swtiched to a metal ruler.
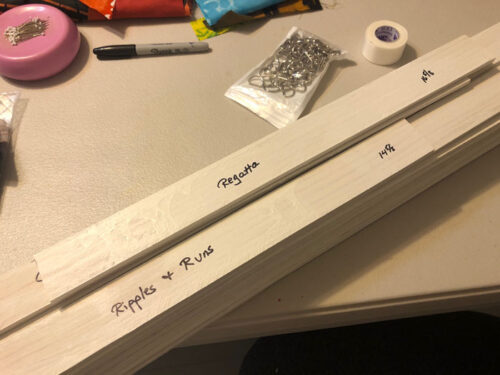
Next, it was time to make new slats. The venue wanted very wide slats with D rings. I bought lattice strips and primed them. After measuring each quilt I marked the desired slat lengths and hubby cut them for me.
Time for the D rings. I’ll show you how I do those in the next post.
I’m making good progress.
Ellen Lindner
P.S. If you’re in SW Virginia in August or September I hope you’ll check out the show.


Hi Ellen,
Do you make the small rectangular opening in the center of all your sleeves or did you have to rework the sleeve to add it? I know some galleries use systems that require hanging pieces from the center.
Good question. I started adding the central rectangular hole last year and I will continue to do so. However, because I had to modify the sleeves for this exhibit, the central holes no longer show. In the future I’ll use them and lower the sleeves from the beginning, so they’ll be usable again. It’s been a learning curve!
Thanks for this and your D rings post; both are helpful. Two questions: What did you use to prime the wood? Can the lattice strips be cut with a hacksaw?
Hi Janice,
I’m glad this information is helpful to you.
The primer is labeled “All Purpose Primer.” And, yes, you can use a hacksaw on the lattice strips.