

So, I Whacked the Corner Off
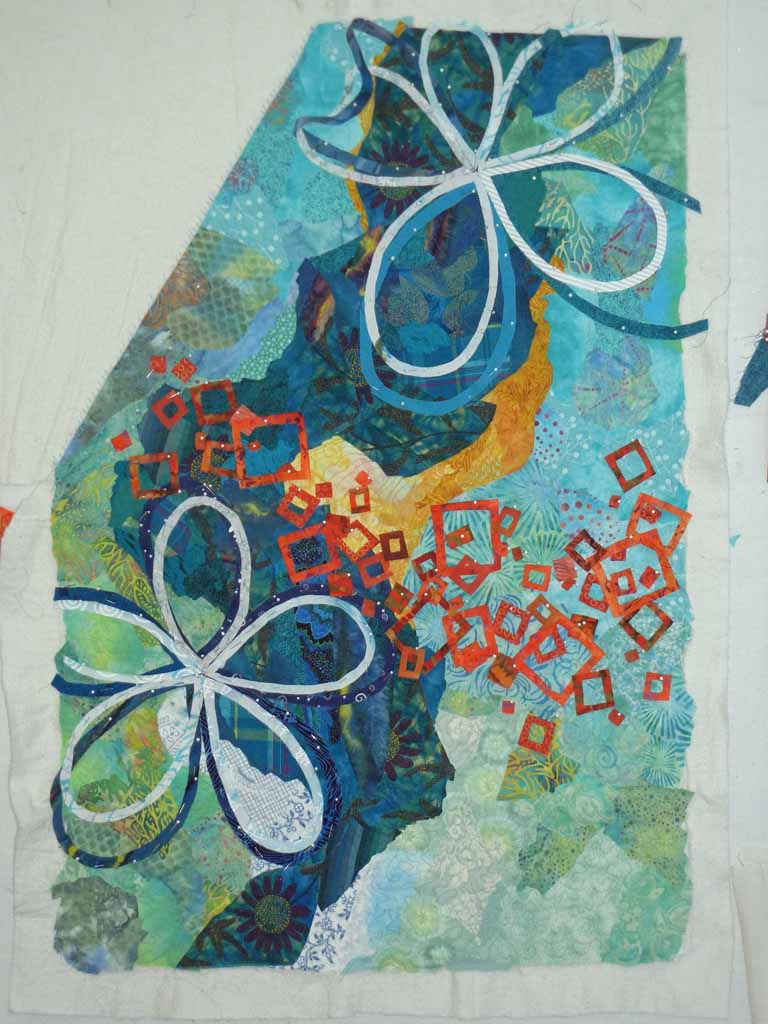
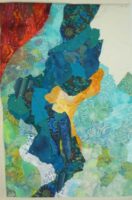
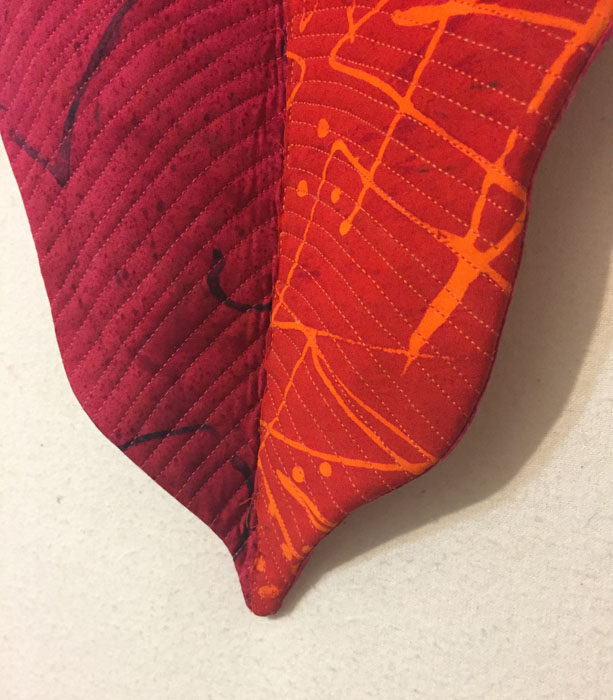
In my previous post, I showed you a big orange/rust blob on my current quilt that needed to be dealt with. Eventually, I decided just to whack it off. Like this.
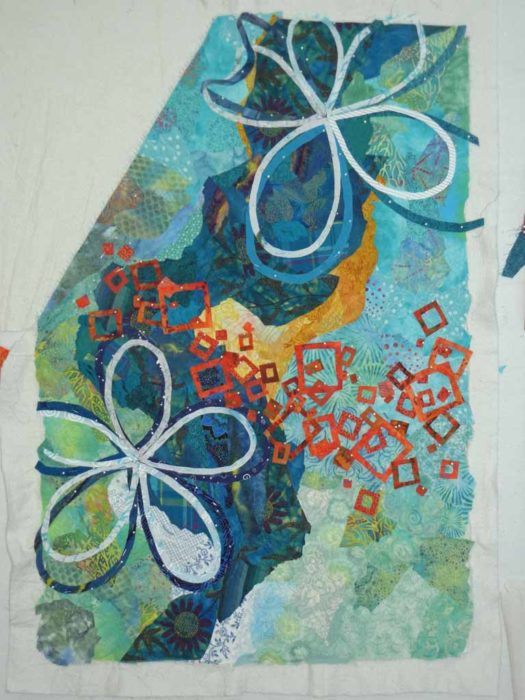
Knowing that I’d need to attach new batting before continuing, I put the batting under my quilt before cutting into it. That way, the batting had exactly the same edge shape as the portion removed. I butted it up next to the quilt and hand basted them together.
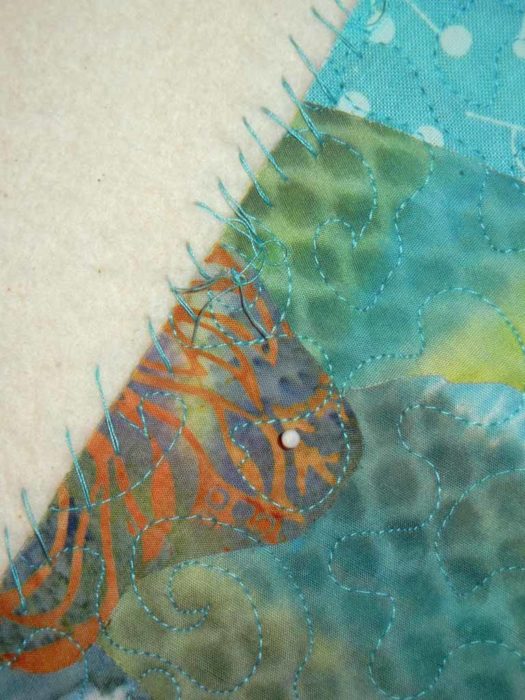
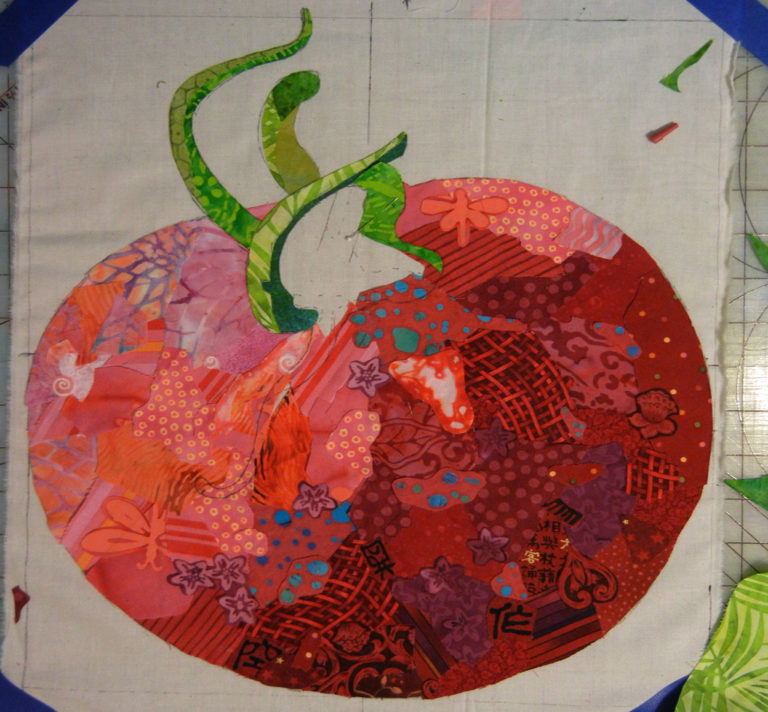
Then, I recollaged the corner and was MUCH happier with it.
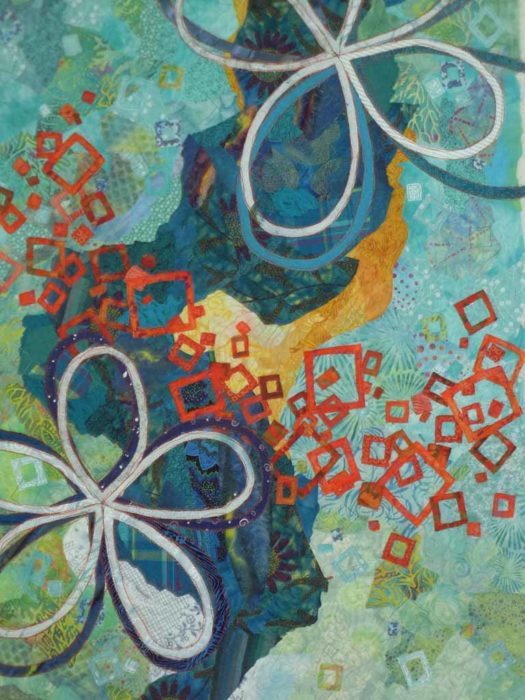
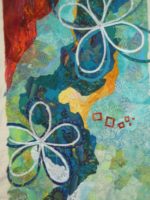
Finally, I stitched all the squares in place. (Did you notice the ones in the background too?) I also did some undulating stitching around the flower petals.
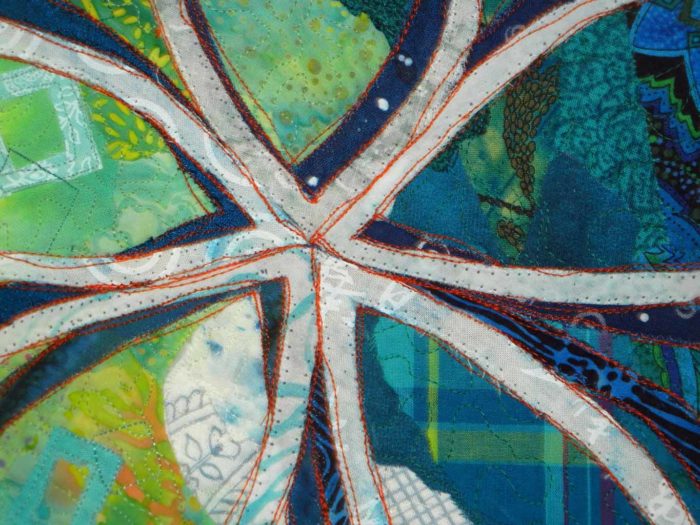
And this is where is stands: completely finished except for facing, etc. I started doing that and realized it’s TOO SMALL for the exhibit I had intended to enter it in. Oh no! So, I quickly switched gears and started on the next quilt, leaving this one to wait for my attention.
Oh well. I’m just thankful I have time to do another one!
Ellen Lindner

gorgeous. masterful use of shape and color. truth be told, i liked every phase, but the progressive result knocks my socks off.
Thanks, Eleanor! I’m loving it, too.