

Stitching Tomatoes
After placing my three tomatoes on a grey background it was time to quilt everything. I knew I wanted to use contour stitching, so I pulled out my inspiration photos for reference. I drew contour lines with a pencil first, directly onto each photo. Once I was happy with them, I went over them with a Sharpie.
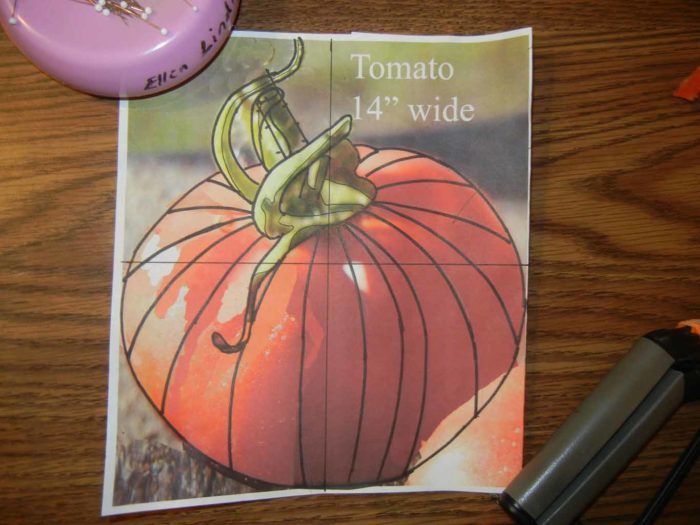
Next, I marked lines on the quilt, and took it to the machine.
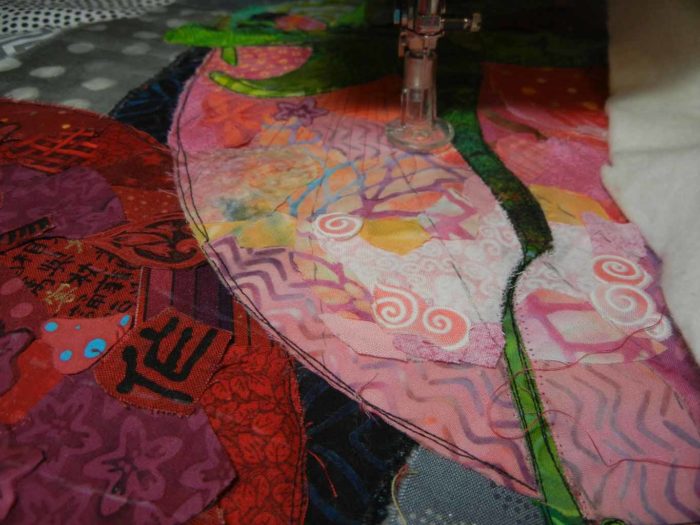
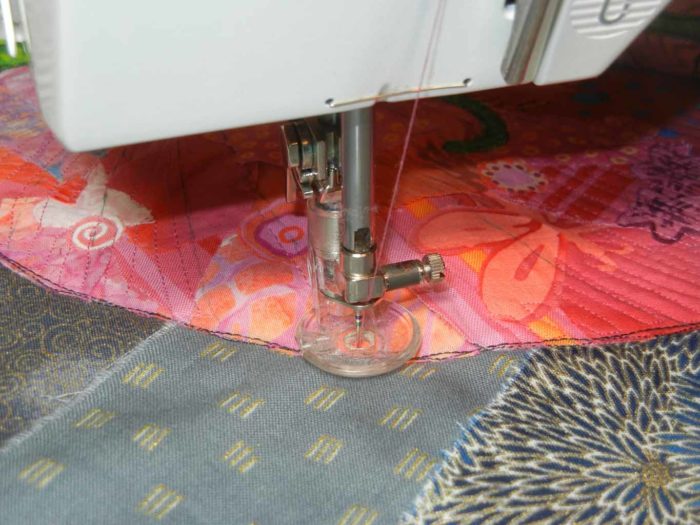
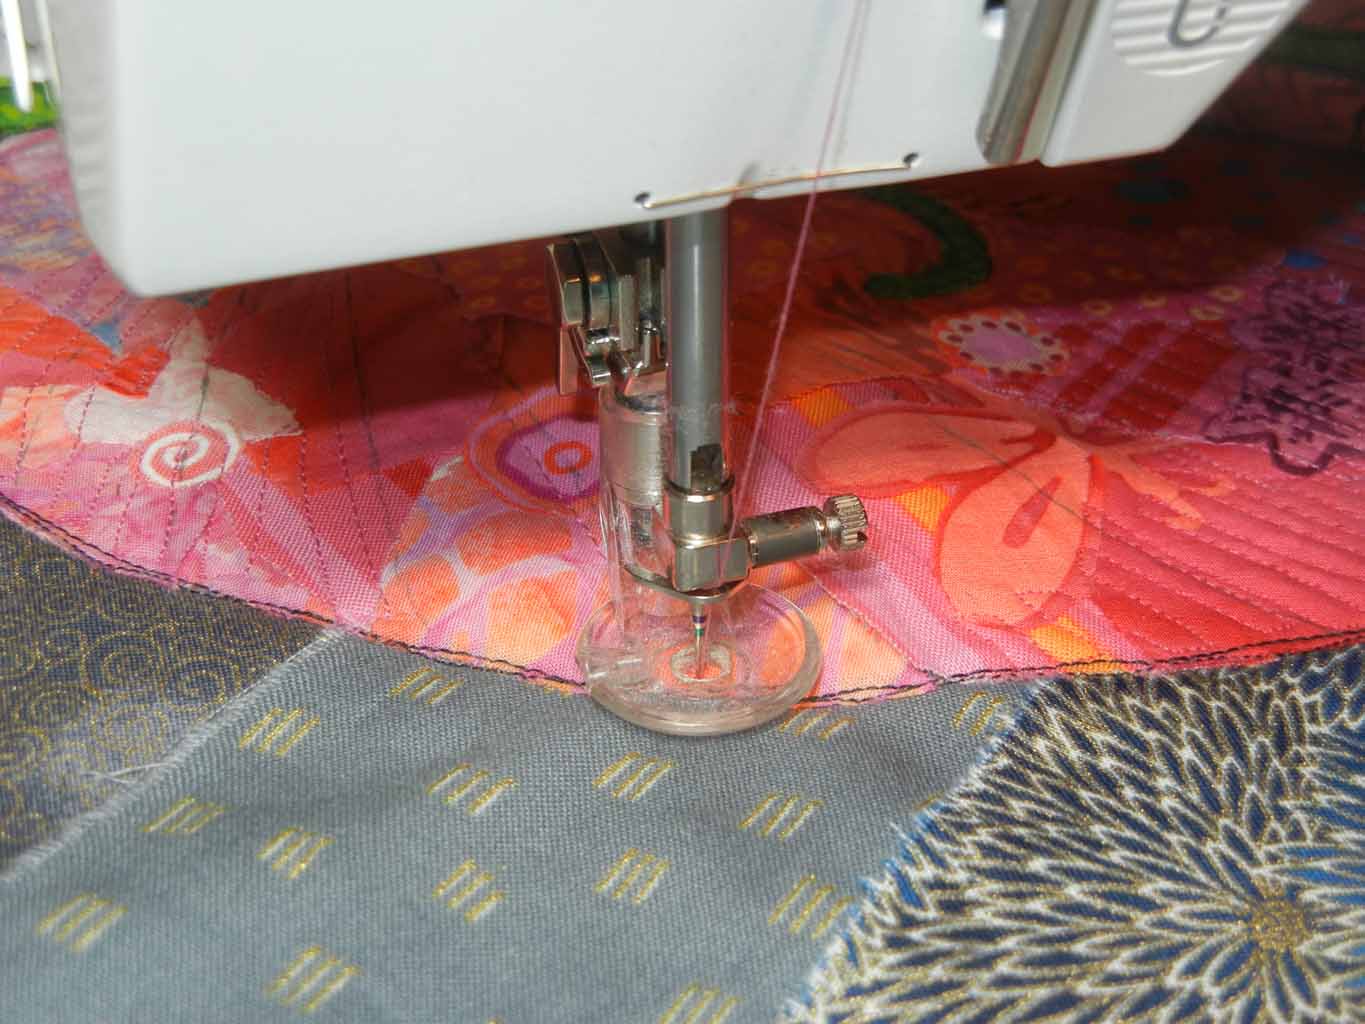
Did you notice my unusual quilting foot? It’s actually intended for cording. I like it because it’s transparent, giving me good visibility. But, mostly because the edges flare up slightly all the way around. This means the foot is unlikely to travel up underneath the tons of fabric edges I have on my quilts. It works beautifully.
Here’s the right tomato quilted. It still needs to have the quilting marks removed and it needs a haircut.
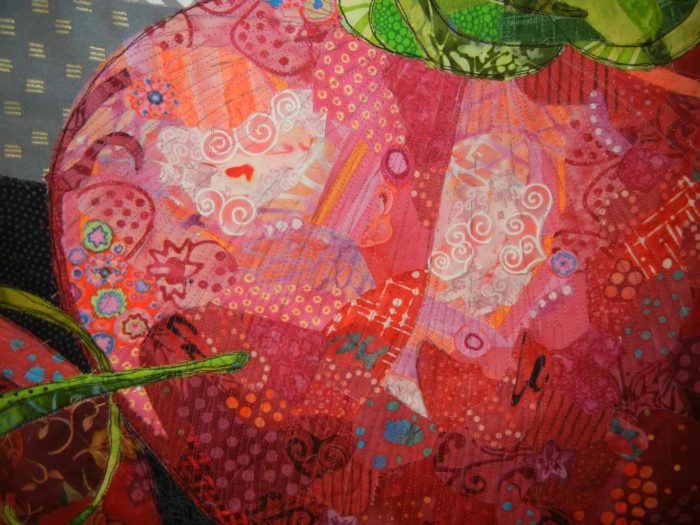
Same for the center tomato.
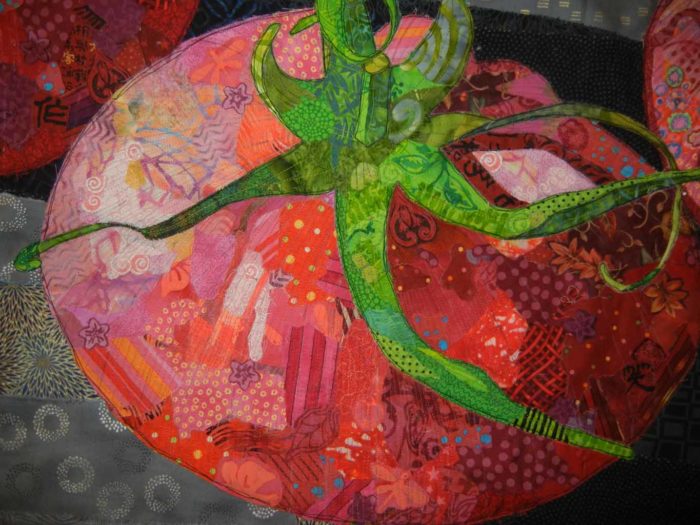
I stitched around the leaves and the edges of the tomatoes with black thread. This added definition.
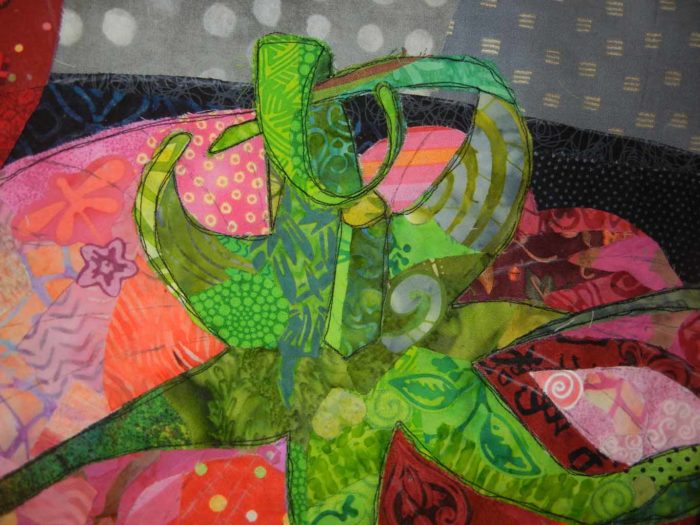
Now, I’m finishing up with facing, a label, a sleeve, etc. I’ll be finished soon!
Ellen Lindner

Hi Ellen,
Great looking tomatoes! Thanks for the cording foot idea. What kind of marking pens do you use and how do you remove the marks? Thanks!
Christine Frank
Thanks, Christine!
For light fabrics I use Frixion pens. These can be found in office supply stores. They come off with a warm iron. But, since the Frixion sometimes leaves a ghost line on dark fabrics, I use a Sewline mechanical pencil with white “lead.” Those marks come out with a little water and rubbing.
See these two posts:
http://adventurequilter.com/old-blog/2013/01/new-tricks/
http://adventurequilter.com/old-blog/2015/01/new-gizmos/
I just found you. Love the tomatoes! I subscribed.
Thanks, Holly. Welcome!