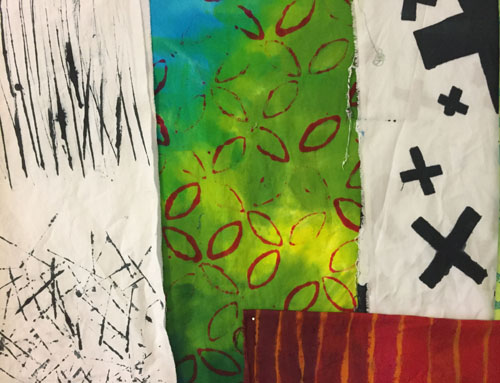
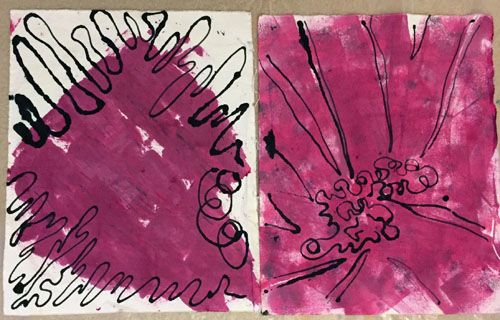
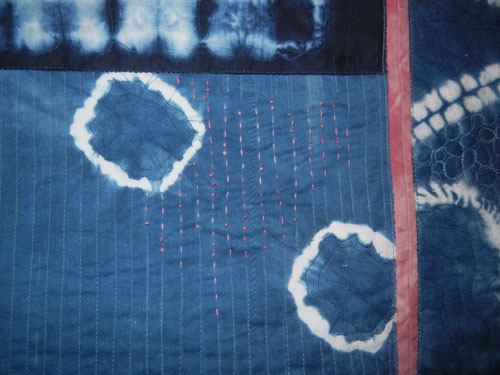
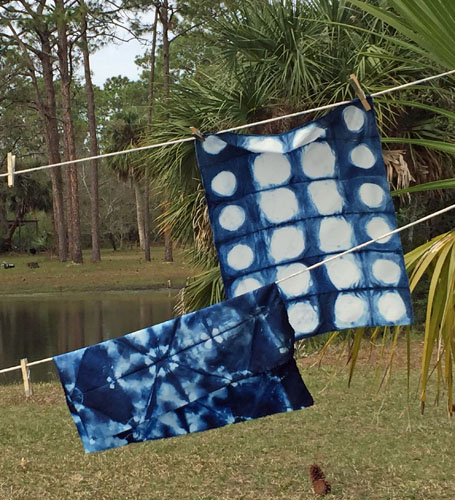
Tag Archives | Dyed Fabrics

Rust with Turquoise Abstract

My latest abstract piece is progressing nicely.  After creating the sketch and selecting fabrics, I began to compose the background on my design wall.

Abstract art quilt in progress. Ellen Lindner, AdventureQuilter.com/blog

Here it is, completed.

Abstract art quilt in progress. Ellen Lindner, AdventureQuilter.com/blog

Next, I made tracing paper patterns of the two undulating lines I wanted to add.

Abstract art quilt in progress. Ellen Lindner, AdventureQuilter.com/blog

It’s coming along, don’t you think?  I was happy with this design and began to select fabrics for the undulating lines. As usual, I wanted several fabrics for each shape.

Here they are, finished.

Abstract #4 in-progress. Ellen Lindner, AdventureQuilter.com/blog

Next, I auditioned the idea of adding skinny undulating lines.  Should they be teal or rust?  I tried out both.

Abstract art quilt in progress. Ellen Lindner, AdventureQuilter.com/blog

I drew sketches in the computer and that settled it.

Abstract art quilt in progress. Ellen Lindner, AdventureQuilter.com/blog

Not teal.

So, I cut some skinny strips of hand dyed rust and set to work.

Ellen Lindner
P.S. Right now I’m calling this “Abstract #4.”  I definitely need a different way of thinking of this piece, but titles often come to me last.

8

Maybe I Need More Fabric

Maybe I need more fabric.

My husband would LAUGH at the idea!  With about 1000 pieces of fabric SURELY I must have anything I could imagine, right?  Well, maybe not.  I’m used to working with lots of small pieces (think palm-sized to hand-sized,) but my next quilt would probably need much larger pieces.  I needed to check and see if my stash was up to the task.

My design is shown sketched, below left.  The solid and dashed lines indicate fabric changes. Sure enough, at 36 x 24, some of those pieces will need to be fairly large.

Planning a new art quilt with Ellen Lindner. AdventureQuilter.com/blog

First, I drew a rough idea of my design on a base muslin fabric.  This is full scale and will serve as the base of the quilt.

Planning a new art quilt with Ellen Lindner. AdventureQuilter.com/blog

Then, I pinned up my fabrics to check it out.

Planning a new art quilt with Ellen Lindner. AdventureQuilter.com/blog

Hmm.  I have enough fabric to cover the surface, but some of the pieces are either too busy or too small.  (All the ones on the left are too small.)  But don’t you LOVE those colors together?  I do!

So, I did some shopping: first, locally, and then a little online.  As I waited for my fabrics to arrive, I was glad to have enough to get started.

Planning a new art quilt with Ellen Lindner. AdventureQuilter.com/blog

Only two pieces are cut to shape in the photo above: top center and bottom right.  The bottom right piece is hand dyed and is all one piece of fabric.  However, the top center one is a commercial fabric cut up and rearranged.  I’m quite happy with the way I was able to get it to gradate without harsh edges.

Now I wait for the mail.

Ellen Lindner

4

Dye Day

My friend, Ruth Anne, once invited a group of us to her “barn” for a messy project.  This time it was dyeing.  Our first project was to dye 8 different gradations of black.  All with the same dye, just in different saturations/strengths.  Since black dye is made up from other colors, it will sometimes separate in some interesting ways.  That’s what I was actually hoping for with mind.  So, I didn’t mix it well.  I just scrunched the fabric and stuck in a bag.

And these are the results.  The photo doesn’t do it justice, since there are some dark blues and maroons in there.  Cool, huh?A day of dyeing. Ellen Lindner, AdventureQuilter.com/blog
Next, we did shibori.  After wrapping our fabric around poles, we applied the dye and left it to soak.  We used things like cut off 2 liter bottles.

A day of dyeing. Ellen Lindner, AdventureQuilter.com/blog
Ruth Anne was very organized.  She had a big bucket for us to set our containers in.  This held them upright and worked very well.

A day of dyeing. Ellen Lindner, AdventureQuilter.com/blog

I clearly used too much dye and didn’t get the contrast I would have liked.  Still very pretty, though.

A day of dyeing. Ellen Lindner, AdventureQuilter.com/blog

A day of dyeing. Ellen Lindner, AdventureQuilter.com/blog

Our final technique of the day was writing with a syringe and thickened dye.  I got two very different results when I used two different fabrics.  The one on the right is cotton, which worked well.  The one on the left is something unknown.  You might say that the colors look the same, but no.  The blue-green lines on the left piece were supposed to be dark blue.  And the pale greyed blue in the background is the same blue-green dye I later used on the right.  Can you believe the difference?

A day of dyeing. Ellen Lindner, AdventureQuilter.com/blog

We also tried other things with our thickened dye.  Laura painted with hers.

A day of dyeing. Ellen Lindner, AdventureQuilter.com/blog

And I tried some mono-printing.

A day of dyeing. Ellen Lindner, AdventureQuilter.com/blog

I think some practice would help with this technique.

Any way you look at it, though, dyeing fabric is always fun!  And I’ve never gotten anything truly ugly.  There’s always a use for the resulting fabrics.

Ellen Lindner


6

Using Quirky Fabrics

I’m very comfortable using commercial and hand-dyed fabrics in my creations, but I have a few quirky fabrics that I have to treat differently.  Things that ravel, ones that melt, and thin silks.

I recently pulled out a few of these to think about how I might use them.  The yellow-green fabrics are the result of a deconstructed screen printing play day.  A recent scarf dyeing class produced the blue and blue-green fabrics on the right and top.  The remaining fabrics were scraps given to me by Judith Content.  All of these are silk, most of them very lightweight.

Using quirky fabrics. Ellen Lindner, AdventureQuilter.com/blog

I was hoping I could use them all together, but I quickly abandoned that idea.

But, what about using just the blue-greens, with a healthy dash of burnt orange?

Using quirky fabrics. Ellen Lindner, AdventureQuilter.com/blog

Yes.  That has potential.

What can I do with the yellow-green fabric?  Can I play up the red squiggly parts?

Using quirky fabrics. Ellen Lindner, AdventureQuilter.com/blog

Using quirky fabrics. Ellen Lindner, AdventureQuilter.com/blog

Yes, that shows promise.

Now, where to go from here?

Ellen Lindner


2

Dyeing Scarves

My sister and I had a great time attending a recent scarf dying class.  Taught by my good friend, Jo-Ann Jensen, she provided me with plain silk, knowing that I’d want to use it in quilts.  Of course!

She first taught us how to do a tie-dye sort of thing.  She calls her geodes.  Well, I just didn’t have enough patience for all those rubber bands!  Plus, I didn’t choose my colors very wisely.  This is what I got, about 12 x 12.

Scarf dying with Jo-Ann Jensen. Ellen Lindner, AdventureQuilter.com/blog

It’s not pretty enough to use as is, but certain parts can be cut and used very effectively.

Scarf dying with Jo-Ann Jensen. Ellen Lindner, AdventureQuilter.com/blog

Next, I tried to paint something that might work as a sky.

Scarf dying with Jo-Ann Jensen. Ellen Lindner, AdventureQuilter.com/blog

I think it will work.  Again, I’ll use localized slivers.

Scarf dying with Jo-Ann Jensen. Ellen Lindner, AdventureQuilter.com/blog

Finally, I did a long folded piece using just two colors.  The designs I got are really pretty, but I think it will need some over dying to add color to all that white.

Scarf dying with Jo-Ann Jensen. Ellen Lindner, AdventureQuilter.com/blog

Scarf dying with Jo-Ann Jensen. Ellen Lindner, AdventureQuilter.com/blog

This was a ton of fun!  If you ever get a chance to take a class with Jo-Ann, I strongly recommend it!

Now thinking about how I might use these fabrics together.  Hmm.

Ellen Lindner

P.S. You might also enjoy this post on  ice dying.

0