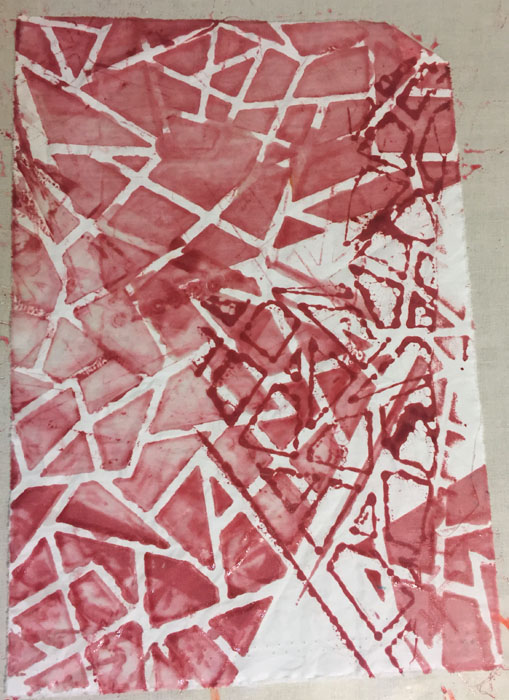


Bubble Piece In-Progress
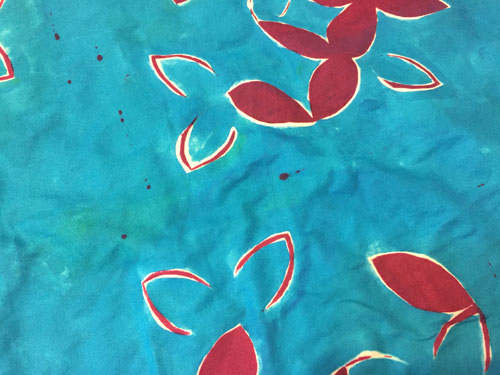
After dyeing some killer “bubble” fabric I was itching to see what I could do with it!

I also dyed some coordinating fabrics, so I pulled everything out and auditioned them together.
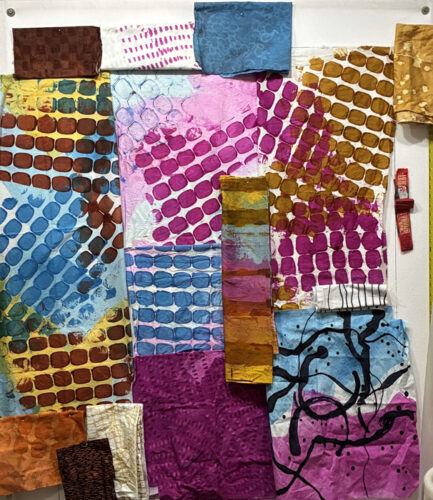
Well, the one with the wild black lines wasn’t likely to work, but most other things looked usable. But, I decided to save the left bubble print for a later quilt.
First, I looked for ways that I could merge the bubble fabrics. Maybe something like this. I liked the angles at which the bubbles met and also the merge of two colors.
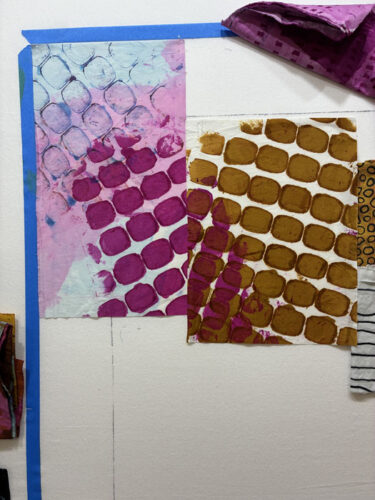
Above, I put up blue tape to show me my desired size. Eventually, I didn’t want to see the blue so I used fabric and/or toilet paper to hide the edges.
Below, it was coming together pretty well. At this point the left half was stitched, but the fabrics on the right were mostly just folded and pinned in place. I wasn’t sure about the blue mid-right, with the white vegetation.
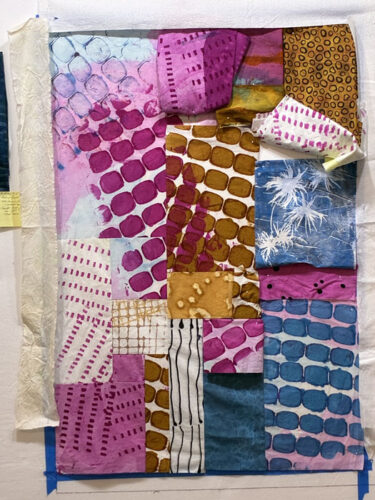
Yeah, that fabric had to go. I was beginning to get pretty happy with it.
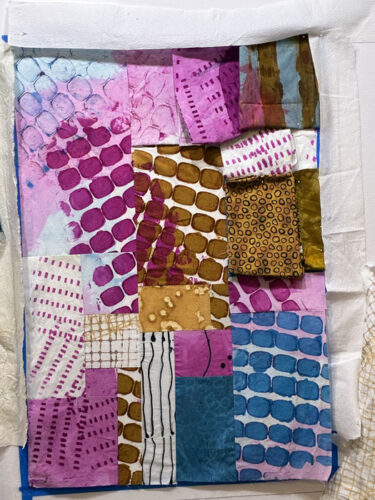
I reworked the top right corner and stitched it all together.
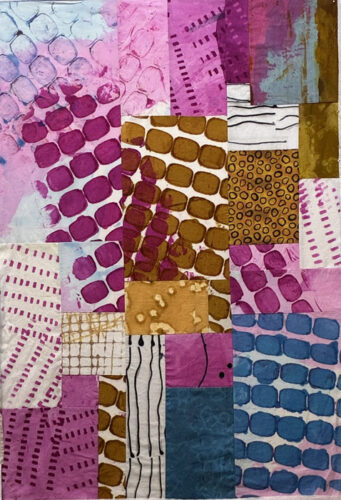
But the darkest blue at the bottom began to bug me, so I reworked it, below.
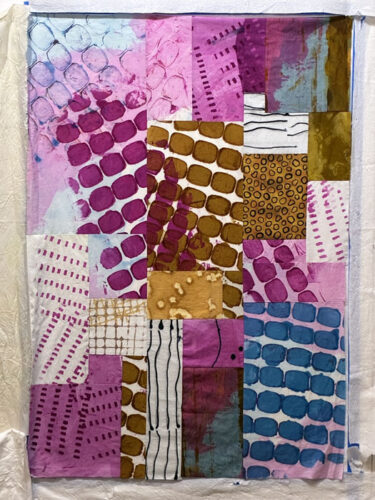
It was ready to stitch!
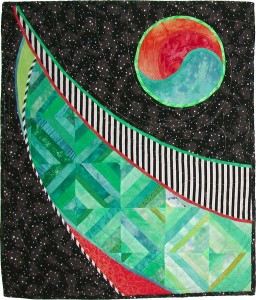
Finished photos coming soon.
Enjoying the adventure!
Ellen Lindner