I’m not sure where I heard that quote, but I agree with it. And, I’ve been doing plenty of experimenting lately. Yes, you guessed it: I created a big failure rough draft.
I’ve been doing quite a few abstract quilts in a style I call “Slice and Dice.” As the name implies, I slice into fabrics and rearrange them back together in different – and hopefully more interesting – arrangements.
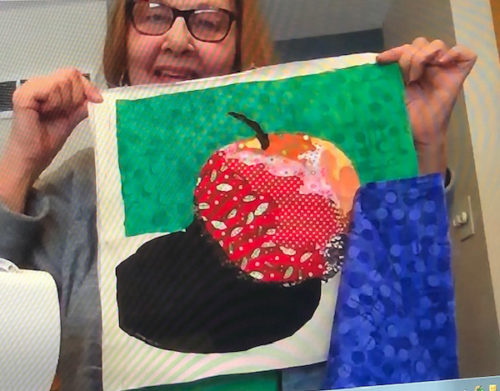
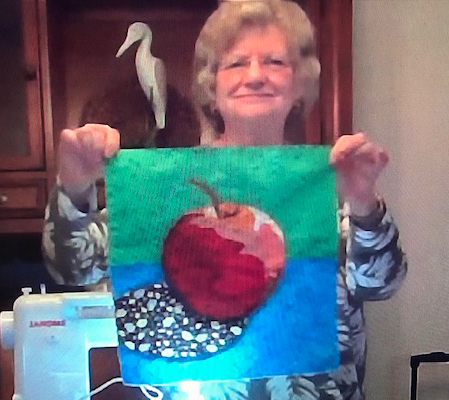
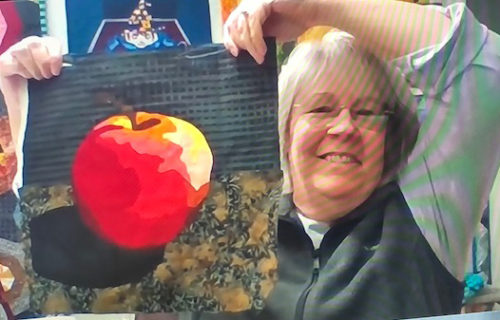
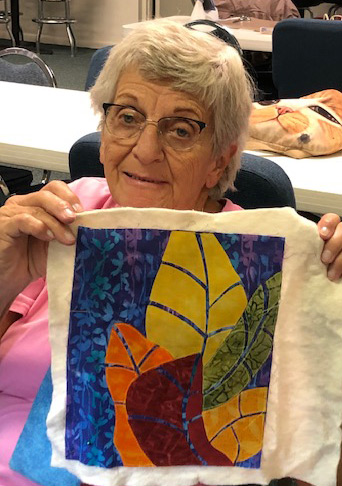
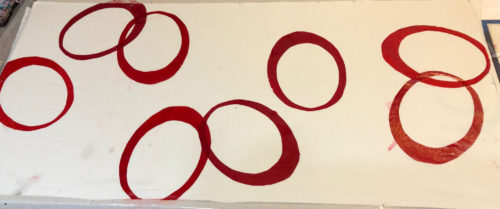
Like this:
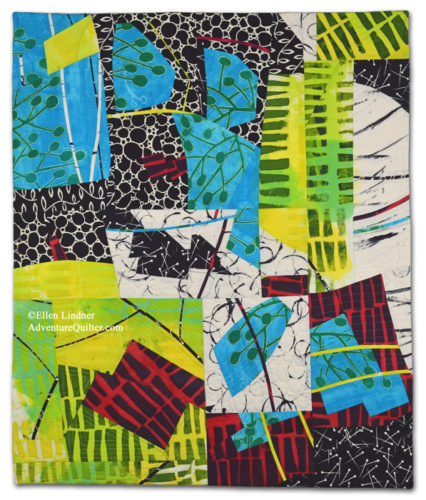
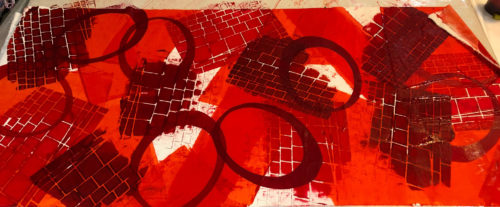
A Little Bit Tart
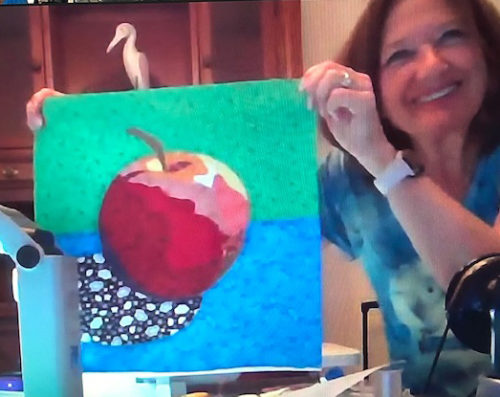
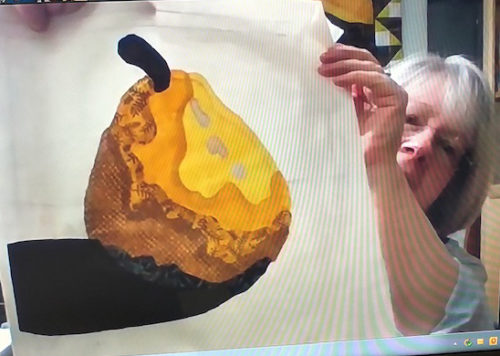
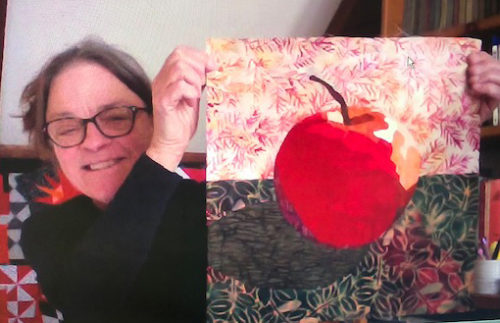
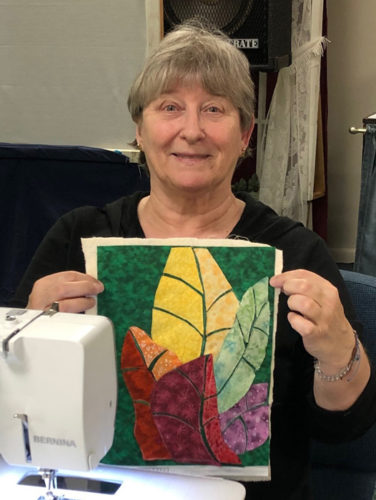
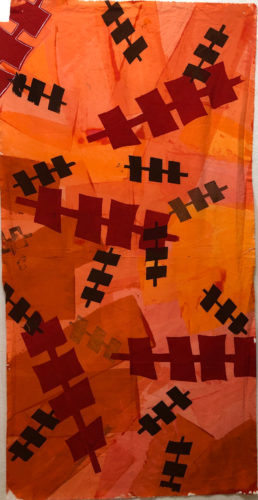
And this:
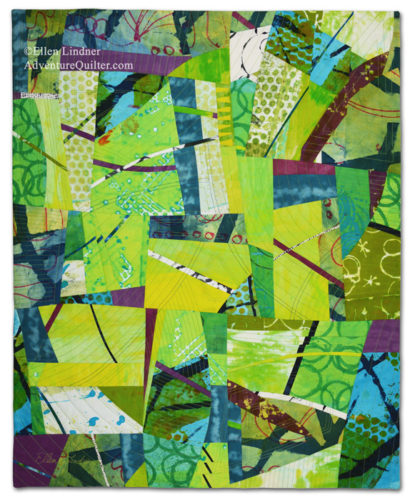
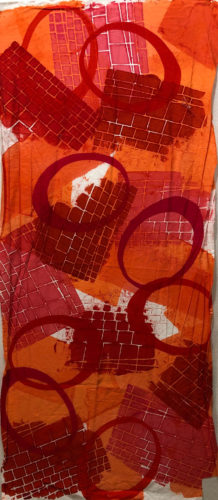
On the Road to Home
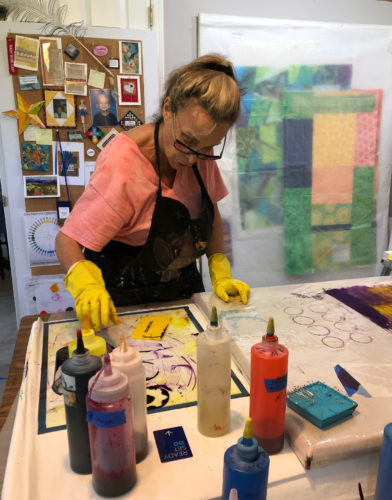
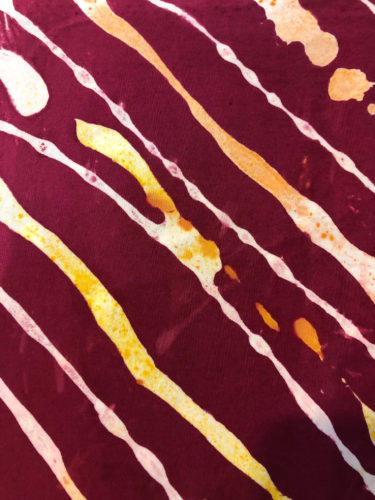
The fabrics I’ve used have been hand dyed, which definitely add to the design of these busy quilts. So, when friends suggested that I teach the technique I thought I wouldn’t be able to do it because of the unique nature of my fabric selections.
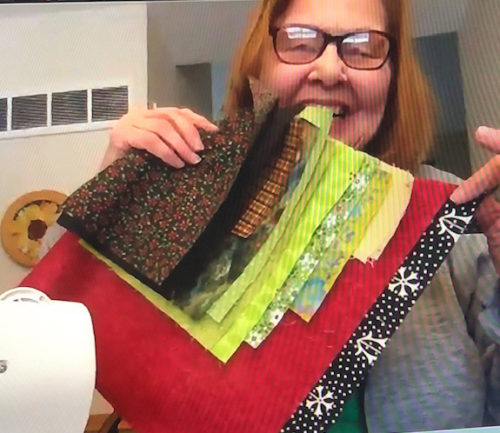
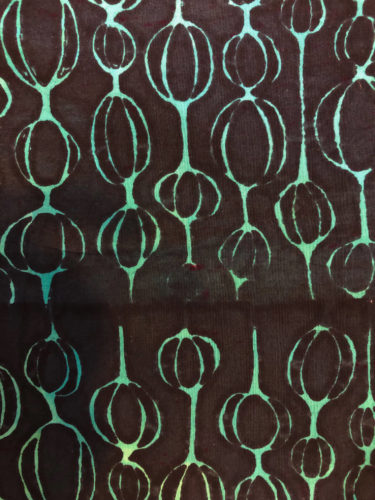
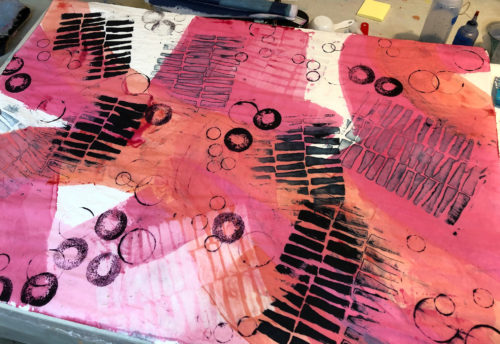
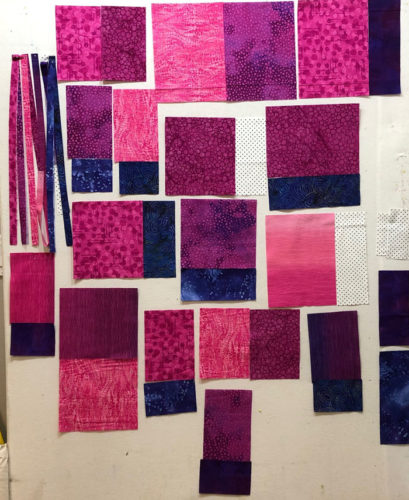
Still, I decided to give it a shot. I bought an ombre fabric with several colors in it and fabrics in all the colors. This was my starting point.
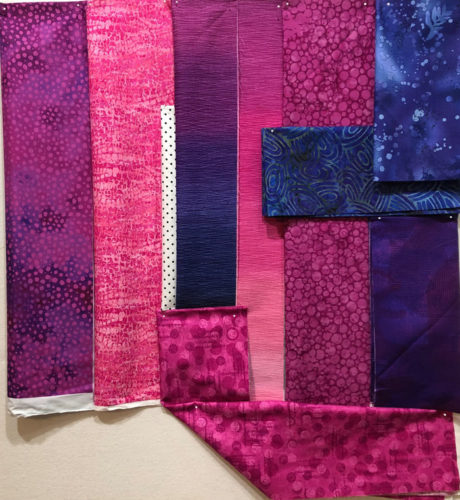
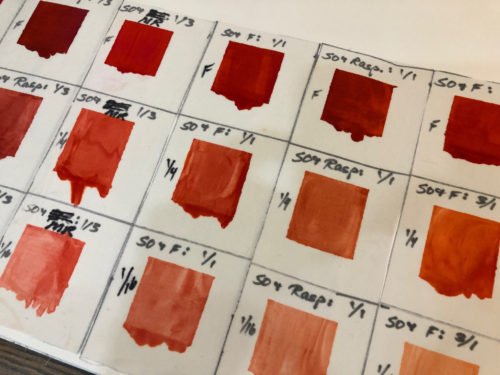
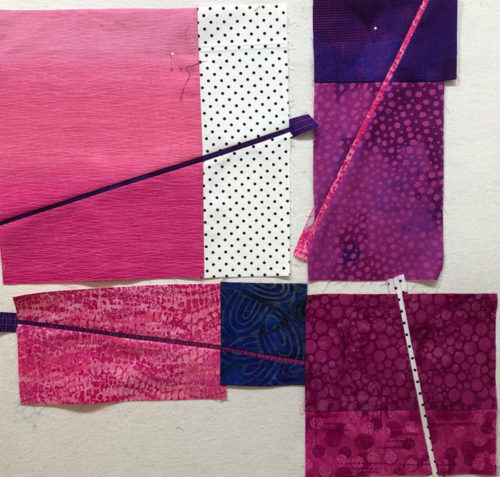
I cut each fabric in predetermined sizes and joined them in pairs. I took meticulous notes so I’d be able to teach exactly what to do.
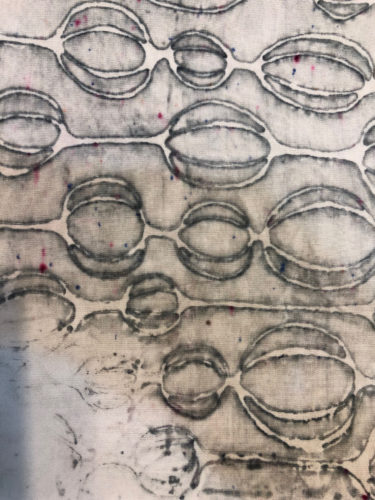
Each pair was then altered, either by adding a skinny pieced line, or by cutting and rearranging the pieces.
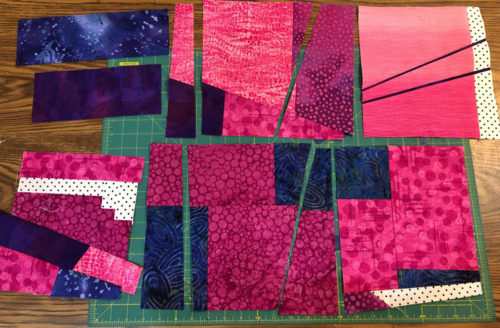
I did that OVER and OVER. And OVER and OVER. After a while I realized that no student would want to spend this long altering the blocks. I didn’t enjoy it either. So much for teaching it.
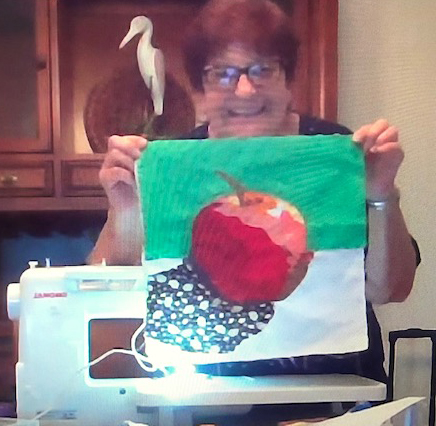
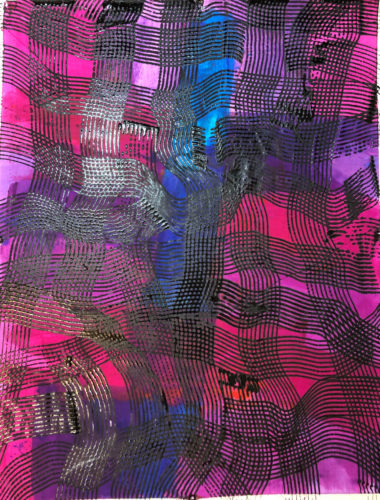
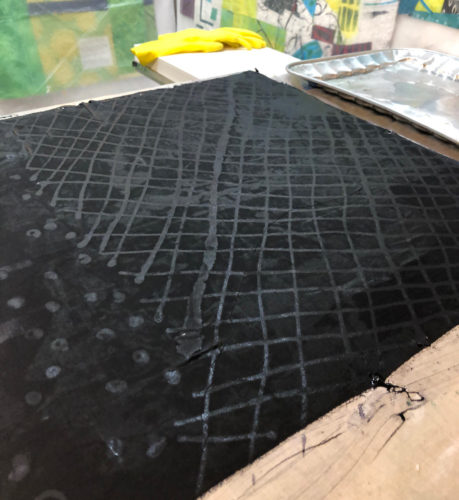
But, I thought I could at least make it into a good sample in case I figured out the teaching angle down the road. I worked and worked, but the white fabric and the dark colors just stood out too much. I sliced into them repeatedly, trying to whittle them down to what I considered the correct proportion. But, eventually, I had such an abundance of bulky seam allowances that the whole thing was barely sewable.
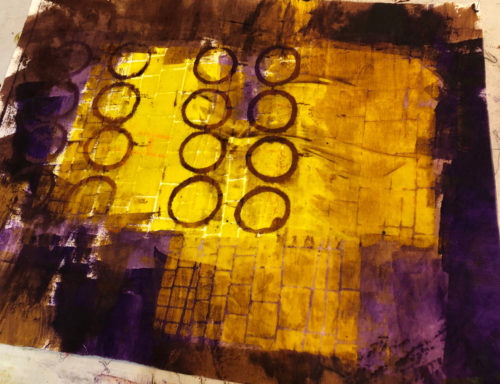
I decided to cut my losses.
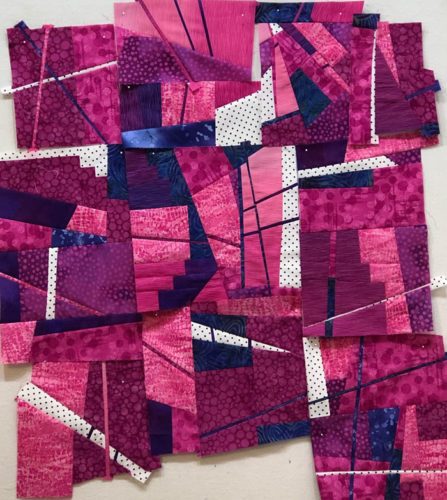
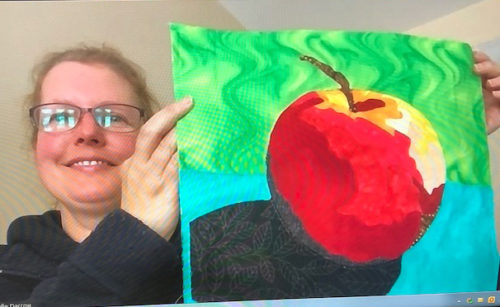
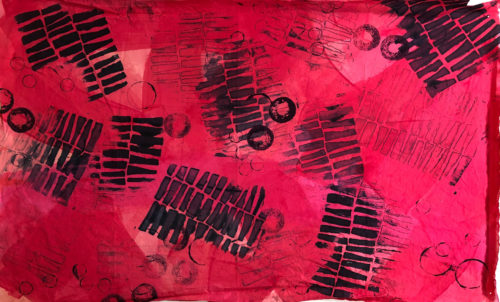
This is where I ended up. It was taking a lot of time and it wasn’t getting better. I just stopped.
Do I have angst or regret about tackling this project? No, just the opposite, actually. I had a question and I needed to work it through to find the answer. Now I know the answer. Plus, I recognize the time I spent problem solving and trying new things will make me more creative in the future. I didn’t waste my time and I didn’t waste my fabric. The fabric served a useful purpose, even though it wasn’t the one I imagined.
I feel strongly about the importance of experimentation, which is why I call myself the Adventure Quilter.
Have you “failed” at anything lately? (Actually, I don’t call them failures. They’re “rough drafts,” or “experiments.”) Any recent rough drafts?
Ellen Lindner
P.S. Click the title of this blog to see it without the rest of the blog posts. This will reveal several links below which will take you to several other posts showing high levels of experimentation on my part. Beware: rabbit holes ahead!