A New Dying Process

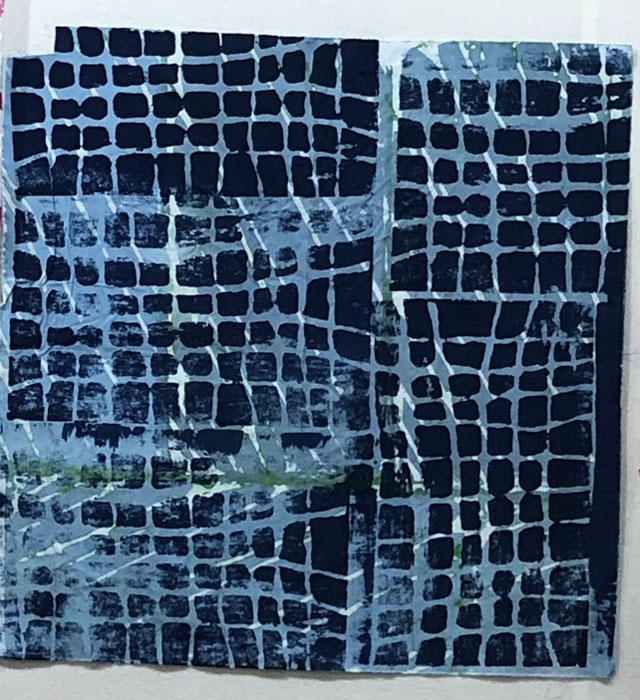
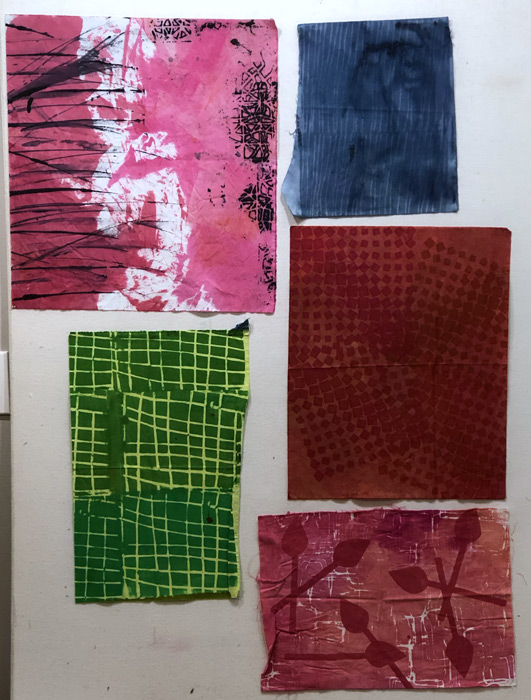
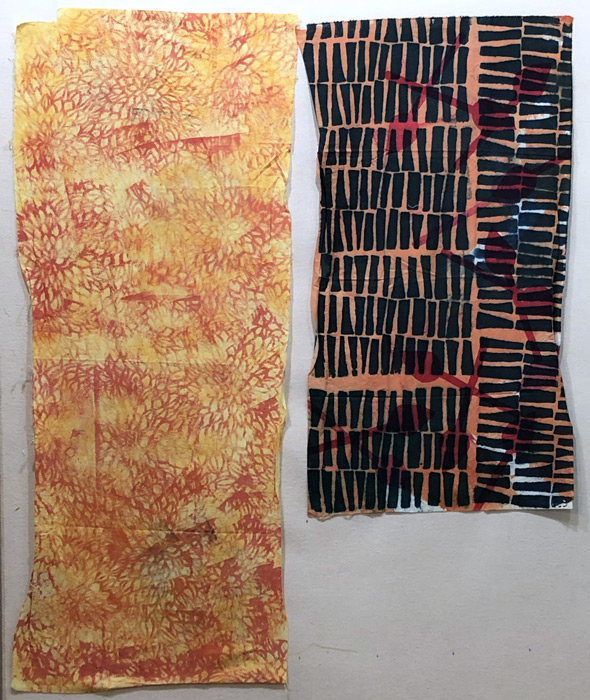
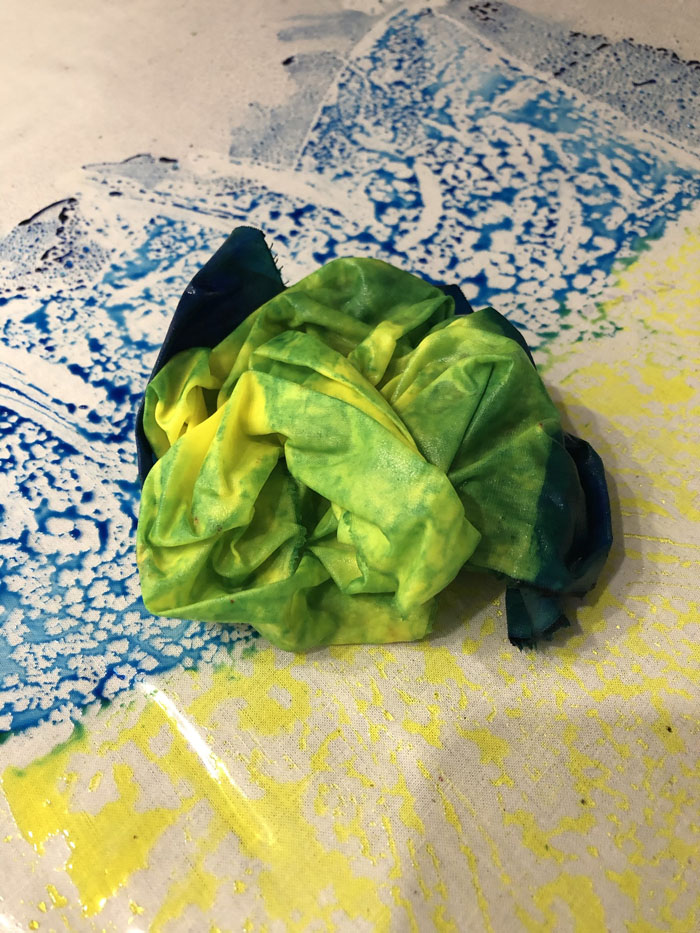
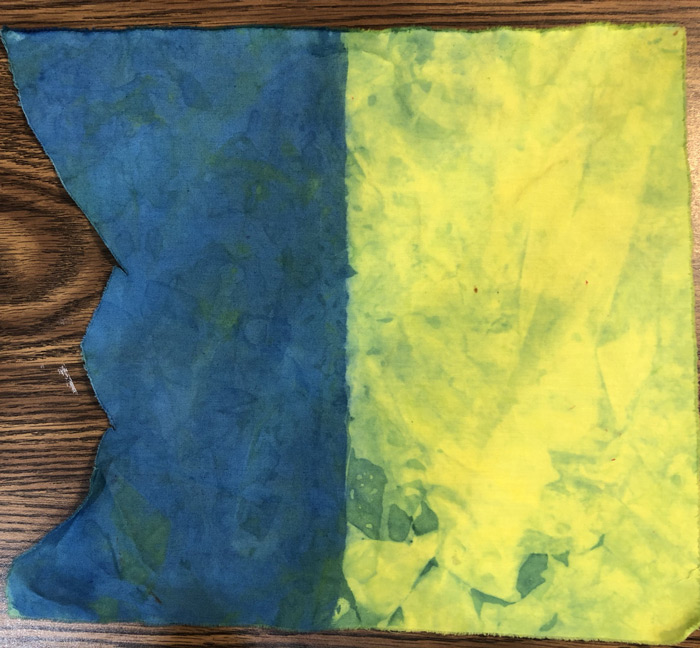
I’ve recently changed my dying process and I’m really liking it! The impetus was the book, Colour Your Palette, by Leah Higgins.
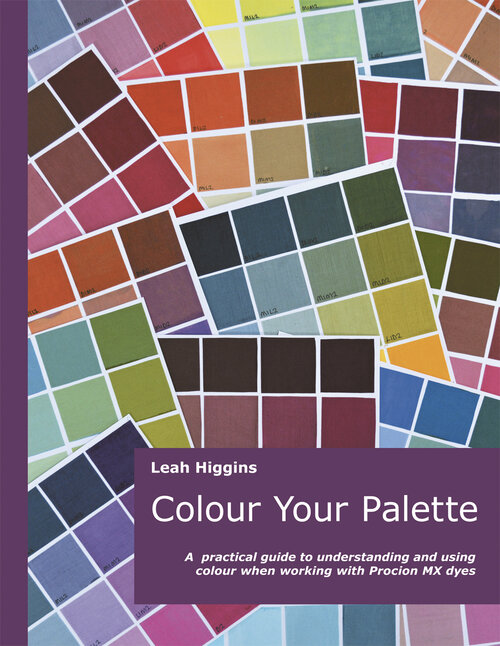
Colour Your Palette by Leah Higgins

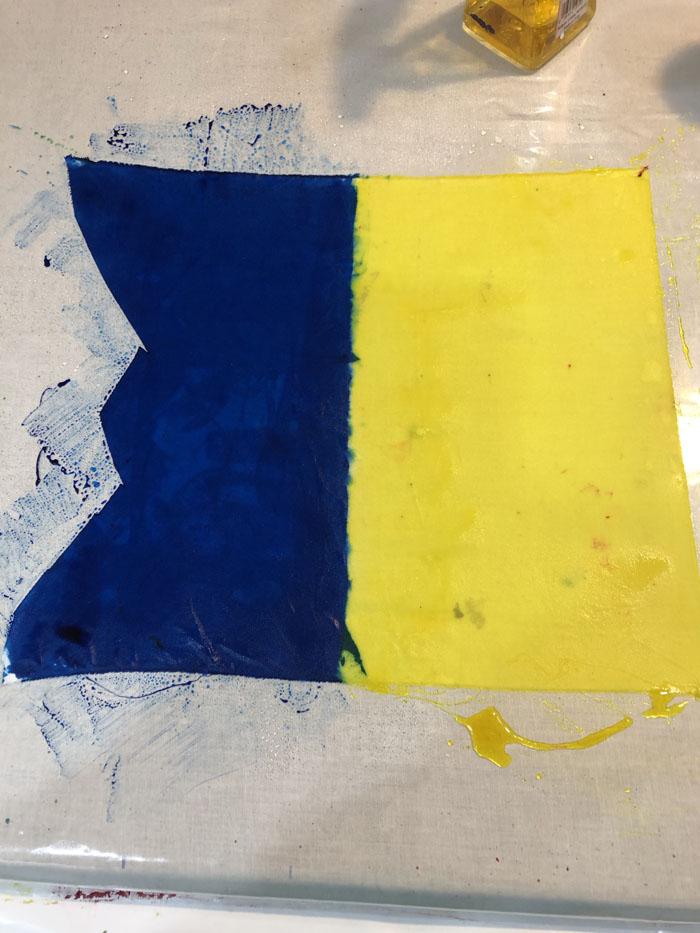
She mixes her print paste thinner than I’ve been doing and is, therefore, able to dispense her dyes from squirt bottles. I decided to give it a try, and boy do I like it!
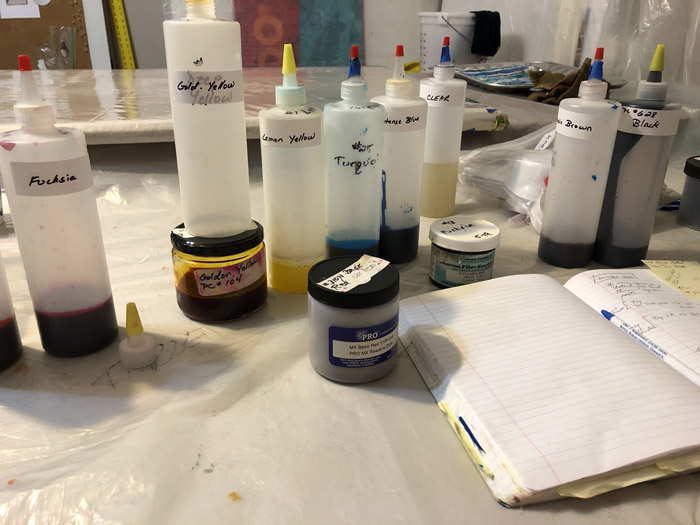
At this new consistency, the dye flows out of these bottles beautifully. It’s VERY easy to control the dye and even to write and draw. Love it!

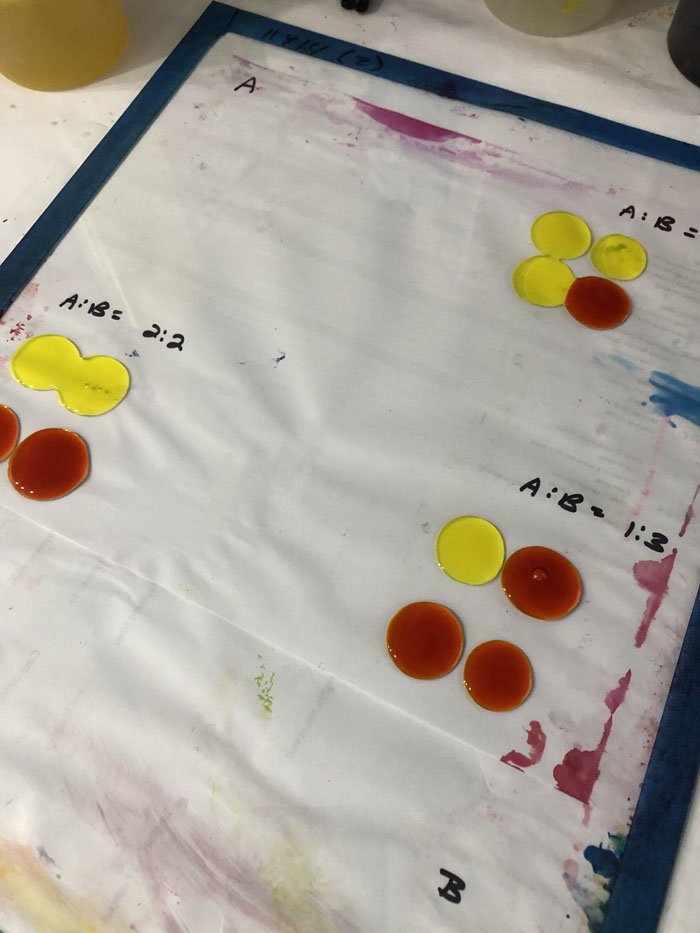
Another change is the addition of a glass mixing plate.
Ellen Lindner's fabric dying. AdventureQuilter.com/blog

The mixing plate has a couple of advantages over my previous method of mixing directly on the plastic. 1 – I can make notes on a piece of paper underneath, which keep me organized when I’m mixing very specific colors. 2 – I can easily pick it up for cleaning and scrape excess dye into my trash can.

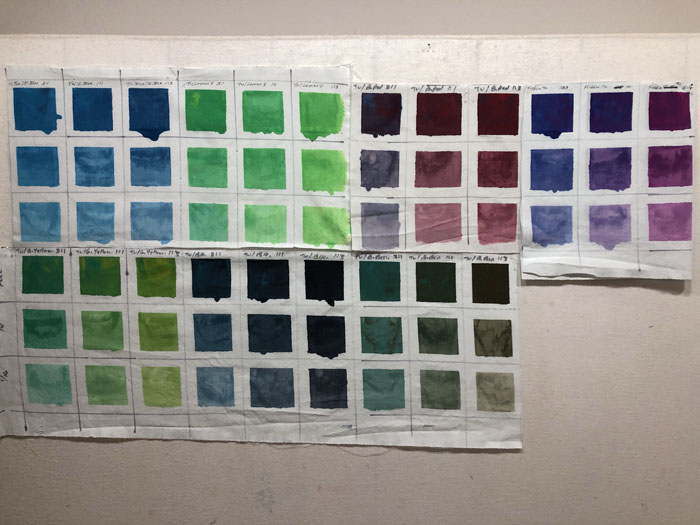
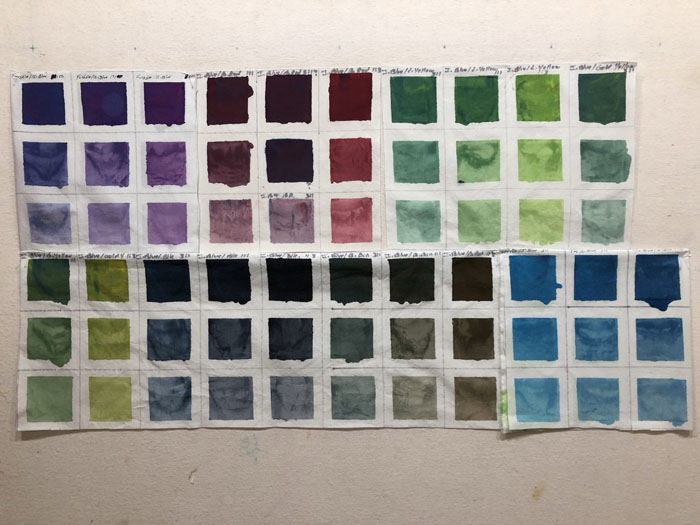
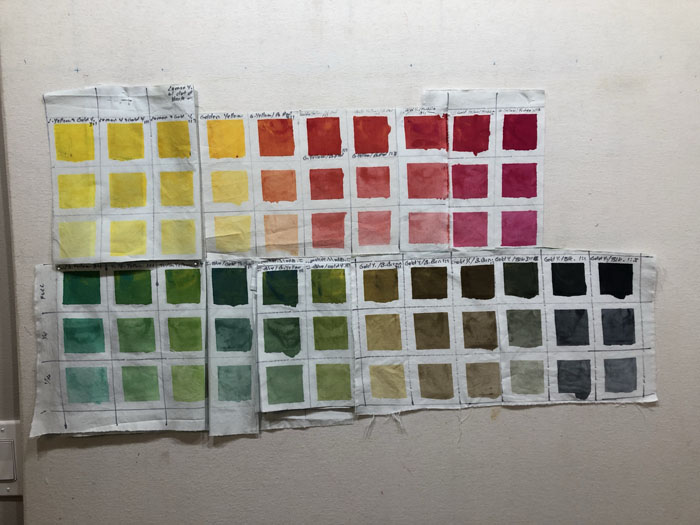
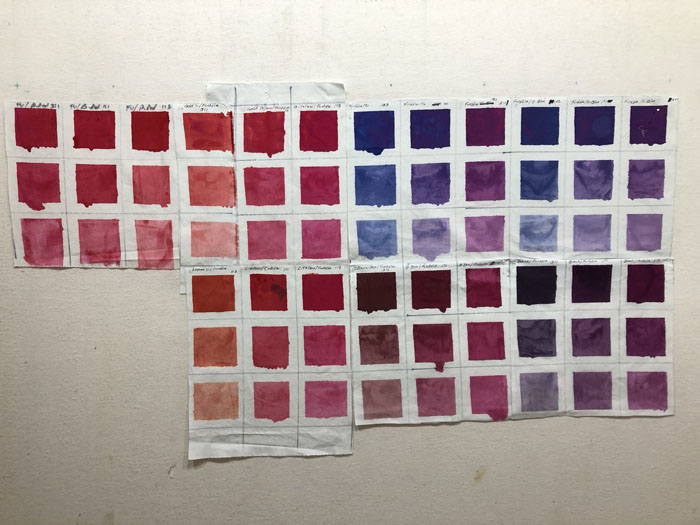
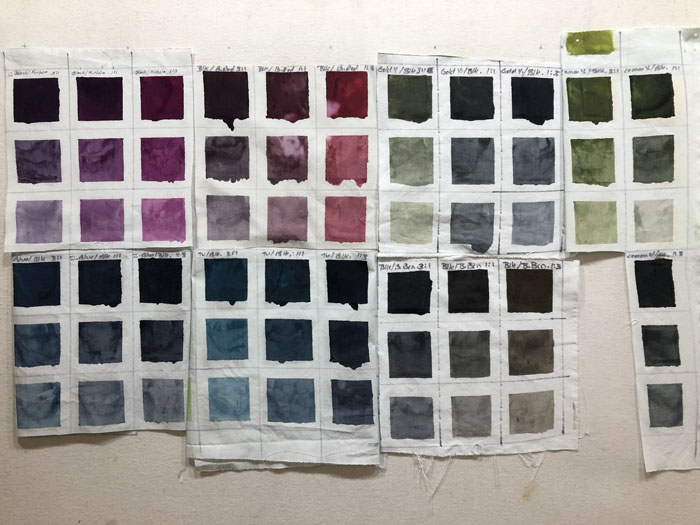
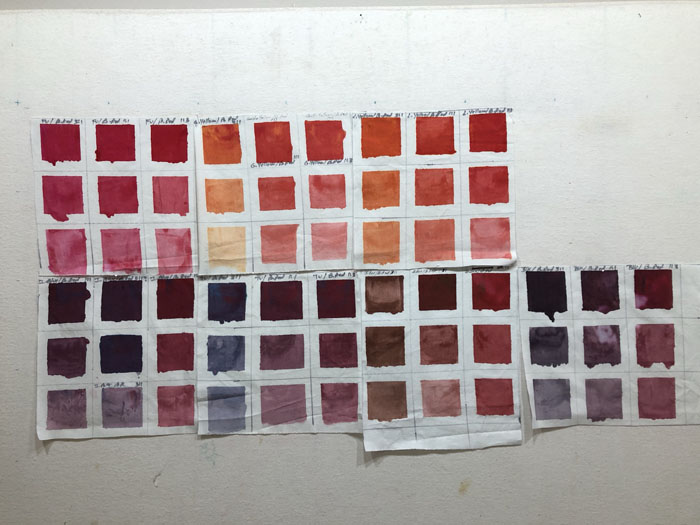
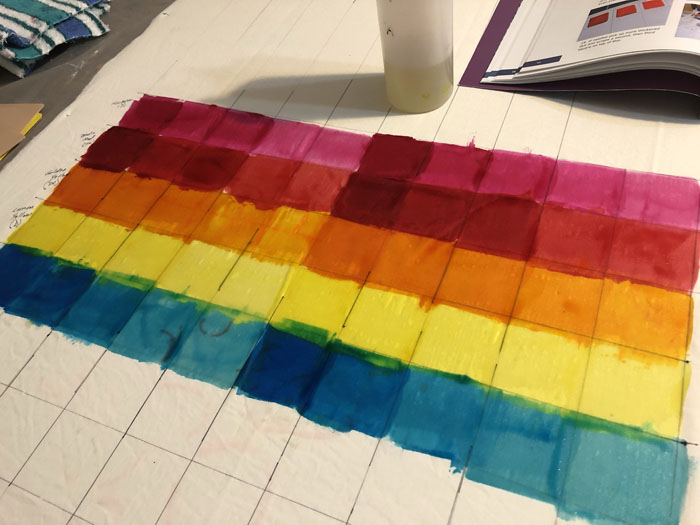
In the book, Leah Higgins walks you through six very extensive exercises which help you to learn all about mixing colors. The first one was to simply print each of your basic (8) colors in a variety of strengths.
Ellen Lindner's fabric dying. AdventureQuilter.com/blog

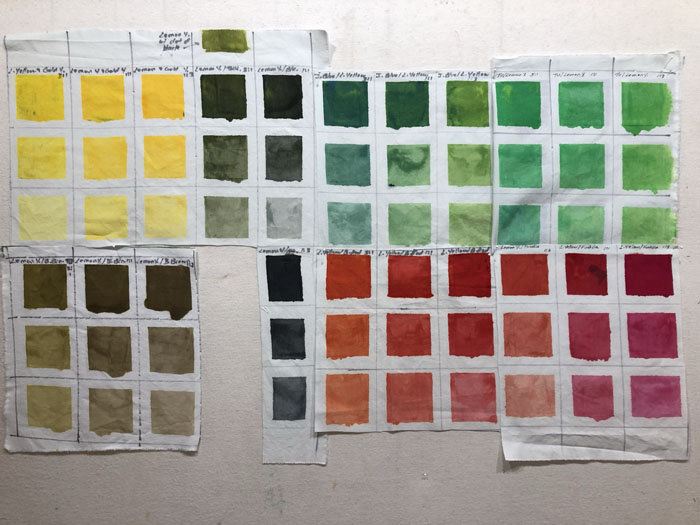
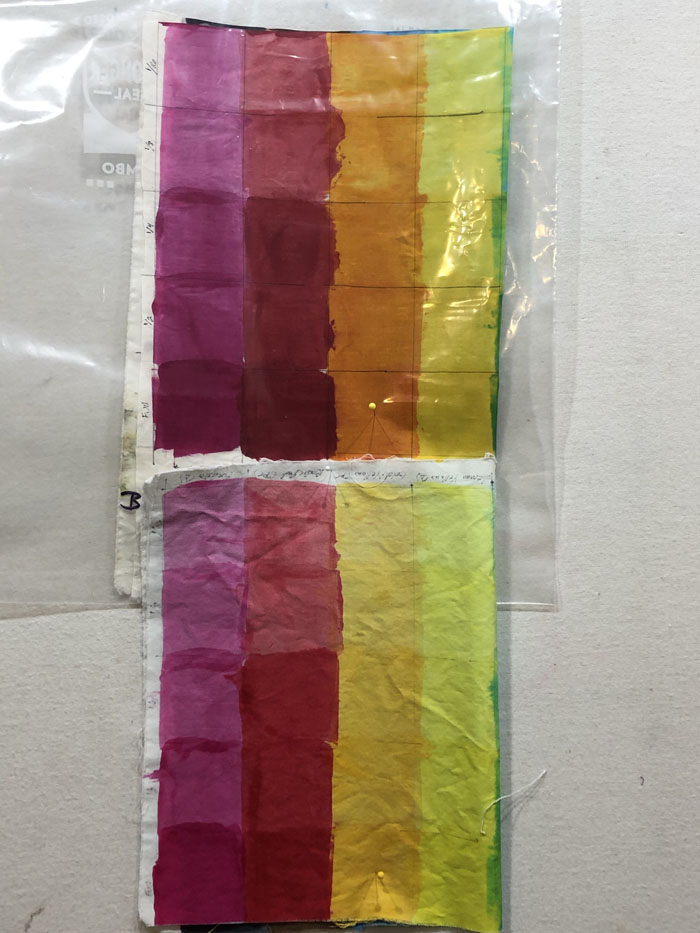
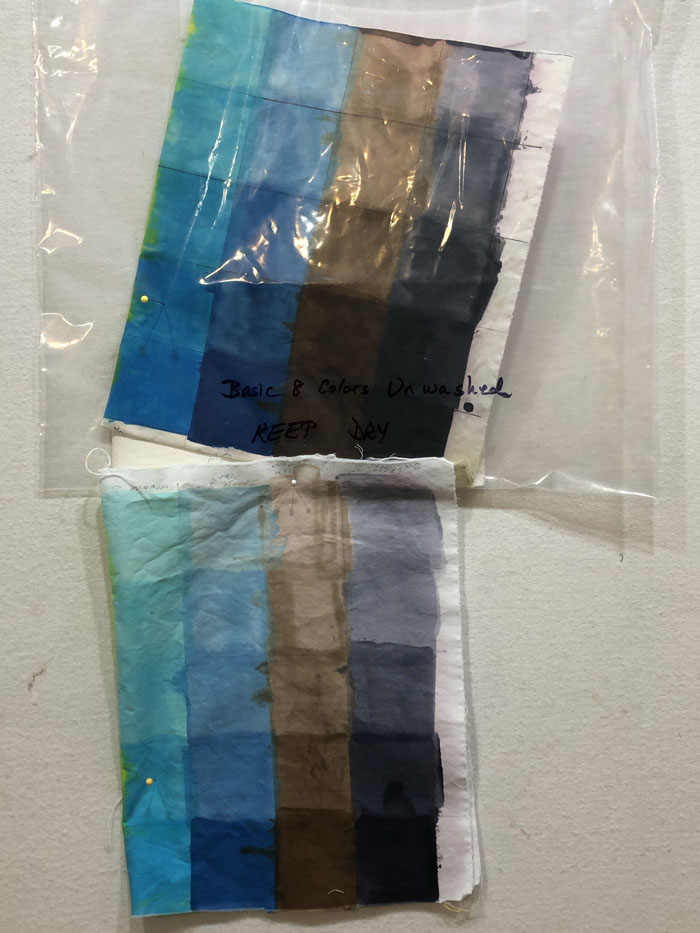
That, by itself was really useful. But, Leah takes it one BRILLIANT step further. She has you make two identical samples. You wash one and leave the other one to dry and remain unprocessed. This will serve as an example of how different things look wet and dry. VERY useful!

See what I mean, below. The top colors, in the plastic bag, are completely untreated. The ones below are washed and dried. Look for the two swatches with the yellow pins in them. These are both Golden Yellow, full strength. But, notice how much the color hue and saturation changed when washed!
Ellen Lindner's fabric dying. AdventureQuilter.com/blog

And here are the other 4 colors. Again, notice the two swatches with pins in them. They’re both turquoise, at half strength.
Ellen Lindner's fabric dying. AdventureQuilter.com/blog

I’ve done many more swatches following Leah’s instructions. And I’ve had fun dying a variety of fabrics. More about that coming soon.

If you want to know how to mix your print paste to this same consistency, all you have to do is follow the instructions that come on the package of thickener. (I used the SH print paste mix from Pro Chemical and Dye.)

Ellen Lindner

2

Studio Revamp 2020

When my husband offered to repaint my studio it set quite a few changes in motion. While everything was out of the room, I culled out A LOT of stuff and then organized it all much better when I stored it anew. Then, I got improved lighting as my Christmas present. It now looks and functions SO much better!

Here’s a video to prove it.

This is just one of several free videos on my website. Check ’em out here.

What’s the most useful thing in your studio, not counting scissors and fabric? I think mine is my design wall.

Ellen Lindner

4

Those Circles!

Jeepers! I feel like the poster child for trial and error! While working on my latest quilt I had quite a difficult time deciding on what color to make one of the design elements.

The issue was the white circles, as seen below. I loved their shape and placement, but I could see that they attracted too much attention. I needed to tone down the contrast.

Those circles! Ellen Lindner, AdventureQuilter.com/blog

So, I started auditioning a variety of other colors. Yellow?

Those circles! Ellen Lindner, AdventureQuilter.com/blog

No. I figured it should be a lighter or darker version of one of the colors already in the quilt. Pink?

Those circles! Ellen Lindner, AdventureQuilter.com/blog

Nope. Pale aqua?

Those circles! Ellen Lindner, AdventureQuilter.com/blog

Uh-uh. Enough of  these pastels. What about something bright?

Those circles! Ellen Lindner, AdventureQuilter.com/blog

Hmm. Not too bad. (Actually, I tried brighter orange fabrics and they seemed a little too much to me.) How about dark red?

Those circles! Ellen Lindner, AdventureQuilter.com/blog

I like this well enough to cut out the shapes.

Those circles! Ellen Lindner, AdventureQuilter.com/blog

Well, they were no longer attracting attention, but now I wondered if they showed up enough!

I FINALLY went back to orange, now in more subdued versions.

Those circles! Ellen Lindner, AdventureQuilter.com/blog

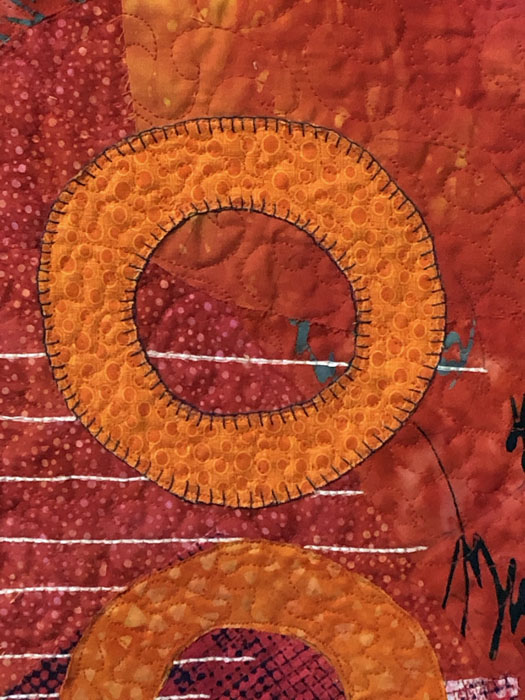
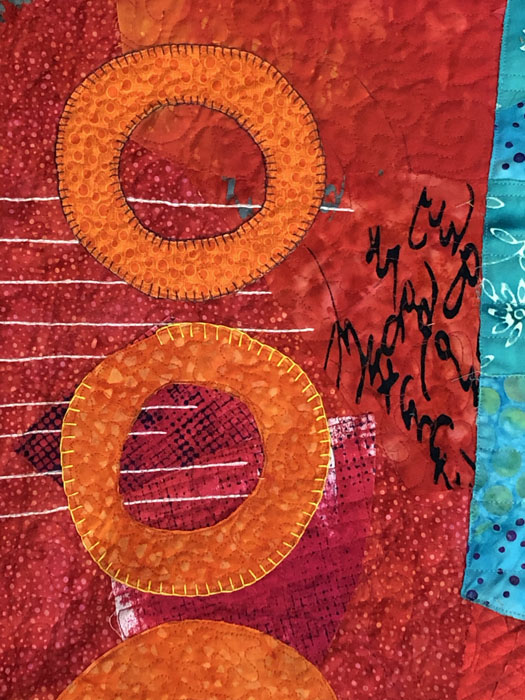
Would you believe it? I now thought the orange didn’t show up enough. Maybe I should add some darker hand stitching around each one.

Those circles! Ellen Lindner, AdventureQuilter.com/blog

Maybe. Or would lighter thread provide more contrast?

Those circles! Ellen Lindner, AdventureQuilter.com/blog

Never one to make life easy for myself, I ripped out the dark stitching and redid it with yellow. I was FINALLY happy with it.

Whew! I’m giving myself a gold star!

A Gold Star for My Students. Ellen Lindner, AdventureQuilter.com/blog

What do you deserve a gold star for? Let me know and I’ll email you one.

Ellen Lindner


0

“The quilt gets better looking every day.”

These are the words a delighted customer used after installing her purchase in her home. Take a look.

Vine Ripened installed. Ellen Lindner, AdventureQuilter.com/blog

Doesn’t it look like it was made to go there?

Vine Ripened installed. Ellen Lindner, AdventureQuilter.com/blog

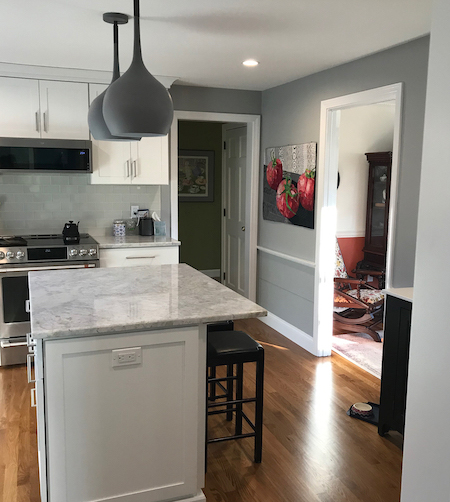
Her beautiful kitchen has recently been remodeled and I think Vine Ripened looks great in this environment!

One of the things that convinced her to make this purchase was my 14 day audition policy. Any purchase can be returned within 14 days, no questions asked. It’s risk-free buying and I think that’s important with artwork. You need to be able to see it in your setting!

Let me know if you see something you’d like to audition.

Ellen Lindner
2

I Almost Forgot

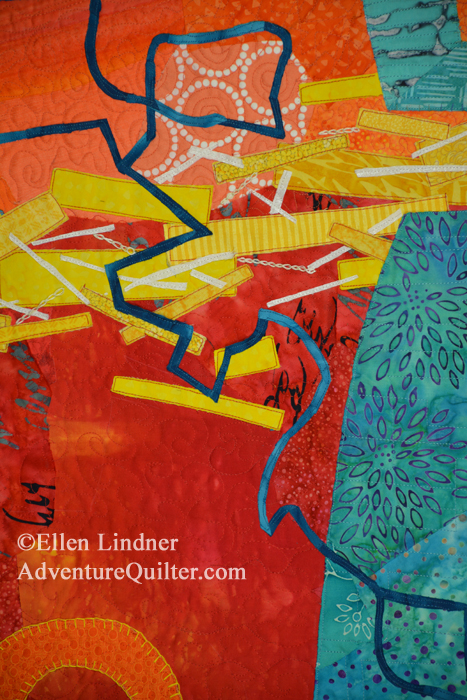
My raw edge collage techniques involves lots of layering. Sometimes perfectly wonderful fabrics get covered by something else later. However, I don’t typically rescue those underneath fabrics. Instead, I tell myself that I bought the fabric to use and if it’s function is to support later fabrics, and to give me flexibility then it has served me in a useful way.

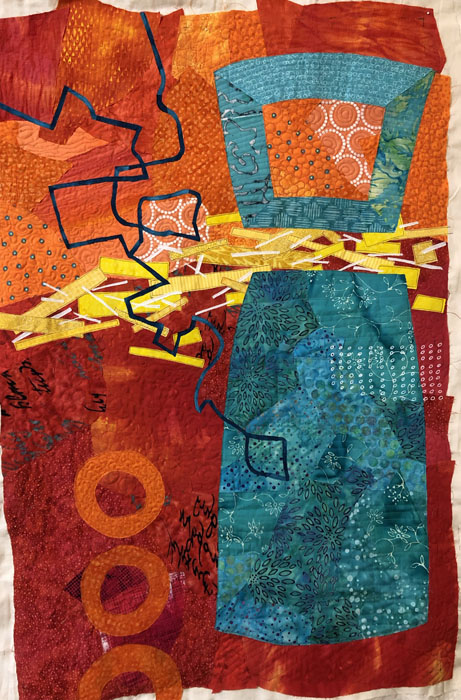
But, on my current quilt, there’s a large shape that landed on top of the background. See what I mean?

So, I decided to rescue the red section underneath the largest turquoise shape. Both the red and turquoise sections were built on – and glued to – muslin, so I knew I could easily separate them.

But then I forgot.

Meanwhile, I started quilting the background, even though there were still foreground elements to be added. This was a logistical decision, since it will help me avoid all the starting and stopping that would otherwise be necessary to dodge all the things I intend to add.

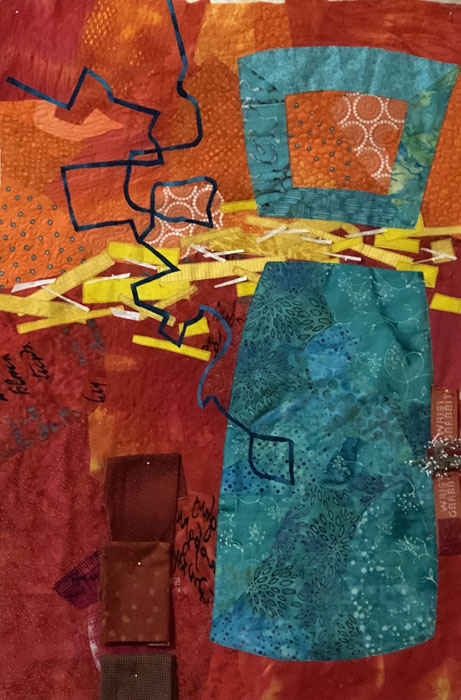
About halfway through I remembered my earlier plans. So, I pulled up the batting as best I could on the lower portion. Some of it was already stitched down.

I Almost Forgot. Ellen Lindner, AdventureQuilter.com/blog

As you can see, I cut away the red portion, where able.

And I found two pins still stuck into that fabric! Good thing I did. I’ve had to cut them out a few times in the past.

But, since I was cutting from the back, I didn’t judge well and I actually cut into the background in the area I wanted to keep. Gulp!

I Almost Forgot. Ellen Lindner, AdventureQuilter.com/blog

But, since I work in raw edge collage, and quick patch took care of that.

I Almost Forgot. Ellen Lindner, AdventureQuilter.com/blog

Back to quilting!

Ellen Lindner
0

An Abstract Self-Portrait?

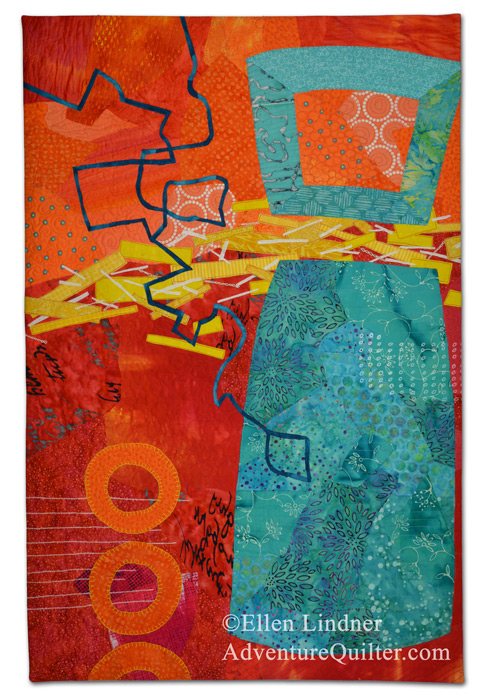
I like challenges. As a result, I’m currently working on an abstract self-portrait. It all came about when my art group, Dirty Dozen Fiber Artists, came up with (another) self-portrait challenge. This one was to be inspired by another artist.

After some online searching and thought I decided on one of my favorite contemporary artists, Jane Davies.  She’s a painter and collage artist who does extraordinary abstract work.

Pattern Study 1 by Jane Davies. AdventuareQuilter.com/blog

Stripes and Dips 1 by Jane Davies. AdventuareQuilter.com/blog

Pattern Study 3 by Jane Davies. AdventuareQuilter.com/blog

Great, aren’t they? But, how do I make an abstract person? I remembered seeing one of her pieces (which I couldn’t find again,) that had a figure-like shape and I thought I could emulate that.

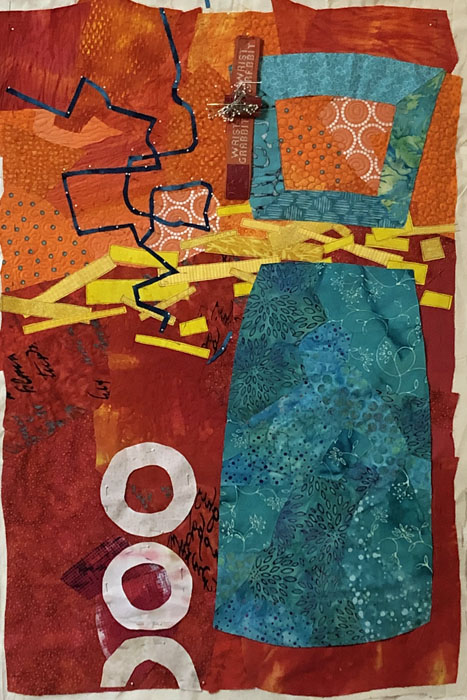
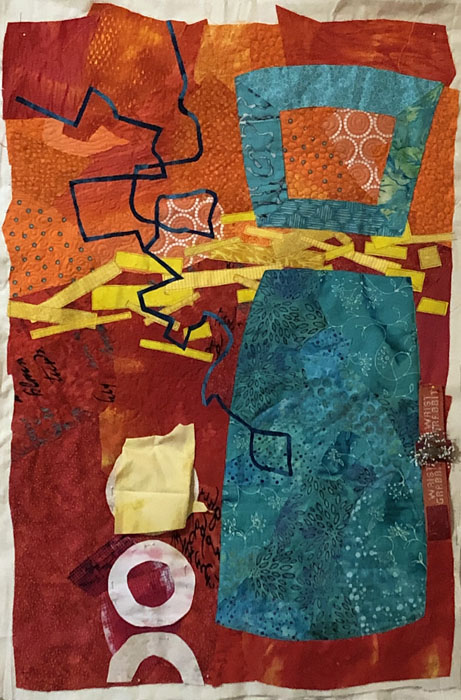
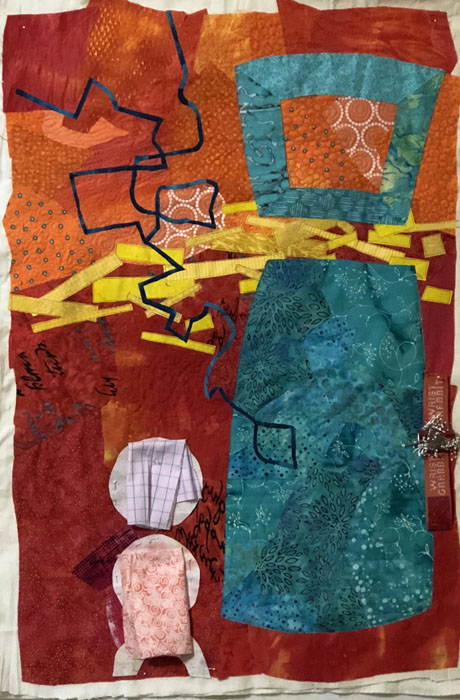
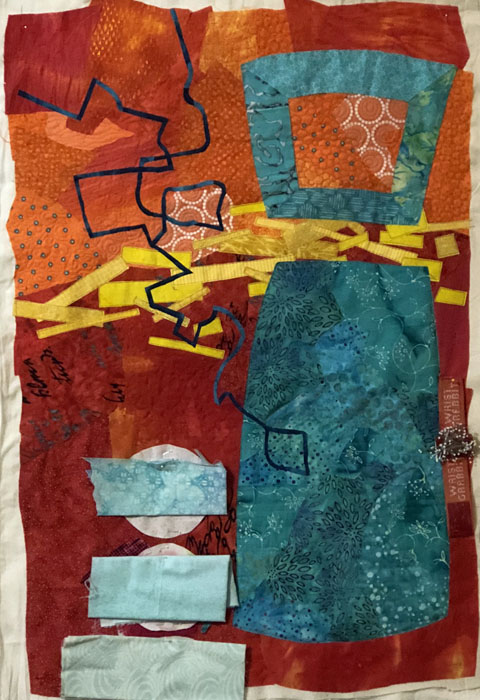
After creating an orange and red background, I auditioned the shape and placement of the figure with parchment paper.

An Abstract Self-Portrait? Ellen Lindner, AdventureQuilter.com/blog

And then, the fabrics.

An Abstract Self-Portrait? Ellen Lindner, AdventureQuilter.com/blog

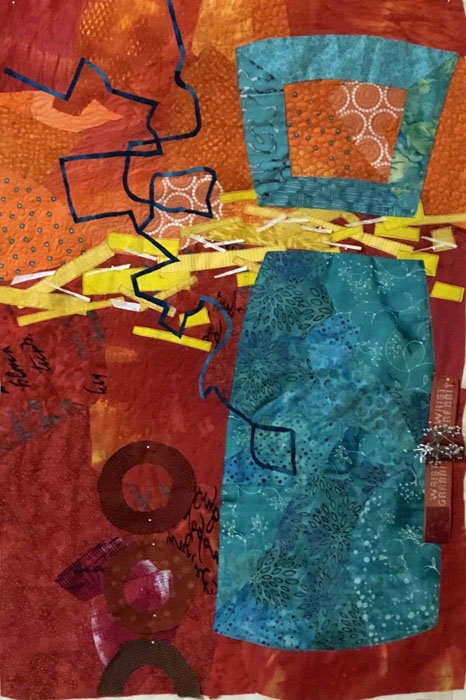
I think it works pretty well. What do you think?

I’ll be adding a squiggly black line to this – again in the style of Jane Davies. I’m really enjoying working on this!

Ellen Lindner
P.S. Jane Davies has some excellent free tutorials and a great book about painting abstracts.

0

Don’t Wait on Your Guild: Take an Online Class at Road@Home

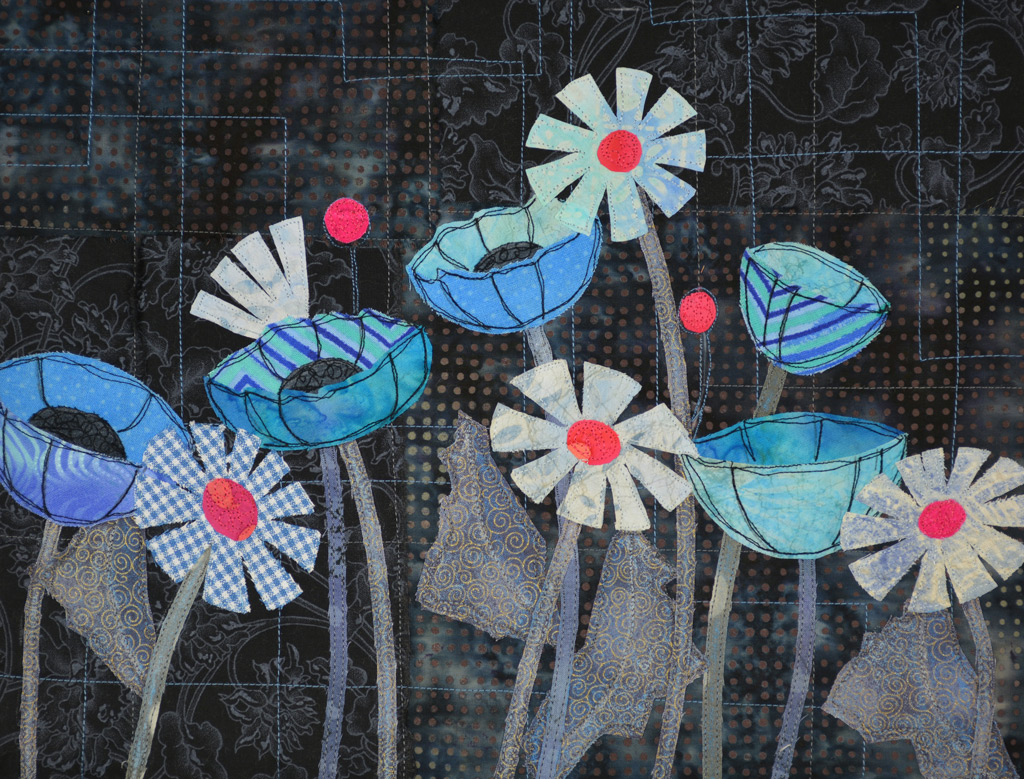
Want to make a great quilt like this class sample? (Floral Improv)

Class sample for Ellen Lindner's "Floral Improv." AdventureQuilter.com

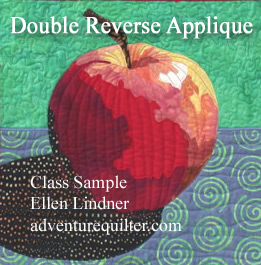
Or this one? (Double Reverse Applique)

Double Reverse Applique class sample. Ellen Lindner, AdventureQuilter.com

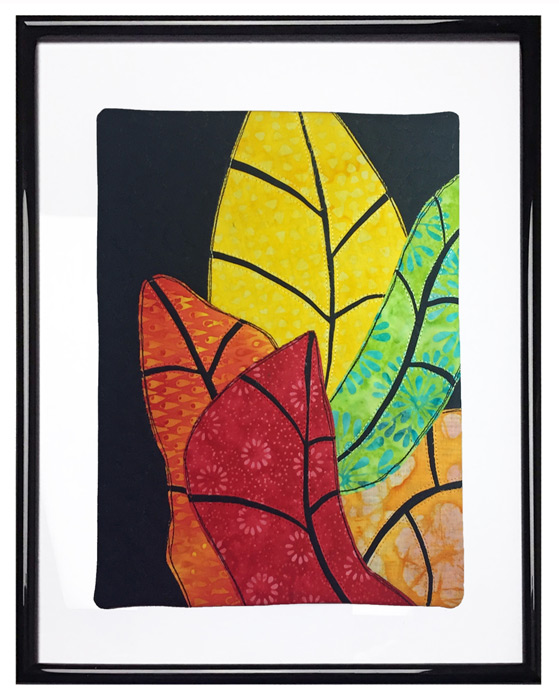
Or this one, made in a shorter class? (Love It and Leaf It)

Love It and Leaf It, class sample. Ellen Lindner, AdventureQuilter.com

I’ll be teaching each of these classes online, as part of Road@Home, the online version of Road to California. It runs January 20-23, 2021. I’ve been teaching these classes virtually quite a bit since August and they work out really well. My students have enjoyed them and we’ve had NO technical glitches.

I think late January will be the perfect time for a change of pace! Click on each class title above to find full information.

Ellen Lindner
 

0

Why is There a Bow on the Doorway?

This is what I see as I exit my studio.

Why is there a bow on the doorway? Ellen Lindner, AdventureQuilter.com/blog

A bow. Right at eye level. It’s to remind me to turn off my mini-iron, which has no auto shut-off.

Why is there a bow on the doorway? Ellen Lindner, AdventureQuilter.com/blog

It’s a very useful tool, though, since it can get into tight spots. Recently I’ve been using it to erase lines I’ve drawn with a Frixion pen. The marks come off with heat, and the mini-iron has been able to easily access the tight turns and dips I had drawn. It erases those lines beautifully.

Why is there a bow on the doorway? Ellen Lindner, AdventureQuilter.com/blog

Do you have one of these irons? If so, how do you remember to turn it off?

BTW, I store the bow, with attached painters tape, with the iron.

Ellen Lindner
2

No More Ribbons

Do you have a bunch of show ribbons on display? I did, but they all had to come down when I recently painted my studio. I probably had about 25 displayed and another 25 in a box waiting to be added to the wall.

One cornerShow ribbons. Ellen Lindner, AdventureQuilter.com/blog

My husband asked if I intended to put them back up. Of course I did! He reminded me that many of them were quite old and gently asked why they were still important to me. Well, gee. The only answer I could think of was “To feed my ego,” and that seemed rather lame. He commented that my studio had always had too much stuff on the walls for his liking. Hmm, that got me thinking. I DO like a more minimalist look in the rest of my home. Why should the studio be any different? Would I like it better with fewer things on the wall?

Eventually, I decided that yes, I would. And this is what happened.

No More Ribbons. Ellen Lindner, AdventureQuilter.com

What camp are you in? Do you like LOTS of things on your studio walls or do you like them more streamlined?

I’m still adjusting to the latter and am adding things back slowly. That editing is hard!

Ellen Lindner
0

“Diversity”

When making Melting Pot, I was also considering whether I might have time to make a smaller quilt for another challenge. As Melting Pot grew, I decided to make it smaller and to use the remaining parts for this smaller quilt. Diversity is the result.

"Diversity", an art quilt by Ellen Lindner. AdventureQuilter.com/blog

It was made for an exhibit called “1 x 4: Imagination.” As you can see, 1 x 4 refers to the dimensions: 1 foot wide and 4 feet tall.  I modified the shape of the top and bottom, an effect I really like.

Like its sister quilt, Diversity was pieced improvisationally (with no pattern.)

I’ve spent a lot of time in the last few months shifting my teaching to online. That was a BIG time commitment and I didn’t have much time for creativity. Now, things have settled down and I’m easing back into quilt designing. Surprisingly, I had a little artistic block when I came back to it. I think that’s because I was so focused on black and white tasks for so many months, and my creative muscles were out of practice. Has that every happened to you? Now, I feel those old creative juices beginning to flow and it’s so much fun!

Ellen Lindner
 

0