Using My Dyed Fabrics

I’ve been really anxious to use my recently dyed fabrics. In a very uncharacteristic move I actually started on a quilt using them BEFORE completing the last thing.  Shocking!

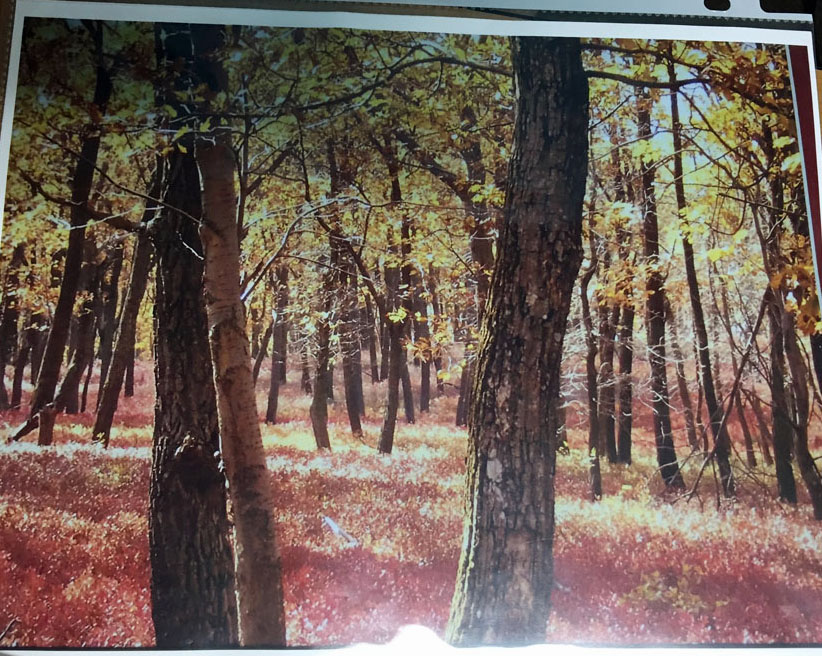
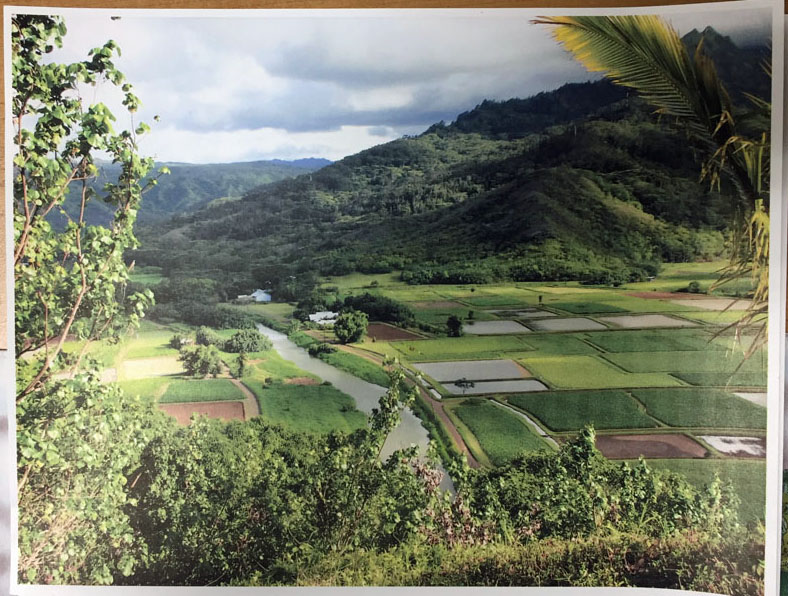
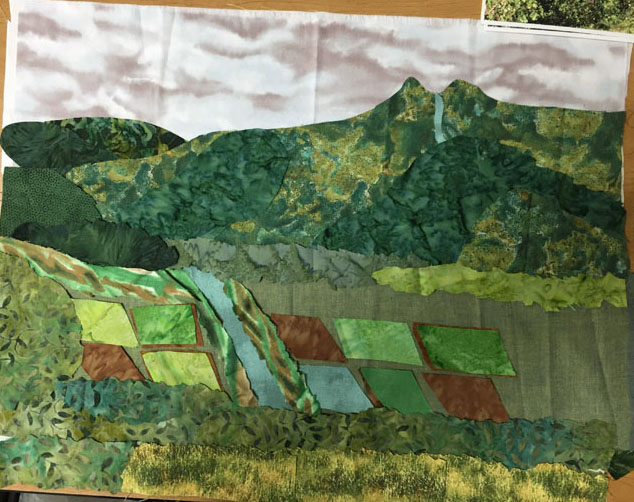
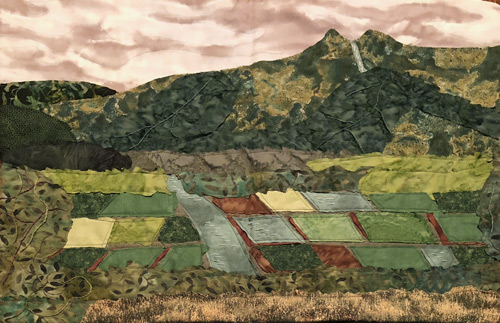
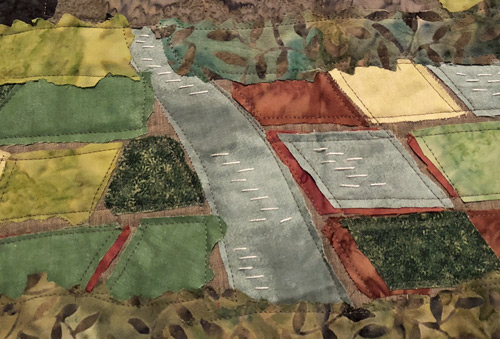
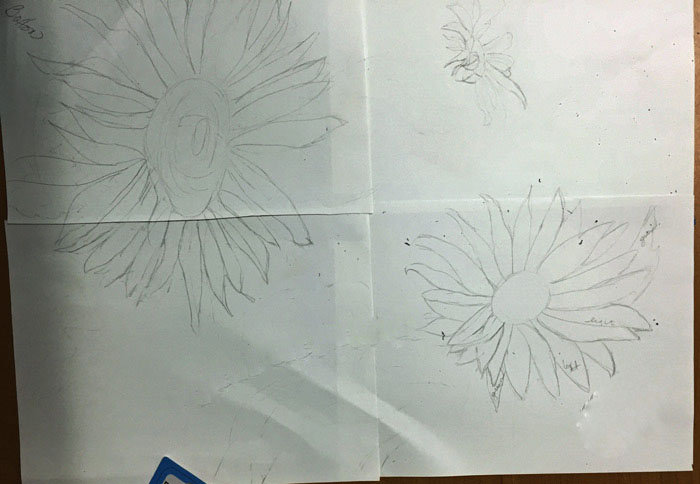
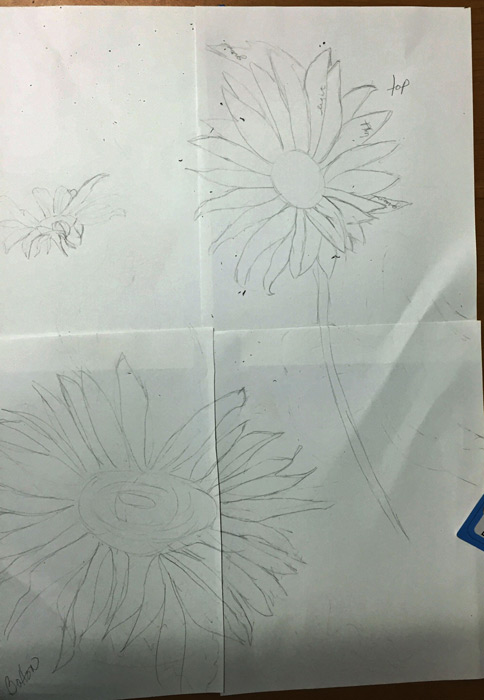
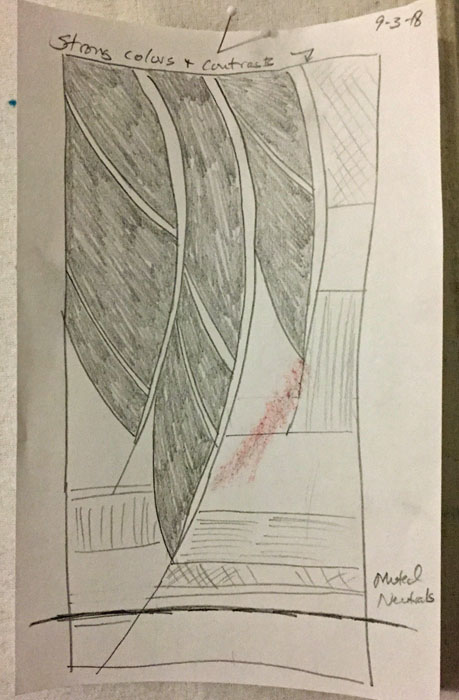
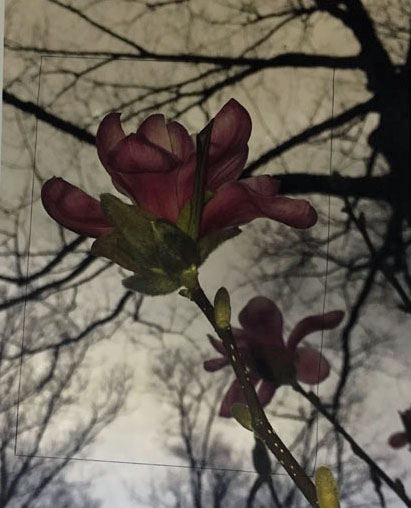
I started with some sketches, and picked this one to use.  Because I’ve been doing a few quilts sized 36″ x 24″, I decided to alter the sketch accordingly.

Using My Hand Dyed Fabrics. Ellen Lindner, AdventureQuilter.com/blog

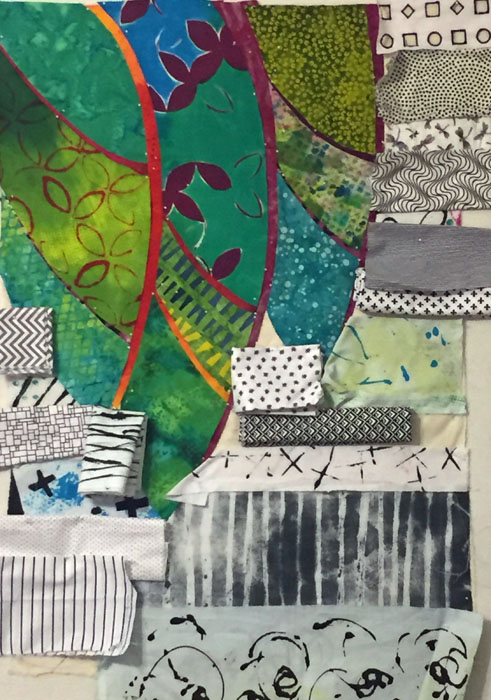
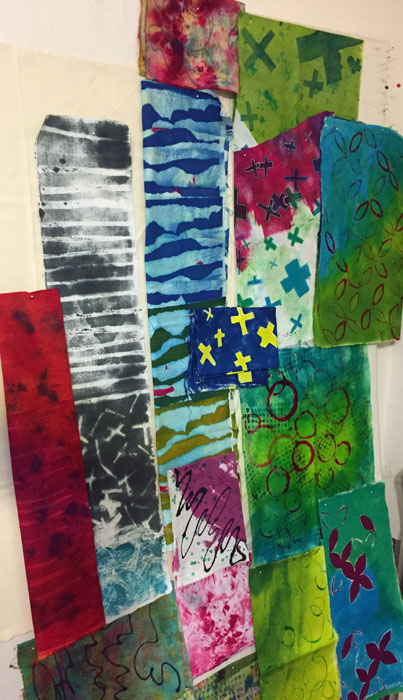
My dyed fabrics would determine the color palette.  I pinned up those that seemed to go together, especially ones with green or organic colors.

 Using My Hand Dyed Fabrics. Ellen Lindner, AdventureQuilter.com/blog

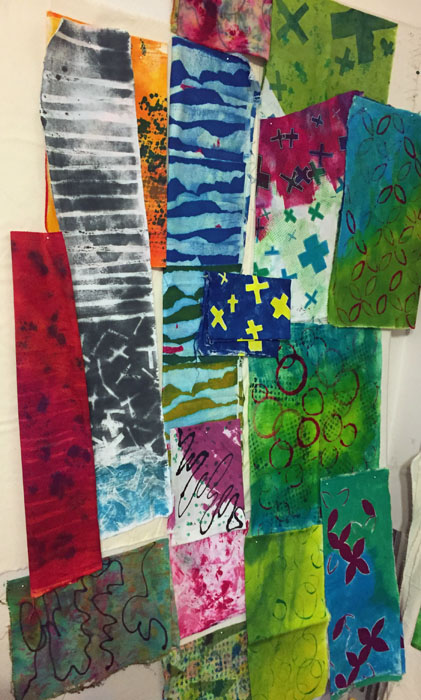
I had quite a collection of compatible pieces, with a lovely yellow-green and fuchsia theme.

But wait.  Was this TOO pretty and predictable?  Did it need a shot of “ugly?”  Something unexpected?  What about something yellow-orange or orange?

Using My Hand Dyed Fabrics. Ellen Lindner, AdventureQuilter.com/blog

YES! That little jolt of contrast is just what the palette needed! (But, maybe the blue with yellow crosses wouldn’t make the cut.)

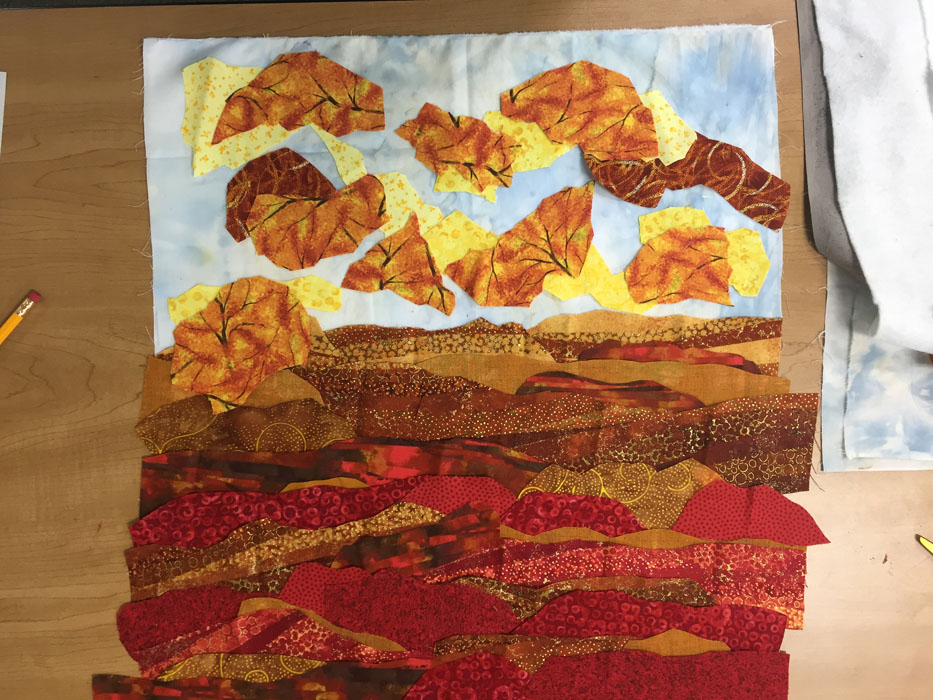
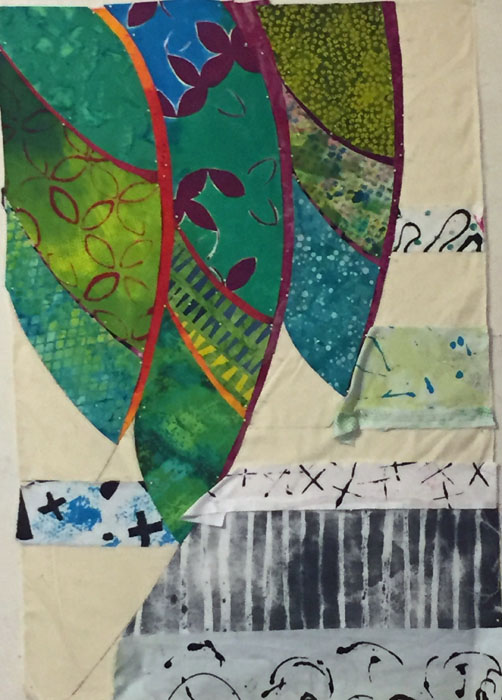
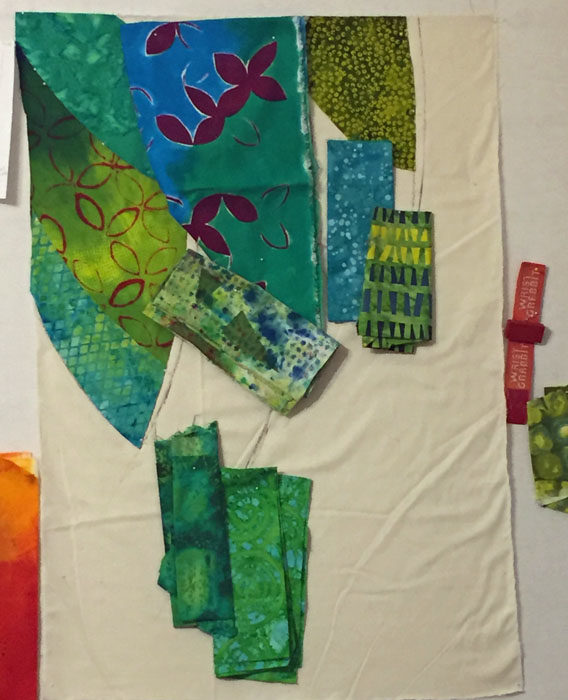
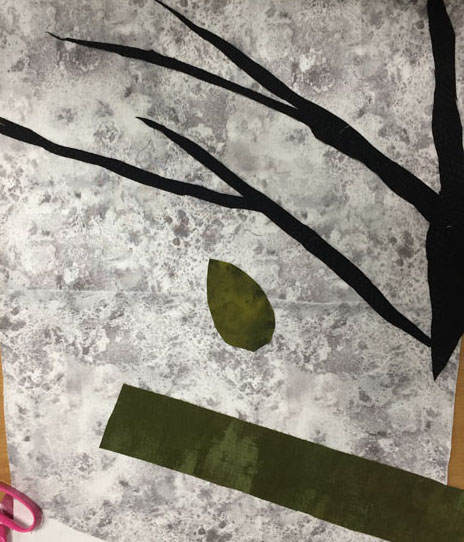
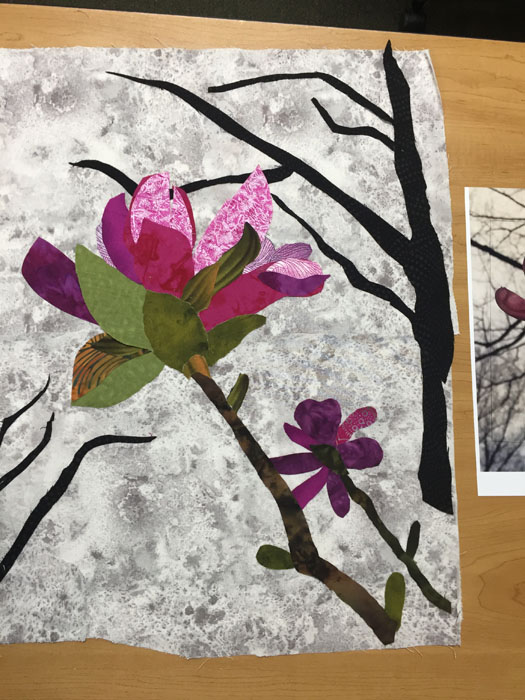
After pinning a piece of muslin on the design wall, I drew in the major lines and began to audition what should go where.  It was great fun to use large pieces of MY OWN fabrics, and things went quickly.

Using My Hand Dyed Fabrics. Ellen Lindner, AdventureQuilter.com/blog

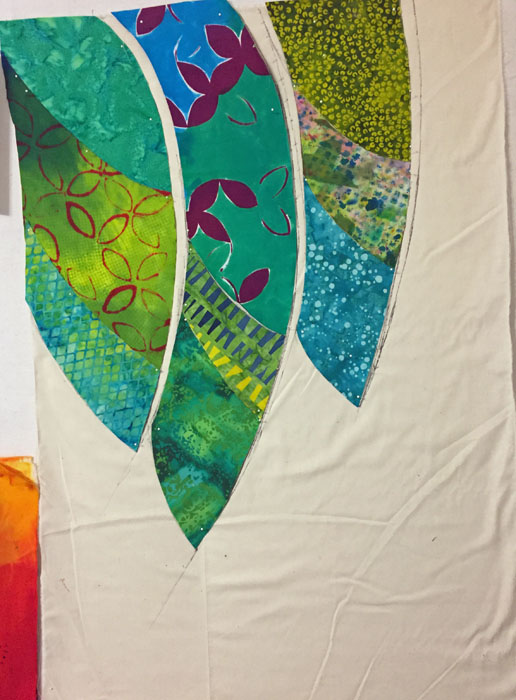
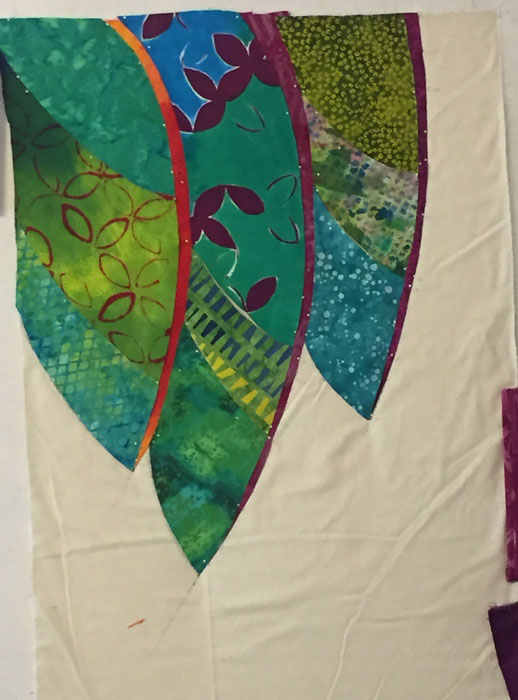
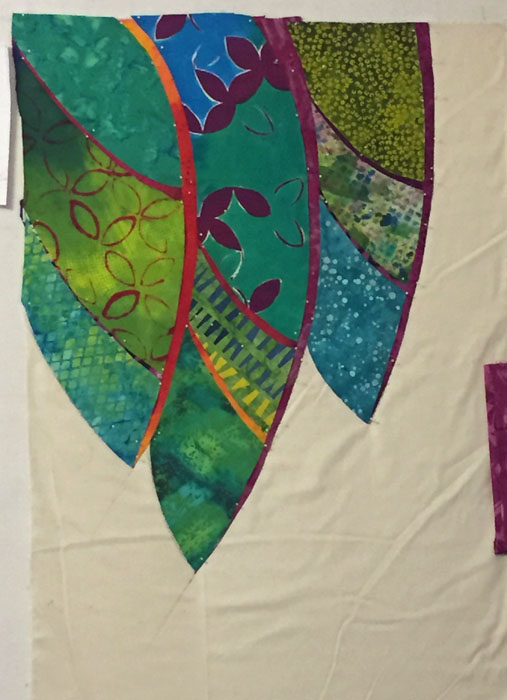
The leaves, before veins, are shown below.

Using My Hand Dyed Fabrics. Ellen Lindner, AdventureQuilter.com/blog

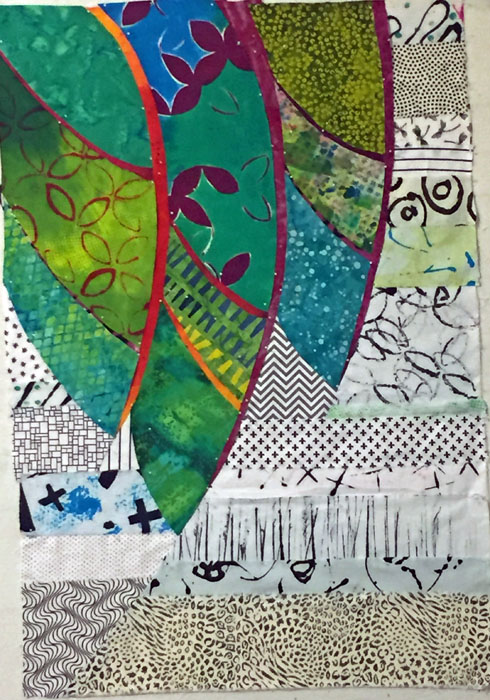
Next came vertical veins. These were easy to add since I had already left space for them.  As a result, the veins could be larger-than-needed strips of fabric that slipped underneath the earlier fabrics.

I use that “slip under technique” a lot.  It’s a good way to avoid working with tiny little strips of fabric.

Using My Hand Dyed Fabrics. Ellen Lindner, AdventureQuilter.com/blog

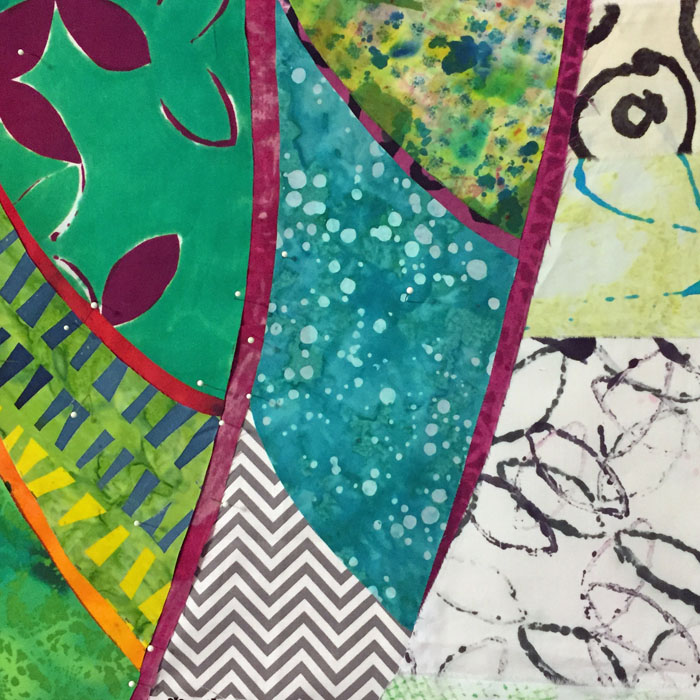
Then, I trimmed the remaining leaf pieces a little in order to add the diagonal veins in a similar fashion.

Using My Hand Dyed Fabrics. Ellen Lindner, AdventureQuilter.com/blog

Don’t you love that yellow-orange?

On to the background.

Ellen Lindner
2

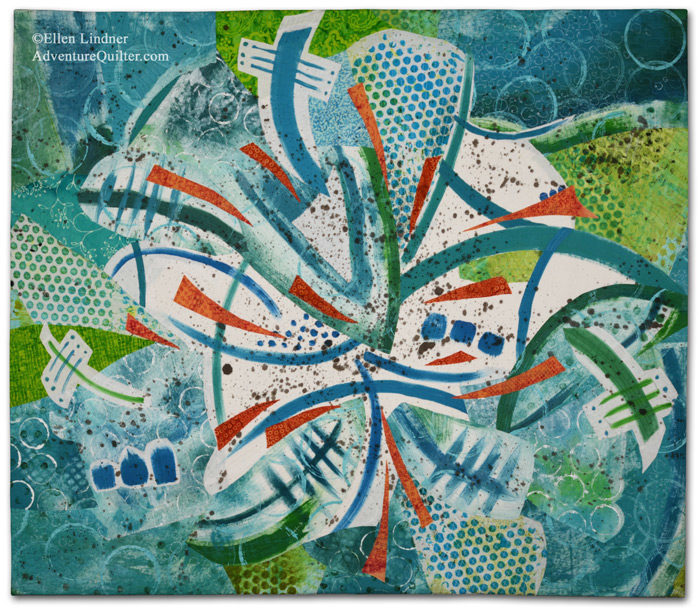
“Splash” Complete

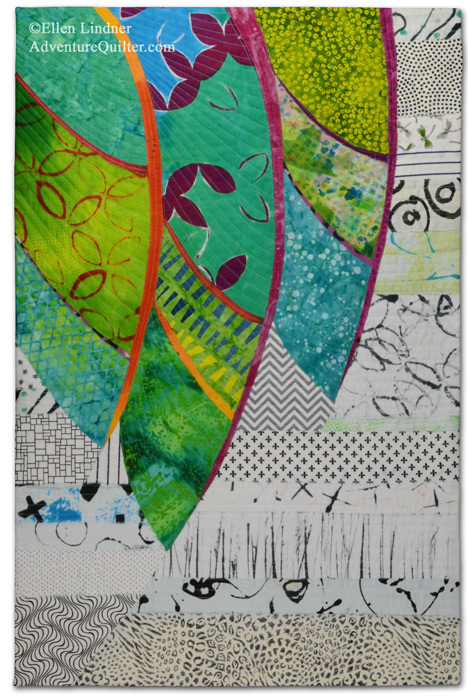
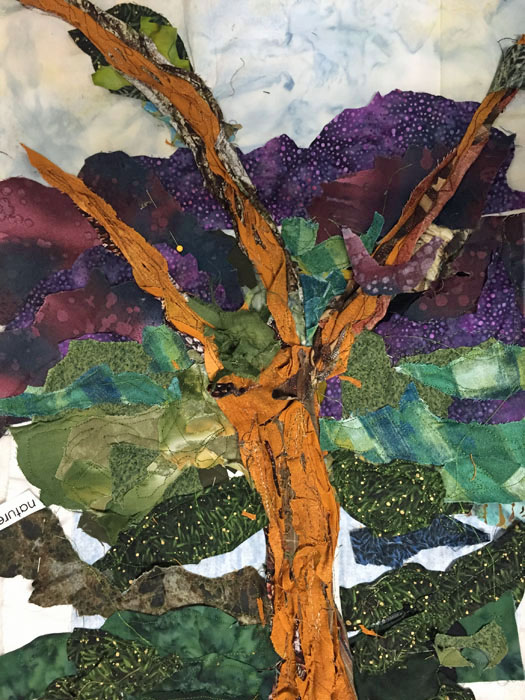
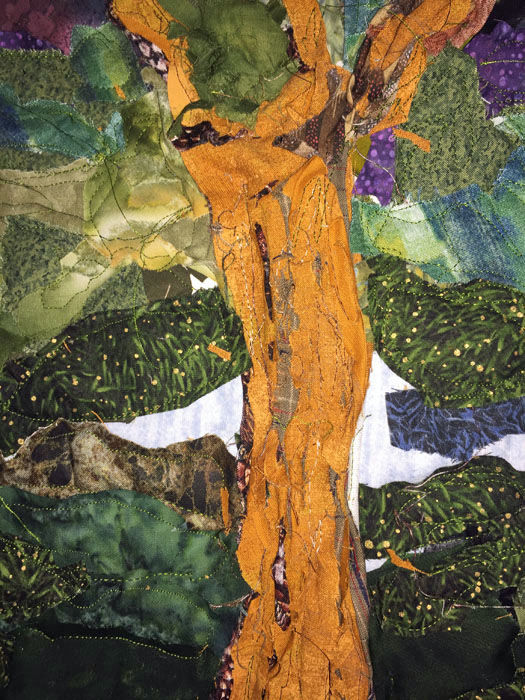
My quilt, Splash, is finally complete. It had a long intermission while I purchased a working sewing machine.  But, now it’s finished and I’m very happy!

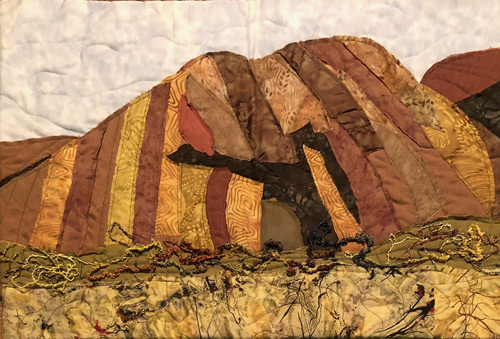
Splash, an art quilt by Ellen Lindner. AdventureQuilter.com

This piece is made largely from fabrics I hand painted.  That involved a bit of a learning curve, as did the stitching of the stiffer-than-usual fabrics which resulted.

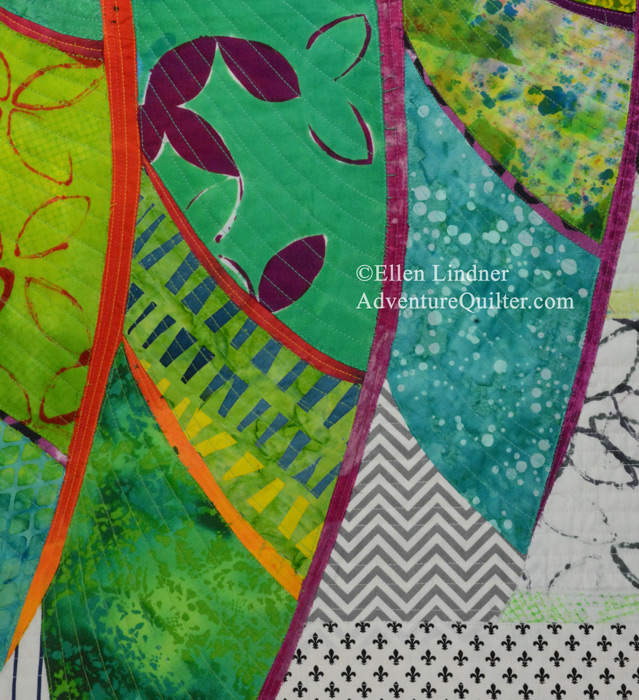
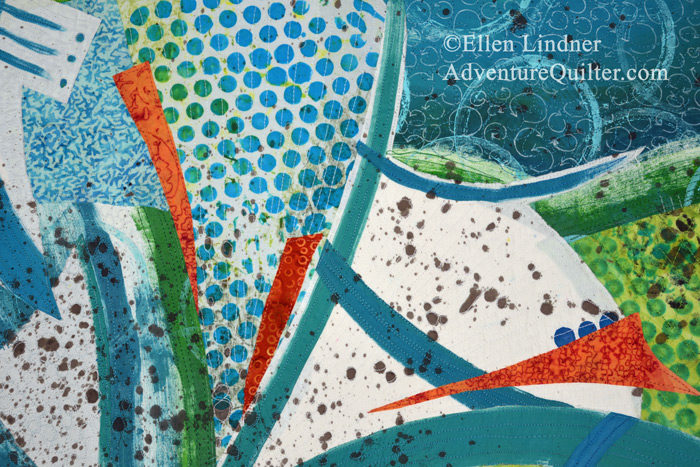
Splash - detail, an art quilt by Ellen Lindner, AdvetureQuilter.com

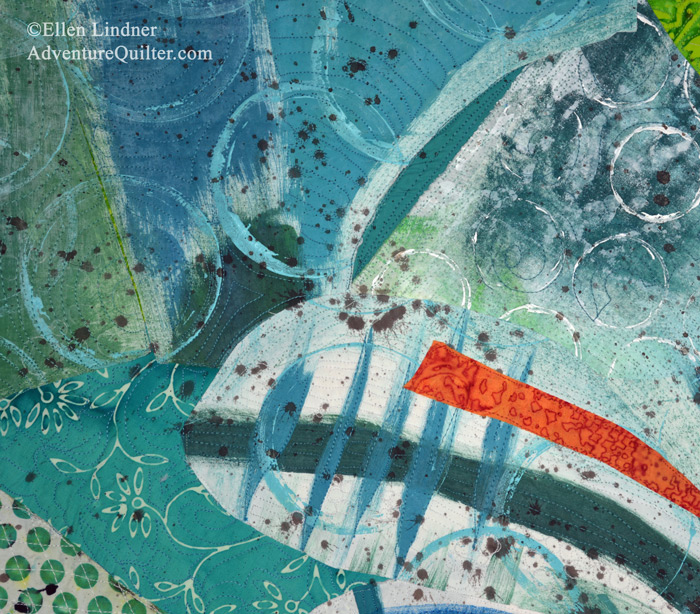
I did quite a bit of experimenting on this quilt, including throwing paint on it at one point!

Splash - detail, an art quilt by Ellen Lindner. AdventureQuilter.com

I’m happy with the results, but after having it on my design wall for SO long, I’m quite happy to move on to the next thing.

Find out dimensions and how to audition this quilt in your home.

Ellen Lindner
10

SAQA 2018 Auction

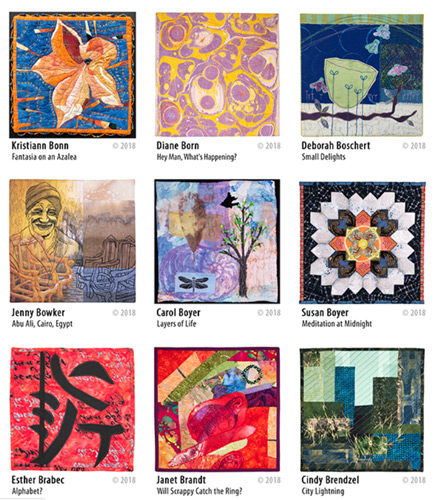
SAQA (Studio Art Quilts Associates) is having an online auction of small quilts right now! This screen shot gives you an idea of the caliber of these 12″ x 12″ pieces. There are over 100 to choose from! You’ll definitely want to check them out.

SAQA 2018 Auction. Ellen Lindner, AdventureQuilter.com/blog

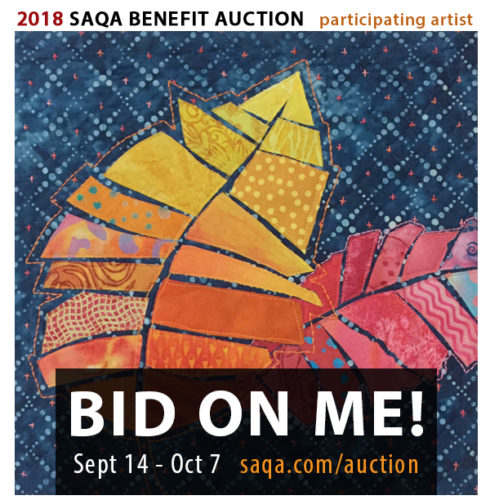
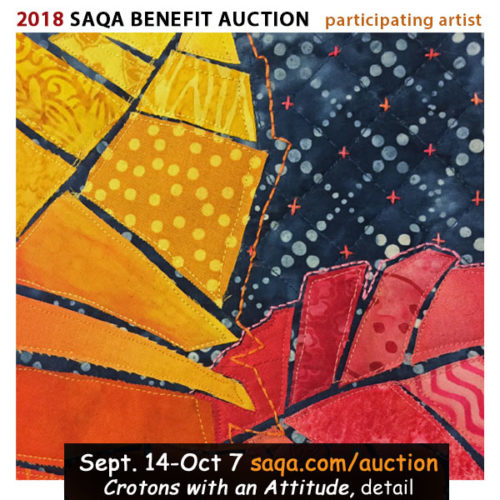
Here’s my 12″ x 12″ piece, called Crotons with Attitude.

SAQA 2018 Auction. Ellen Lindner, AdventureQuilter.com/blog SAQA 2018 Auction. Ellen Lindner, AdventureQuilter.com/blog

The benefit quilts are divided into groups with a different group available for bidding each week. Mine will be available for bidding starting September 24th.

Check out all the auction details.

SAQA 2018 Auction. Ellen Lindner, AdventureQuilter.com/blog

Enjoy all the eye candy!

Ellen Lindner
 

2

Traffic Jam

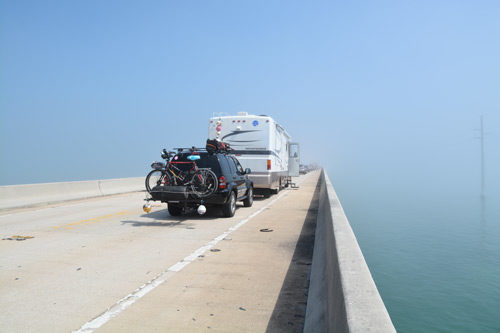
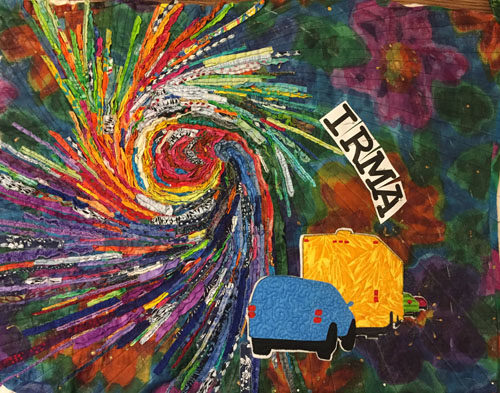
I needed to depict a traffic jam for my hurricane (evacuation) quilt. Thankfully, I had a reference photo.

Planning a Hurricane Quilt. Ellen Lindner, AdventureQuilter.com/blog

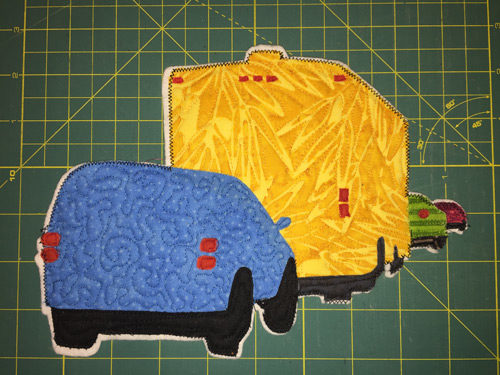
So, I made a colorful replica.

Traffic Jam, art quilt details in-progress. Ellen Lindner, AdventureQuilter.com/blog

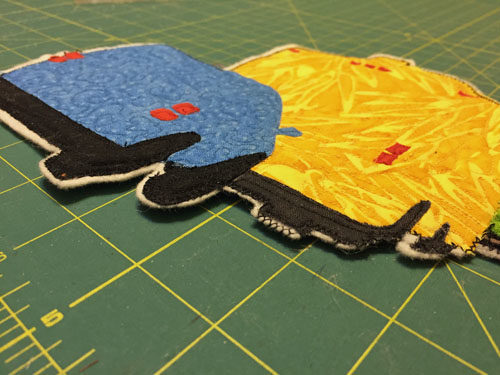
I thought it needed to be thick/padded to go with the texture of the raw-edged spirals.

Traffic Jam, art quilt details in-progress. Ellen Lindner, AdventureQuilter.com/blog

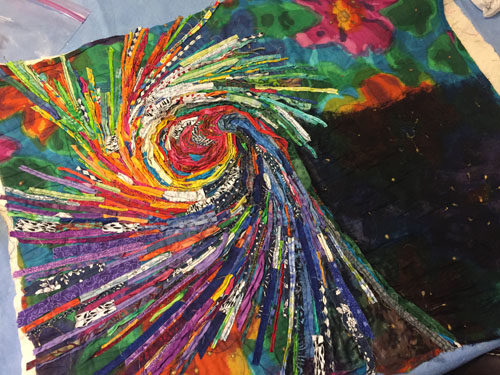
However, the bright colors of the vehicles disappeared a little against the bright floral background. I corrected that by over painting the background with thickened dye, shown in-progress below.

Traffic Jam, art quilt details in-progress. Ellen Lindner, AdventureQuilter.com/blog

Although it looked very dark here, it was really a thin blue-black.  You can see the result below. Surprisingly, it’s exactly what I wanted.

Traffic Jam, art quilt details in-progress. Ellen Lindner, AdventureQuilter.com/blog

In the photo above I was beginning to audition the addition of text. Of course, it will also need to be textured, so I’ll have to think about how to best achieve that.

And for those of you enduring hurricane Florence, I hope she’ll end up being a relatively minor inconvenience.  Stay safe!

Ellen Lindner
14

Planning a Hurricane Quilt

Who says Florida doesn’t have seasons?  We have hurricane season, don’t we? One year ago, Hurricane Irma had just skirted Florida on its way northward.  Due to the power of the storm and the projected path, the governor of Florida issued an order for mandatory coastal evacuations, and urged people in many other areas to evacuate voluntarily.

As a result, a mass exodus ensued with around SIX MILLION Floridians hurrying to safer ground.  This resulted in more problems: huge traffic jams, fuel shortages, and packed hotels all the way to North Carolina.  A few days later, the entire migration happened again in reverse.

All this popped into my head when I read about an exhibit called “Forced to Flee.” Plus, I had played around with this little number about a year earlier.

What Next? Ellen Lindner, AdventureQuilter.com/blog

I wasn’t trying to make a hurricane motif, but was simply having fun sewing down raw-edged strips.  But, in the right context I thought it could surely look like a hurricane as seen on a weather forecast.  And so, my ideas for a hurricane quilt began to evolve.

But, how to depict the mass exodus of cars?  Well, it just so happens that my husband and I had been caught in a 6 hour traffic jam in the Florida keys and I had taken a few photos of the traffic at a standstill. (Because it’s not every day that the guy in the camper in front of you gets out with his fishing pole and casts over the side of the road/bridge.)

Planning a Hurricane Quilt. Ellen Lindner, AdventureQuilter.com/blog

Maybe I can merge these two images somehow.  Off to do some sketching.

And to those of you in the path of Florence, stay safe!

Ellen Lindner
 

18

African Wax Prints

What do Michelle Obama’s purses, large chickens, and drought all have in common?  They’ve all inspired African batik fabrics. Originally designed in the Dutch East Indies, these fabrics are now designed and printed commercially in Holland and sold – to a very enthusiastic market – along the coast of Africa.

You can learn all about it at the current exhibit, “Wandering Spirit,” on display at the Ruth Funk Center for Textile Arts, in Melbourne, FL.

African Wax Prints. Ellen Lindner, AdventureQuilter.com/blog

The fabrics, along with garments made from them, are displayed beautifully. Most of the patterns are large, with strong contrasts, and vivid colors.

African Wax Prints. Ellen Lindner, AdventureQuilter.com/blog

I attended a gallery walk lead by Dr. Gifty Benson, who is an expert from Ghana. She explained that the fabric patterns each have distinctive names: horse hair, bad year (after a drought,) Happy Family (of chickens,) and such.  Even more interesting, special patterns are created to celebrate or commemorate notable events and people.  For instance, in 2008 several patterns were designed to honor Barack  and Michelle Obama: 6 patterns for him and 2 for her.

The fabric shown here is called “Michelle Obama’s Bags.”  Can you see them?

African Wax Prints. Ellen Lindner, AdventureQuilter.com/blog

There was another one called “Michelle Obama’s shoes,” which was printed with high heels.

This yellow dress was my favorite.

African Wax Prints. Ellen Lindner, AdventureQuilter.com/blog

Check out the sleeves. Aren’t they interesting?

African Wax Prints. Ellen Lindner, AdventureQuilter.com/blog

These fabrics are sold in 6 yard lengths.  Buyers then cut them into 2 yard lengths and use two of the resulting pieces for a skirt, and a top.  The third piece is often simply hemmed to be used as a shawl or a head wrap.  (Or maybe some fancy sleeves.) You can see some examples of how the three pieces were used in the garments below.

African Wax Prints. Ellen Lindner, AdventureQuilter.com/blog

Dr. Benson said that the release of new patterns is eagerly anticipated, because the women “just love them!” I’ll be they do have some fun planning how to make these garments.

I’m still thinking about the choice to honor Michelle Obama with prints about her shoes and her purses.  It made me wonder what sort of prints would honor/depict me? How do you depict an outgoing chatterbox?  Some big lips, maybe?  A jumble of alphabet letters?  It’s kinda fun to think about.

Ellen Lindner
 

6

My Dyeing Frenzy Has “Dyed” Down

One thing I’ve learned while blogging about my dyeing adventures is how to correctly spell the word. 🙂 Thanks to all you readers who pointed out the need for a letter E in the word dyeing.  I think I’ve got it now. And I hope you’ll excuse my misspelled pun in the title.

34 fabrics, (nearly 8 yards,) and two weeks later, I’ve put a healthy dent in my goal to learn about painting with dye. And I’ve got some fabrics that I’m quite happy with.  Some I over worked and some might benefit from more attention. But, mostly I’ve got very usable fabrics.  Here’s the collection.

My Dyeing Frenzy has "Dyed" Down. Ellen Lindner, AdventureQuilter.com/blog

It looks like I’ll need to add some yellow next time.  And probably some more neutrals.

Here’s a close up view of some of the fabrics pre-ironing.  The pretty pink one is a clean up rag.  (CUR in my notes.)

My Dyeing Frenzy has "Dyed" Down. Ellen Lindner, AdventureQuilter.com/blog

There are SO many different things you can do with fabric and dye.  Some of very quick, like washing on thin dye, or dunking fabric into a dye vat.  Others require a lot of time, with multiple layers, dry times in between, or tricky hand painting.  I know I’ve only scratched the surface of the possibilities.

Here’s a case in point.  I wanted to have a fuchsia motif with a blue background.  But, since those two colors are near-complements I didn’t think I should overlap them.  So, I stenciled on the fuchsia leaves and then painstakingly painted the blue on. Here it is in progress, with a little white intentionally left around each motif.

My Dyeing Frenzy has "Dyed" Down. Ellen Lindner, AdventureQuilter.com/blog

And here’s the finished result.

My Dyeing Frenzy has "Dyed" Down. Ellen Lindner, AdventureQuilter.com/blog

I love it, but I’ll need to find a faster way to produce such results.  I’m sure there’s a resist product I could add on top of the fuchsia so then I’d be able to just wash on the blue.  I’ll bet I could stencil the resist on, too.  That would be a lot better. I’ll have to research it.

As much as I enjoyed the dye painting I was really ready to put away all the plastic and switch my studio back to a SEWING one.  I just bought a new sewing machine, so I’ll finish stitching my current quilt.  (I AM anxious to start a project with those dyed fabrics, though!)

Thanks for taking this ride with me.

Ellen Lindner
14

Dyeing “Problems”

I’ve created quite a few butt-ugly fabrics during my dying experiments.  (No offense to butts!)  However, I know that I can save most of them, so they’re only “problems,” until I can get around to rescuing them.  In the meantime, they’re teaching me what NOT to do.

Like screen printing with liquid dye instead of thickened dye.  Oops!  What was I thinking?  As you might imagine, the dye ran everywhere and was solid. Like the black top of this piece, which was supposed to have lots of hash marks.  When I shifted to teal I remembered to use the thickened dye.  Quite a difference, don’t you think?

Dying "Problems," Ellen Lindner, AdventureQuilter.com/blog

How will I alter the solid black.? I’m thinking a bleach pen, but I’ll need to do some more research.

However, when I pulled up this screen and saw the ugly fabric I also saw an opportunity.  I laid another plain piece of white fabric on top of the saturated fabric (with a masking tape resist still in place,) and I got this.

Dying "Problems," Ellen Lindner, AdventureQuilter.com/blog

That’s definitely usable and the part you can’t see is black and white stripes.

I’ll tell you what, I spent a lot of time getting this next fabric to be ugly.  That was “before,” but I don’t have a photo. Imagine garish red-orange and purple wide stripes with bright yellow narrow stripes.  Yep, that’s what I did.  Intentionally!  Woah, I could have given myself a seizure with the resulting fabric!

Dying "Problems," Ellen Lindner, AdventureQuilter.com/blog

So, I decided to paint a thin dye wash over all of it in dark brown.  I did so, but it totally obscured the stripes. So, then I painted on clear water, sweeping off color with my brush, and creating a big pond on my work table. Finally, I squeezed it all out.  And I got the fabric above, which I can definitely use.  Whew!

Did I mention I’m learning a lot???

Ellen Lindner
8

Stamping with Thickened Dye

Well, once I got going with the dying I really got busy.  These are my results at the end of week 1.

Ellen Lindner, AdventureQuilter.com/blog

It all took longer than I imagined because of doing multiple things to the same piece of fabric.  Initially, I was washing the fabric after each step, resoaking it with soda ash, and letting it air dry before the next step.  That sure took a lot of time! And I did it for nearly the whole first week.  Eventually, I realized I could often do step 2 as soon as step 1 was dry (or sometimes even before.)

One of the first things I did was very simple: stamping. Like these circles, made with a masking tape roll, a jar lid, and a toilet paper tube.  I decided to repeat several of my patterns in black and white, thinking that these pairings can be used together.

Ellen Lindner, AdventureQuilter.com/blog

Here’s some more, on the left.  This time the toilet paper tube was pinched.  I like this pattern a lot.

This fabric is folded in half and you can see the back side shadowing through.  That gives me an idea for something more! The piece on the right is a clean up rag, of which I now have many.  I’m calling them CURs in my notes. (Gotta love those abbreviations.)

And here’s the same pattern done with fuchsia on a colorful background.  I also repeated my earlier credit card markings in black and white, on the left.  The big crosses/Xs on the right are screen printed.  Something that has given me mixed results.

And that bottom rust colored piece?  It’s a whole ‘nother story, which I’ll share with you soon.

Having fun and still learning lots!

Ellen Lindner
10

You Like Me! You Really Like Me!

Imagine my surprise when a friend told me that she had voted for me “in the quilt blog contest.” What?  I had never heard of such a thing.  But, lo and behold, she showed me this.

You Really Like Me! Ellen Lindner, AdventureQuilter.com/blog

Apparently my blog is a finalist in the “Best Art Quilt Blog” category.  Well, that’s certainly nice!  (Even though I wasn’t notified and my name is misspelled.) Still, my blog was nominated and enough people liked it to make it a finalist.  Great!

You can find full details here. (And, of course, if you want to vote for me while you’re there, I won’t complain.)  I wonder if there’s a prize.

“It’s an honor to be nominated.” Truly! (Even though I’m kinda chuckling over this.)

Ellen Lindner
 

12