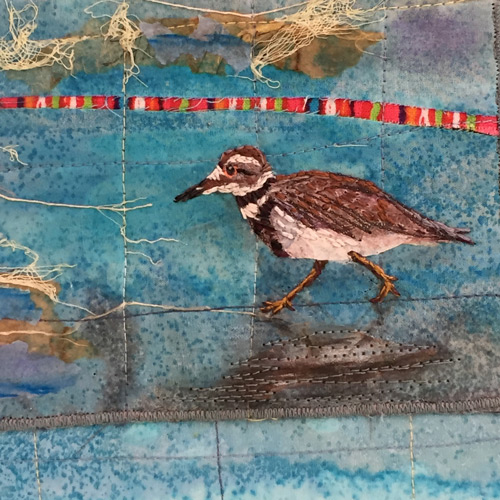
Hand Embroidery

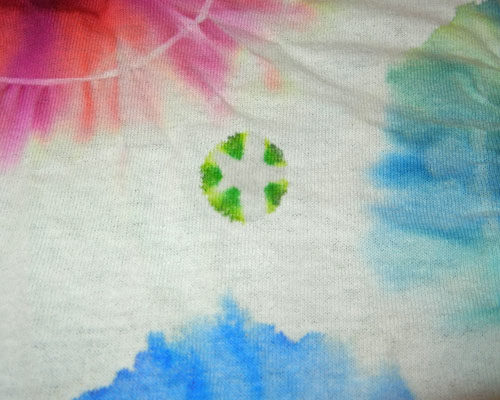
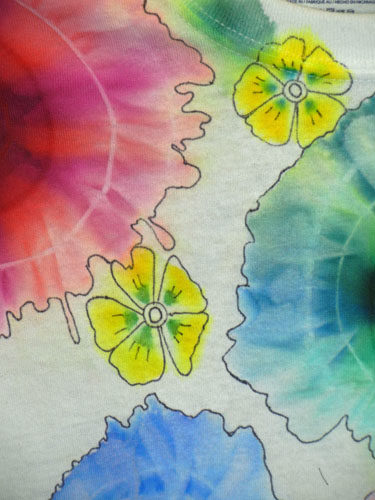
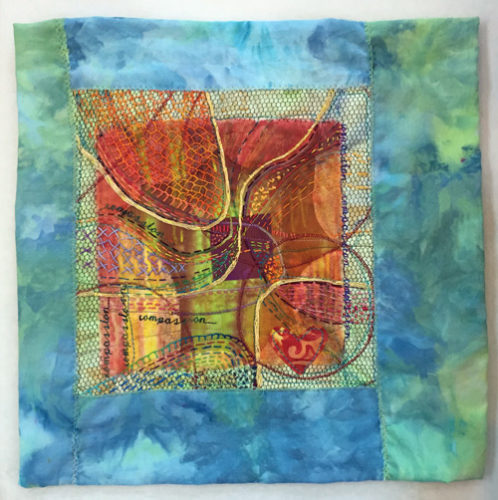
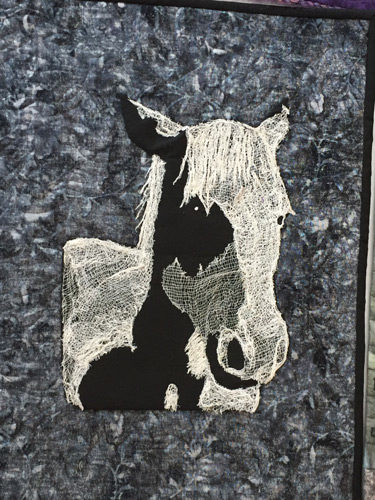
While at the retreat, Annette Boceck did a demonstration about hand embroidery.  I found her use of hand stitch to be very interesting and (to me) unique.  I’ve always used embroidery to add some interest to a quilt or to highlight a particular area.  But, Annette uses it to completely transform the fabric. Like this.

Hand Embroidery. Ellen Lindner, AdventureQuilter.com/blog

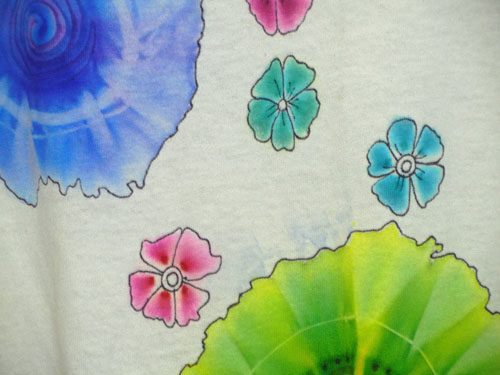
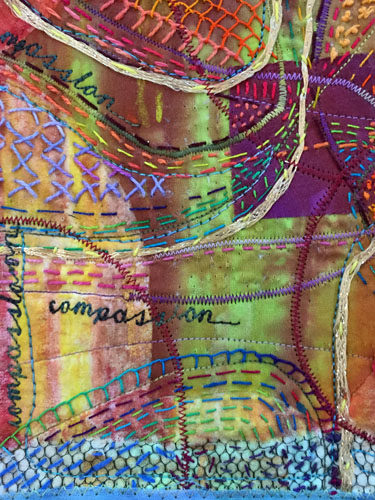
Check out this detail. I already know how to do all of these stitches, but I’ve never used them in such a concentrated way. As you can see, it completely changes the overall appearance.

Hand Embroidery. Ellen Lindner, AdventureQuilter.com/blog

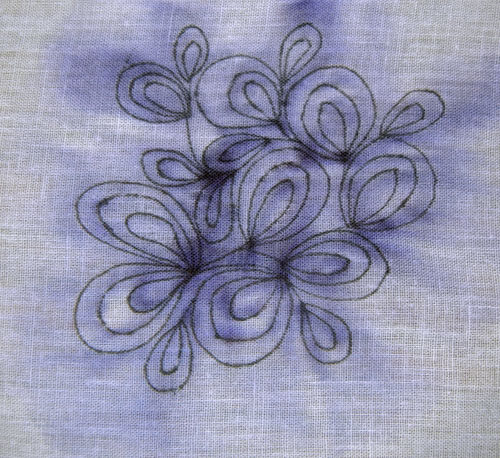
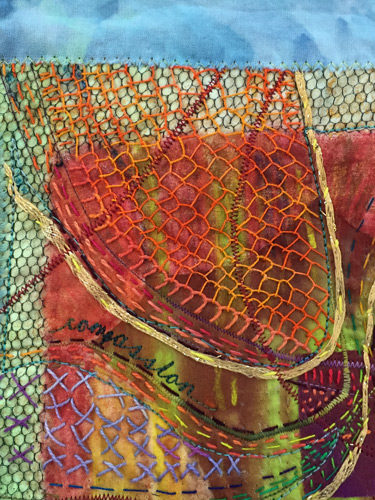
Most of these stitches are quite easy. I was really taken with the netting effect achieved with the orange stitches shown below. Then, I looked more closely.  Rows of blanket stitches create the effect.  Brilliant!
Hand Embroidery. Ellen Lindner, AdventureQuilter.com/blog

I’m itching to give this a try.  If you’d like to join me, you can find lots of stitch tutorials online.  The ones shown here are straight, running, cross, back, and blanket.  You might also want to investigate stem stitch and French knots.

Stitch on!

Ellen Lindner

4

Learn with Me: Complementary Colors

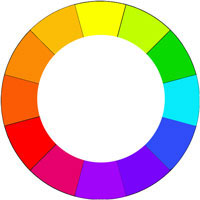
You know about complementary colors, right?  Colors that are in opposite locations on the color wheel?

Color wheel. Ellen Lindner, AdventureQuilter.com/blog

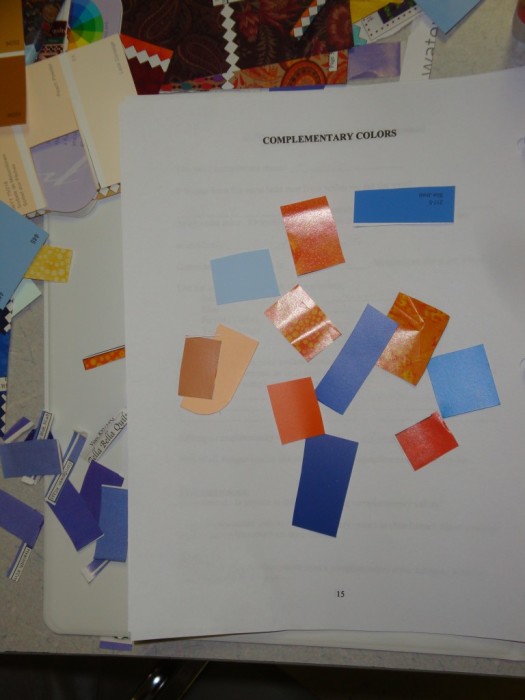
Like blue and orange.

Complementary exercise. Ellen Lindner, Adventurequilter.com/blog

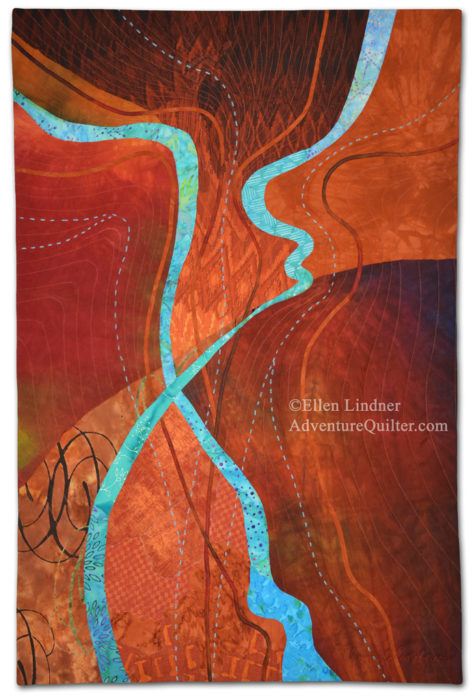
Since rust is a version of orange, this quilt uses complementary colors.
(Or maybe it’s red-orange and blue-green, which are also complementary.)

Deliberation, an art quilt by Ellen Lindner. AdventureQuilter.com

Deliberation

But, maybe you’re not too comfortable with a color wheel, or how to really USE complementary colors together. Here are few key points:
– Each swatch on the color wheel represents an entire color family.  That is, EVERY version of that hue/color. So every blue is complementary to every orange.
– Adding the complementary color always adds drama.
– It’s best to use more of one color than the other.

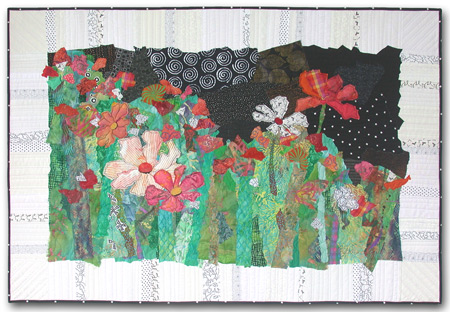
This quilt uses the complementary color scheme of red and green.  But, notice there’s more green than red.  And in the photo above, there’s more rust/orange than blue.

Cosmo Boogie, an art quilt made by Ellen Lindner. AdventureQuilter.com

Cosmo Boogie

Want to learn more?  See these two articles about color, as previously published in Quilting Quarterly:
Color, Part One
Color, Part Two

Or, to master this concept and many more, check out my eBook on color.

Adventures in Color e-book by Ellen Lindner. AdventureQuilter.com

Ellen Lindner
P.S. I have a whole section on my website with helpful articles.  Click on one of the green categories to see what it has to offer.

4

Individual Projects

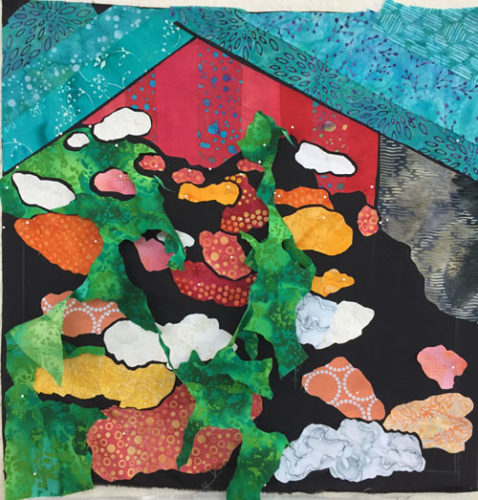
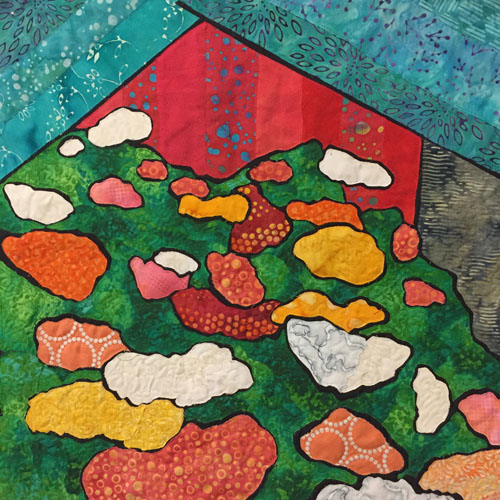
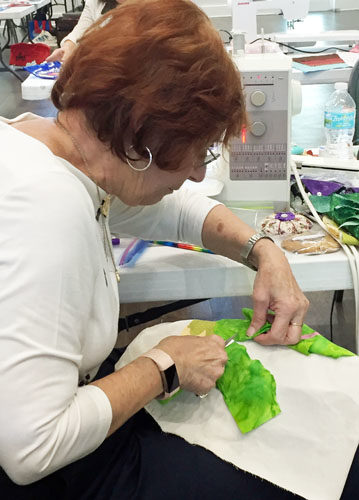
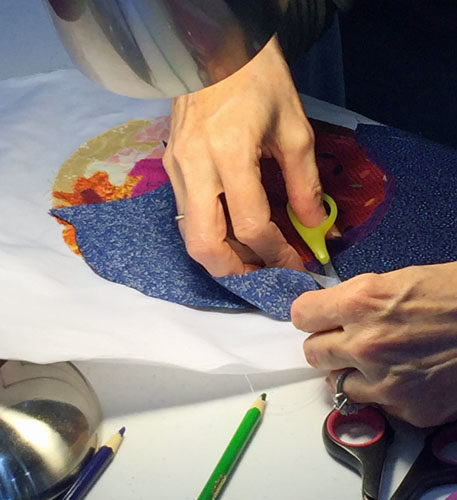
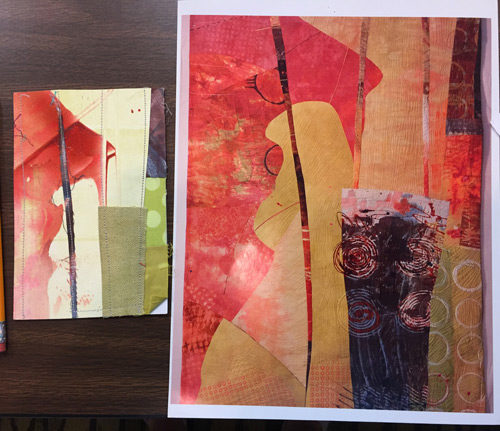
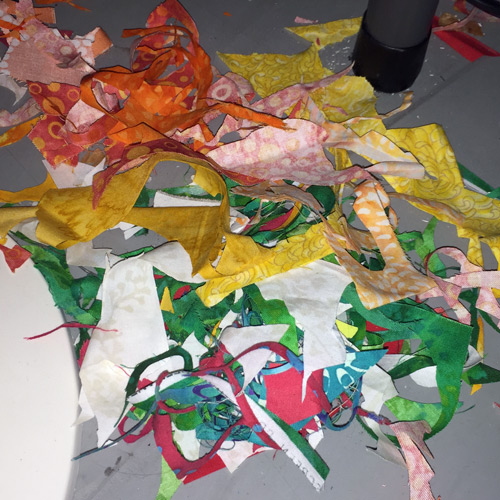
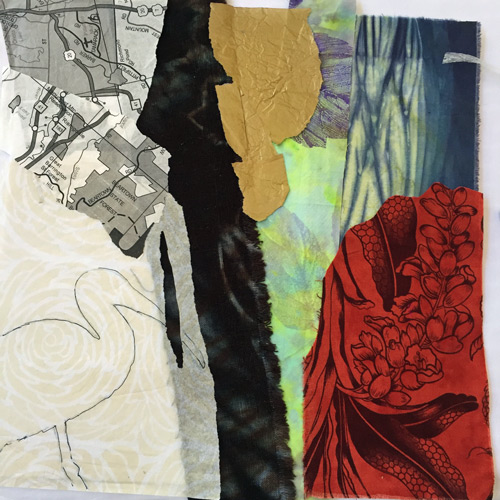
The retreat provided plenty of time for everyone to work on their own projects.  I decided on a very difficult approach to my project and therefore made slow progress.  I made some great scraps, though.

Individual Retreat Projects.  Ellen Lindner, AdventureQuilter.com/blog

(I’ll show you the in-progress craziness when I write a future post about said project.)

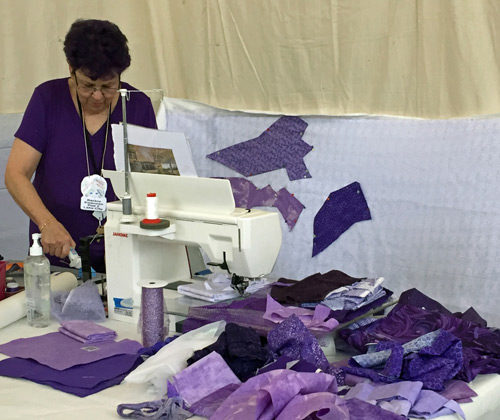
I think Barbie Swanson‘s scraps are all going to be monochromatic. 🙂

Individual Retreat Projects.  Ellen Lindner, AdventureQuilter.com/blog

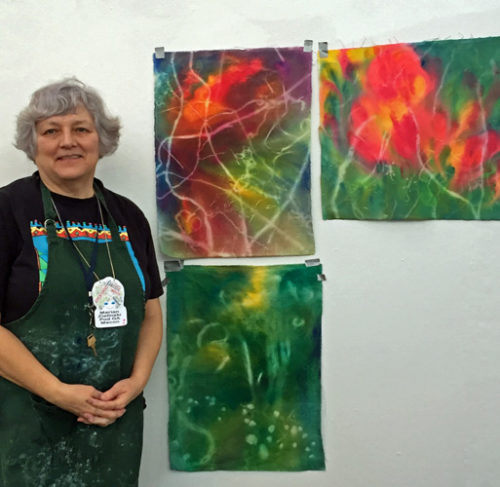
Marian Zielinksi creates wonderful pieces with sun printing.  She gave us an excellent demo! The light areas are created with everything from Easter grass, to rocks.

Individual Retreat Projects.  Ellen Lindner, AdventureQuilter.com/blog

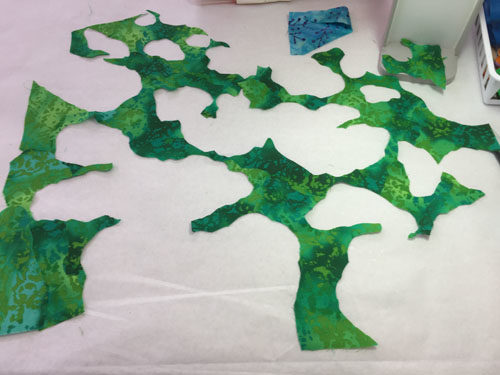
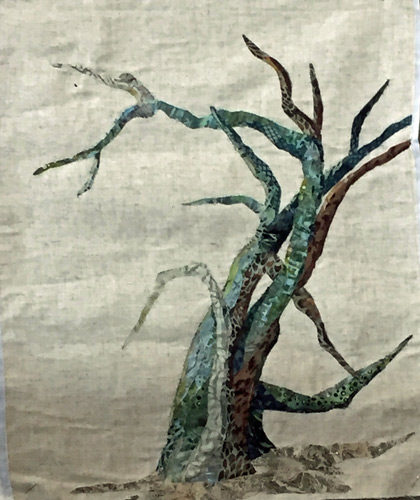
Becky Stack worked on an awesome tree.  She’s working on making it look 3D and I think she’s well on her way.

Individual Retreat Projects.  Ellen Lindner, AdventureQuilter.com/blog

Sheilana Massey brought this finished project to show us.  Isn’t it awesome?  It’s created with a technique devised by Mary Pal.

Individual Retreat Projects.  Ellen Lindner, AdventureQuilter.com/blog

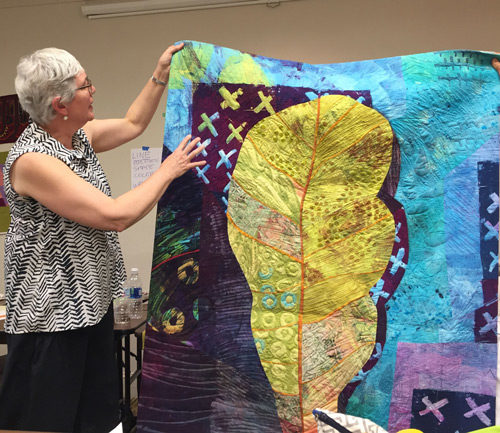
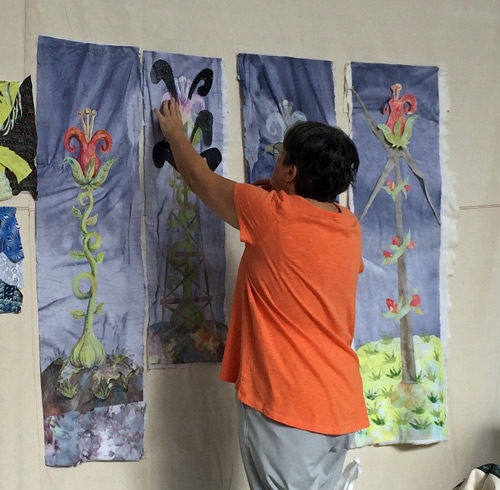
Annette Boncek worked on a 4-panel piece about the environment.

What a Retreat! Ellen Lindner, AdventureQuilter.com/blog

These photos are a SMALL sampling of all the inventive work going on. The atmosphere was electric with creativity, but calm and relaxed in our beautiful surroundings.

Ellen Lindner


0

Sally and Pam’s Art Demo

At the recent SAQA retreat, you could work on your own projects or take time out for one of the many excellent demos.  One of the first I attended was put on by Sally Dutko and Pam Richardson, as they explained their process to us.

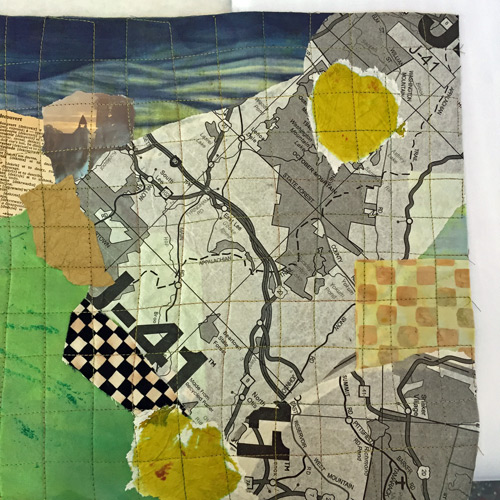
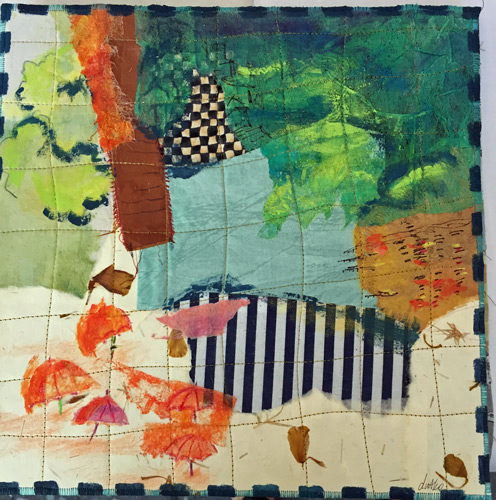
Sally’s work was used for most of the in-progress examples. As you can see, she collages paper and fabrics onto a base support.

Sally and Pam's art demo. Ellen Lindner, AdventureQuilter.com/blog

Then, she stitches a grid and coats everything with a clear medium.  (This gives it “tooth” for other media.)

Sally and Pam's art demo. Ellen Lindner, AdventureQuilter.com/blog

Finally, she adds paint, stitching, more collage…whatever she thinks it needs.

Sally and Pam's art demo. Ellen Lindner, AdventureQuilter.com/blog

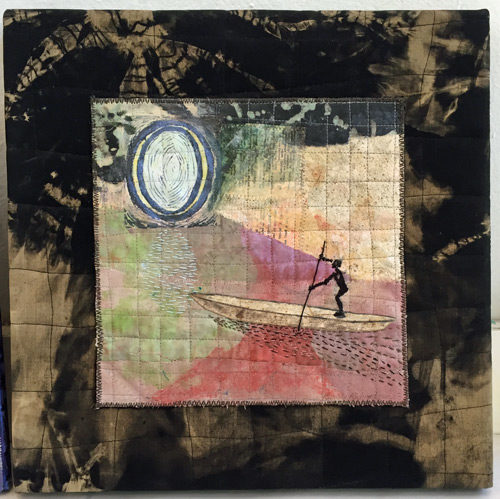
On the one above, she finished the edge with satin stitching, and mounted it on to an artist canvas.  An intriguing process, great work, and a professional presentation!

Pam’s work provided most of the completed samples.  This small piece was created in the same fashion as Sally’s, but mounted slightly differently.  Here, a canvas was wrapped in fabric and the artwork was applied.

Sally and Pam's art demo. Ellen Lindner, AdventureQuilter.com/blog

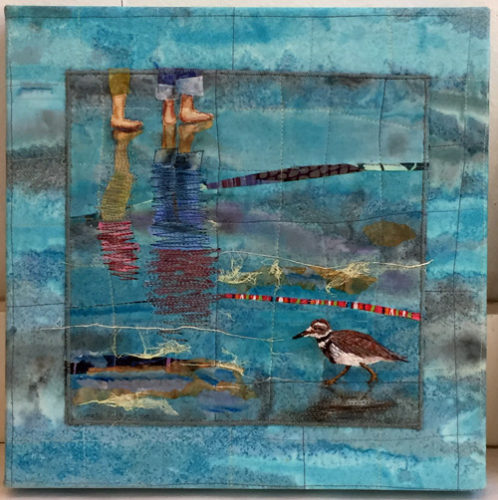
I especially loved this beach scene of Pam’s. She used a variety of techniques and media to achieve her desired result.

Sally and Pam's art demo. Ellen Lindner, AdventureQuilter.com/blog

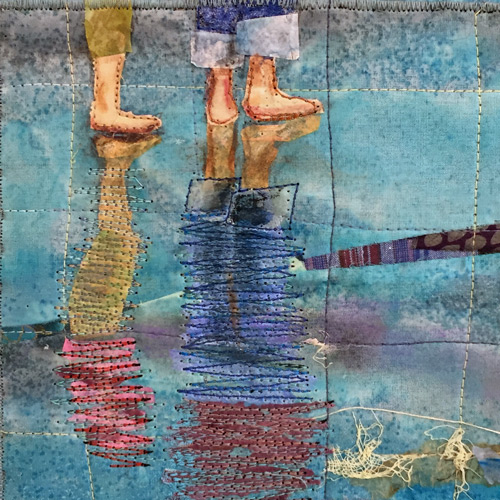
Can you find the tea bags she used? And look at that reflection.  Isn’t it effective?

Sally and Pam's art demo. Ellen Lindner, AdventureQuilter.com/blog

“Stray” threads and an unexpected bright bit of fabric complete the composition.

Sally and Pam's art demo. Ellen Lindner, AdventureQuilter.com/blog

What talented women!  I got an Adrenalin surge from seeing their work!

Ellen Lindner


0

Crazy Rapid Portraits

The retreat I attended recently had a very interesting and fun ice breaker activity.  Karol Kusmaul led us on a HIGH SPEED collaborative portrait making exercise.

Since she works exclusively with recycled clothing that’s what she provided for us.  Each table of about 8 people had a bag on monochromatic selections, with buttons, cuffs, etc. still attached.

Karol provided each person with a piece of batting, about 12 x 12.  We were told to create a background with  light, medium, and dark areas.  “Quick!  Then pass it to your left!” Next came shoulders and a neck, followed by a FAST pass.  Then a face.  (Maybe we got a full minutes on that one!) This breakneck pace continued as we added eyes, a nose, a mouth and so on.  At each stage, Karol gave us good direction on human proportions.  And then we passed it again!

Crazy Rapid Portraits. Ellen Lindner, AdventureQuilter.com/blog

No ironing!  Buttons and snaps still included, and just a few pins holding things together.

Finally, a “completed” portrait landed in front of each person.  (Not necessarily one she had even worked on.)

Crazy Rapid Portraits. Ellen Lindner, AdventureQuilter.com/blog

This was a great opening exercise.  We weren’t trying to make great art.  In fact, almost the opposite.  Karol had us working quickly so we couldn’t over think our decisions.  This forced us to be creative and was a great way to jump start the weekend’s activities.

What did we do with the portraits, you ask?  Some people worked on theirs throughout the weekend or took them home to finish later.  Others gifted Karol with the resulting portraits.  Knowing her, I’ll bet she tweaks and completes each one.

This activity gives you an idea of the free-spirited and light-hearted weekend that lay ahead.

Ellen Lindner

6

What a Retreat!

Wow!  Last weekend I had the great pleasure of attending a retreat for the Florida members of SAQA (Studio Art Quilt Associates.)  It was FABULOUS in every possible way!

There were 26 of us in a lovely rustic setting.  Soon, dyed and painted fabrics were hanging everywhere.  When we ran out of clothes line the vegetation worked just fine.

What a Retreat! Ellen Lindner, AdventureQuilter.com/blog

You could work on your own projects.

What a Retreat! Ellen Lindner, AdventureQuilter.com/blog

What a Retreat! Ellen Lindner, AdventureQuilter.com/blog

Or learn from someone else.

What a Retreat! Ellen Lindner, AdventureQuilter.com/blog

Or attend one of the many informative demos.

What a Retreat! Ellen Lindner, AdventureQuilter.com/blog

Plus, there was delicious food, great camaraderie, and restful evenings.

I came home energized and ready to work on several things.  But, I’m already looking forward to next year’s retreat.

Ellen Lindner
P.S. I’ll be writing several more posts about this great event.

0

A LITTLE Fun

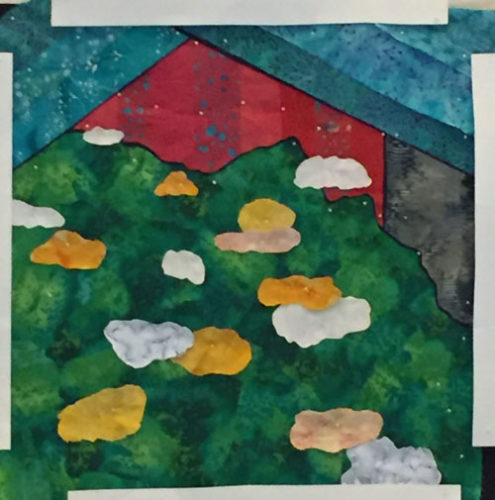
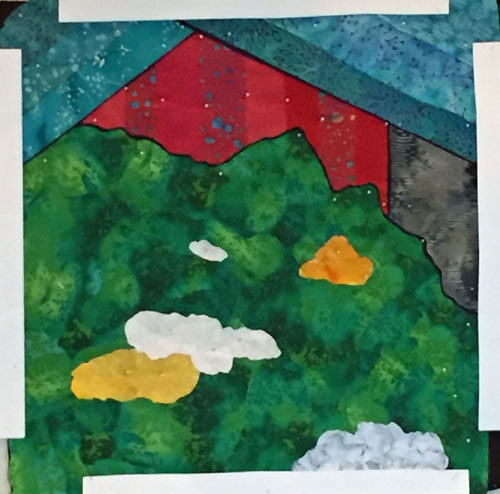
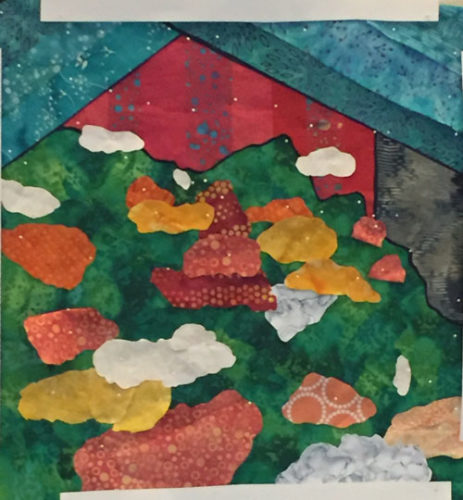
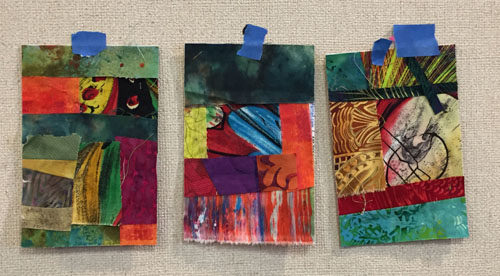
I decided to make a tiny quilt for a fund raising event for SAQA, (Studio Art Quilt Associates.)  Since it only needed to be 6″ x 8″ I just pulled out some small fused scraps and had fun creating a quick composition. (I started with a brightly colored landscape idea, but quickly took a detour.)

A LITTLE fun. Ellen Lindner, AdventureQuilter.com/blog

I added a little stitching and trimmed it to size.

A LITTLE fun. Ellen Lindner, AdventureQuilter.com/blog

But, there’s a catch.  These tiny quilts will be matted so only 4.5″ x 6.5″ show.  Something like this.
A LITTLE fun. Ellen Lindner, AdventureQuilter.com/blog

It’s a little challenging to create a quilt that will have part of it’s edge missing.  I should have taped off that edge so I wouldn’t see it when composing.

This was so much fun, maybe I’ll do another one.

These little quilts will be auctioned at an upcoming conference.

Ellen Lindner
P.S. I think I was influenced by Jane Davies’ book and some of those exercises.

8

“Initial Response” Complete

My latest quilt, Initial Response, is now complete.

Initial Response, an art quilt by Ellen Lindner. AdventureQuilter.com

Initial Response

Initial Response - detail, an art quilt by Ellen Lindner. AdventureQuilter.com

Initial Response - detail, an art quilt by Ellen Lindner. AdventureQuilter.com

Find more information here.

I’m REALLY happy with this quilt!  Especially the color scheme, which was new to me.  And, it went together easily, since I let the initial hand dyed fabric (center) give me lots of cues.  I selected the name, Initial Response, mostly because I liked the sound of it and the idea of it.  Then, I realized that it eluded to my process, as well.  I like that.

I’ve written lots about my process in making this quilt. If you scroll back to January 14th, 2018 you’ll see the first post and you can read forward for the full story.

I’m looking forward to using the rest of that special fabric.  Hmm, what shall I do with it?

Ellen Lindner

Audition this art in your home

6

Colorful Dying Results

In addition to the gorgeous indigo, my fabrics dyed with Procion mx dyes also turned out well. I didn’t have time to thoroughly wash them at first, so I draped them around my back porch for drying.  So pretty!

Colorful Dyed Fabrics. Ellen Lindner, AdventureQuilter.com/blog

Believe it or not, these fabrics were made by simply wadding and scrunching up a piece of fabric and loosely securing it with rubbed bands.  Doesn’t it give a great mottled effect?

Colorful Dyed Fabrics. Ellen Lindner, AdventureQuilter.com/blog

The indigo piece above is the one seen hanging at the bottom of this post. How simple is that?

Rocks were wrapped in fabric and secured with rubbed bands for these next two.  Pretty cool, right?

Colorful Dyed Fabrics. Ellen Lindner, AdventureQuilter.com/blog

Stitching created the resist in the next pieces. The red piece, top left was stitched by machine. The magenta one, bottom left was stitched by hand.  Each row was tucked, resulting in a double resist line.  The indigo piece was stitched by hand, both with and without tucks.  The top portion was tucked and the bottom section was just stitched through a single layer.  All were pulled up tightly and secured.

Colorful Dyed Fabrics. Ellen Lindner, AdventureQuilter.com/blog

What I learned about stitching: Do it on the machine! Rely on the stitched line for the pattern, not the shirring caused by pulling the strings tight.  And, for me, I like the tucked stitching best.

This is where I REALLY got my preference for machine stitching.  Because I HAND stitched these – hours and hours worth. Wish I’d dyed that left one with something darker so it would show up more.  Of course, I still like them, though!

Colorful Dyed Fabrics. Ellen Lindner, AdventureQuilter.com/blog

This honeycomb pattern was achieved with what I dubbed “the scrunchy technique.”  Because it looked like a hair scrunchy, once prepped.  The fabric was wrapped around a fat cord, then the cord was tied together tightly, which required a lot of scrunching together of the fabric.  (A fatter cord would have given me a larger pattern.)

Colorful Dyed Fabrics. Ellen Lindner, AdventureQuilter.com/blog

Finally, this gold piece was folded like a flag and held together with two rubber bands.  I like the design a lot.

Colorful Dyed Fabrics. Ellen Lindner, AdventureQuilter.com/blog

This was so much fun and I’m loving my results.  The next challenge: cutting them up.  (I’m pretty practiced at that, though, so it shouldn’t be too rough.)

Do you have a favorite?

Ellen Lindner

6