EBooks Available as Downloads

Woohoo!  I’m so delighted to finally have my eBooks available as immediate downloads.

One is called Personal Workshop: Adventures in Color.   

Adventures in Color e-book by Ellen Lindner. AdventureQuilter.com

It’s jam packed with information: 64 content pages, plus another 22 workbook pages.  As the name implies, it’s set up as a personal workshop. There are several pages of information and examples, followed by workbook assignments.  Exactly like I would teach it in a live class.  If you work through the exercises, you’ll MASTER most of the concepts.

See an excerpt here

At only $9.95, this book is a great bargain and an excellent resource.

Full Details

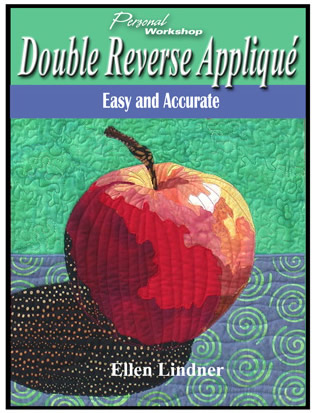
The second eBook is called Personal Workshop: Double Reverse Appliqué™.  

Double Reverse Applique e-book by Ellen Lindner. AdventureQuilter.com

Check out the killer project included in this book! This raw edged appliqué technique is extremely easy and accurate AND very popular with my students.  Again, the book is set up like a class with exercises.  It also includes a section on creating your own patterns.

See a gallery of Double Reverse Appliqué quilts

Only $9.95

Full Details

2

The Project that Wasn’t

Have you ever lost steam on a project part way through?  This happened to me recently, only I lost interest before I even got started.

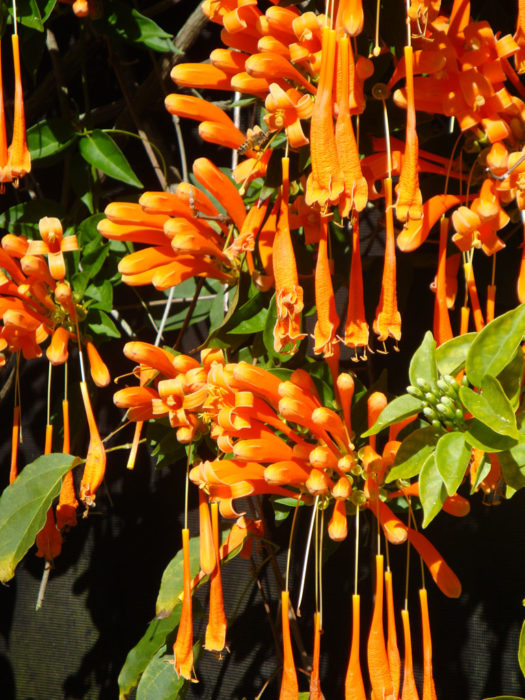
After the FUN and success of Bush Berries, I was excited to try another “cut and paste” design.  I started with this photo of a Flame Vine.

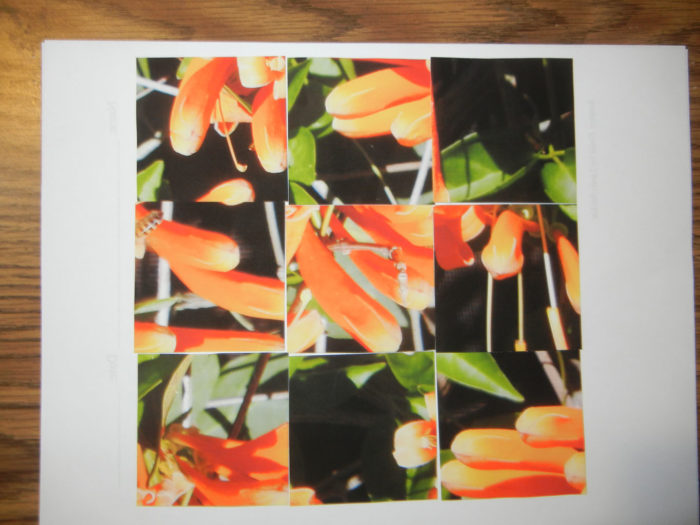
Pretty awesome, right?  I decided to cut it into squares, as I had done before and to rearrange the sections.  9 pieces, perhaps?

The Project that Wasn't. Ellen Lindner, AdventureQuilter.com/blog

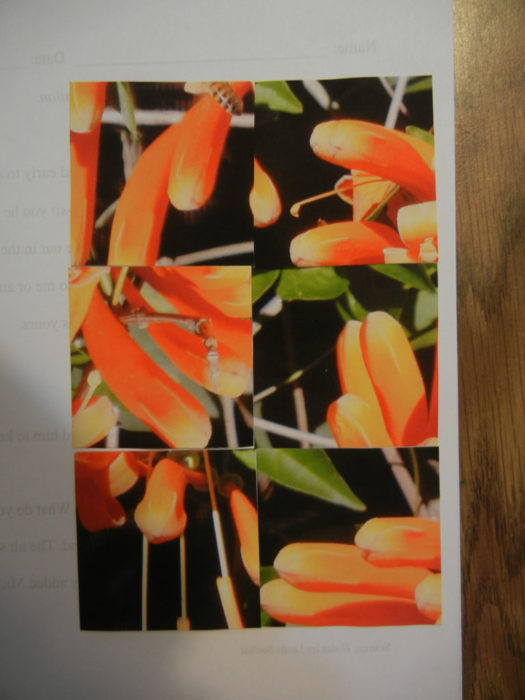
Or, maybe just six.

The Project that Wasn't. Ellen Lindner, AdventureQuilter.com/blog

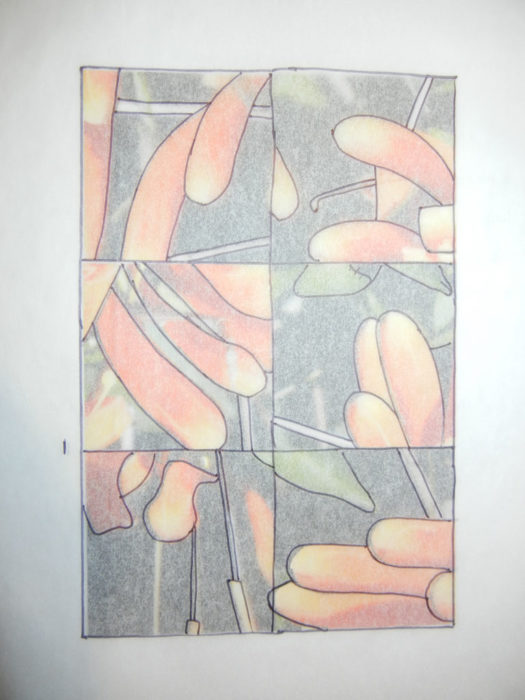
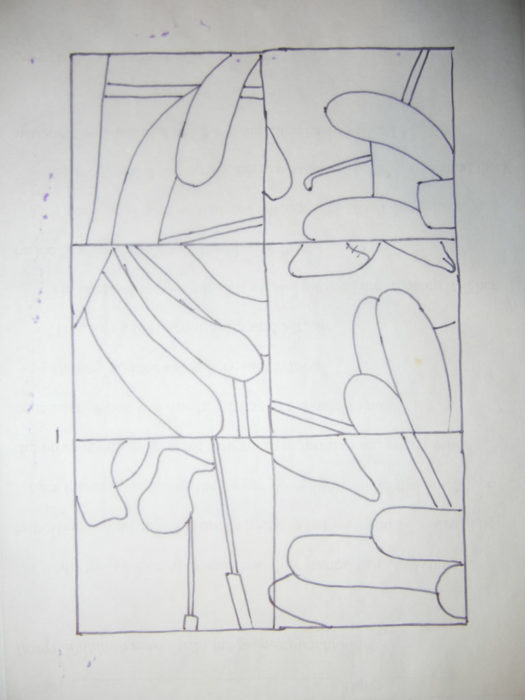
I preferred the six-block option and traced the main lines to get a pattern.

The Project that Wasn't. Ellen Lindner, AdventureQuilter.com/blog

The Project that Wasn't. Ellen Lindner, AdventureQuilter.com/blog

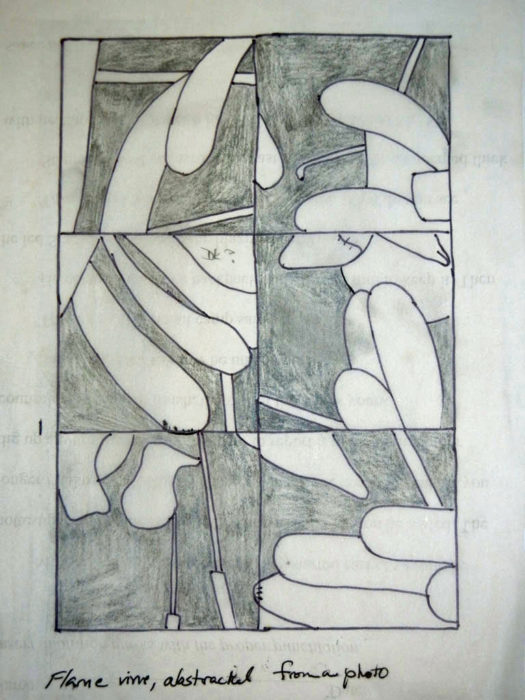
It looked a little hodge-podge at this point, so I colored in the values, to see if it looked better.

The Project that Wasn't. Ellen Lindner, AdventureQuilter.com/blog

And, indeed, it did.  As a matter of fact, I thought it looked like a pretty good abstract design.  But, I realized that it no longer depicted the heavy hanging blossoms of the original photo.  And I missed that.

So, I’ve put it aside in lieu of the next thing.
Did I waste my time?  Absolutely not!
As a matter of fact, this time spent designing will help me to be more creative the next time.  And besides, it was fun.  It’s quite possible that I’ll revisit this sketch one day.  Or maybe start again with the same photo and go in a different direction.  No worries.  It’s all part of experimenting.

Have you ever stalled out mid-project?  What are your thoughts on it?  Did you learn something anyway?  (I’ll bet you did.)

Ellen Lindner

2

Mounting and Framing Small Pieces

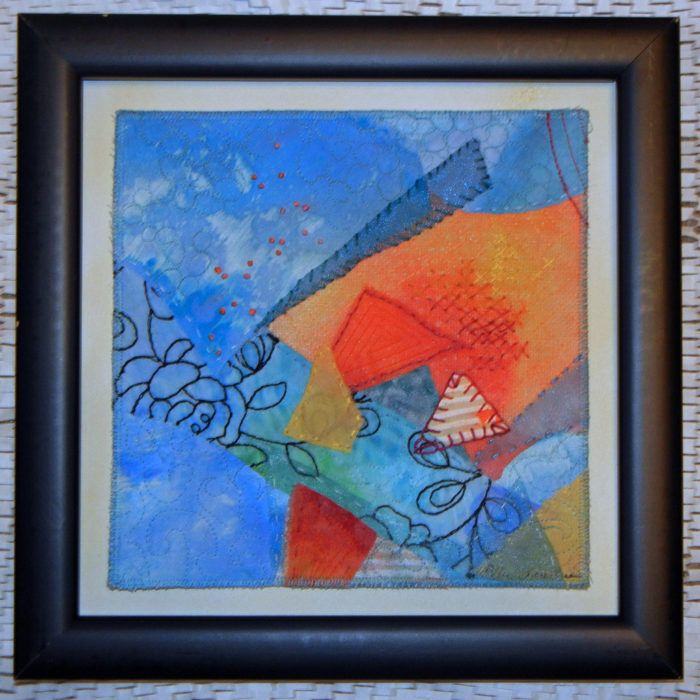
I once had a shopper ask me “How much do you charge for one of those place mats?”  Quch! Not what I wanted to hear, but I get it.  To viewers who are not used to seeing art made from fabric the small pieces can look somewhat utilitarian.  To avoid that, I often mount or frame my smallest pieces.
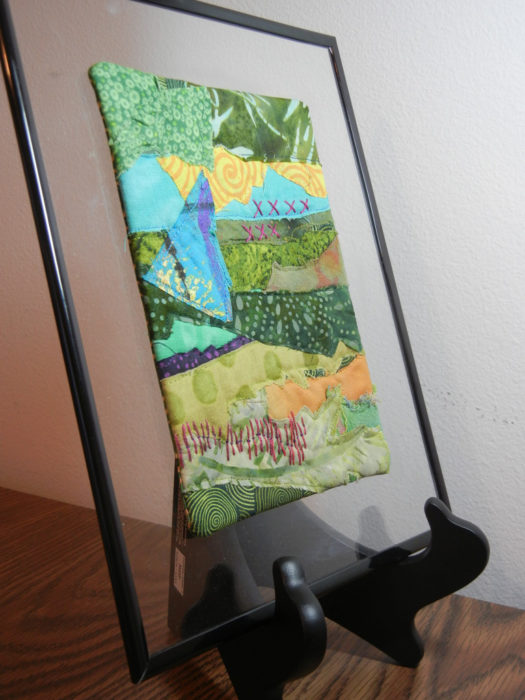
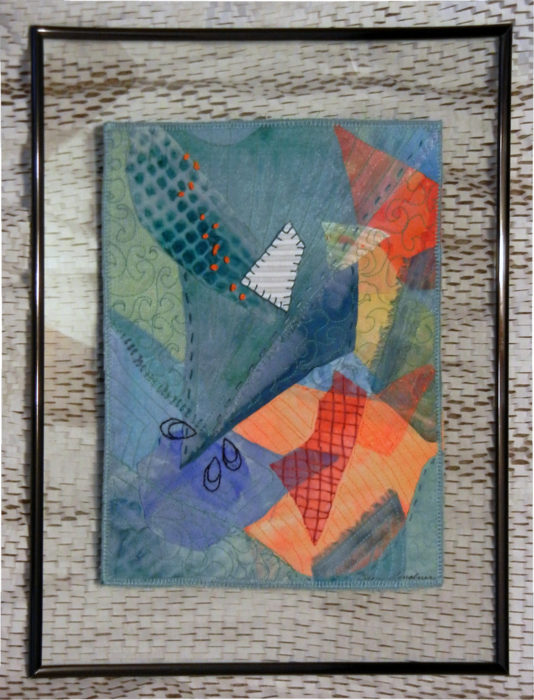
There are plenty of tutorials online about how to do this, but I think my approach is somewhat unique.  That’s because, when using a frame with glass, I always put the art ON FRONT of the glass.  Like this.

Framing small pieces. Ellen Lindner, AdventureQuilter.com

I love this presentation.  The frame gives the small art work more “presence” and shows it off as fine art.  But, the textures of the piece are not hidden under glass.

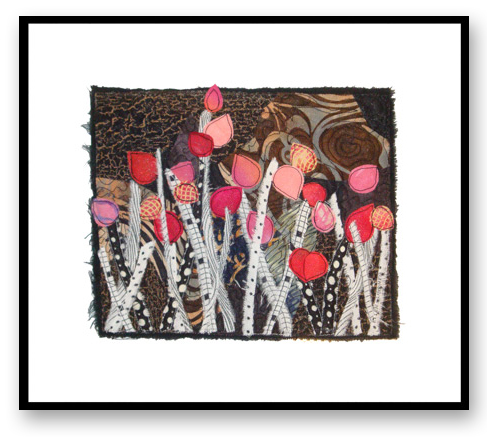
This is very easy to do.  Just use double sided tape to hold the artwork in place.  The following pieces have the same presentation, but it’s hard to see when viewed straight on.

Framing small works. Ellen Lindner, AdventureQuilter.com

You can do the same thing without glass, just attaching the artwork to mat board that’s framed.

Framing small works. Ellen Lindner, AdventureQuilter.com

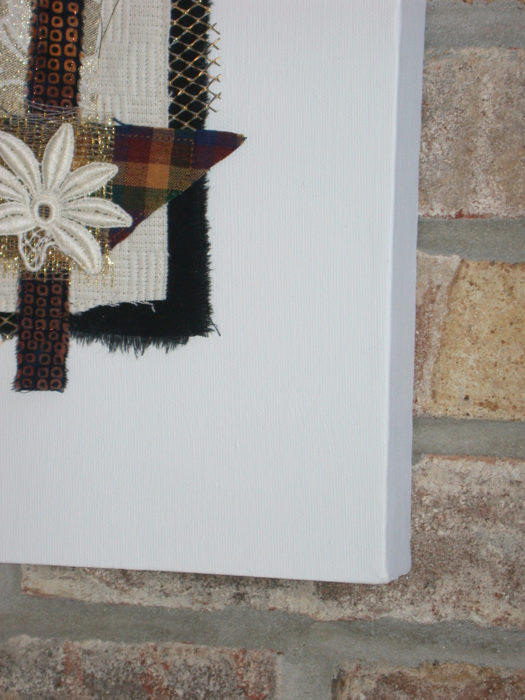
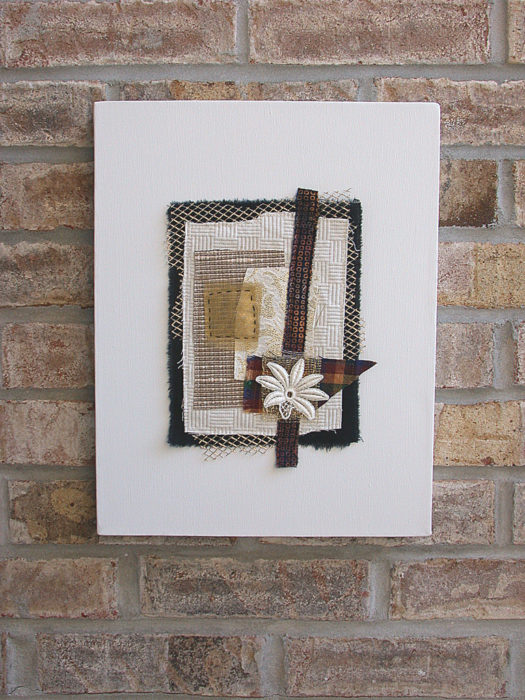
Of course a small art piece can also be mounted on an artist’s canvas.  It can either be left white, painted, or covered with fabric.

Framing small works. Ellen Lindner, AdventureQuilter.com

When using this technique, I recommend using a “gallery wrapped” canvas.  This is the deeper style with staples on the back.  It makes a very nice presentation.

Framing small works. Ellen Lindner, AdventureQuilter.com

Once again, you can use double sided tape, but I generally hand sew these onto the canvas in a few places.

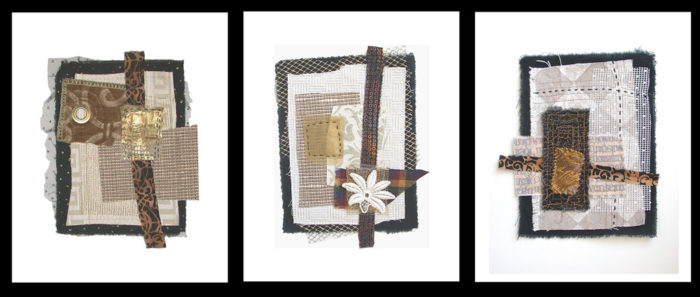
Another great thing about using ready-made frames or canvasses is that they help unify a collection of artwork with slightly different sizes.  Like this (digitally mounted) collection.  Even though each piece has little bits extending here and there, they all read as the same size, thanks to the constant size of the canvasses.

Framing small works. Ellen Lindner, AdventureQuilter.com

There are many more ways to mount small pieces.  What are your favorites?

Ellen Lindner
P.S. Related post on my old blog:
Notes for a Friend, #10-12

23

Small Pear Collages

In my last post, I showed you the start of several small pear collages.  I had great fun with them as I continued to work with portions of my original pear picture, vintage linens, papers, and hand stitching.

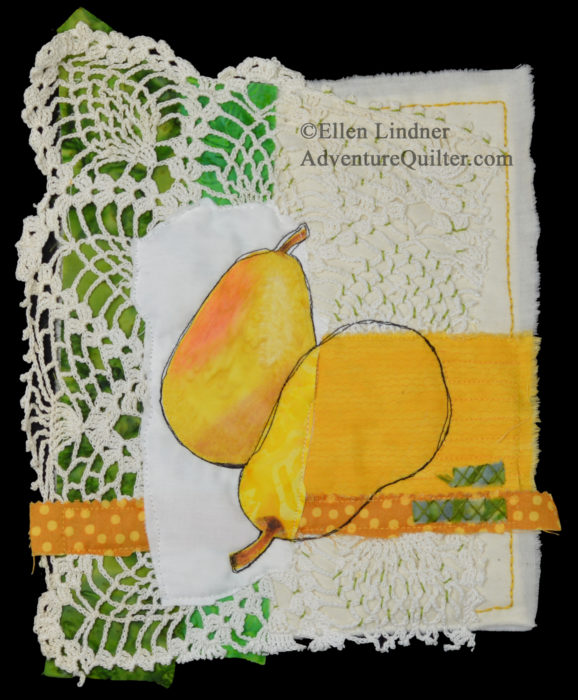
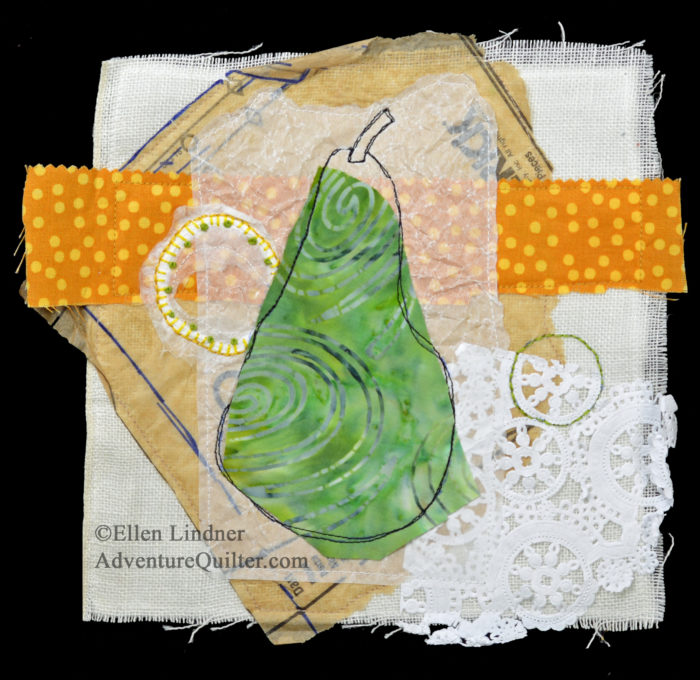
Here’s the completed version of the one in the last post, Pear Study #1.

Pear Study #1, a small art quilt by Ellen Lindner. AdventureQuilter.com/

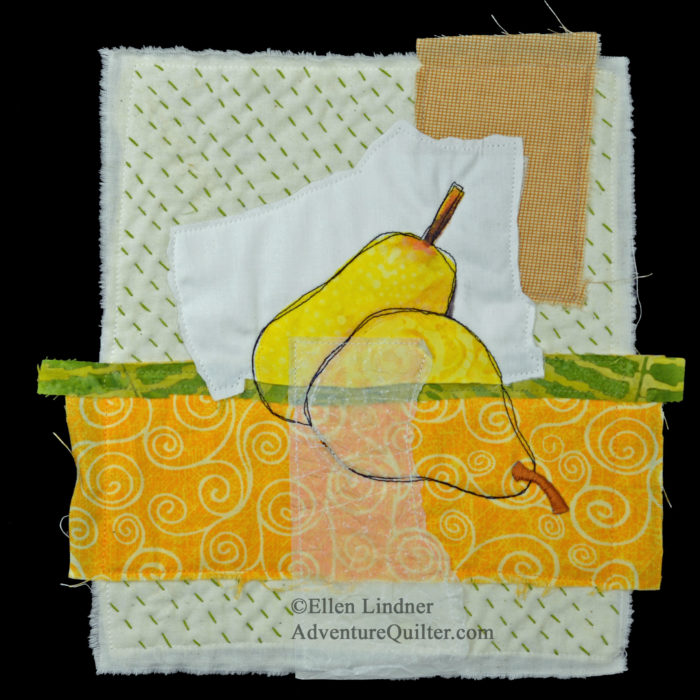
This is #2 complete.

Pear Study #2, a small art quilt by Ellen Lindner. AdventureQuilter.com

#3, complete

Pear Study #3, an art quilt by Ellen Lindner. AdventureQuilter.com

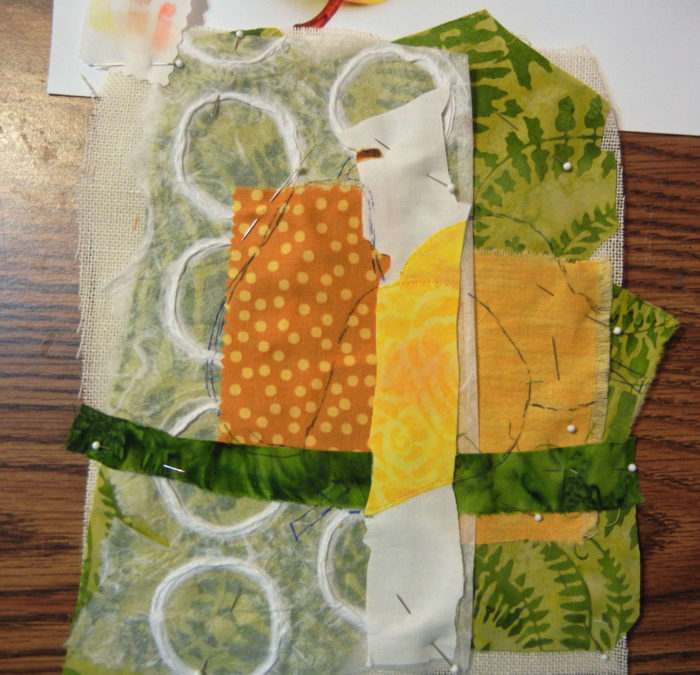
And #4, in -progress.  Scroll down to see it completed.

Collage fun. Ellen Lindner, AdventureQuilter.com/blog

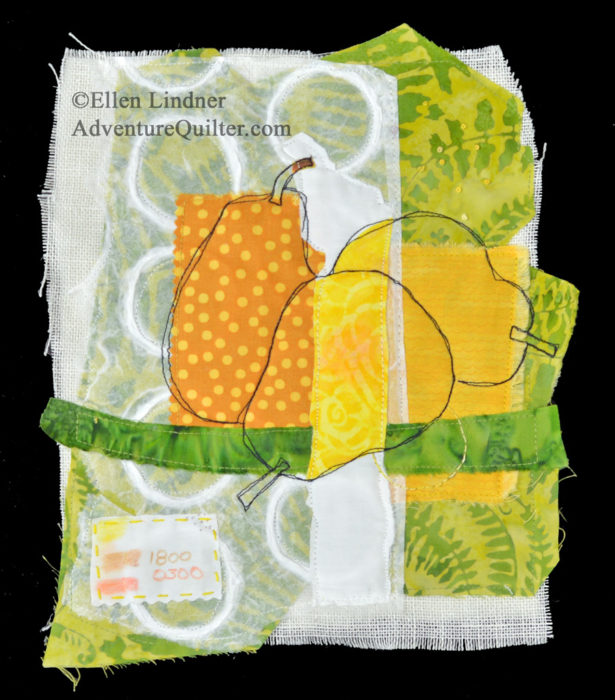
Pear Study #4

Pear Study #4, an art quilt by Ellen Lindner. AdventureQuilter.com

Can you see the piece of the original pear applique used in three out of the four?

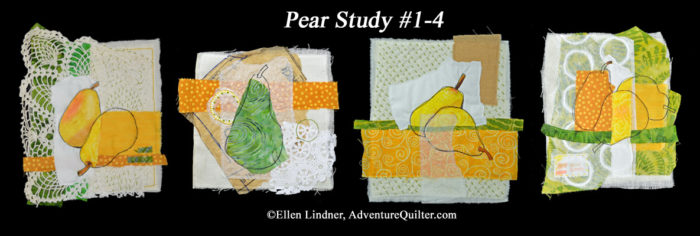
I’m very happy with these four small collages and I especially like the way they look together.

Pear Study #1-4, by Ellen Lindner. AdventureQuilter.com

Which one is your favorite?

Small works like this often benefit from additional mounting or framing. I’ve got some experience with that and will show you some options in my next post.

Ellen Lindner

12

Something Fun

Every so often I like to spend a week or two doing something artistically different.  Maybe with fabric or maybe not.  At these times, I typically pick up a good art book and spend time reading it and working through some of the exercises.  This time, it was Cas  Holmes’ book, Stitch Stories.

Product Details

If you’re not familiar with her work, she does lots of layered collages, with sheer fabrics, hand stitching, paper, and more.  Her pieces have a lovely fragile look to them.  Which made me want to try something similar. I decided to make some small collages.

This is where I started.  A friend taught our small group of art quilters how to use Inktense pencils and aloe gel.  She went above and beyond, preparing each of us an appliqued sampler to work on.  Mine had 3 pears, which I colored.

Collage fun. Ellen Lindner, AdventureQuilter.com/blog
You can also see my little color swatch, above, onto which I was recording different colors.

This had been sitting on my work table for several months and I didn’t know what to do with it.  So, I decided I would cut it up and use it as the base for several collages.  Fun already!

Following Cas’ example of using vintage linens and papers, I gathered my materials.

Collage fun. Ellen Lindner, AdventureQuilter.com/blog

Do you see that cream crochet above?  It’s part of a table cloth, crocheted by my great grandmother.  Thankfully, I have a very practical aunt, who loves art.  When she came across this stained table cloth, she offered it to me, making it clear that I COULD CUT IT UP and use it in my art!  How progressive is that?

Here’s my first collage, early on.  As you can see, I quickly deviated from a yellow and neutral palette and added green.

Collage fun. Ellen Lindner, AdventureQuilter.com/blog

And here it is, with the second pear drawn on.  I didn’t draw in the third one, since I wanted each collage to have a different number or arrangement of pears.  The drawn outline will be stitched in black.

Collage fun. Ellen Lindner, AdventureQuilter.com/blog

I’m excited about these collages!  I’ll show you more in the next post.

Ellen Lindner

2

“Bush Berries” Complete

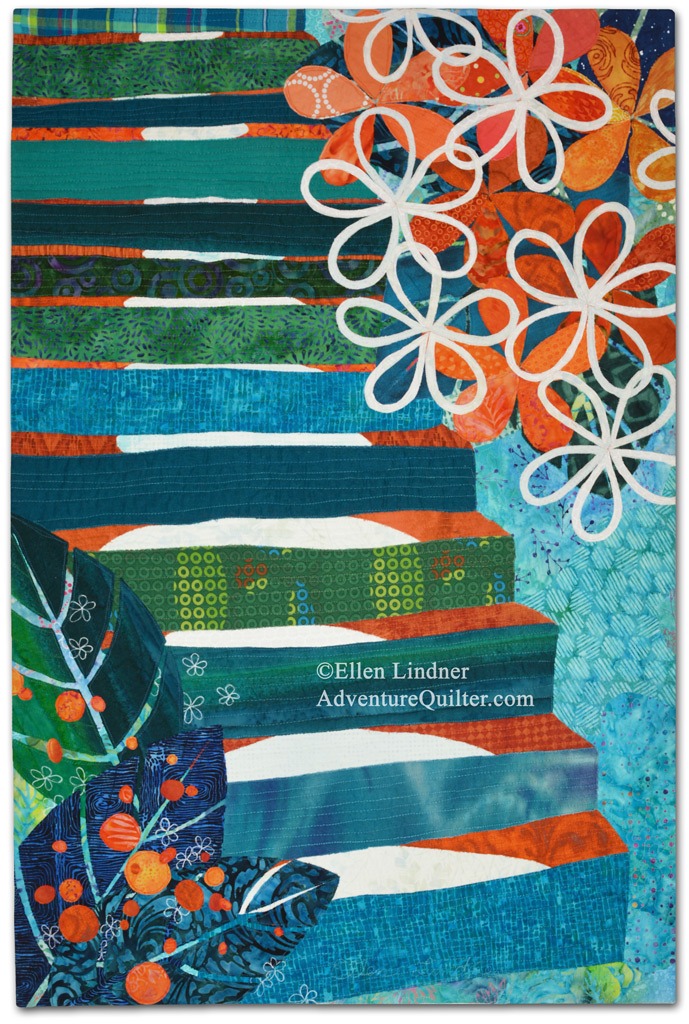
Here’s my finished abstract quilt, Bush Berries.

Bush Berries, an art quilt by Ellen Lindner. AdventureQuilter.com

Bush Berries

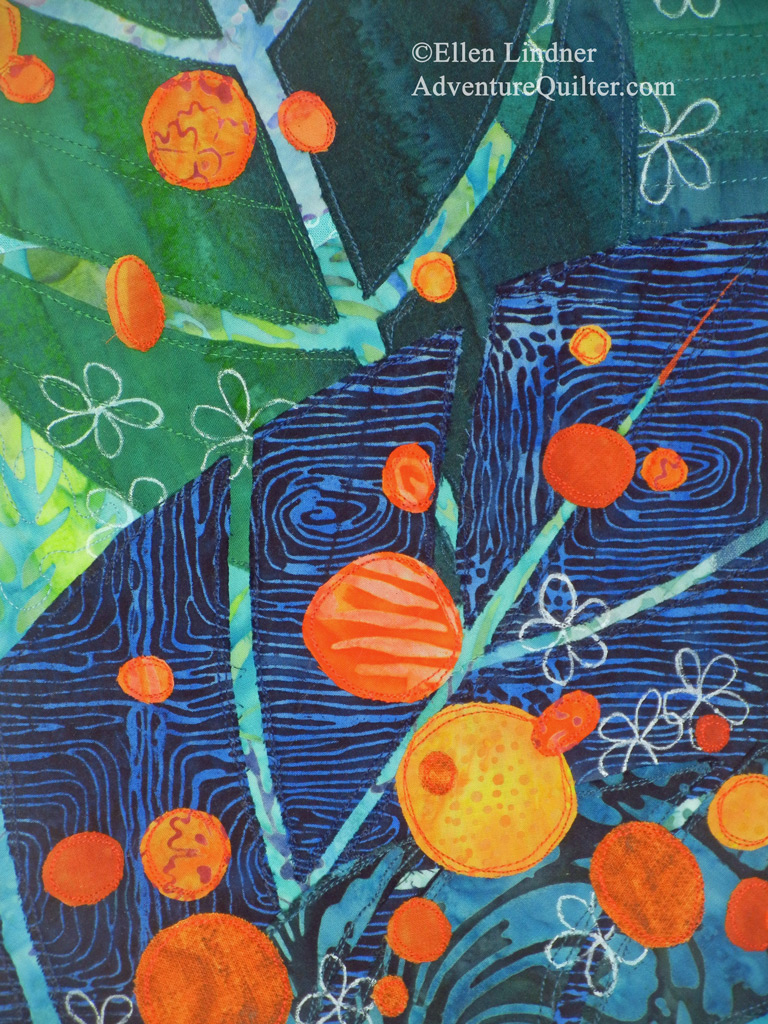
And a detail shot:

Bush Berries - detail, an art quilt by Ellen Lindner. AdventureQuilter.com

Bush Berries,   ©2017
36h x 24w, $895

It was very enjoyable to make and it went together much faster than most of my quilts.  Click on the links below to see the fun abstracting technique I used.

Ellen Lindner


2

AQS Daytona Quilt Show: Part Two

More quilts from last month’s AQS show in Daytona Beach:

AQS Daytona Show 2017. Ellen Lindner, AdventureQuilter.com/blog

Created by Marsha Walper

AQS Daytona Show 2017. Ellen Lindner, AdventureQuilter.com/blog

Great detail, right?

AQS Daytona Show 2017. Ellen Lindner, AdventureQuilter.com/blog

Beautiful simplicity:

AQS Daytona Show 2017. Ellen Lindner, AdventureQuilter.com/blog

Made by Roberta Le Poidevin

AQS Daytona Show 2017. Ellen Lindner, AdventureQuilter.com/blog

Subtle and elegant, above.

A bit more color, below.

AQS Daytona Show 2017. Ellen Lindner, AdventureQuilter.com/blog

By Arnoldi and Sarzi-Sartori

Can you tell that the flowers fall off the bottom edge?

AQS Daytona Show 2017. Ellen Lindner, AdventureQuilter.com/blog

I’m generally not that drawn to traditional quilts, but this one stopped me in my tracks.

AQS Daytona Show 2017. Ellen Lindner, AdventureQuilter.com/blog

By Colette Dumont

AQS Daytona Show 2017. Ellen Lindner, AdventureQuilter.com/blog

This quilt had a lot of machine embroidery, in addition to applique.  They were all beautifully integrated.

AQS Daytona Show 2017. Ellen Lindner, AdventureQuilter.com/blog

I believe this award winner was mostly painted, below.

AQS Daytona Show 2017. Ellen Lindner, AdventureQuilter.com/blog

Made by Deb Crine

AQS Daytona Show 2017. Ellen Lindner, AdventureQuilter.com/blog

Definitely a show worth seeing.

Ellen Lindner
P.S.  See more photos from this show with the link below.

1

AQS Daytona Quilt Show

I got to spend some time at the AQS show in Daytona Beach last month.  I thought you’d enjoy seeing a few of the quilts.

AQS Daytona 2017 Quilt Show. Ellen Lindner, AdventureQuilter.com/blog

Made by Fenella Davies

A detail shot:
AQS Daytona 2017 Quilt Show. Ellen Lindner, AdventureQuilter.com/blog

AQS Daytona 2017 Quilt Show. Ellen Lindner, AdventureQuilter.com/blog

Made by Melissa Sobotka

There was a nice exhibit of quilts made by Melissa Sobotka,AQS Daytona 2017 Quilt Show. Ellen Lindner, AdventureQuilter.com/blog

Cynthia England does beautiful work, as these photos show.

AQS Daytona 2017 Quilt Show. Ellen Lindner, AdventureQuilter.com/blog

Made by Cynthia England

AQS Daytona 2017 Quilt Show. Ellen Lindner, AdventureQuilter.com/blog

AQS Daytona 2017 Quilt Show. Ellen Lindner, AdventureQuilter.com/blogLook at all those seams!

More photos to come in the next post.

Ellen Lindner

4

Finally On TV!

The six months since I taped episodes for Quilting Arts TV seemed like an eternity!  But, finally, I got to see myself on TV today!!!  Woohoo!

First up was episode 1902, which is about using photos as design inspiration for quilts.  These shots were taken directly from my TV.

And here it is folks:  My Name on Screen!!!  Along with host Susan Brubaker Knapp.
Ellen Lindner on Quilting Arts TV. AdventureQuilter.com/blog

This screen shot shows my quilt Thorns and Berries, and the photo I used as inspiration.  As you can see, I like to take A LOT of artistic liberties.  That’s what makes it fun!

Ellen Lindner on Quilting Arts TV. AdventureQuilter.com/blog

Be on the lookout for two future episodes: one on my Double Reverse Applique technique, and one about design.

Ellen Lindner

2

Abstract Piece In-Progress

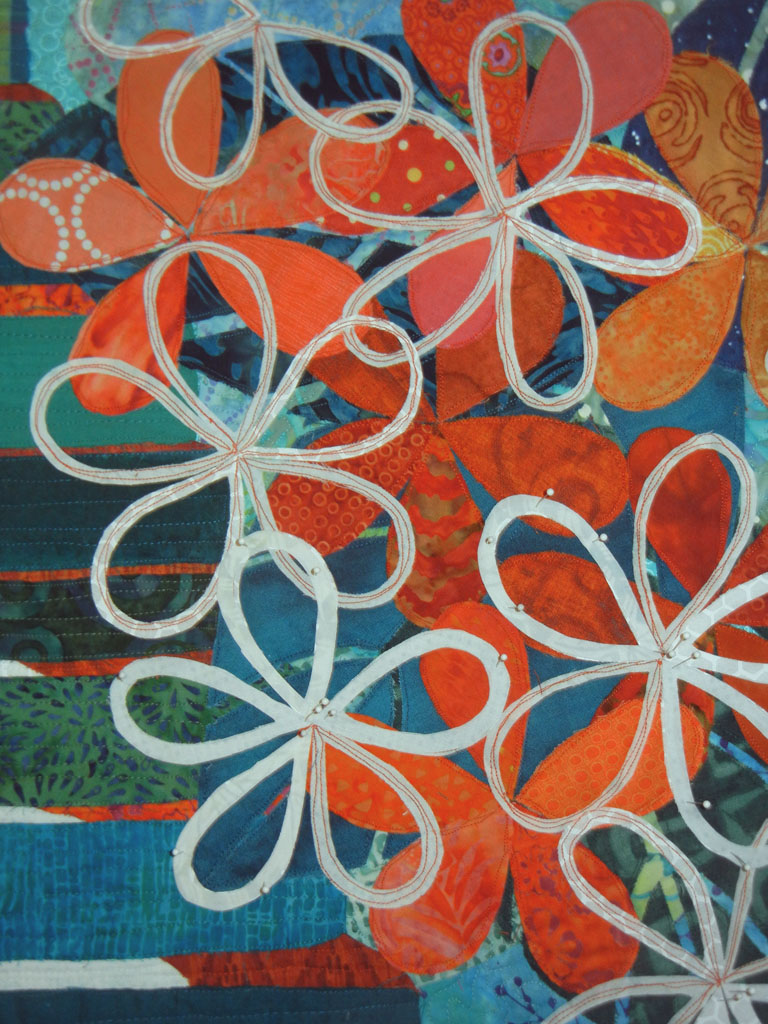
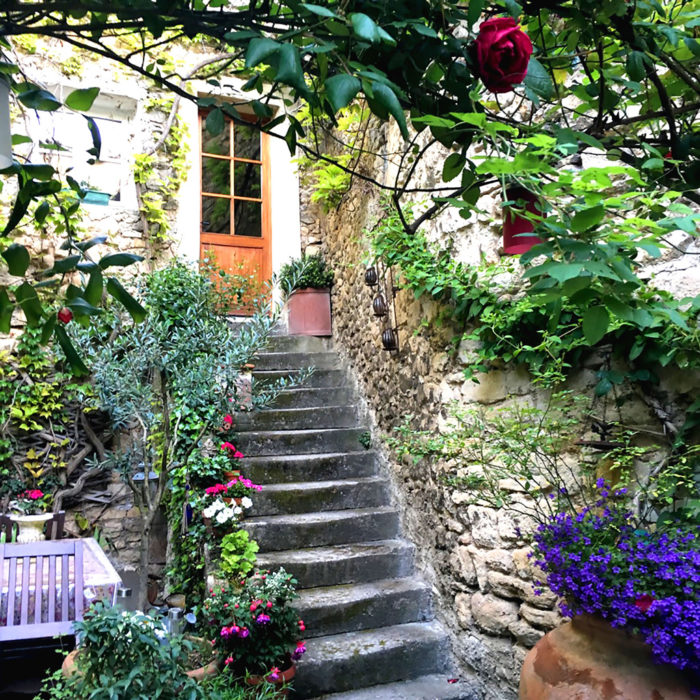
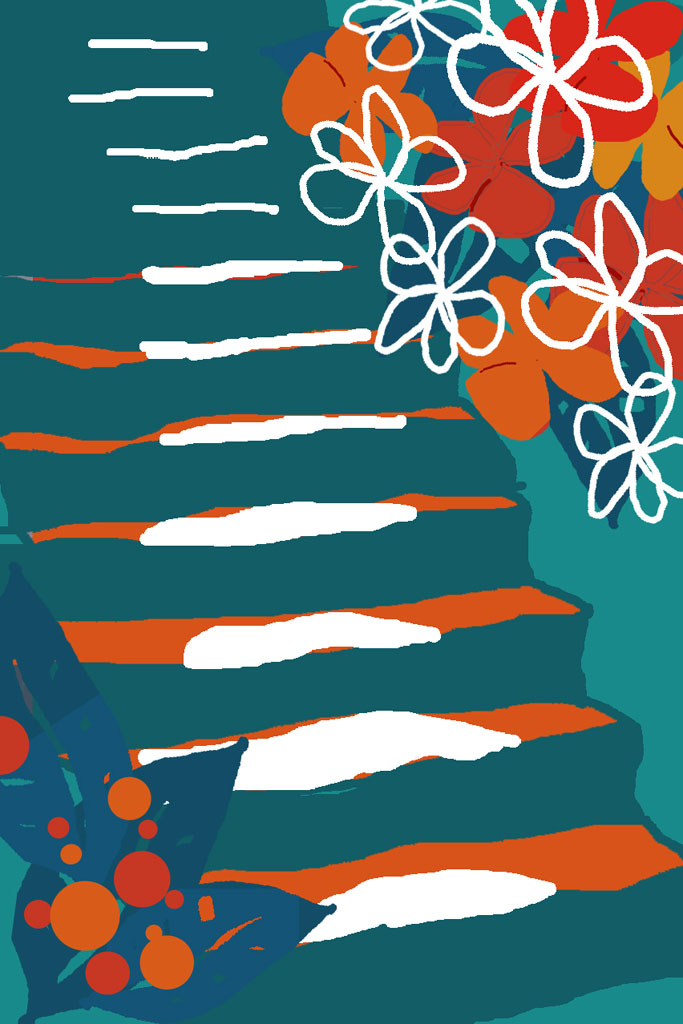
In my last post, I showed you how I abstracted a photo to create a new design.  This was my computer-colored sketch, although I knew I’d kick up the colors a good bit.

Photo to Abstract. Ellen Lindner, AdventureQuilter.com/blog

Soon, I was on to fabric selection.  I spent a good bit of time on this, since I knew the value contrasts would be important.

Abstract Piece In-Progress. Ellen Lindner, AdventureQuilter.com/blog

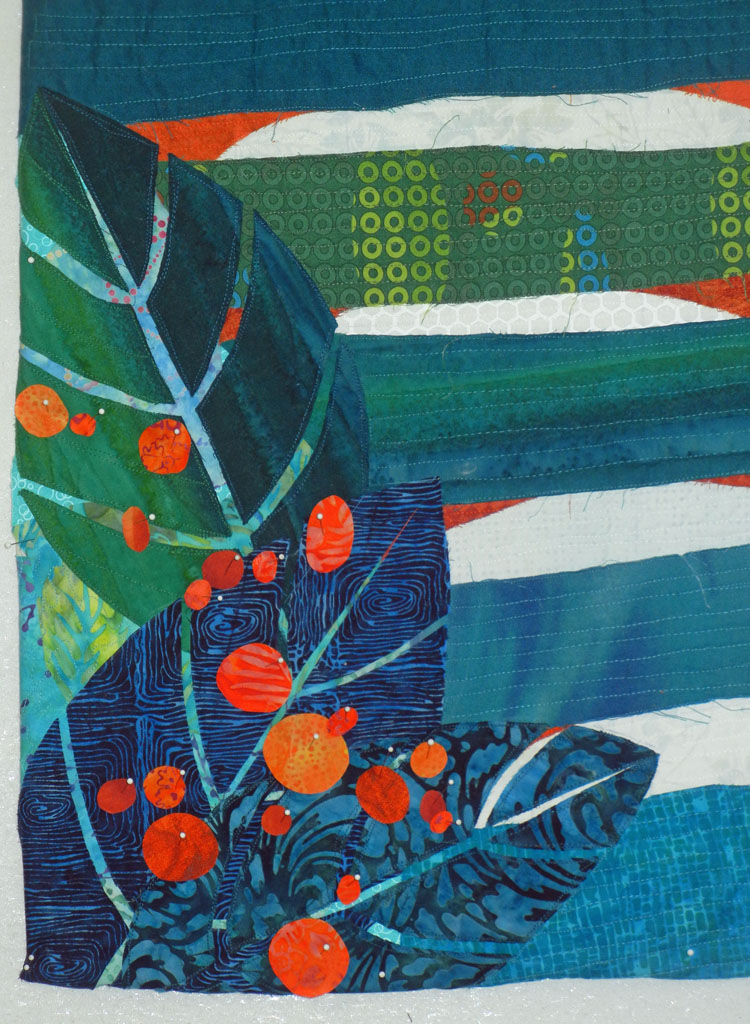
Next, it was time for background construction.

I changed a few fabrics along the way.

When I first finished the background, above, the white curve leaf tip on the left was too attention getting.  However, I knew I’d be adding white with the berries and hoped that they’d all balance out.

On to berries.

Abstract Piece In-Progress. Ellen Lindner, AdventureQuilter.com/blog

Yes, the white spots balanced out and I was crazy about those colors!

Time to glue everything together and take it to the machine.  On to quilting!

Ellen Lindner

4