“Deja View” Complete

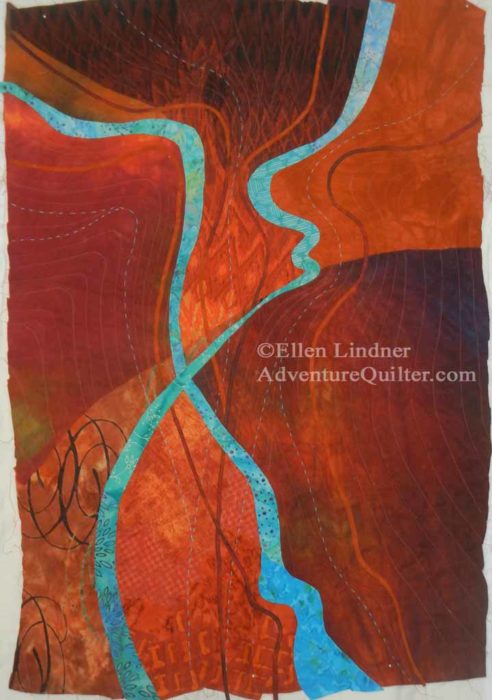
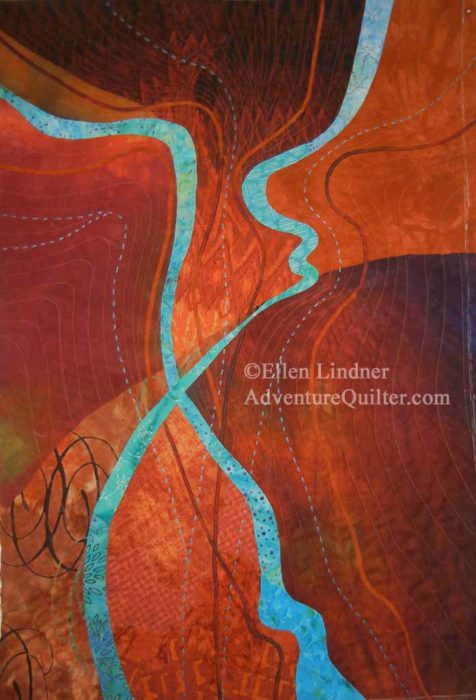
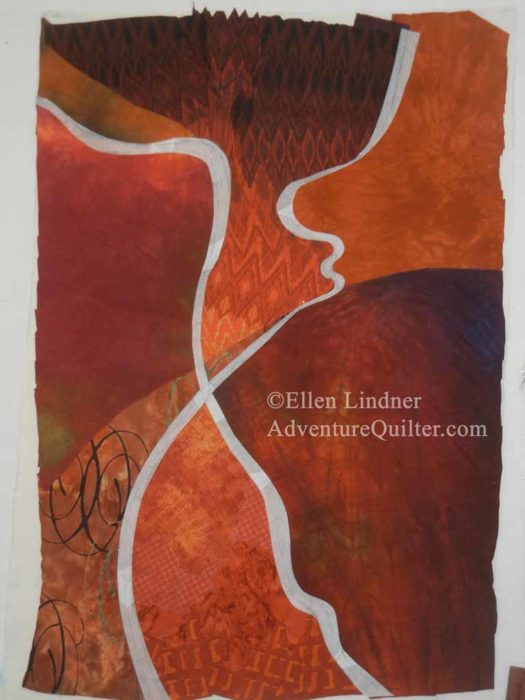
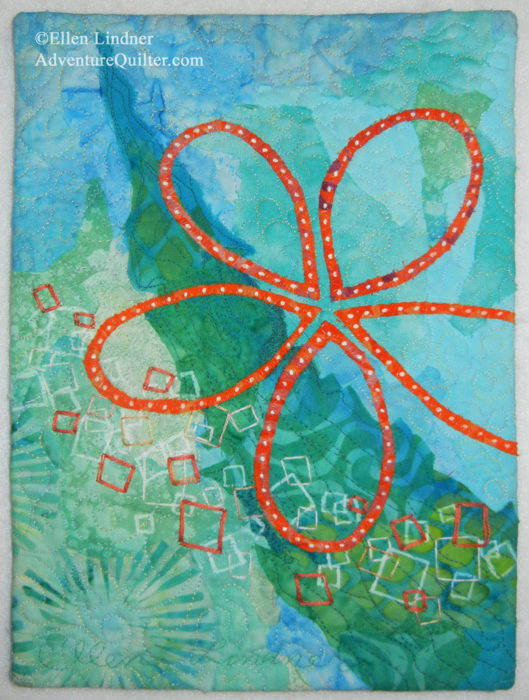
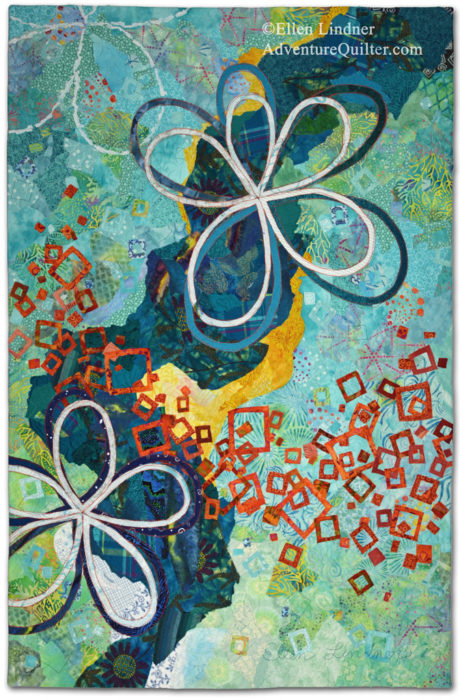
I finished the little piece for the SAQA trunk show.  Since it was inspired by the current series I’m working on, I named it Deja View.
Deja View, an art quilt by Ellen Lindner. AdventureQuilter.com/blog

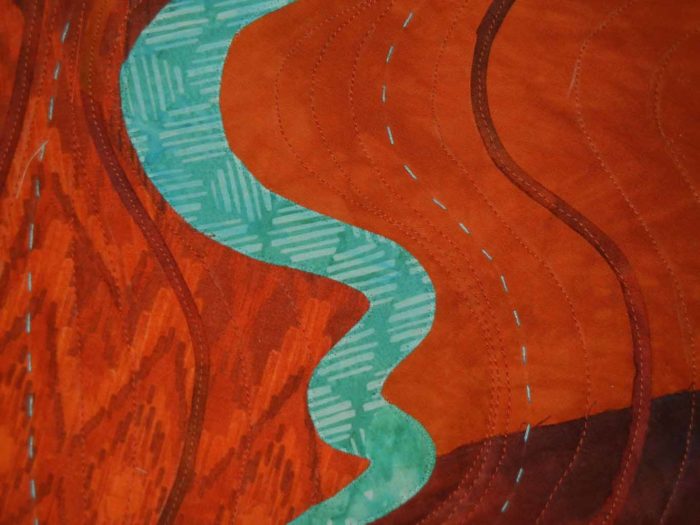
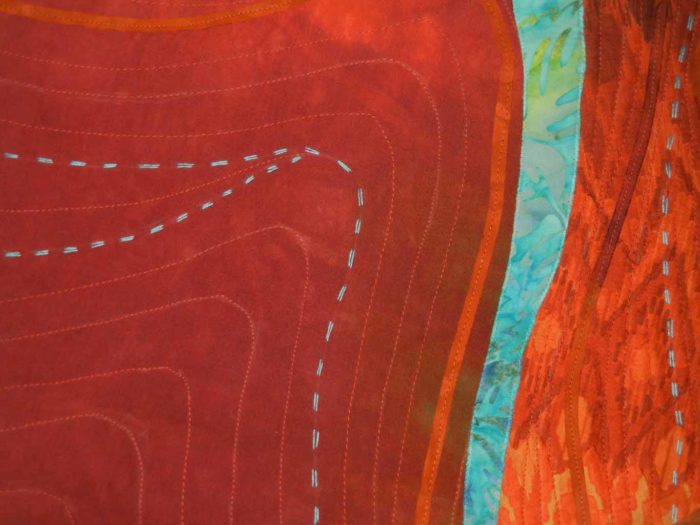
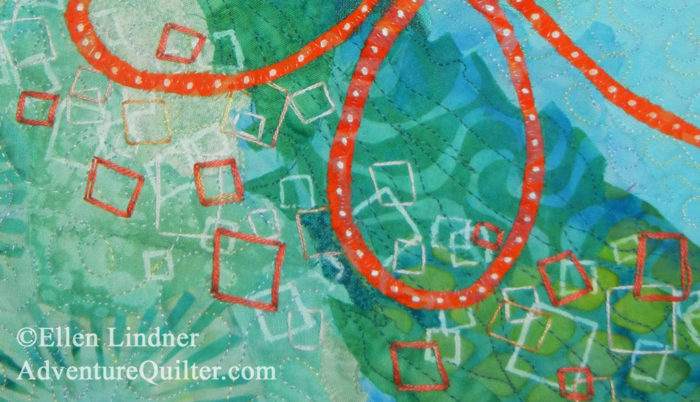
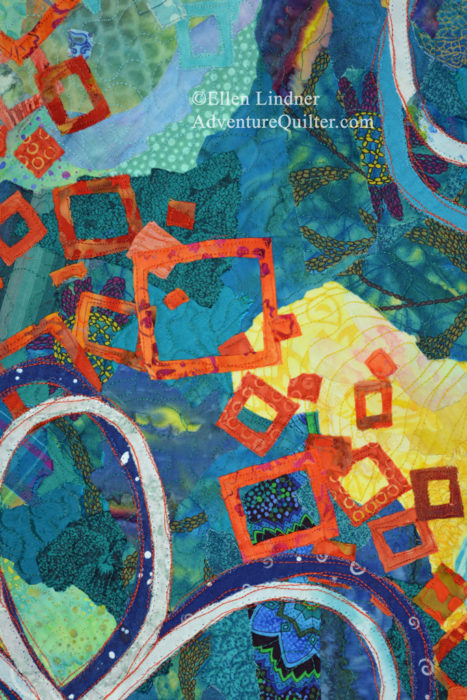
And here’s a detail shot.

Deja View - detail, an art quilt by Ellen Lindner. AdventureQuilter.com/blog

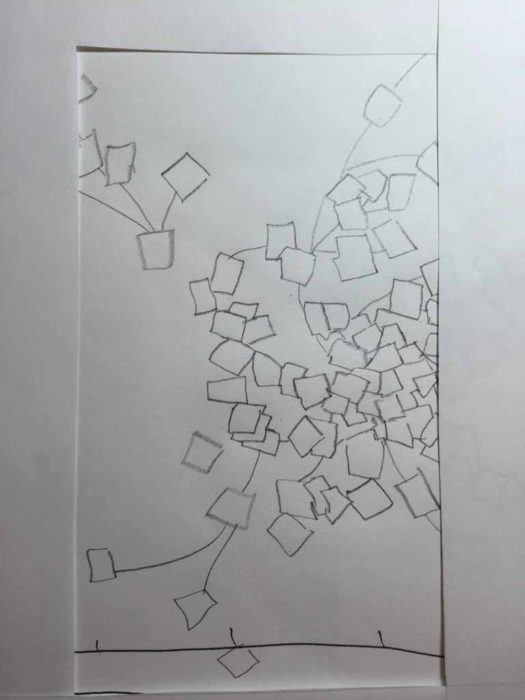
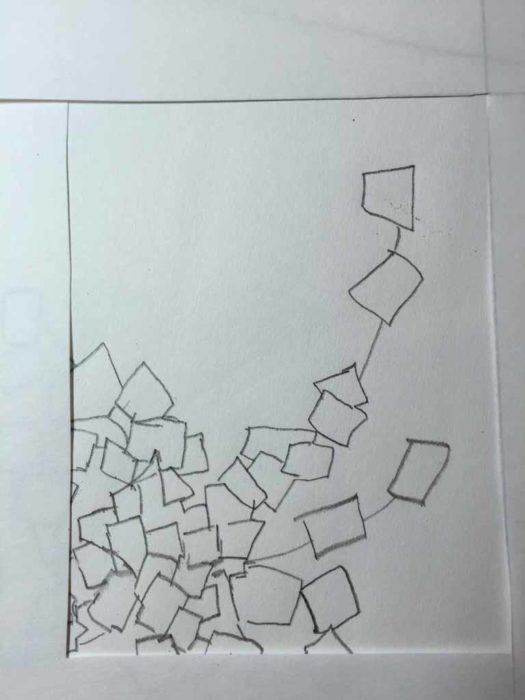
At only 10″ x 7″ some of my usual construction methods needed to be modified.  The squares for instance.  In the larger pieces, they were depicted with fabric.  But, there was no way I could cut the tiny squares needed for this scale.  Instead, I drew them in with white pen and added more with hand stitching.

This was a fun little project.  It was SO nice to make something I could finish quickly!

Ellen Lindner

0

MUCH Smaller

I belong to a wonderful organization called SAQA, Studio Art Quilt Associates.  The primary purpose of the group is to promote quilts as art and to support art quilters.  As part of the first goal, SAQA puts together a trunk show every few years.  Members are asked to make art quilts that are only 10″ high x 7″ wide.  These are mounted and presented very nicely, then divided into groups and sent around the world to show people what art quilts can be.

I decided to participate this year and, as usual, wanted to make something similar to my usual style.  But, I find that to be quite difficult on this scale.  Still, with some simplifying, I came up with a design that would do the trick.

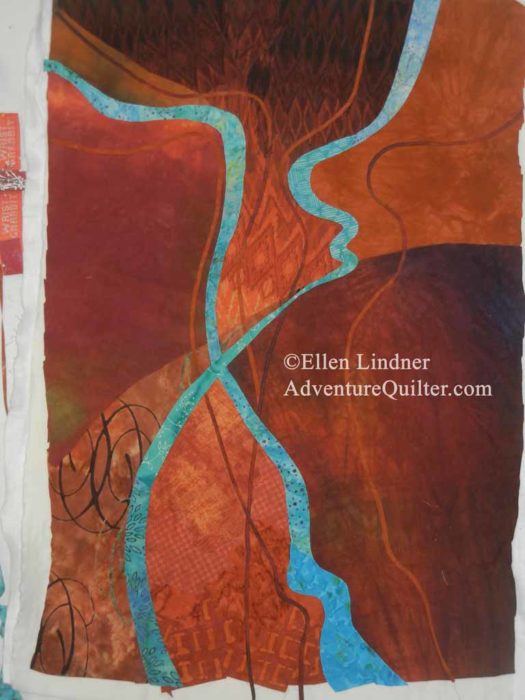
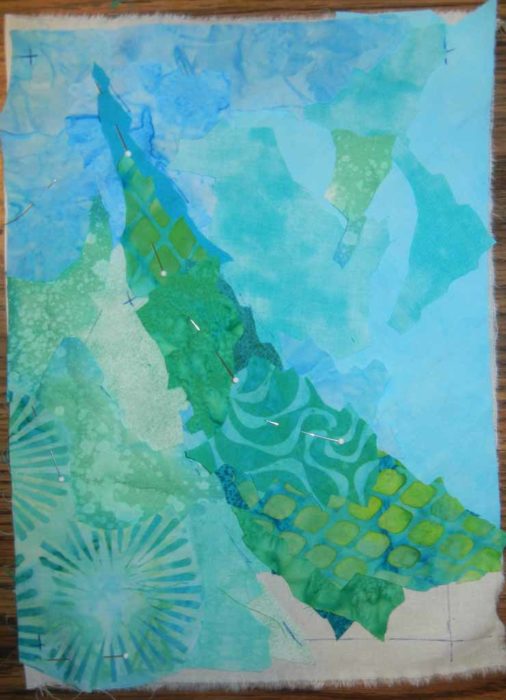
This is the background before stitching.

A very small art quilt in progress. Ellen Lindner, AdventureQuilter.com/blog

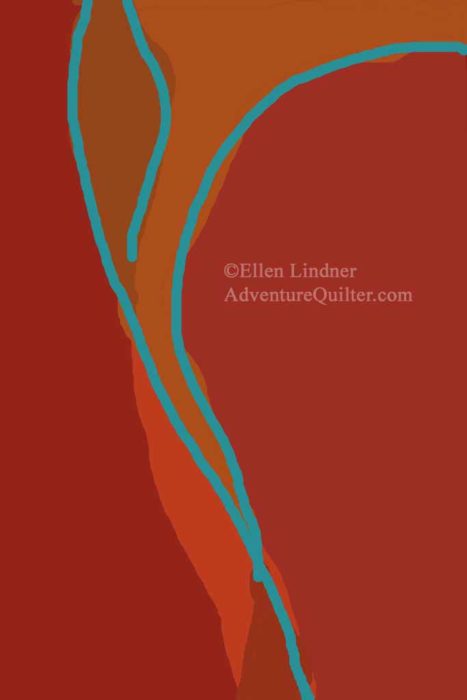
You’ll notice the colors were taken directly from my recent work.  I simplified the sweeping shape, though.

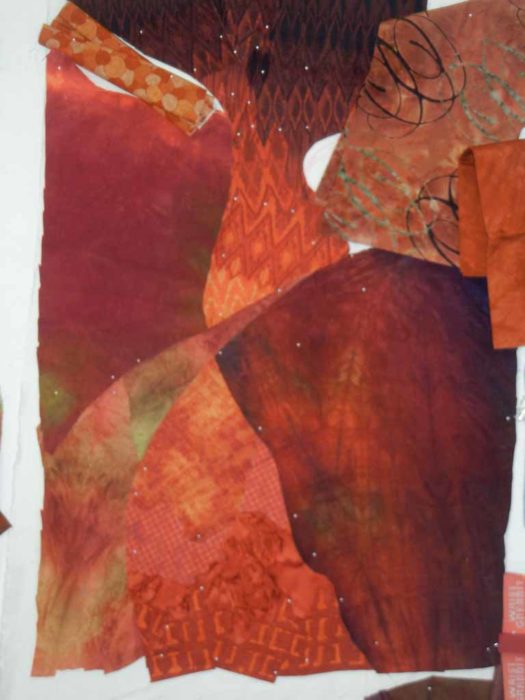
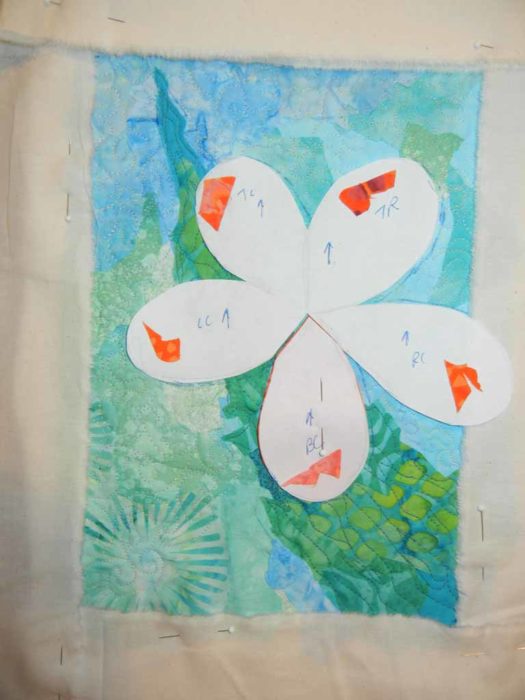
Next, I auditioned the placement of a large flower, again borrowing from recent work.

A very small art quilt in progress. Ellen Lindner, AdventureQuilter.com/blog

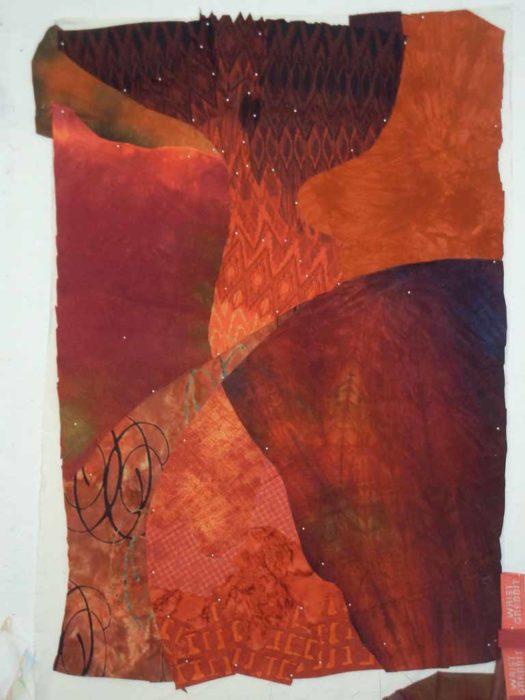
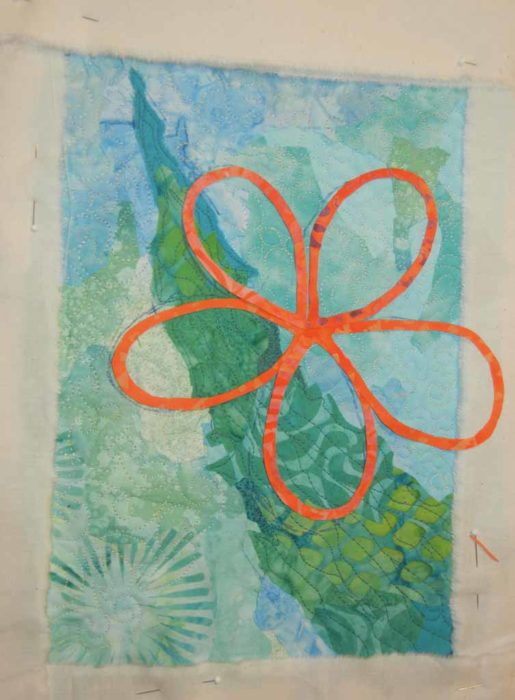
There’s one thing that’s important when working small like this.  That is, you need to see the actual finished dimensions while creating.  To achieve that, I’ve pinned on muslin strips which visually crop the piece to the intended 10 x 7 dimensions.  (The piece wasn’t actually wonky.  That’s just the photo.)

A very small art quilt in progress. Ellen Lindner, AdventureQuilter.com/blog

I liked the open flower.  As you can see, some of it will be cropped off.

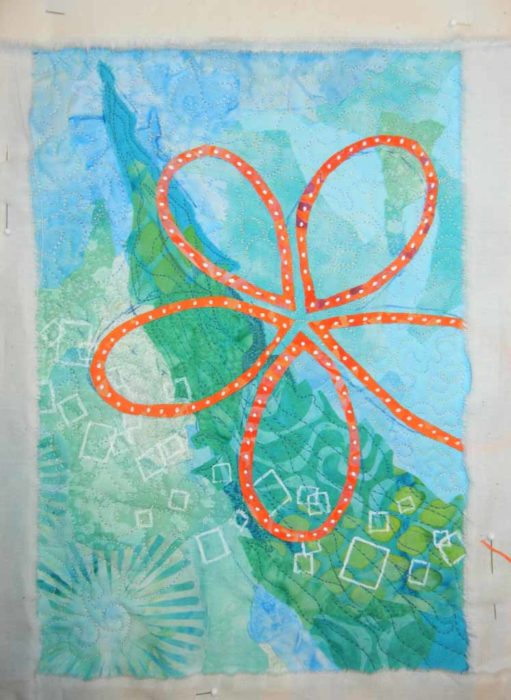
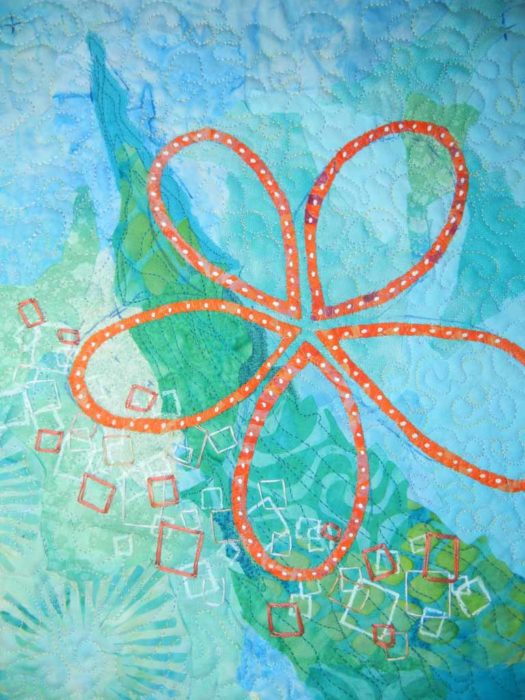
Next, I used my favorite white pen to add dots.  Something new for me, which I really liked.  I used the same pen to draw white squares.

A very small art quilt in progress. Ellen Lindner, AdventureQuilter.com/blog

As suspected, the white squares didn’t show up well enough, so I started stitching some orange ones.

A very small art quilt in progress. Ellen Lindner, AdventureQuilter.com/blog

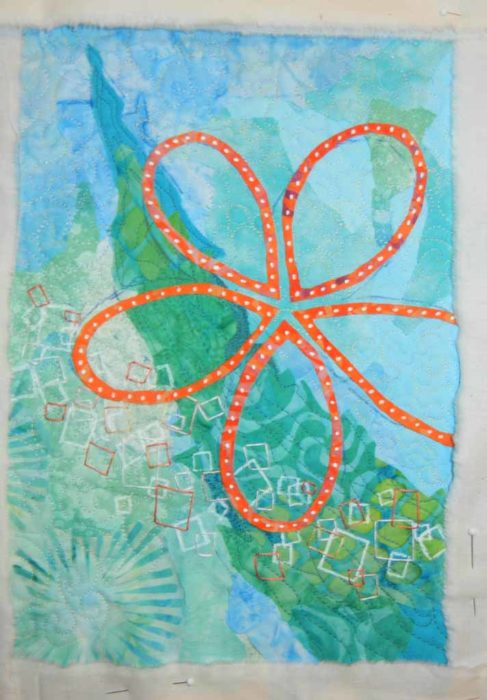
That was better, but I wanted them to show up more.  So, I added another lap of stitching to some of them.

A very small art quilt in progress. Ellen Lindner, AdventureQuilter.com/blog

Better, right?

Next, I stitched the orange flowers in place with clear monofilament thread.  Almost finished.  I’ll show you the final details in the next post.

Ellen Lindner


2

“Daydream” Complete

My latest piece, Daydream, is now complete.

Daydream, an art quilt by Ellen Lindner. AdventureQuilter.com

And here’s a detail shot.

Daydream - detail, an art quilt by Ellen Lindner. AdventureQuilter.com

I think the colors are maybe slightly truer in the detail image, since the squares are mostly orange, rather than rust.

I’m kinda in love with this piece!  It’s now one of my favorites.

I encountered  several obstacles along the path to completion.  These included cutting off a corner, and enlarging it with additional batting TWICE.  It wasn’t a straight line journey, but I think it was well worth it.

You’ll find purchase info and other details here.

Ellen Lindner

7

Loosen Up with Torn Paper Collage

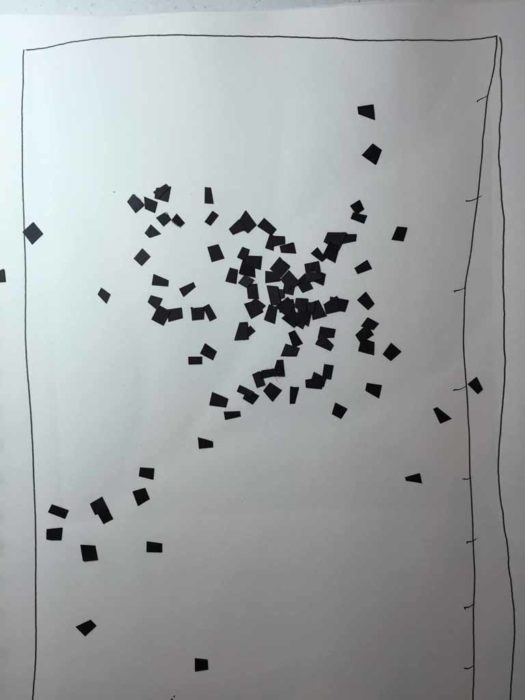
If you’ve been following my blog for a while, you know that I like to interpret foliage and scenery around me.  The problem is that my literal brain wants to depict my photos exactly as they are.  But, I know my quilts will be more interesting if I can put my own personal spin on things.

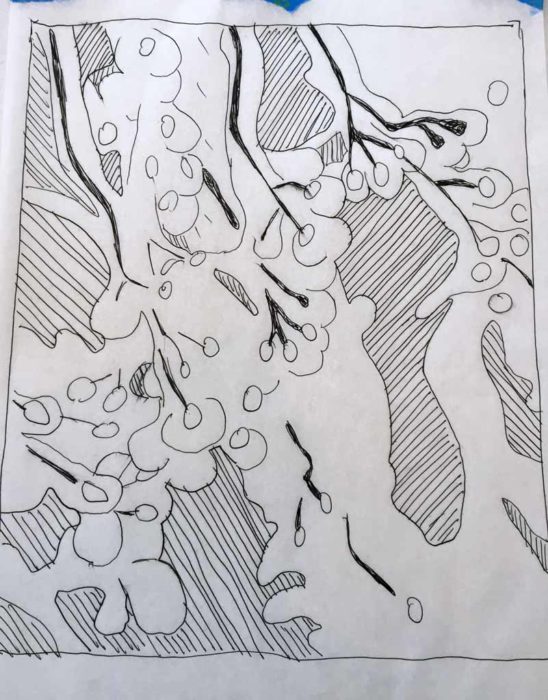
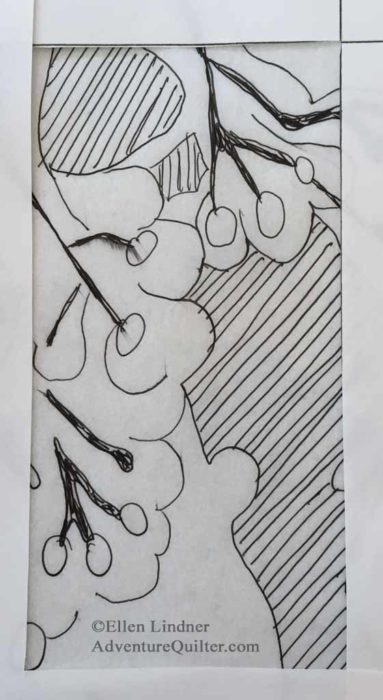
So, usually, I have to make a realistic sketch, just to satisfy my brain, and then I can get on to something more creative.  Maybe a sketch, or a torn paper collage.

Loosen Up with Torn Paper Collage. Ellen Lindner, AdventureQuilter.com

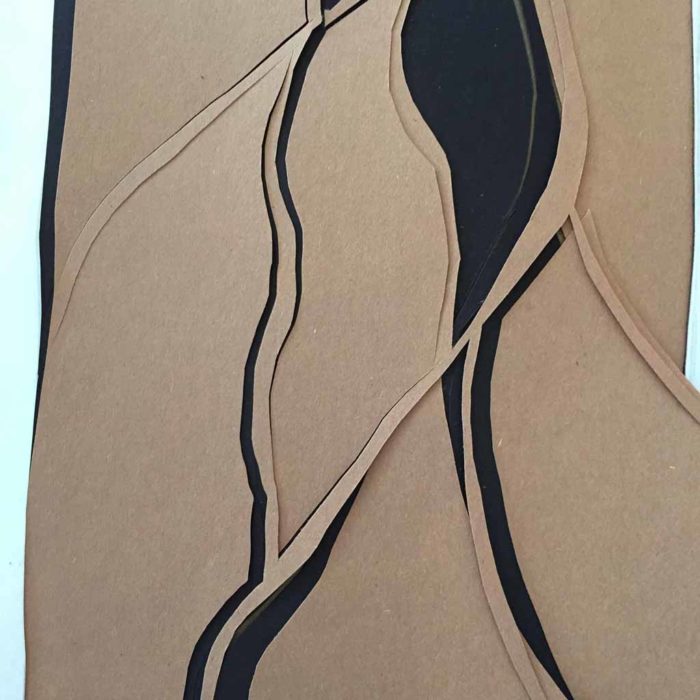
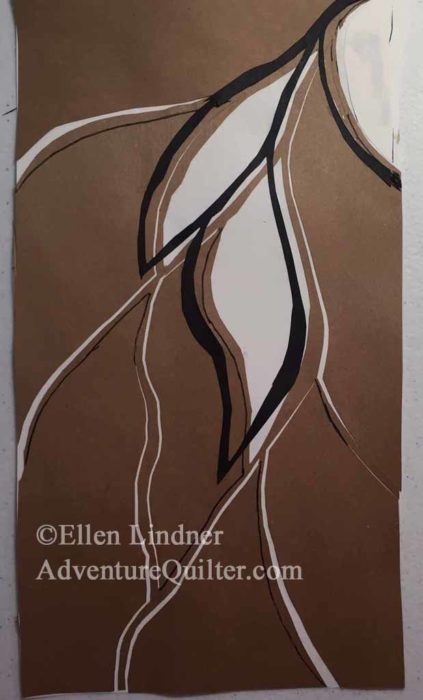
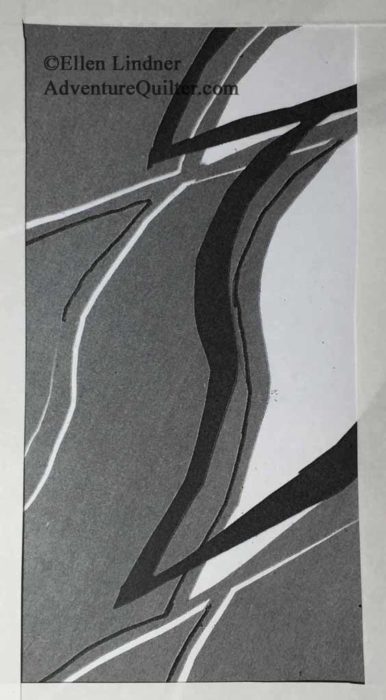
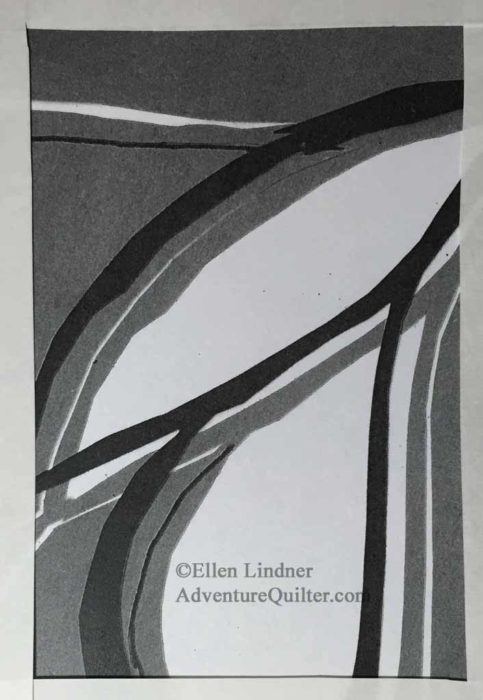
A torn paper collage is a great way to interpret a photo loosely because you CAN’T accurately depict the details.  Just what my left brain needs!

Loosen Up with Torn Paper Collage. Ellen Lindner, AdventureQuilter.com

The resulting collage can serve as a sketch for a finished quilt, or just as a creative exercise.

Loosen Up with Torn Paper Collage. Ellen Lindner, AdventureQuilter.com

I’ve just added a full article about this technique to my website.  It includes lots of in-progress photos and tips.  Check it out and try it yourself.

Ellen Lindner
P.S.  One more example on my old blog.

6

Resizing and Redesigning

What size do you usually make your quilts?  Do you tend to make them similar (or identical) sizes?

I have some favorite sizes, but as I’ve recently been playing with abstract pieces, I haven’t been giving it much thought.  Just experimenting.

I made this piece and planned to enter it in a juried show.  I finished it all the way to trimming it.  And only then realized it wasn’t big enough for the intended show!

I Whacked off a Corner. Ellen Lindner, AdventureQuilter.com/blog

Darn!

I quickly set it aside and made a new piece that was big enough.

Meanwhile, I had been thinking about making a series of these abstract pieces, repeating the colors and motifs for continuity.  At this point I was thinking, “Well, this one just won’t be part of the series.”  But, when I showed both pieces to my art quilt buddies, they said “Why not enlarge it?”  Hmm.  That idea had merit.

Here’s the size difference:

Resizing, Redesigning. Ellen Lindner, AdventureQuilter.com/blog

Since the quilt was not yet faced, I could add additional batting and continue on.  I decided to give it a go.

After adding the needed batting, I came up with a loose plan.  I’d extend the top shape, finish the flower, and add some more orange rectangles.

Resizing, Redesigning. Ellen Lindner, AdventureQuilter.com/blog

First, I completed the teal shape and the background.  I quilted those areas at this point, so I wouldn’t have to dodge the flower and squares I’d be adding later.

Resizing, Redesigning. Ellen Lindner, AdventureQuilter.com/blog

Then, I added a little yellow and finished the flower.  The top right petal got sorta lost, so I’ll have to think about how to improve the contrast in that area.

Resizing, Redesigning. Ellen Lindner, AdventureQuilter.com/blog

Next, I added more orange squares.  I like them a lot.

Resizing, Redesigning. Ellen Lindner, AdventureQuilter.com/blog

As you can see, I was also auditioning the idea of adding some orange near the top.  Cuz it seemed like it needed something else up there.

With that in mind, I came up with the idea of a “ghost” flower in the top left corner.  I auditioned the idea on my computer, using an earlier photo.  I really liked this a lot!  But, how would I do it?

Resizing, Redesigning. Ellen Lindner, AdventureQuilter.com/blog

Maybe I should make a sheer flower.  Perhaps with tulle?

I auditioned the idea with 2 layers on a scrap.  It showed up on the rust fabrics, but not the blue-green ones.

Resizing, Redesigning. Ellen Lindner, AdventureQuilter.com/blog

Still, while I was experimenting, I tried one more thing.  I wanted a rather splotchy, imperfect flower, so I wondered if I could melt the tulle for an irregular effect.

Uh, no.  The tulle melted in the middle, but left two channels of undamaged tulle along the side stitch lines.  Not the look I was after.

Resizing, Redesigning. Ellen Lindner, AdventureQuilter.com/blog

So, I decided to do it with lighter fabrics, cut into little jagged blobs.  Here’s my first attempt.

Resizing, Redesigning. Ellen Lindner, AdventureQuilter.com/blog

My idea worked, but it didn’t show up well enough.  I’ll have to try again with lighter fabrics.  And maybe enlarge the ghost flower while I’m at it.

After that, I’ll  have to experiment with some additional orange and also see if I can make the flower petals show up better.  One thing ALWAYS leads to another.

Ellen Lindner

8

An Abundance of Apples in West Palm Beach

The ladies from Palm Beach County Quilters’ Guild made excellent progress on their apple projects during a recent Double Reverse Applique class.

Linda was all smiles about her results.

Double Reverse Applique class with Ellen Lindner. AdventureQuilter.com/blog

At the end of the day Barbara’s was complete, except for the stem.Double Reverse Applique class with Ellen Lindner. AdventureQuilter.com/blog

Lorna was the first to finish.  We all thought her bottom fabric did a nice job of implying a table cloth.

Double Reverse Applique class with Ellen Lindner. AdventureQuilter.com/blog

Guild president, Lynn, was delighted to finish something in class.

Double Reverse Applique class with Ellen Lindner. AdventureQuilter.com/blog

Maggie left her shadow blank, initially.   But, when I saw her the next day, she’d changed it to black and was very happy with it.

Double Reverse Applique class with Ellen Lindner. AdventureQuilter.com/blog

Marilyn was one of the bravest in class, since she was VERY new to free motion stitching!  Didn’t she do a great job?

Double Reverse Applique class with Ellen Lindner. AdventureQuilter.com/blog

We all loved Nancy’s green apple, (which she had completely quilted and faced by the next morning.)

Double Reverse Applique class with Ellen Lindner. AdventureQuilter.com/blog

I love it when students put their own spin on things.  Nancy did just that by adding a little critter to her apple.  Can you see him?

Double Reverse Applique class with Ellen Lindner. AdventureQuilter.com/blog

Yvonne was WAY out of her comfort zone, since she normally does needle-turn applique.  This class utilizes raw edge collage, so it was completely new to her!  It didn’t faze her though, as you can see.

Double Reverse Applique class with Ellen Lindner. AdventureQuilter.com/blog

This is a fun, fast, and accurate technique.  And one that’s always fun to teach!

Ellen Lindner
P.S.  Check out my ebook with all the content of this class.  And a gallery of Double Reverse Applique quilts.  (NOT all apples.)

3

Hurricane Matthew

Nothing like a major hurricane to interrupt blog posting!  By late Wednesday, October 5th, Matthew was predicted to be a category 4 and was heading straight for Melbourne, FL, where I live!

hurricane-matthew-projection-for-melbourne

We finally decided to evacuate, and began to pack.  You don’t need a lot when you flee a hurricane: your personal items, medications and medical records, home owners insurance policy, computer hard drives, chargers, passwords, and maybe some entertainment.

I decided not to take any quilts.  I knew I could make them all again.  But, I was concerned about our family photo albums.  Not wanting to lug them with us, I put them in a water tight area, the dryer.  We also lifted a few things off the floor, like the abundance of quilts I store under my son’s bed.

Dodging hurricane Matthew

Since we didn’t decide to evacuate until very late in the game, there were no hotel rooms available.  Instead, we went to a nearby shelter early on the 6th.  It turned out to be a very good option.  Of course, that did require quite a bit of additional packing: sleeping bags, air mattresses, and camping chairs.

This was our home away from home, where we spent the next 24 hours.

web-img_2574-copy

It was very well organized and not a bad way to weather the storm.  We shared an elementary school classroom with a total of 12 people.  Everyone was nice and we got along well.  Every room had a bathroom, additional sink, and water fountain.  Plus a TV for the REQUIRED weather watching.  And WIFI!

The Red Cross fed us, which was a pleasant surprise.  Meals were the “main event,” (even though the food was only fair.)  I’m NOT complaining!  There were about 1100 people in our shelter, so the line was always long.  No worries, though.  We generally talked with the people around us.

Dodging hurricane Matthew

There was lots of storm noise during the night, when Matthew came its closest at about 3 AM.  THANKFULLY, for us, it stayed just off shore, so local damage was not nearly as bad as expected.  Still, the wind and rain managed to blow under the doors of the school.

Dodging hurricane Matthew

The next morning, we packed up quickly, and hurried home to find our home UNDAMAGED.  Woohoo!  We fired up the generator and sat around in front of fans until our power started again mid-afternoon.  All in all, an amazingly trauma free event.

BIG KUDOS to the staff of Meadowlane Intermediate and to the Brevard County Emergency Management Preparedness  Folks!  Preparations were wonderful, our needs were met, and everyone was kept safe.

Thankful to be living in the well-prepared Sunshine State,
Ellen Lindner

P.S.  Did you notice the Goldilocks look to our sleeping set up?  I was the “baby bear” since I’m quite short.  Still, it was pretty comfortable for all of us.

14

“Second Thoughts” Complete

Finally, here is Second Thoughts, complete.  I had a lot of fun working on it and I’m quite happy with the results.

Second Thoughts, an art quilt by Ellen Lindner. AdventureQuilter.com/blog

Did you notice I turned it upside down?  That was just the jolt it needed.

Here’s a detail shot.

Second Thoughts, an art quilt by Ellen Lindner. AdventureQuilter.com/blog

Notice that I added subtle squares in the background.  I love little things like that which you can only appreciate after studying it closely.

The statement for this piece says:

When designing, my first thoughts get me started. But, as things evolve, I listen to my second (and third and fourth) thoughts to lead me in new directions.

This quilt is 36″ x 24″ and priced at $895.  I hope you like it!

Ellen Lindner

4

Finally, a Quilt

Gee, I haven’t shown you a new quilt in a while.  But, in the midst of teaching, exhibits, and TV shows, I’ve still been able to (intermittently) work on my latest abstract quilt.  When I last showed it to you, the background was complete and I had decided to add some white squares.  I auditioned that idea with some computer sketching.

An abstract art quilt in-progress. Ellen Lindner, AdventureQuilter.com/blog

And then I began to add the white squares.

An abstract quilt by Ellen Lindner in-progress. AdventureQuilter.com/blog

Hmm.  They didn’t show up that well.  Would blue-green be better?

An abstract quilt by Ellen Lindner in-progress. AdventureQuilter.com/blog

I tried it out with fabric scraps and decided this was the way to go.

An abstract quilt by Ellen Lindner in-progress. AdventureQuilter.com/blog

Yes, much better.  That took A LOT of pins.

An abstract quilt by Ellen Lindner in-progress. AdventureQuilter.com/blog

I began to consider where to add the large flower.

An abstract quilt by Ellen Lindner in-progress. AdventureQuilter.com/blog

Maybe something like this.

An abstract quilt by Ellen Lindner in-progress. AdventureQuilter.com/blog

I made some marks, but then lifted it in order to add some other things.

What about a ghost flower?  (Top left.)  It didn’t show up very well, so the jury was still out.

An abstract quilt by Ellen Lindner in-progress. AdventureQuilter.com/blog

I added a navy line for contrast.  I think it helped a lot.

An abstract quilt by Ellen Lindner in-progress. AdventureQuilter.com/blog

I put the flower back (in a slightly new location,) removed the ghost flower, and made a few final additions.  Among them, I added subtle squares in the background, and subtle X shapes in the large rust/orange shape.  Just a little repetition, texture, and interest.

An abstract quilt by Ellen Lindner in-progress. AdventureQuilter.com/blog

Finally, I trimmed it, and began to prep the facing fabric.

An abstract quilt by Ellen Lindner in-progress. AdventureQuilter.com/blog

But wait.  How would this look upside down?

Ellen Lindner


6

Quilting Arts TV

Taping  for Quilting Arts TV was a total blast!  My sister, Sharon, went with me and served as my “roadie.”  The staff and other quilters engaged with her so well that I think she had just as much fun as I did!

Ellen Lindner's stint on Quilting Arts TV. AdventureQuilter.com/blog
I arrived the day before taping and they gave me big trays on which to lay out my three different segments:  (L-R) Drawing Inspiration from a Photo, Double Reverse Applique, and Design Tips.

Ellen Lindner's stint on Quilting Arts TV. AdventureQuilter.com/blog

Various staff members walked me through my presentation and then it was time to head for the set!  Here I am with the host, Susan Brubaker Knapp, with my quilt Ti Plants A-Glow-Glow in the background.  (The quilt was eventually moved to the table.)

Ellen Lindner's stint on Quilting Arts TV. AdventureQuilter.com/blog

Kristine, from the Quilting Arts staff, took a lot of photos and the rest of us did too.  This shot is from the set looking toward the cameras and sound gear which filled the rest of the studio.

Ellen Lindner's stint on Quilting Arts TV. AdventureQuilter.com/blog

That segment went well, and soon it was time to set up for Double Reverse Applique.  Note the wardrobe change for both of us, since this segment will be part of a different episode.

Ellen Lindner's stint on Quilting Arts TV. AdventureQuilter.com/blog

The little quilt I made from my baby photo was featured on the table.

Ellen Lindner's stint on Quilting Arts TV. AdventureQuilter.com/blog

This is what Susan call’s the “grab and grin” shot, which is taken before every segment.  How do you like my professional makeup?

Ellen Lindner's stint on Quilting Arts TV. AdventureQuilter.com/blog

And here I am in action, as seen from the monitor in the “green room.”  Which was tangerine in this case.

Ellen Lindner's stint on Quilting Arts TV. AdventureQuilter.com/blog

Oops, I talked too quickly on that one.  To compensate Susan will stretch the yet-to-be-taped segment following mine.

Ellen Lindner's stint on Quilting Arts TV. AdventureQuilter.com/blog

Finally, it was time for my final segment on Design Tips.

Ellen Lindner's stint on Quilting Arts TV. AdventureQuilter.com/blog

The beginning of each segment opens with the host and guest “talking.”  But, actually, we’re just supposed to move our mouths and make no sound.  This cracked me up every time.

Ellen Lindner's stint on Quilting Arts TV. AdventureQuilter.com/blog

Everyone was super friendly and personable.  My sister and I really enjoyed hanging out with all of them.

Ellen Lindner's stint on Quilting Arts TV. AdventureQuilter.com/blog

Definitely fun.

The season’s episodes will be edited and sent to PBS by January.  Each station can air it whenever they’d like – for up to 3 years.  So, you’ll have to keep an eye out for when it airs in your area.  My first episode is 1902.


2