Learning about Dyeing – Still
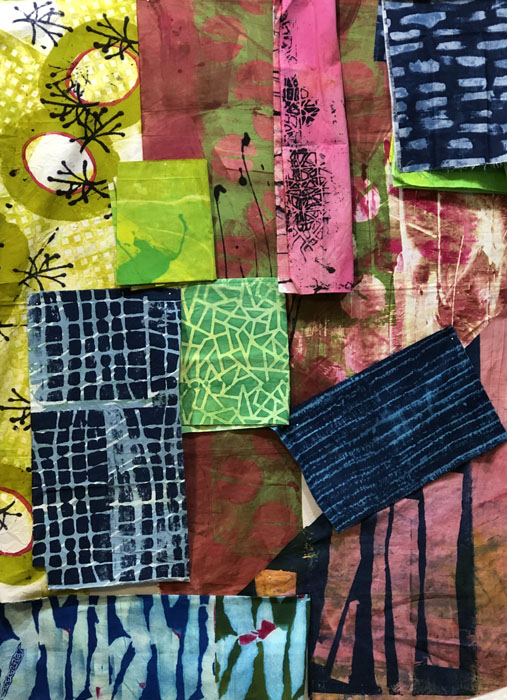
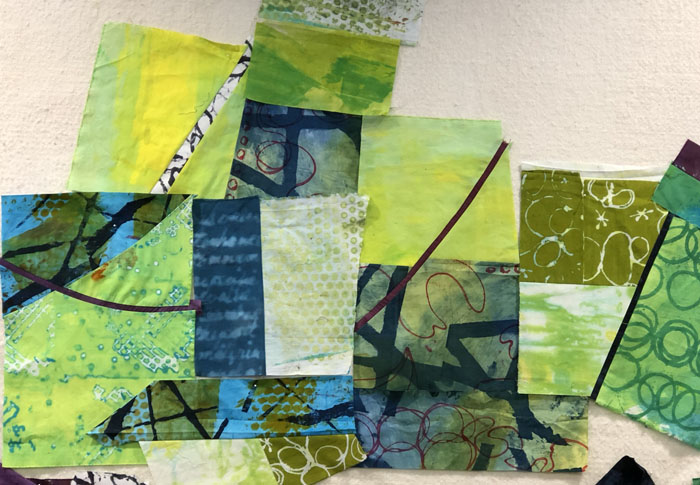
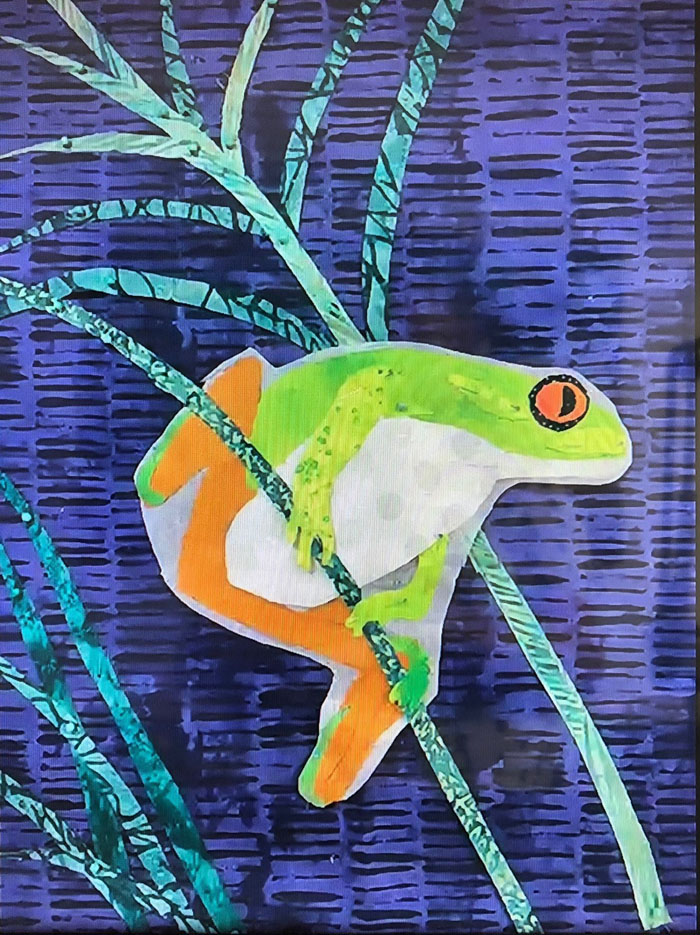
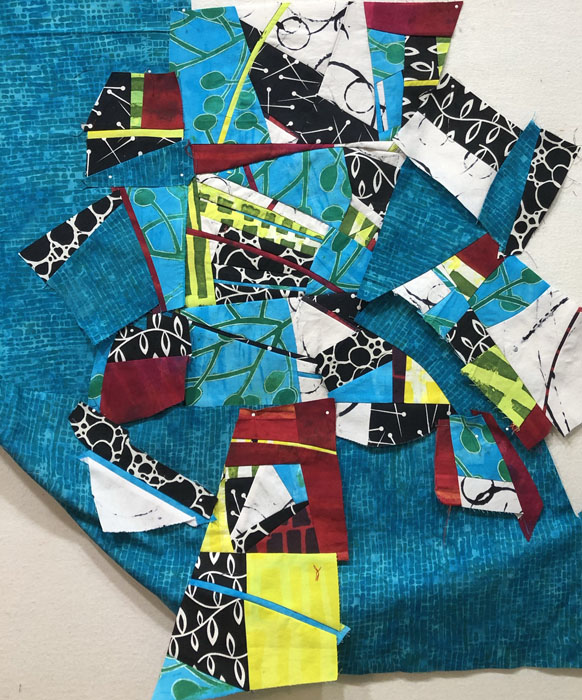
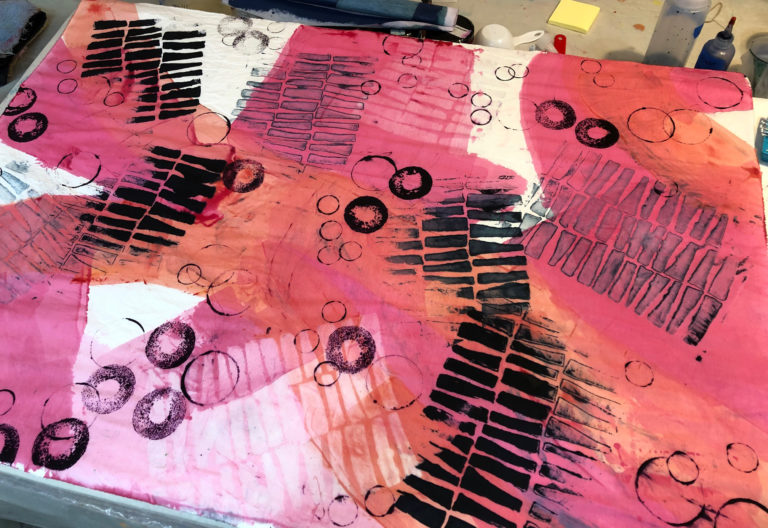
I’m beginning to realize that dyeing fabric is an endless process of learning. Although I can now predict much better what my results might be, I still miss the mark pretty routinely. And, of course, I’m still trying new things, so I can always count on surprises with that. But it sure is a heck…