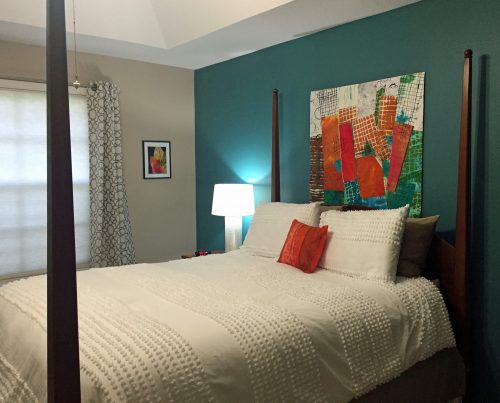
After seeing the post about my bedroom redo, Sandy asked how I hang my quilts. Here’s the photo that piqued her interest.
And here’s the scoop.
(If you purchase a quilt from me it will come ready to hang and you don’t need to read any of this.)
Making and attaching a hanging sleeve
First, I make a 4″ hanging sleeve. There are quite a few variations out there and this is my version.
– Cut a piece of fabric with the following dimensions:
– Length = the width of the trimmed quilt minus 1 1/2″ inches.
– Width 9″.
Stitch the sleeve together as follows:
– Hem each short end by pressing up 1/4″, then folding and pressing up an additional 1/4″, and stitching.
– Fold the fabric in half, WRONG SIDES TOGETHER, matching up the long cut edges.
– Press the long folded edge on the opposite side.
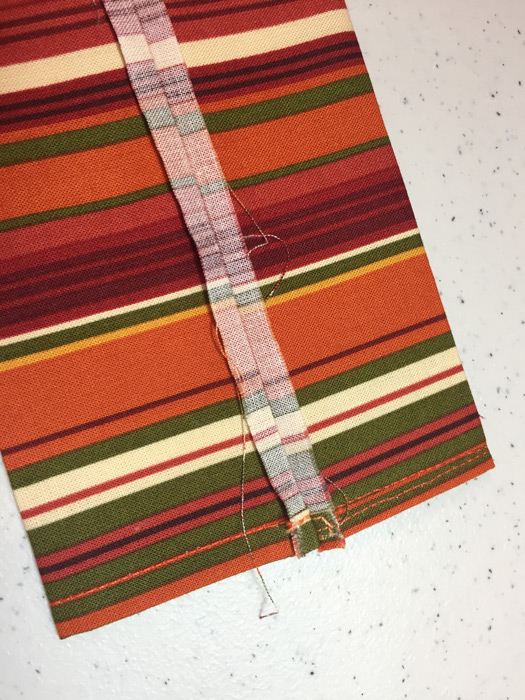
– Using a 1/4″ seam allowance, stitch along the long raw edges, creating a tube.
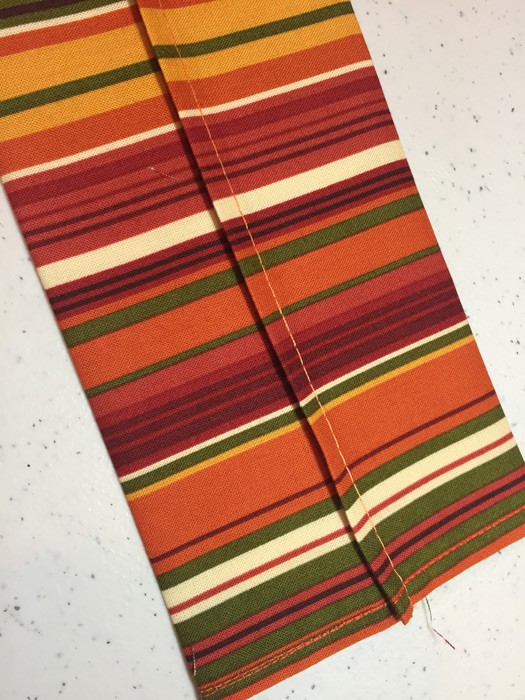
– Create a tuck by stitching with a long basting stitch along the opposing folded crease, again with 1/4″ seam allowance.
– Repress, so the seam allowance is pressed open and is at the center of the back. The tuck will be on the center of the other side.
Next, the sleeve needs to be attached to the back of the quilt. Leave the tuck in place and position the seam side down.
If you’re facing your quilt you can attach the sleeve to the facing before attaching it to the quilt. To do so pin the sleeve to the right side of the cut facing, seam side down, positioning it 1″ below the top. Then top stitch close to each long edge. See this article on how to face a quilt.
If binding your quilt, stitch the top edge of the sleeve into the binding as you go. Hand stitch the bottom edge in place.
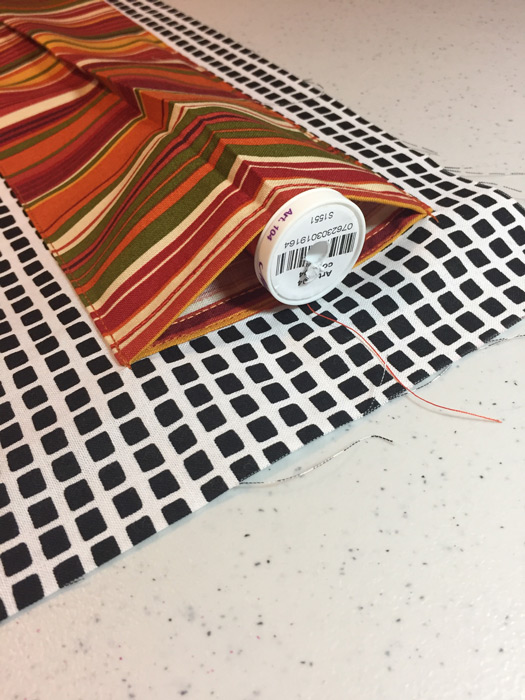
– Pick out the basting stitches. The fullness from the tuck will provide room for the depth of a hanging rod or slat.
The completed sleeve will be 4″ wide, from creased edged to creased edge.
Learn how to make a slat and use it to hang your quilt.
Ellen Lindner


No comments yet.