December 7, 2014
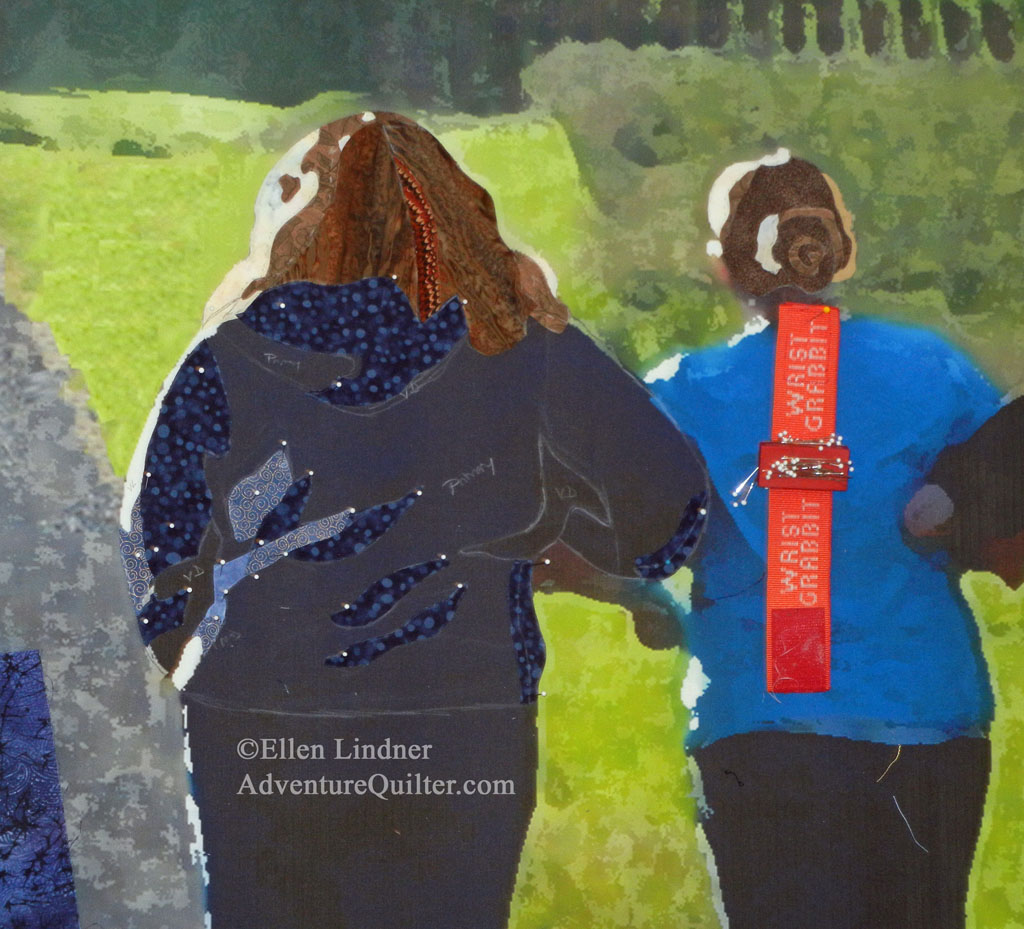
Although the middle shirt in the inspiration photo was aqua, I decided to change it to red-violet (red-purple.) I chose this because it’s the complementary color the yellow-green of the background.
This was my first attempt.
Click any image for a larger view
Definitely too bright. How about a duller purple? I auditioned a different fabric that seemed better.
Yes, MUCH better!
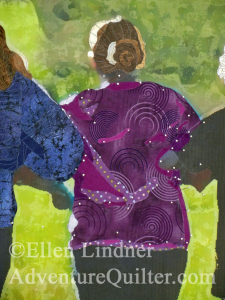
As you can probably tell, the purple fabrics above are only pinned in place. After getting things the way I wanted them, I came back with a liquid fabric glue, and glued it all securely.
At this point, the gray on the back of her neck was bugging me, so I knew I’d have to address that pretty soon.
Ellen Lindner
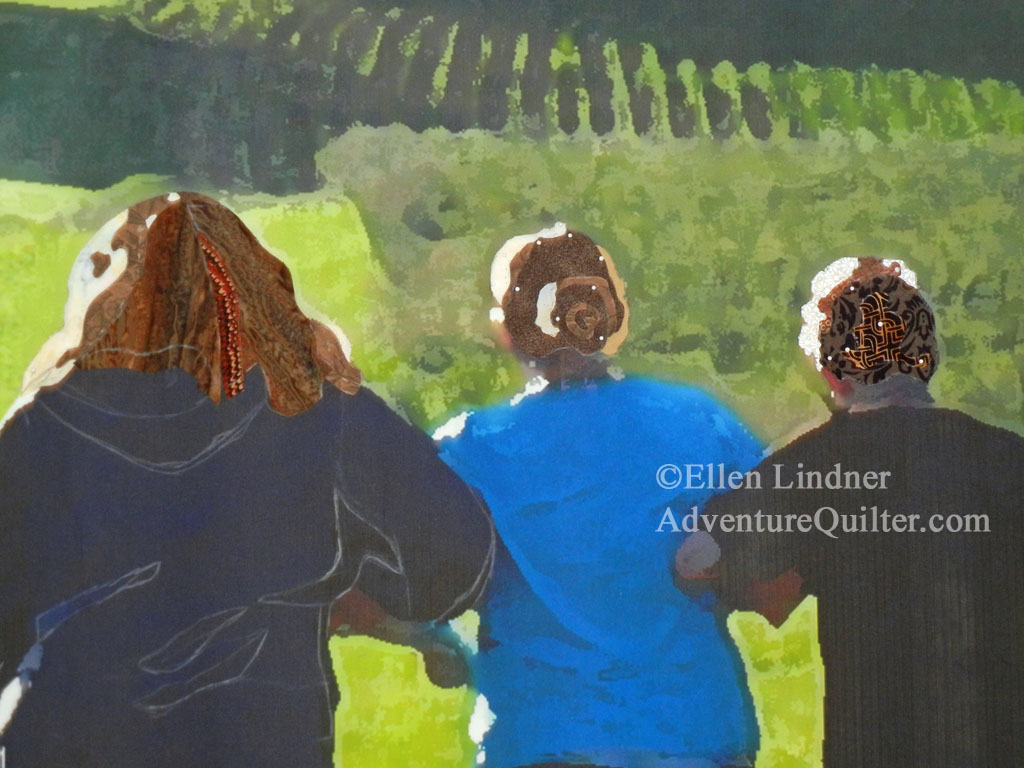
December 5, 2014
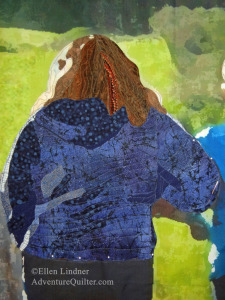
In my last post, I showed you the large digitally printed fabric that I’m currently working on. Since the image was somewhat pixelated – which I expected – I decided I needed to at least partially collage the people.
I started with the hair, thinking that maybe it was all I needed.
Click any image for a larger view

But, it was so effective I knew I couldn’t stop there. My procedure was to study the fabric and photo VERY hard, in order to find subtle variations. Once found, I drew these directly on the quilt fabric, and then cut each fabric to shape.
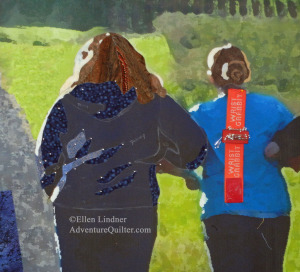
Since I was working on the backs of people, I didn’t have to be super accurate, so I didn’t make pattern pieces. I just cut into the fabric. And tweaked the pieces as needed.
I quilted each section as I went. Just to hold all those tiny pieces in place before proceeding. Don’t you think this collage result is MUCH more interesting than the printed fabric? I was very excited by it!
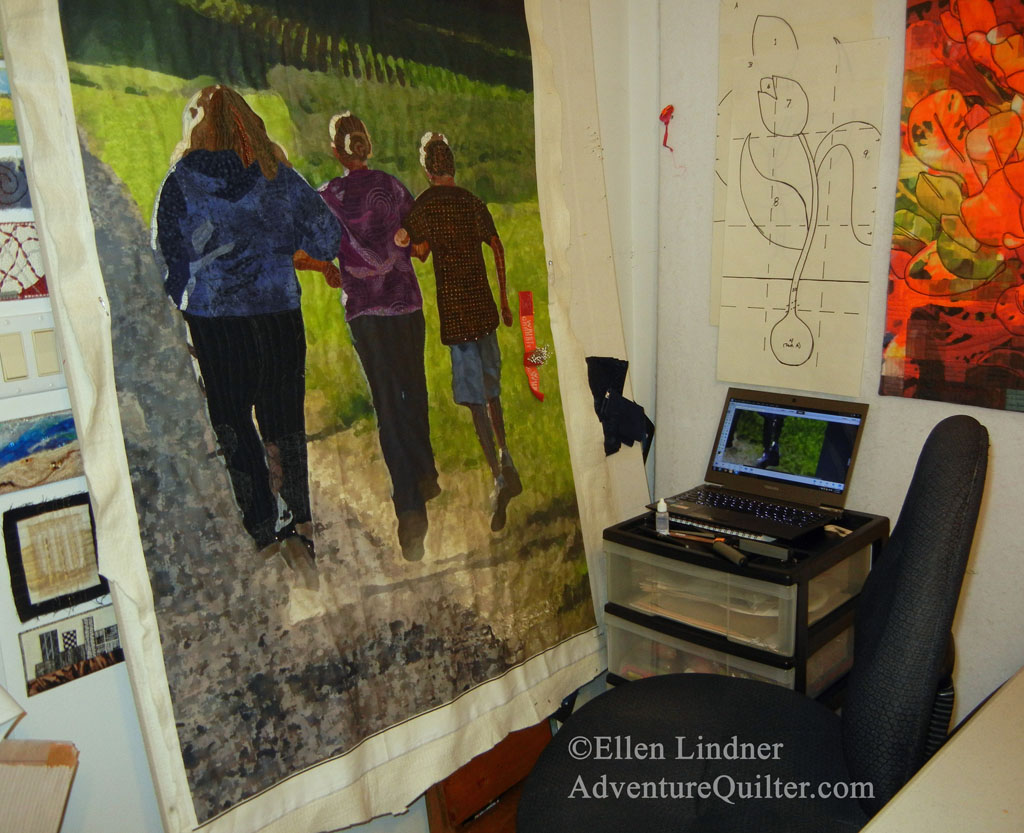
This was my set up. I had the laptop handy, with the same image showing. It had more contrast, so I referenced it a lot.

The photo above was taken late in the process. Because I was working on the lower portion, I actually got to sit down at the design wall. A first for me.
Ellen Lindner
See many more collaged quilts on my website
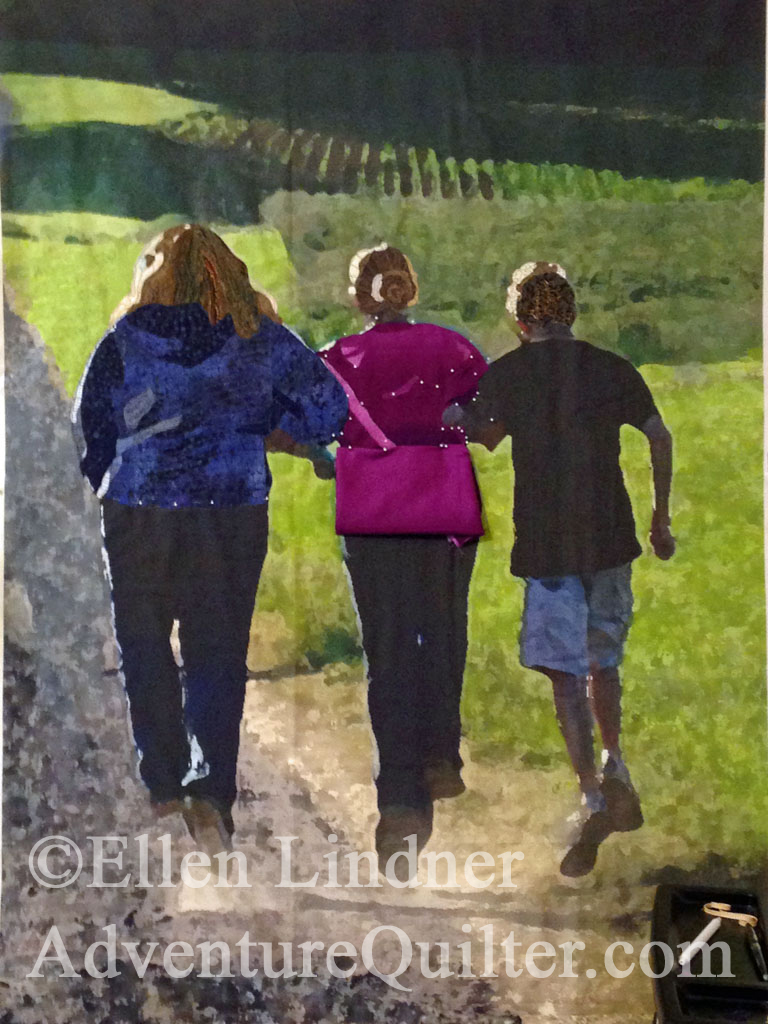
November 27, 2014
As mentioned in earlier posts, I’ve been experimenting with printing digital images to fabric and then quilting them. For my third project, I decided to work large. Partly to see how bad things would pixelate, and partly because I wanted to interpret a favorite photo at a size appropriate for a certain spot in my home.
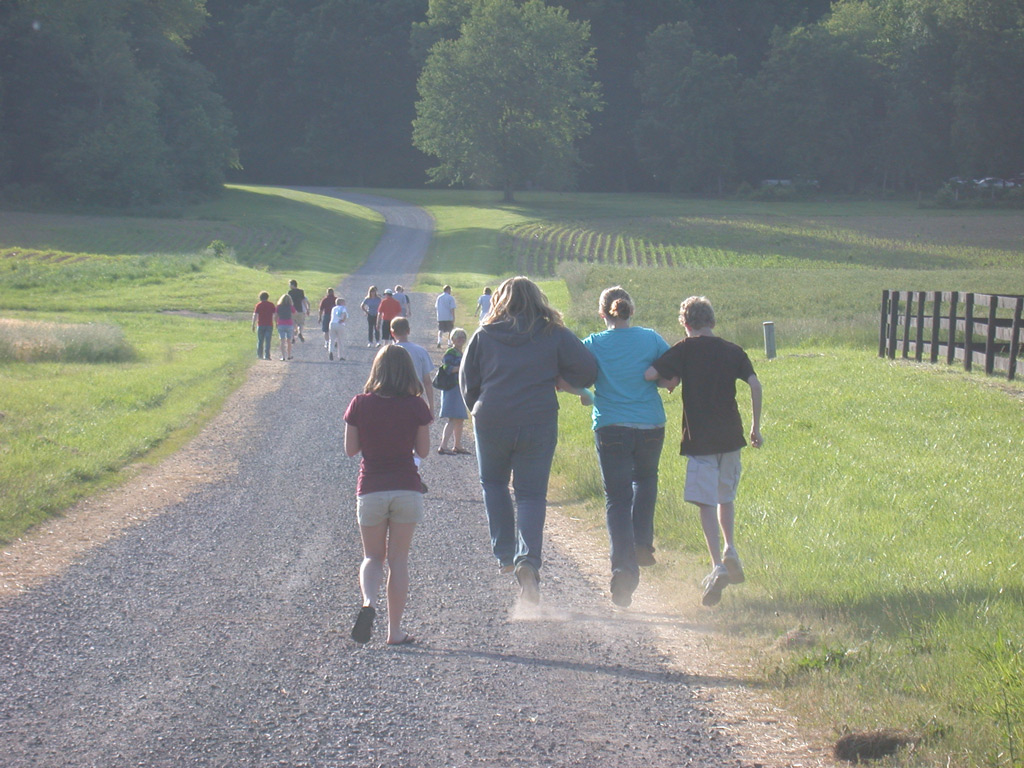
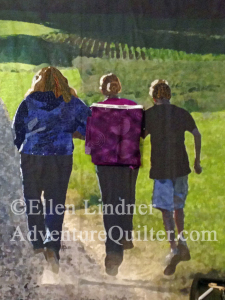
This was the original photo.
Click any image for a larger view
It was taken on my parents’ farm at a big family event. I loved the way the 3 cousins in the foreground were skipping, but I didn’t need the other THIRTEEN people!
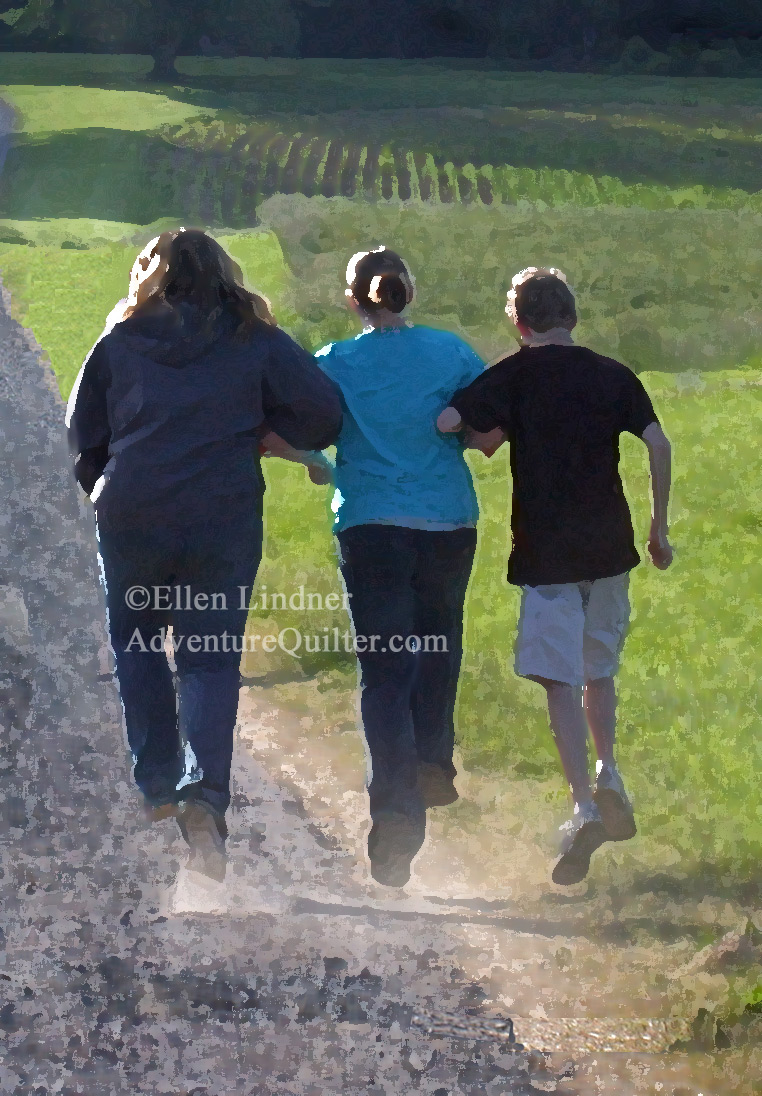
After LOTS of computer editing, I got this.

Much better, right?
I placed an order to have it printed at a very large scale: about 52″ high. And waited to see how well it would turn out.
Ellen Lindner
November 24, 2014
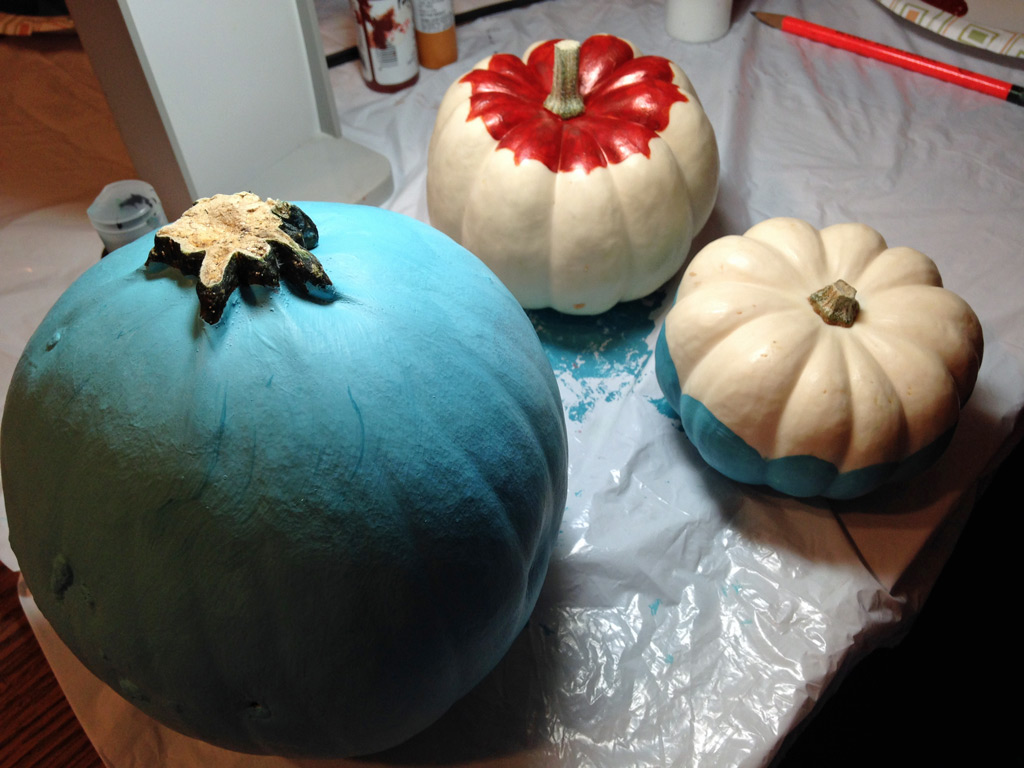
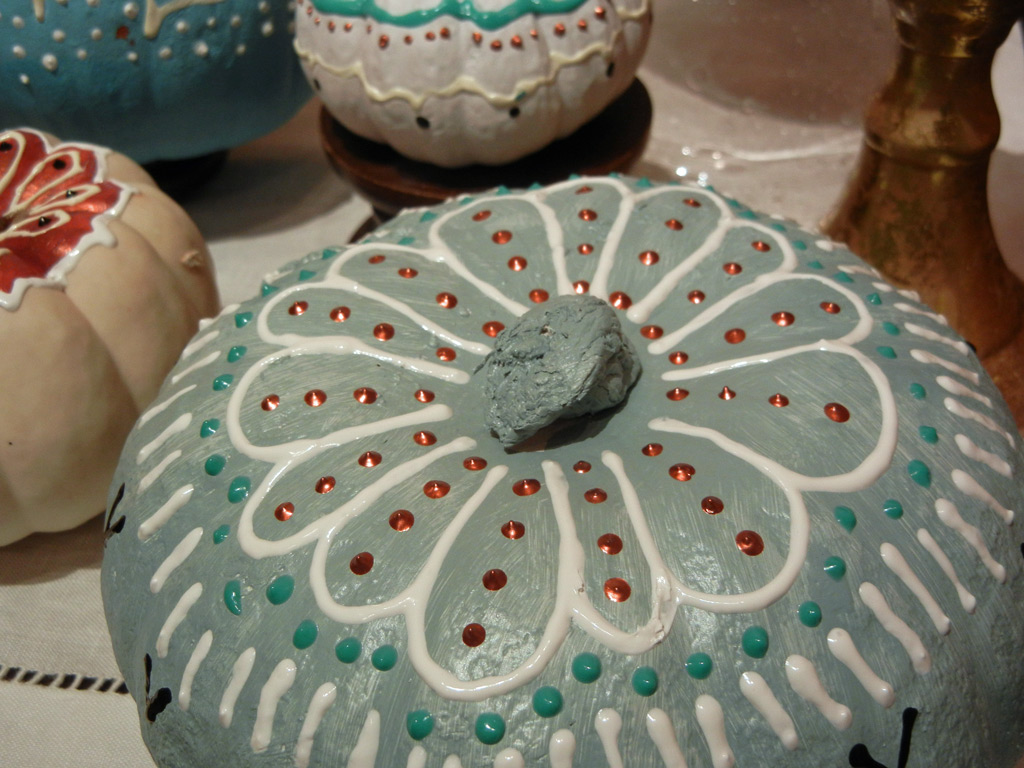
My sister and I had great fun painting pumpkins. The instructions said to first paint them all over in pastel colors. But, I had to mix things up a little.
Click any image for a larger view
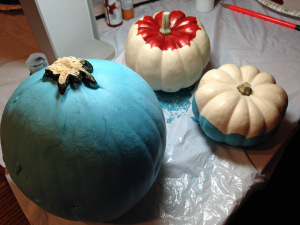
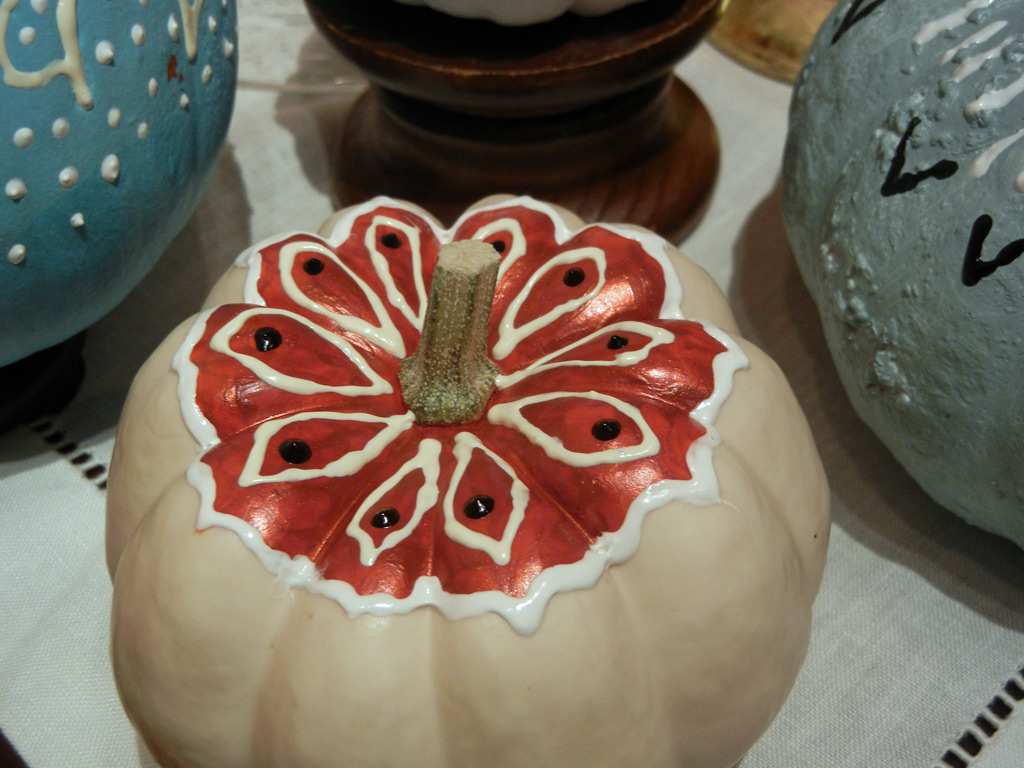
Next, we used squirt paint – the kind designed for t-shirts – and doodled all over the top of them. These are my sister’s. Aren’t they beautiful?
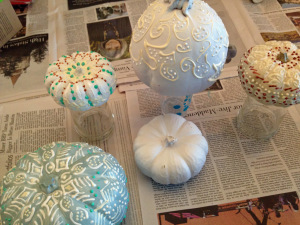
And this is my final display.
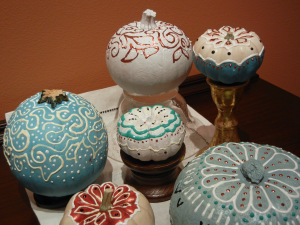
With a couple of detail shots.

The natural segments of the pumpkins make it easier to create a design.

Aren’t they cool?
I can’t take credit for the idea. It came from Alisa Burke’s blog. She has many creative ideas!
These were a lot of fun, but I have to say: they didn’t last as long as we had hoped. I think paper mache might be in order next year.
What seasonal decorations are you using this year?
Ellen Lindner
November 21, 2014
I’ve been experimenting with “whole cloth” quilts. In this case, they’re comprised of images that I’ve printed on fabric, then stitched.
For my first two pieces, I started with this inspiration photo.
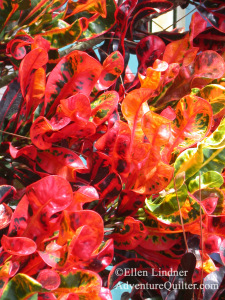
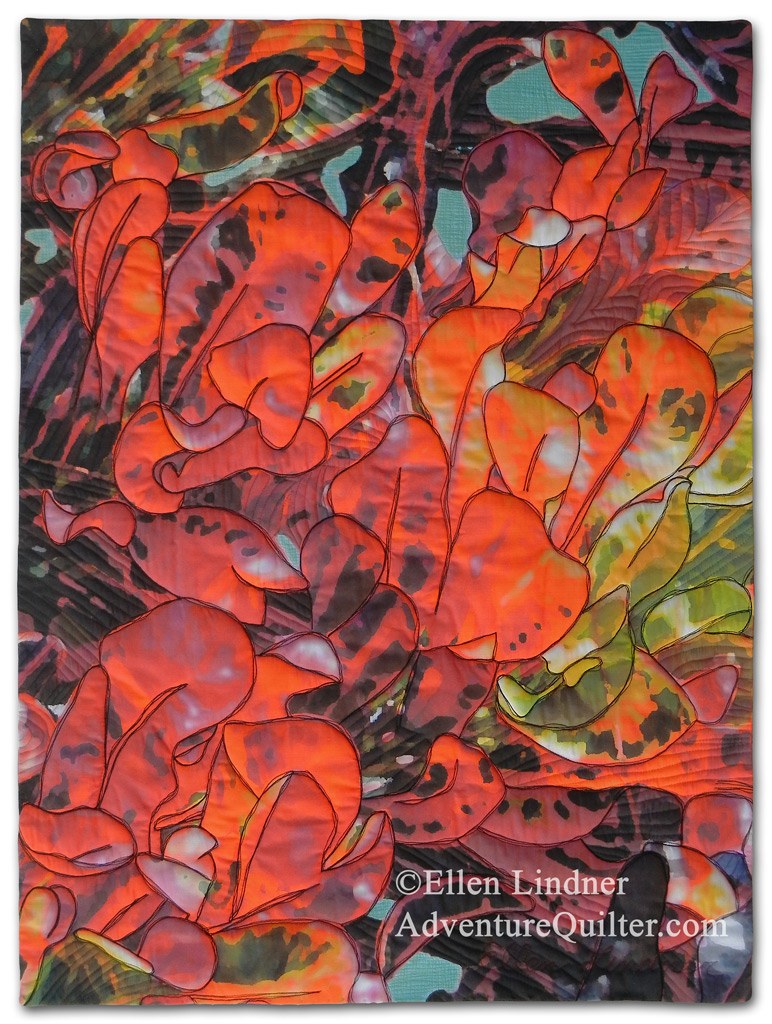
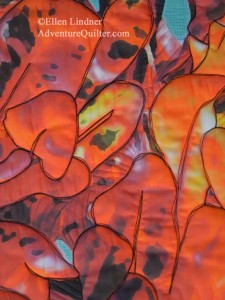
Beautiful, right? These are my neighbor’s curly crotons.
I wanted my quilted versions to be more impressionistic, so I played around in the computer and altered them quite a bit. I removed a lot of the detail, knowing that I would add it back with black stitching. Then, I had them printed by modern yardage, an online company.
This is the resulting first quilt, Curly Crotons. The black lines are stitched.
Click any image for a larger view
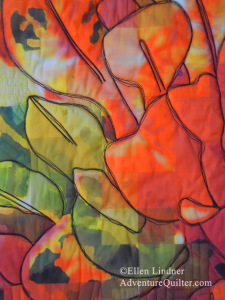
And a detail shot.
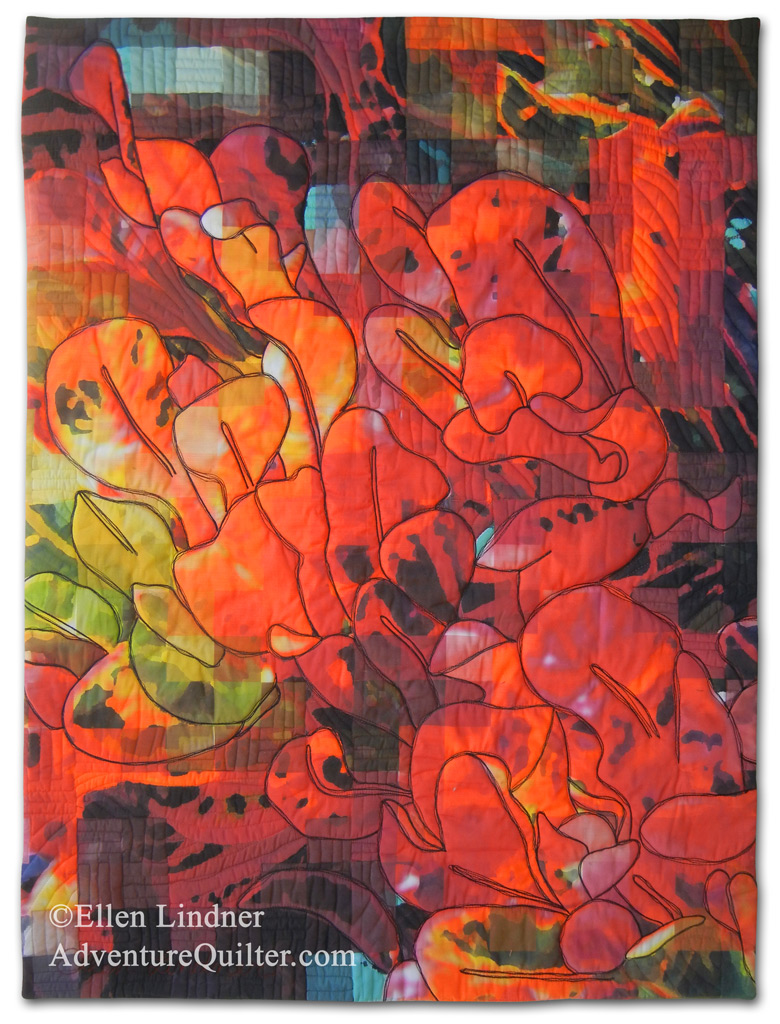
For the second piece, I used the same starting photo, but added some more computer effects. Plus, I flipped it to the mirror image.
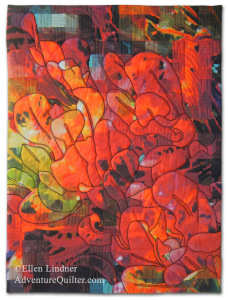
I like the transparent squares in this design. See the detail below. Again, the black lines are stitching.
Next, I decided to print some small panels that I could add hand stitch to. Here’s the first one, as I auditioned threads.
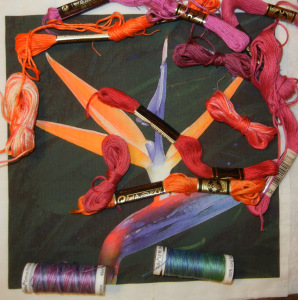
Can you see the Bird of Paradise flower under there? These should be fun little hand projects.
I’m happy with the first few projects and have now launched into a larger one. Sneak peeks soon.
What sorts of experimenting have you been doing lately?
Ellen Lindner
Comments Off on Digitally Printed Quilts
November 16, 2014
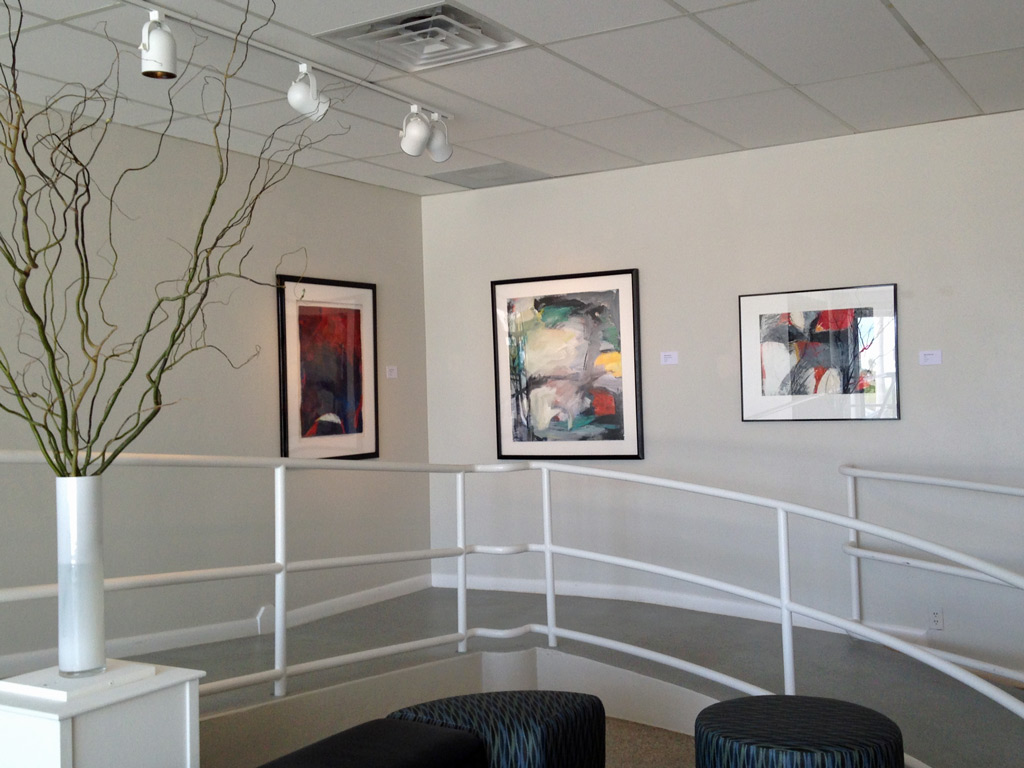
I really enjoy visiting art galleries and museums when traveling. But, lucky for me, there’s also some very interesting art in my own backyard.
A recent visit to the Foosaner Art Museum’s Education Center, brought me face to face with some great art!
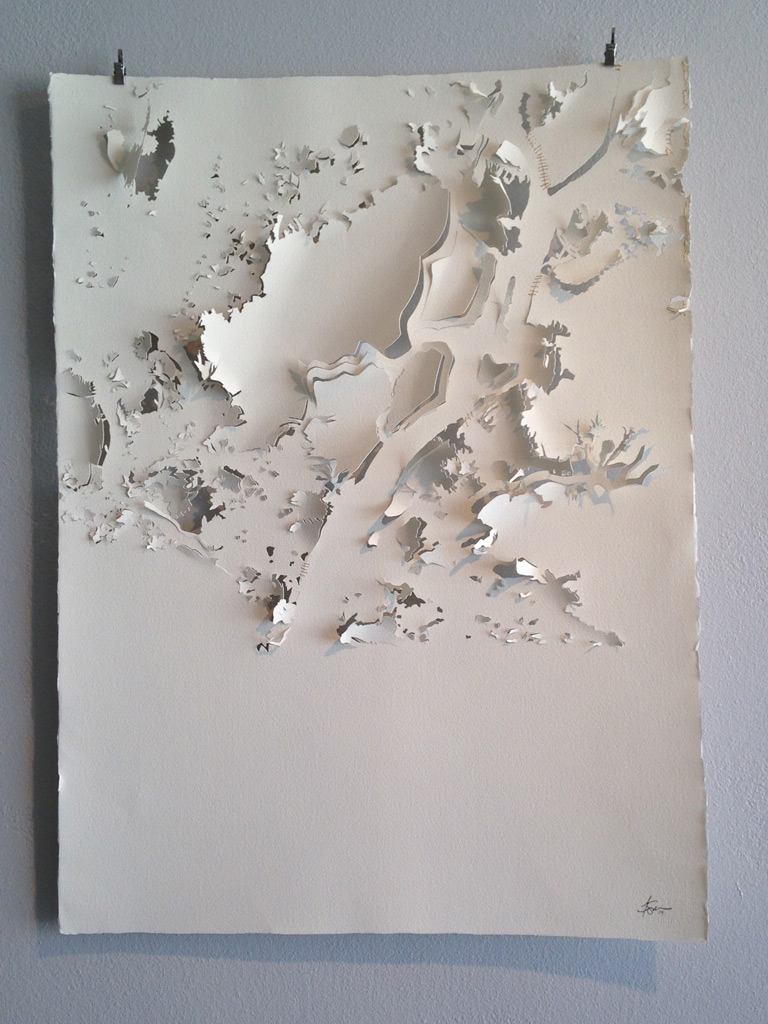
Like “Oak Shadow,” by Fahan Sky McDonough. The light, indeed, created beautiful shadows.
Click any image for a larger view

And here’s the detail shot. If you’ll click on it, you’ll see some of the gold thread she’s used.

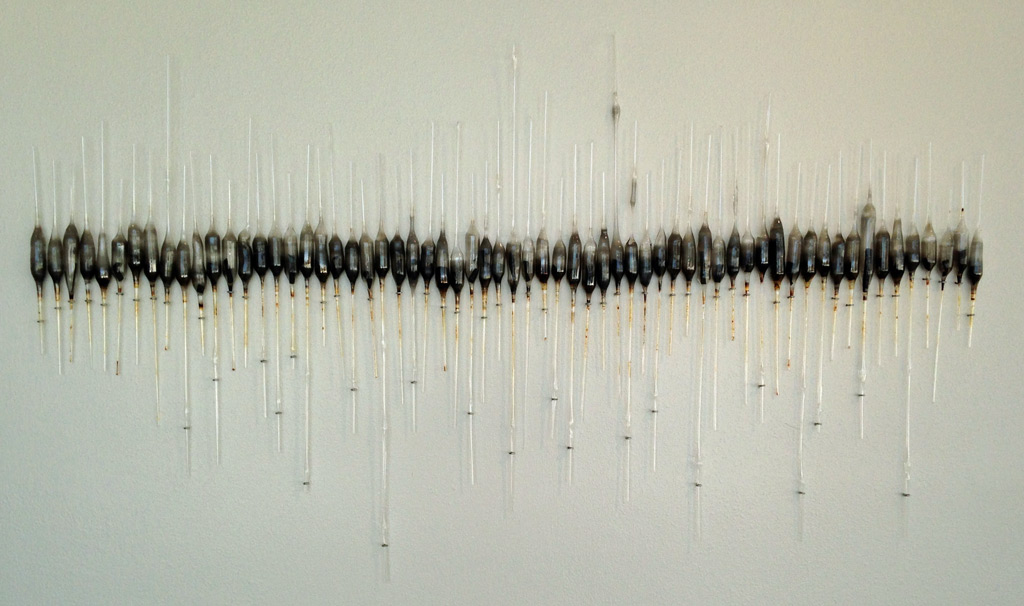
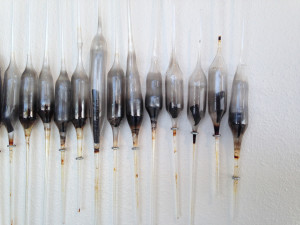
This next piece, “63 Notes” was really hard to photograph.
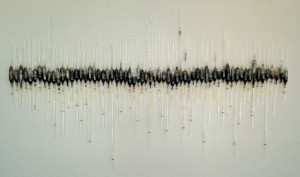
Click on this detail shot for a better idea.
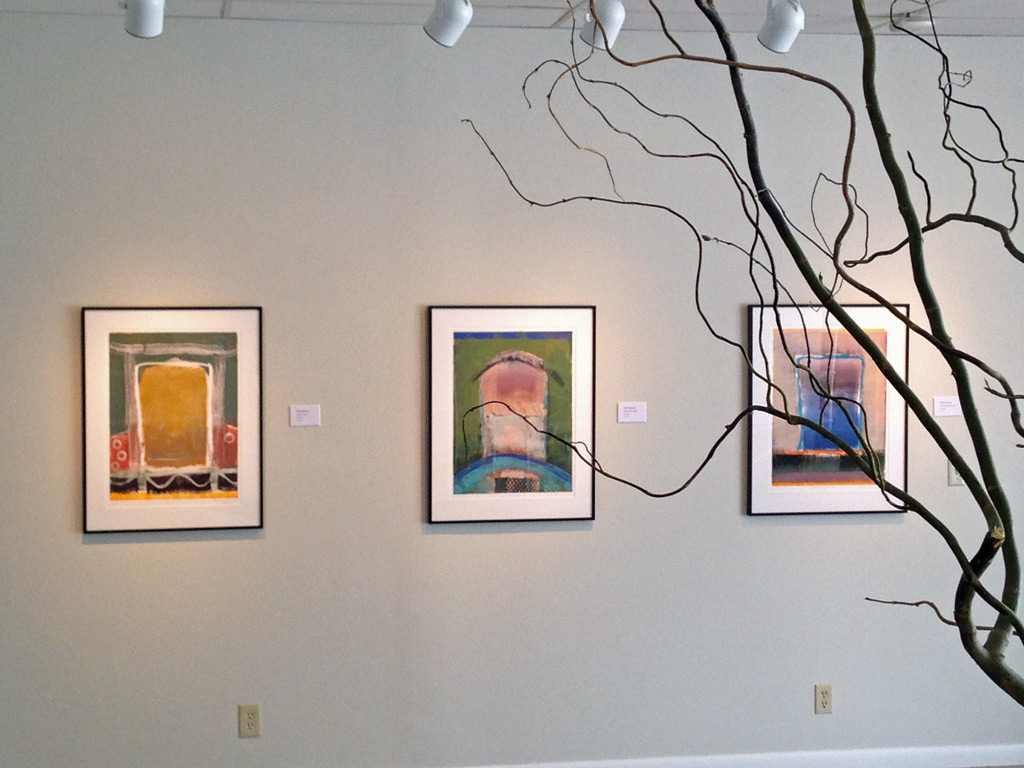
The adjacent gallery had work by Marlis Newman.


Although both galleries are tiny, it was definitely worth walking through the door!
What arsty things are going on in your neck of the woods?
Ellen Lindner
P.S. Here in Florida, November is perfect weather for outdoor art festivals.
Comments Off on Hometown Art
November 15, 2014
I’ll be teaching the debut session of my “Grow with the Flow” class on December 3rd, at Boutique for Quilters in Melbourne, FL. And the best part is that it’s basically free! It costs $15, but you get a $15 gift certificate for later use.
Click image for a larger view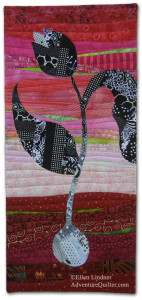
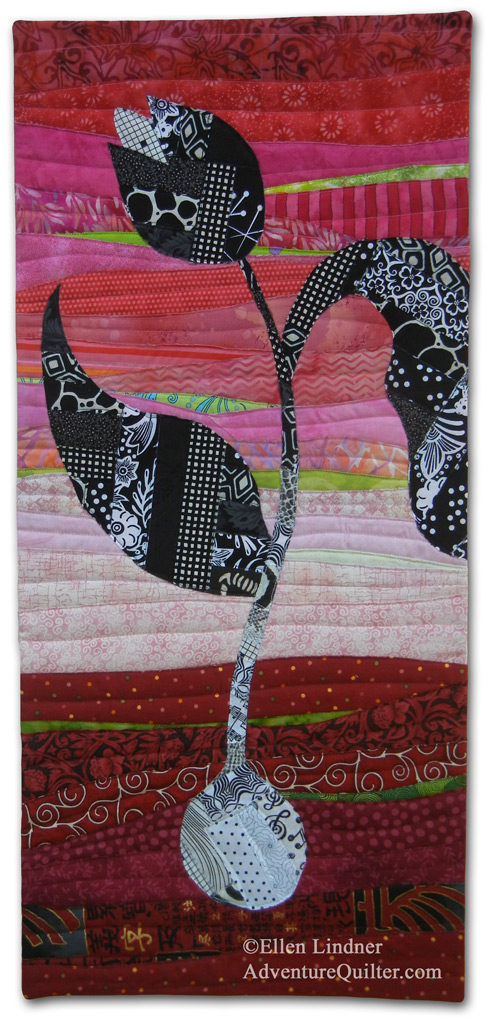
Grow with the Flow
6 hour class with sewing
Easy techniques and beautiful colors lead to this cute little sprout project.
– We’ll go with the flow and do some free rotary cutting for the background. SO easy and fast!
– Next, we’ll do some “Fussy Fusing” for the plant. It’s a technique for fusing lots of small pieces of fabric into one larger shape. Also easy and fast.
– Finally, you’ll learn how to finish your quilt with a facing.
A one day class with lots of growth. (Yes, pun intended.)
You can pay for the class online, but you’ll need to go by the shop to pick up your supply list and pattern.
Boutique 4 Quilters, 2945 West New Haven Ave., West Melbourne, FL 32904
321-768-2060, Boutique4Quilters.com
Hope to see you there!
Ellen Lindner
Tags:
Classes Comments Off on New “Free” Class in Melbourne, FL
November 12, 2014
“Pleakley!” That’s what my husband said, rather enthusiastically, when he first saw my latest quilt.
“Uh… huh?” I asked.
“You know, Pleakley! From Lilo and Stitch.”
And then I saw it.

He had seen the quilt upside down. And, well, it DID look like Pleakley! Do you remember him from the movie? Check this link and you’ll see what I mean.
Needless to say, my husband keeps me humble. And entertained.
Ellen Lindner
November 11, 2014
My new class, “Grow with the Flow” is now ready for bookings! I’ve made a sample quilt, created a pattern, and I’m ready to share my enthusiasm for the great techniques used in this little quilt. You readers helped me name it and the title is…drum roll please…”Dancing for Joy.”
Click any image for a larger view
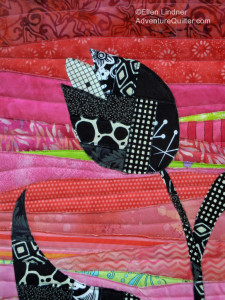
This was a really fun quilt to make and I think the class will be, too. In it students will learn how to free cut and construct the layered background, and also how to “fussy fuse” all the tiny black and white scraps into easy-to-manage shapes.
I’d love to come teach for your Florida guild. You’ll find the details here.
Ellen Lindner
P.S. You may be interested in the quilt which inspired the class.
November 9, 2014
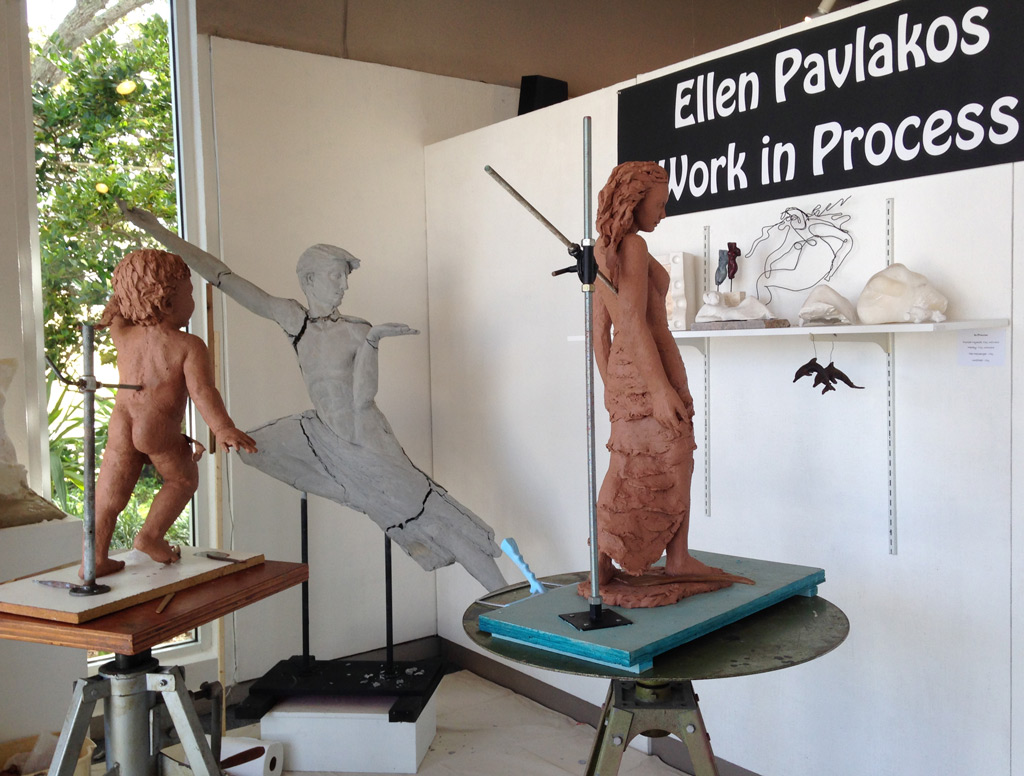
Ellen Pavlakos is a talented sculptor, whose work was recently featured at Fifth Avenue Art Gallery in Melbourne, FL.
Click any image for a larger view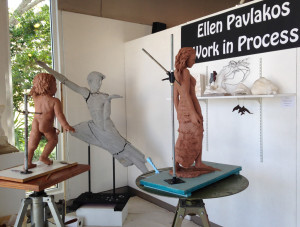
What made it especially great was that she had in-progress pieces on display, so you could get an idea of her process. As you can see, she first creates each piece in clay. From that a mold is created, which she uses to complete the piece in plaster, bronze, or other materials (that I don’t remember.)
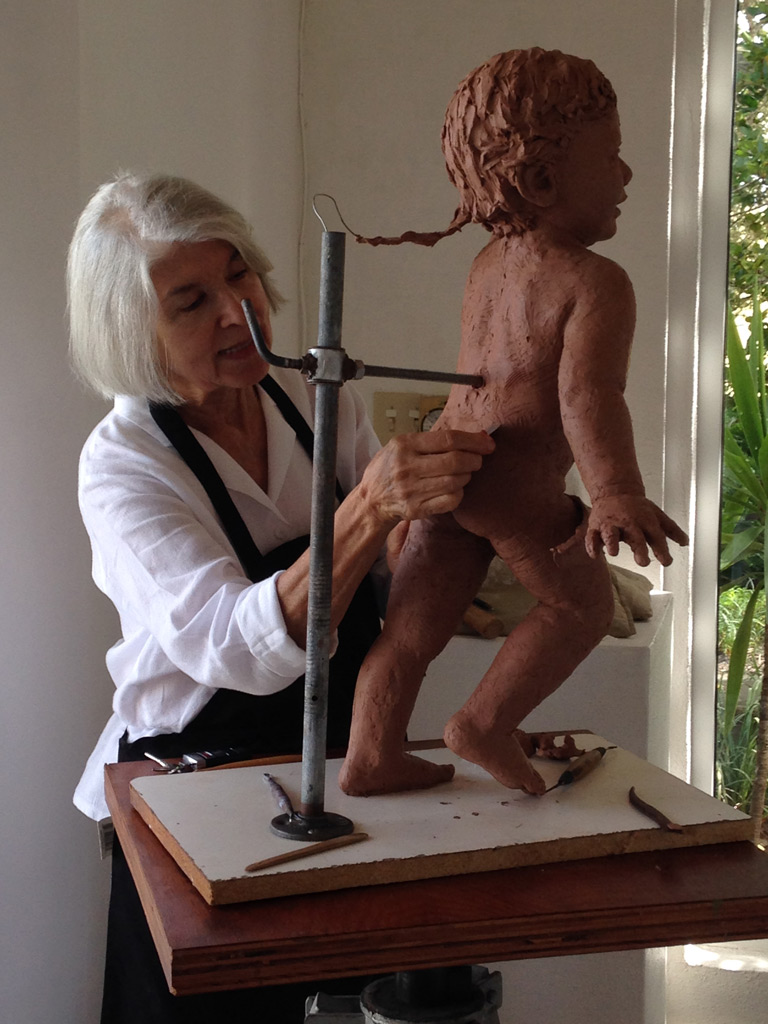
Her display was up for a month and once a week she returned to work on her two pieces and to interact with passersby. I love the sense of motion she has captured in the piece below! Just like a toddler: always on the go.

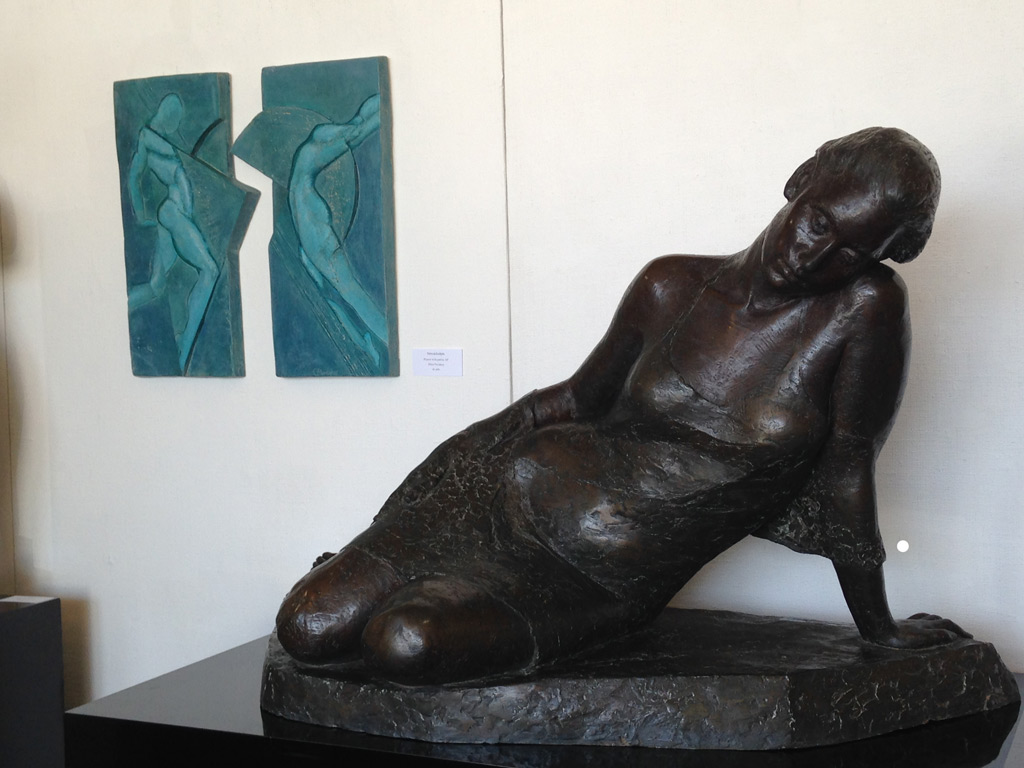
Most of Ellen’s work is figurative. The large piece below is bronze.


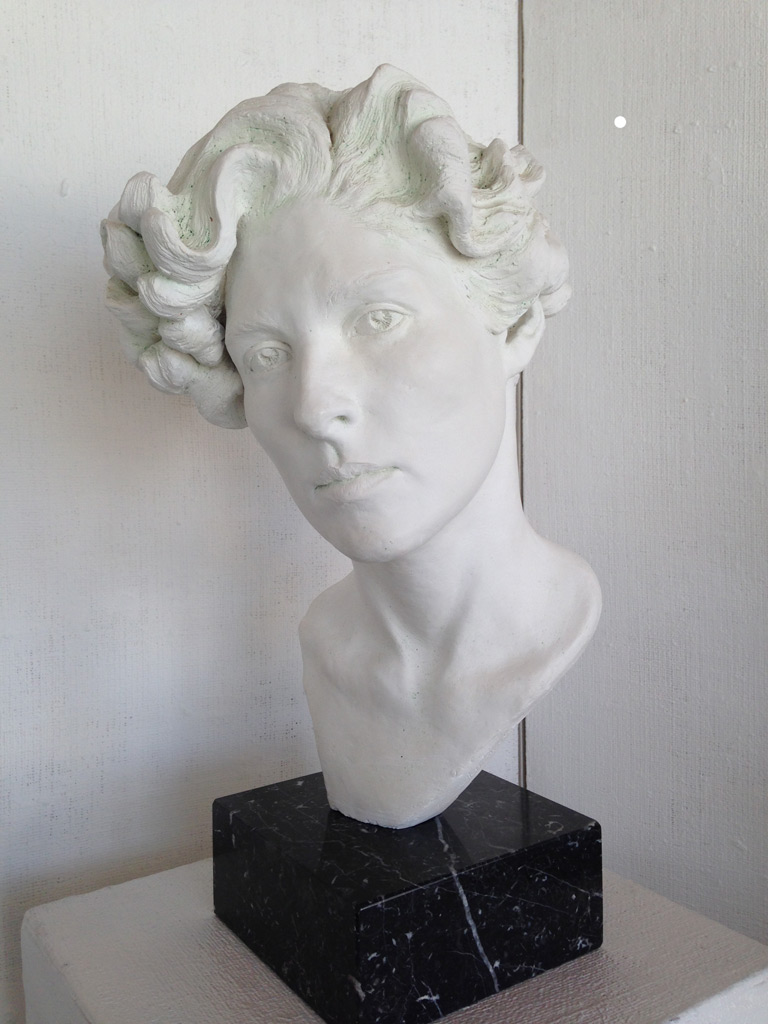
The piece above is plaster.
Ellen’s work is on display in this gallery rear round, and also on her website. Check it out when you’re in the area.
Ellen Lindner
P.S. I’m working on a figurative quilt right now, too. Sneak peeks soon.
Tags:
Other Artists Comments Off on Ellen Pavlakos “Work in Process”