A former online student, Diane Miller, invited me to participate in a blog hop. How cool is that? I love making connections online (and otherwise.) The Around the World Blog Hop is a MUCH IMPROVED version of chain letters, where each participant “tags” a few more to join in. You’ll see links to posts by my invitees at the bottom of the post, and Diane’s post here.
As part of the hop, each participant is asked to answer 4 specific questions. So here goes.
What am I working on?
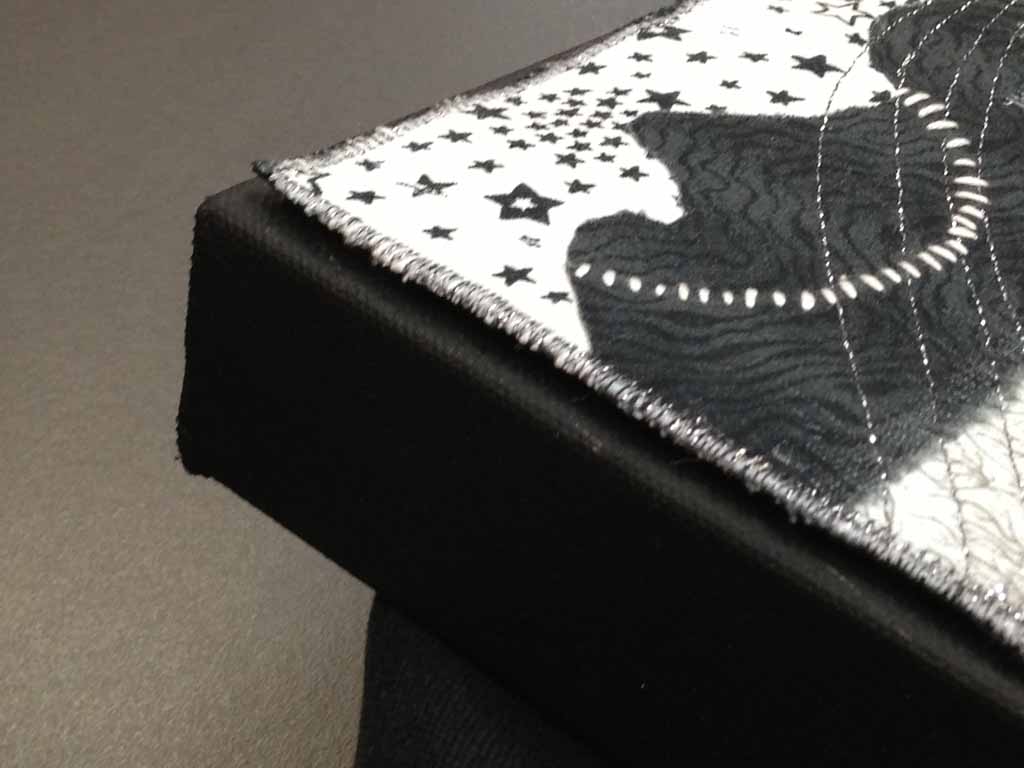
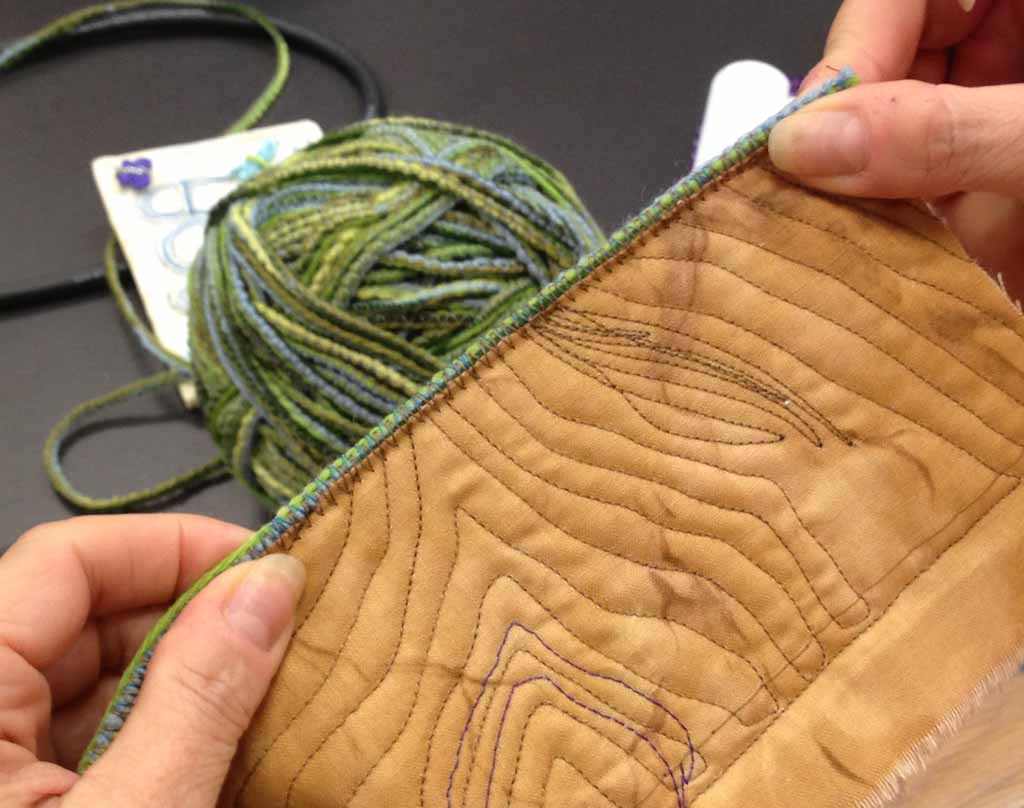
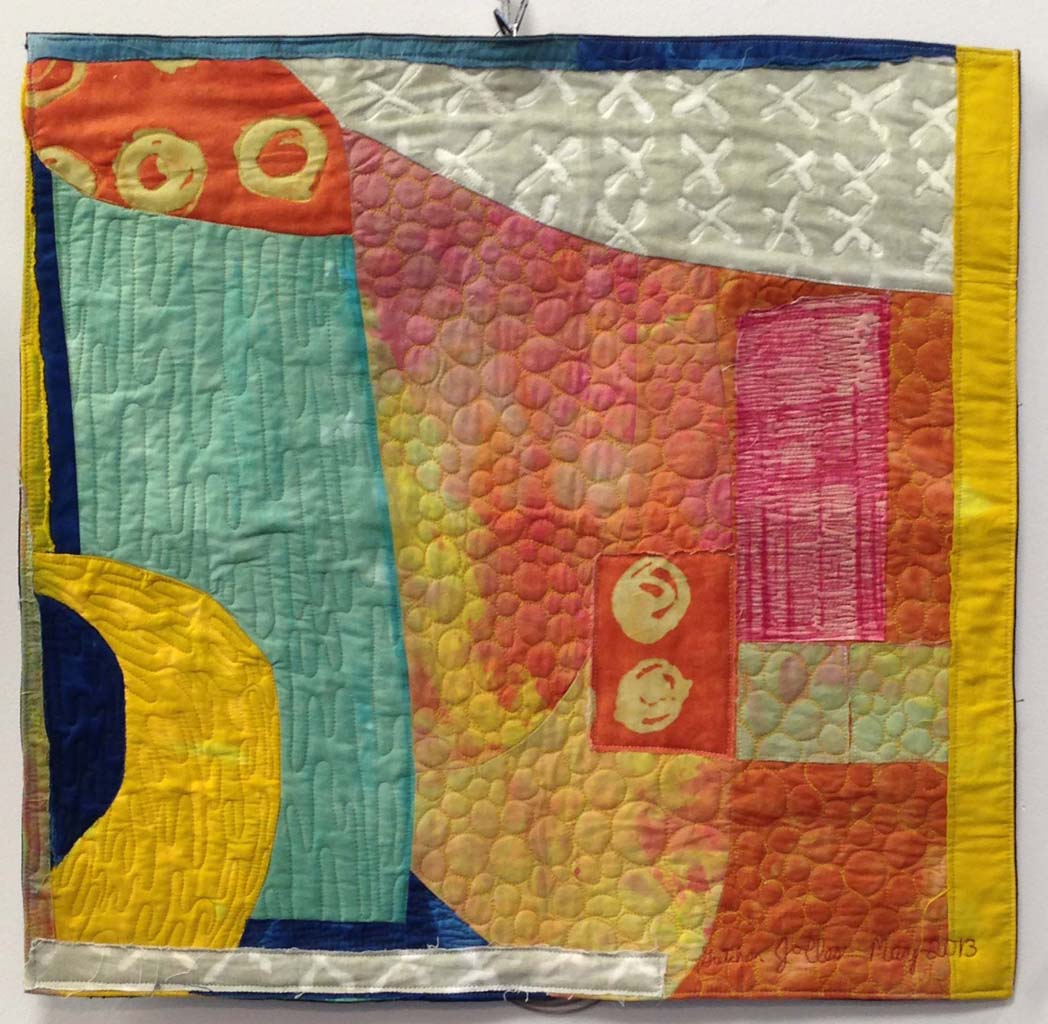
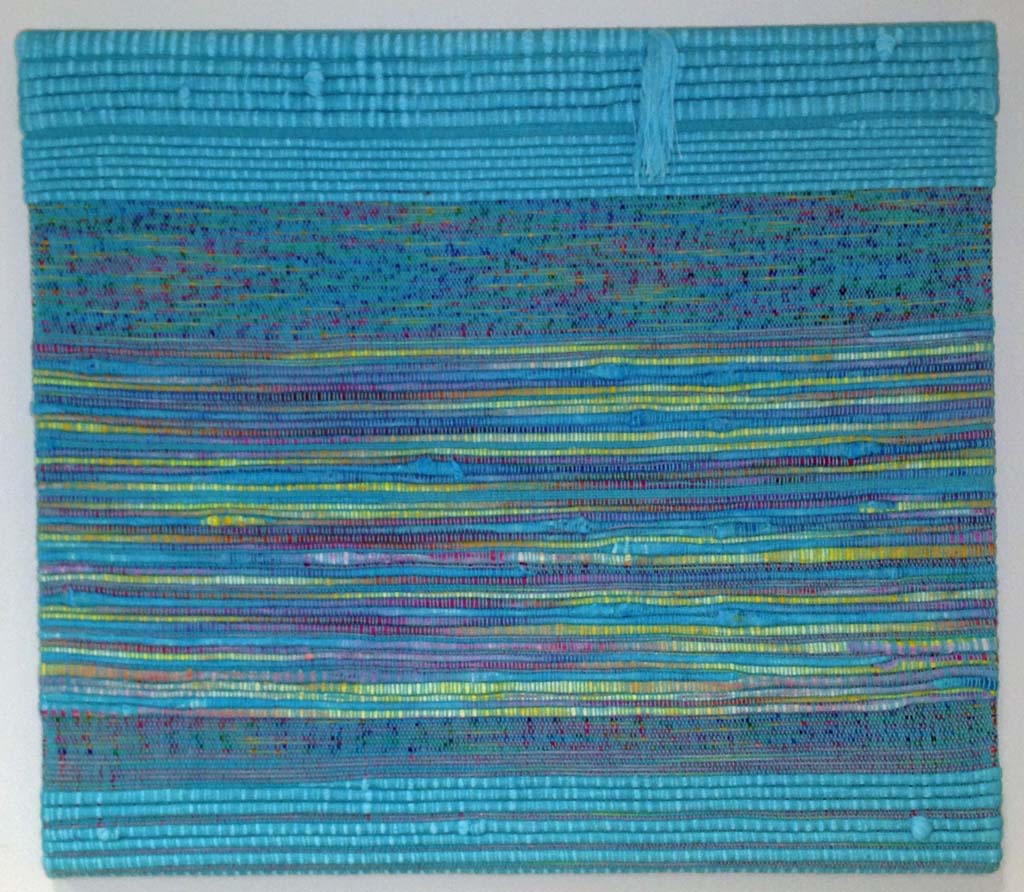
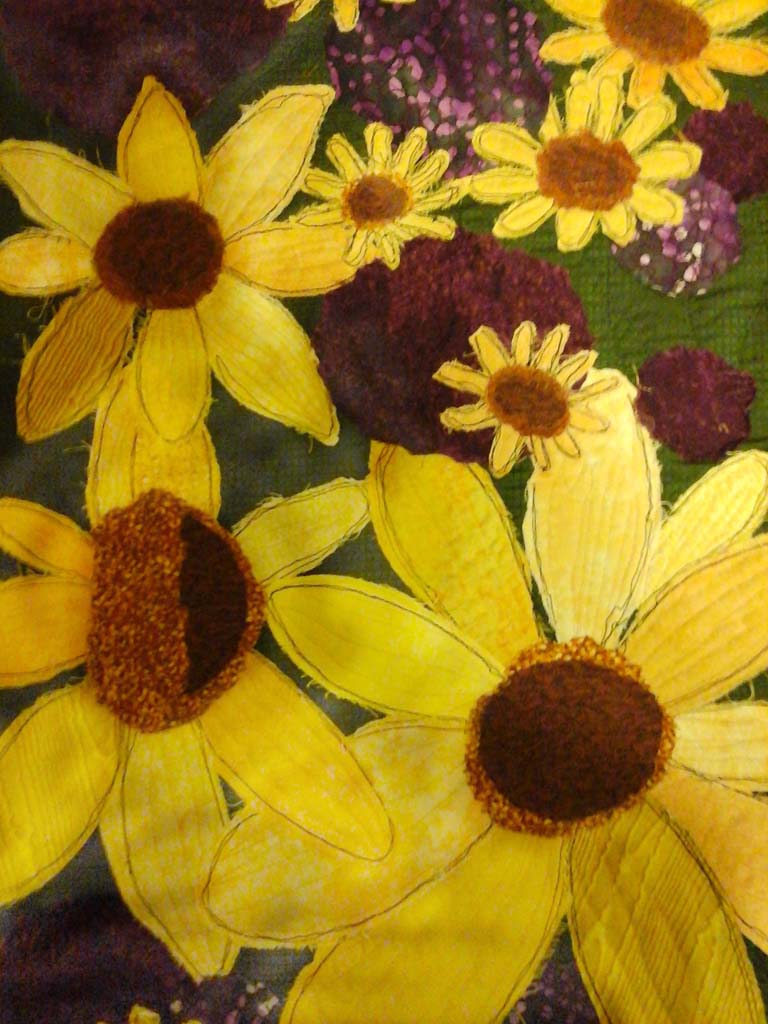
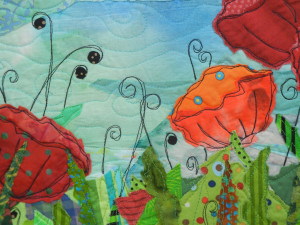
I love to experiment and today is no different. Lately, I’ve been trying out printing an image on fabric and then quilting it. It’s been working out really well.
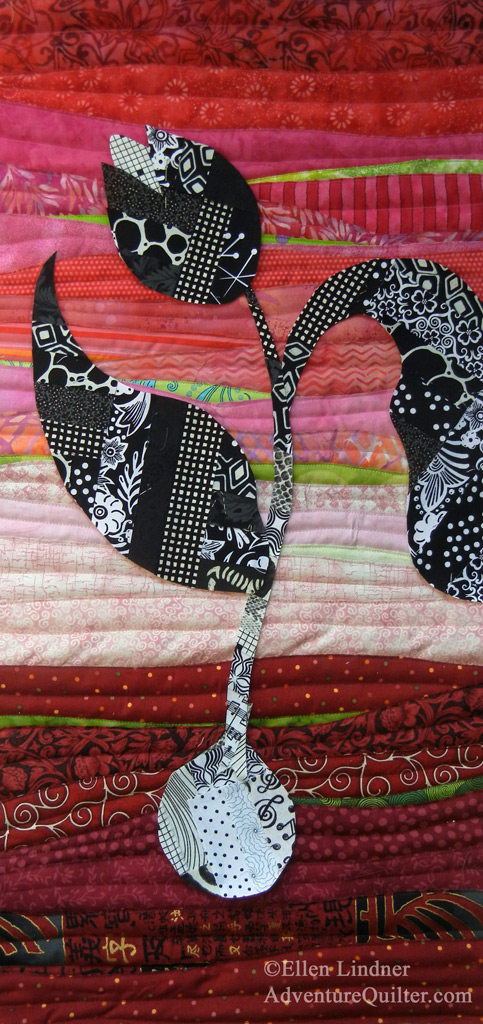
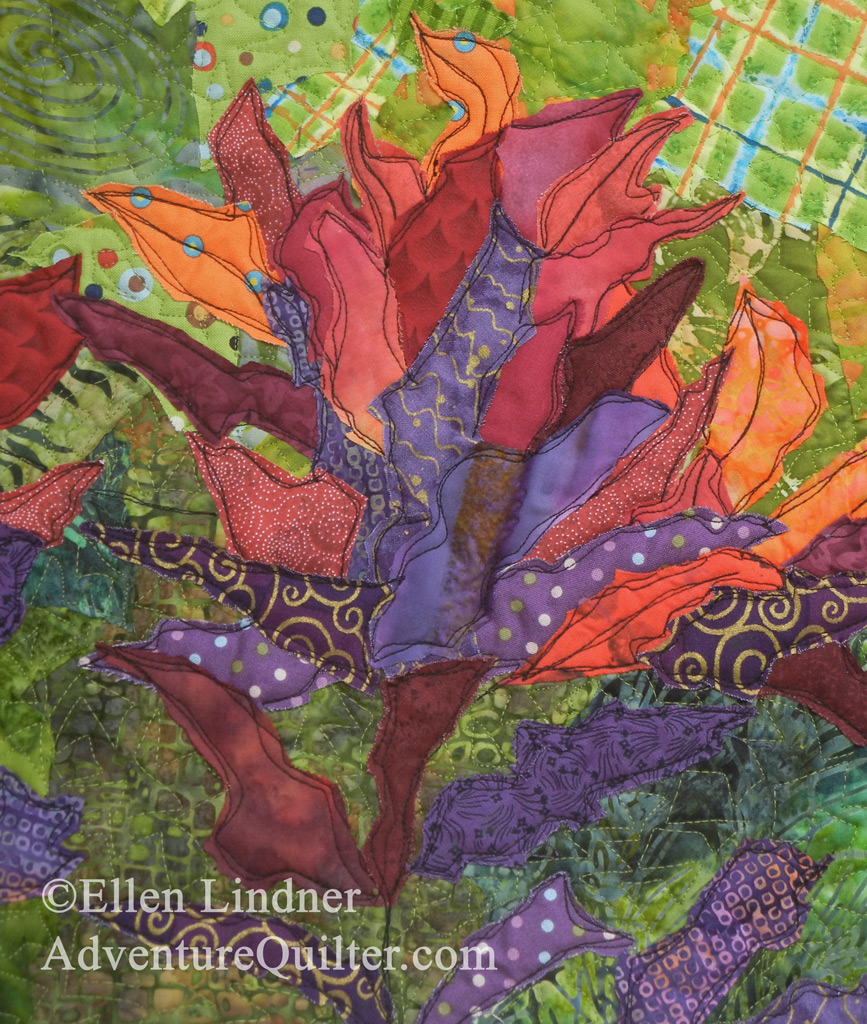
Here’s a detail shot of my latest results, the second piece made with this technique.
Click any image for a larger view
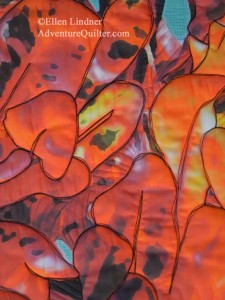
Curly Crotons Mosaic
Perhaps you can tell I’ve abstracted the image before printing. This appeals to me very much. Then, I’ve added back definition with the stitching.
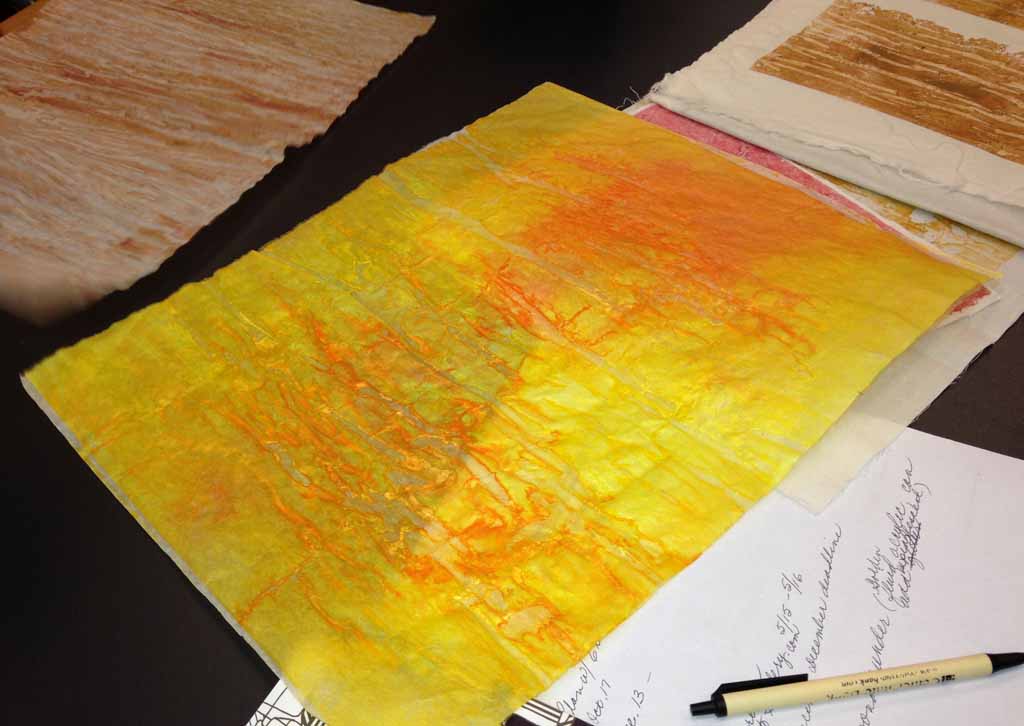
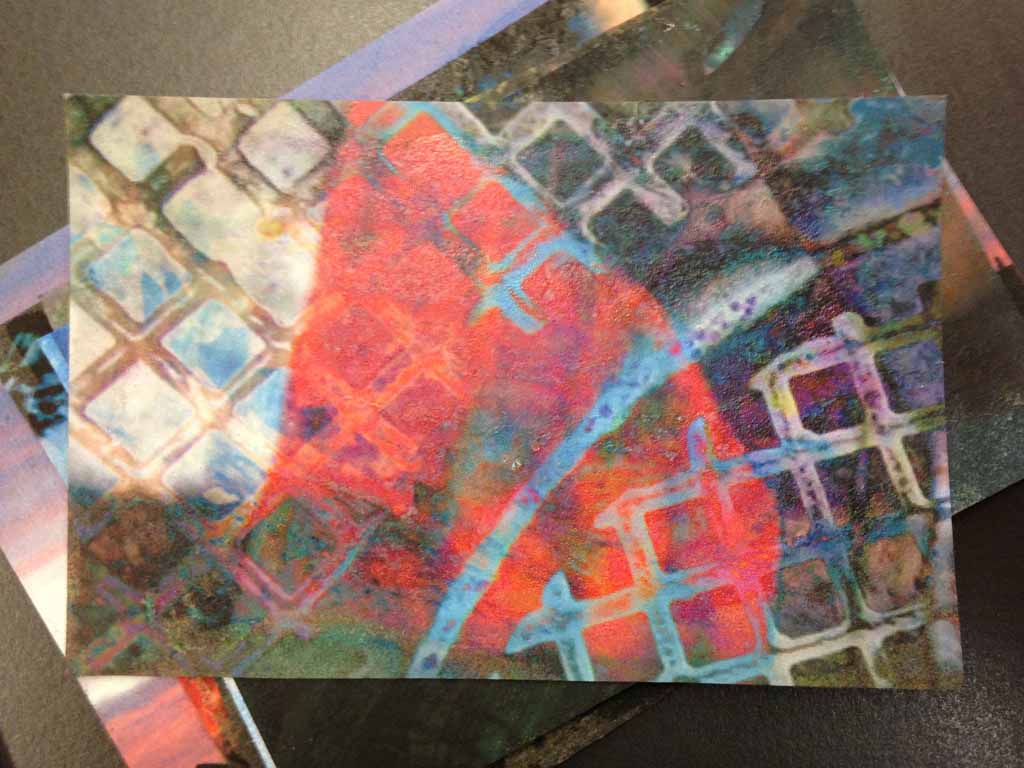
My mind is full of other things to try with this technique:
– Altering the image more before printing,
– Altering it after printing with water soluble crayons or pencils
– Adding hand stitching (running stich or full-fledged embroidery? Hmm. One of those fun questions to consider.)
– Cutting up the new fabric and using it in alternative ways. Or maybe using the fabric as the background for something else. Lots of options! But, maybe I’ll hold off on that for a while, since I’m itching to return to my usual style and methods.
Thus, my variation to that question: What do I USUALLY work on?
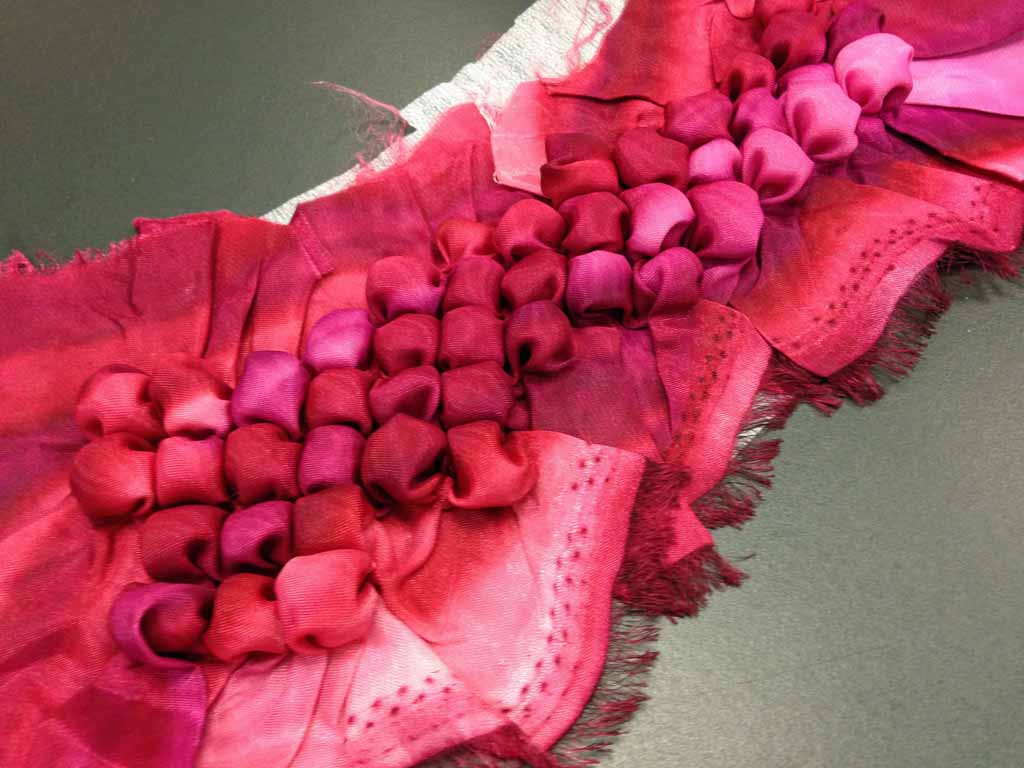
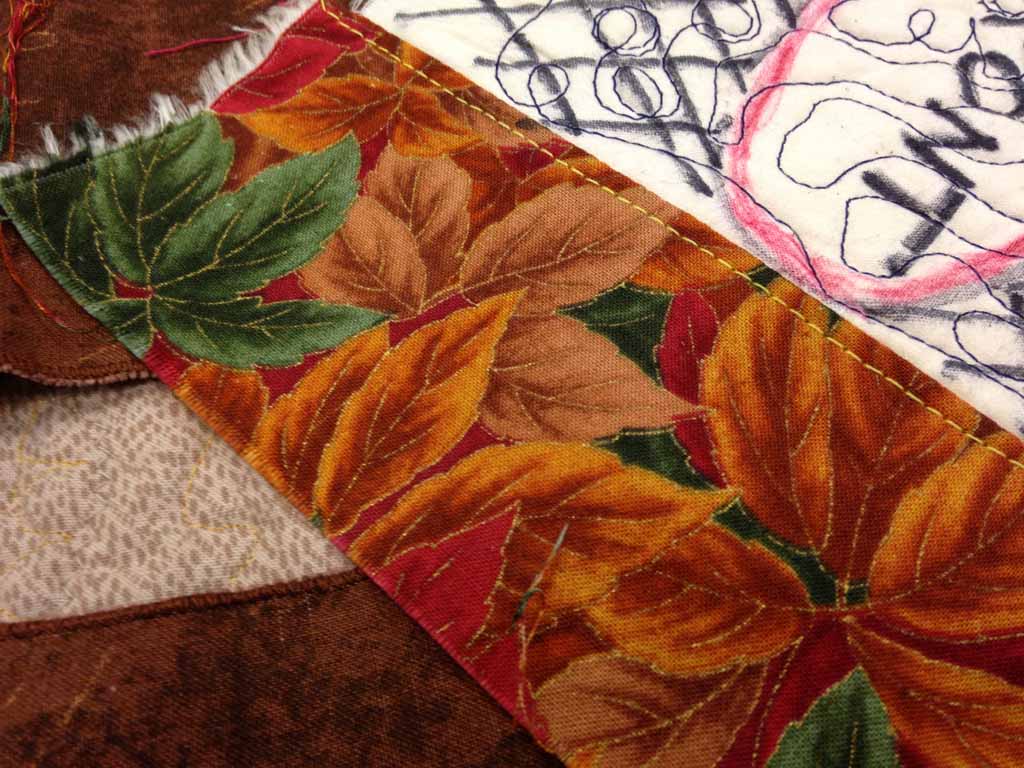
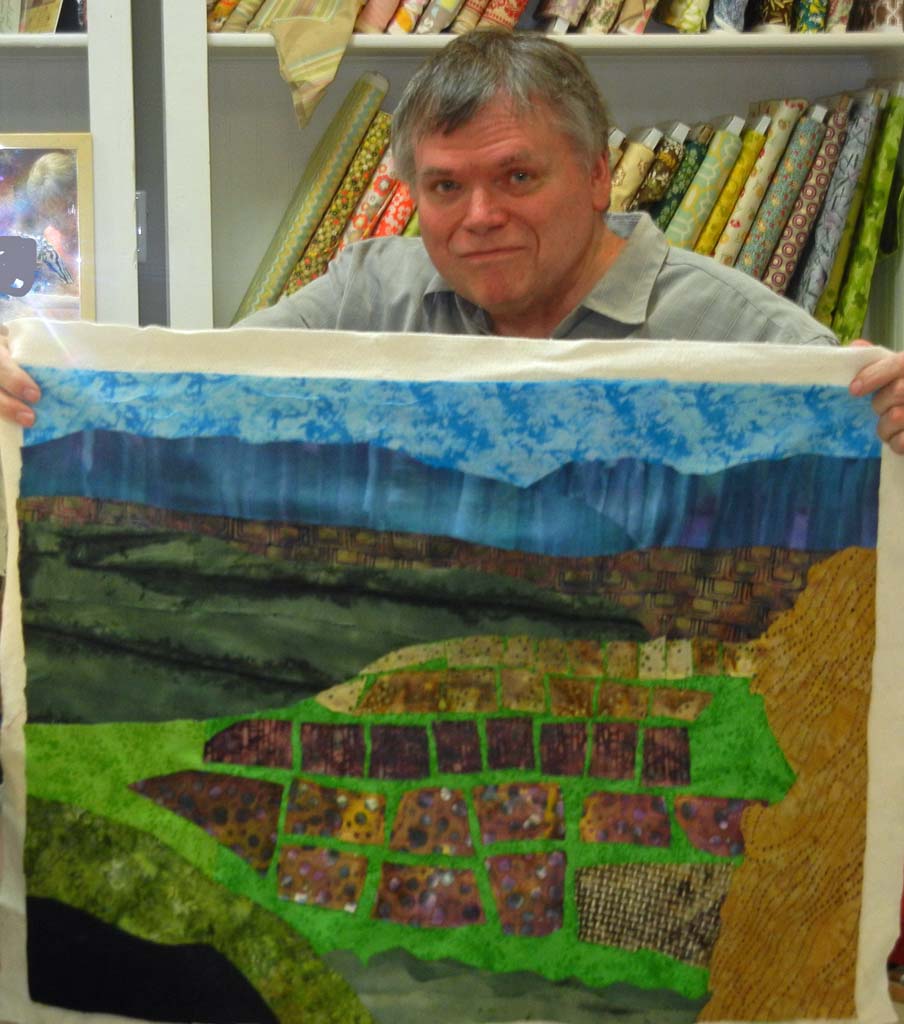
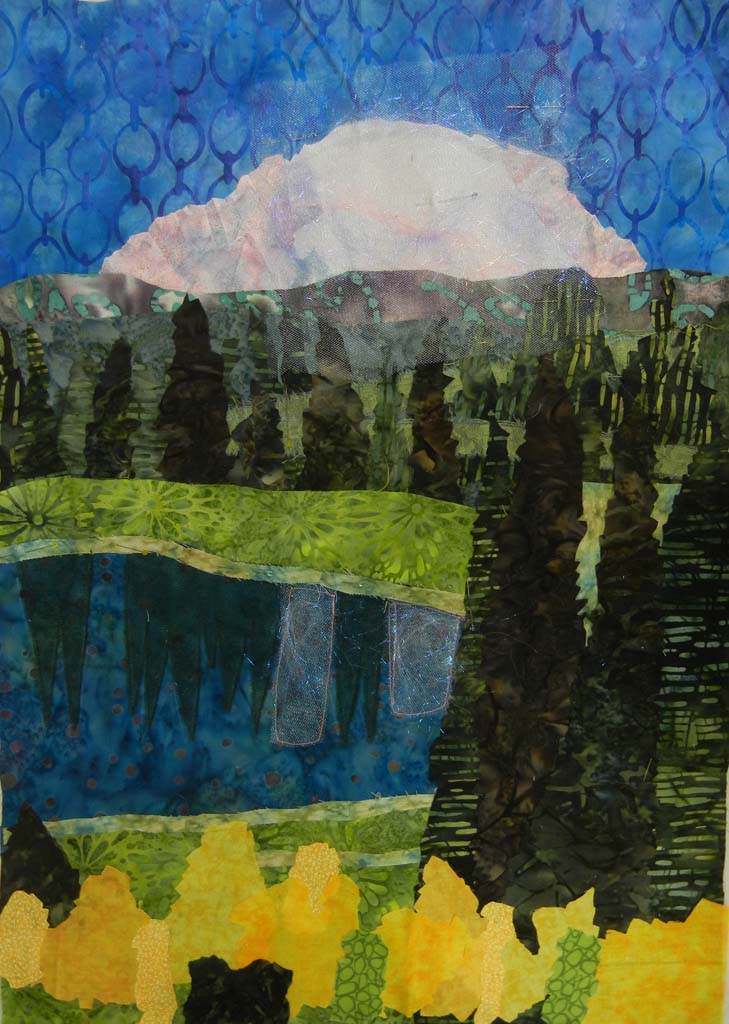
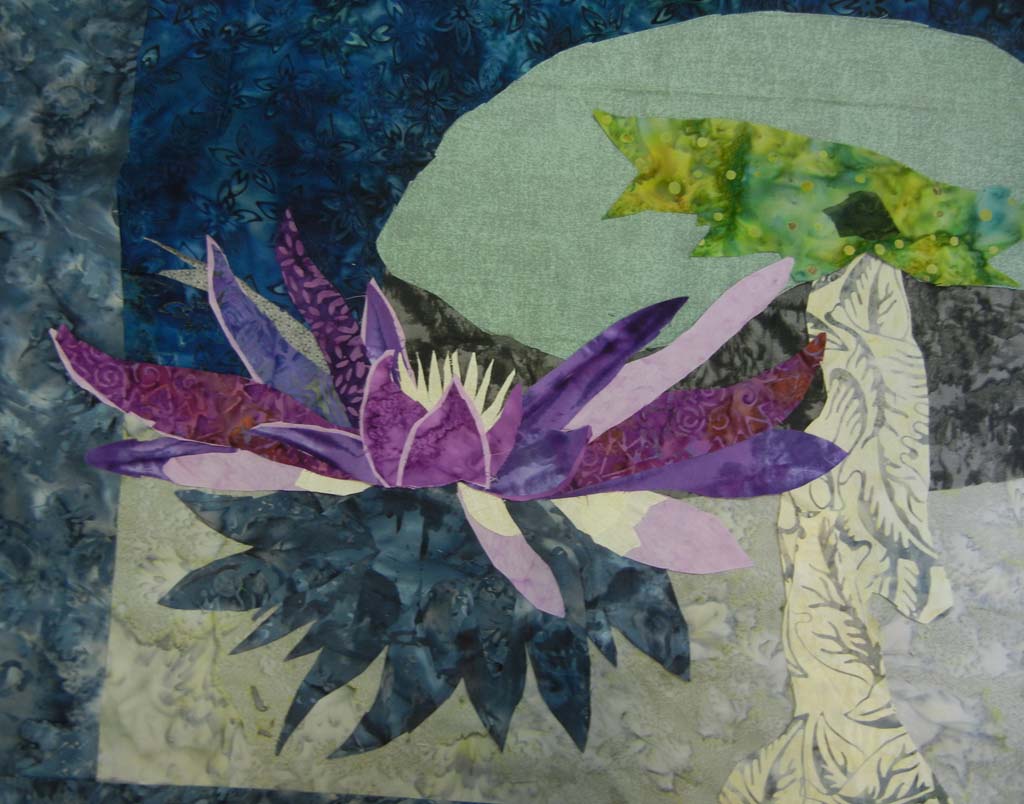
The bright colors, interesting shapes, and strong contrast of Florida foliage are extremely appealing to me. Typically, I depict them very loosely, in a collage fashion. Here’s a recent example.
Click any image for a larger view

Summer in the South 41h x 38w, $1900
How does my work differ from others of its genre?
– I like to interpret my subjects very loosely.
– I use lots of jagged-cut pieces of fabric, layered to create a composition.
– I mix a wide variety of fabric patterns and scales.
– In general, I don’t use fusible web.
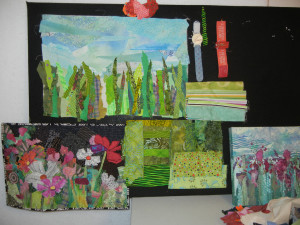
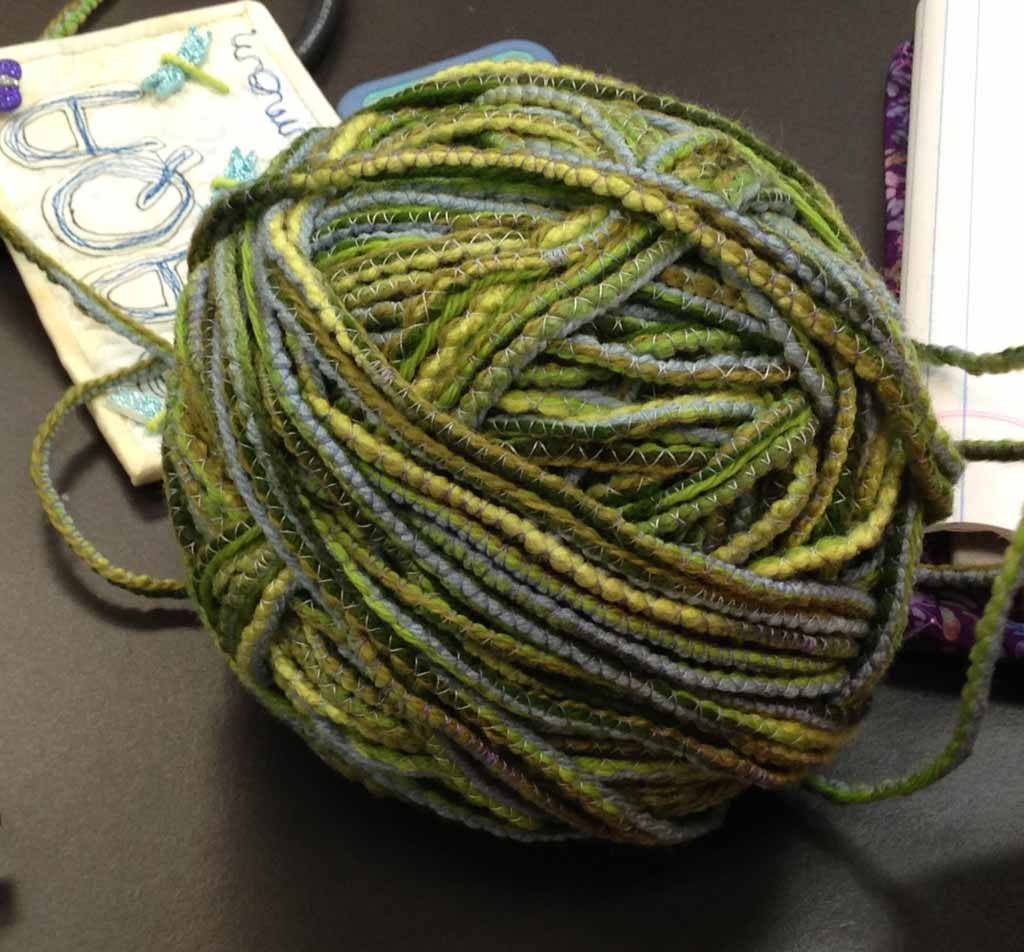
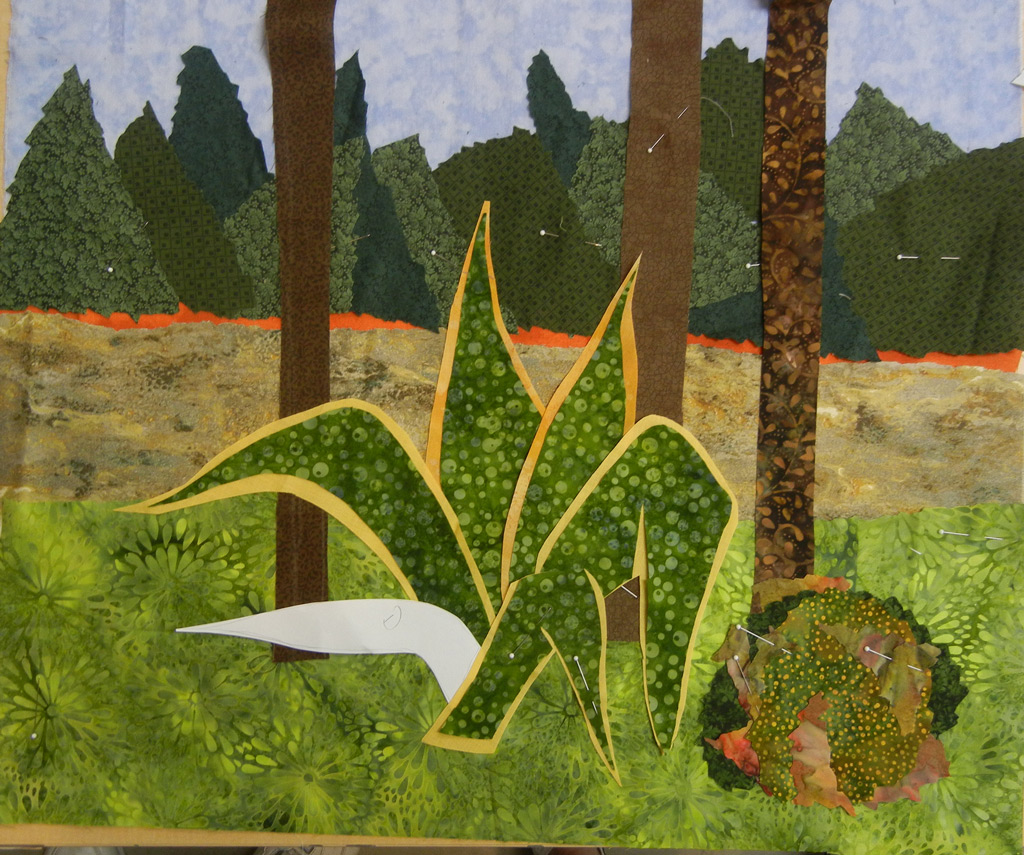
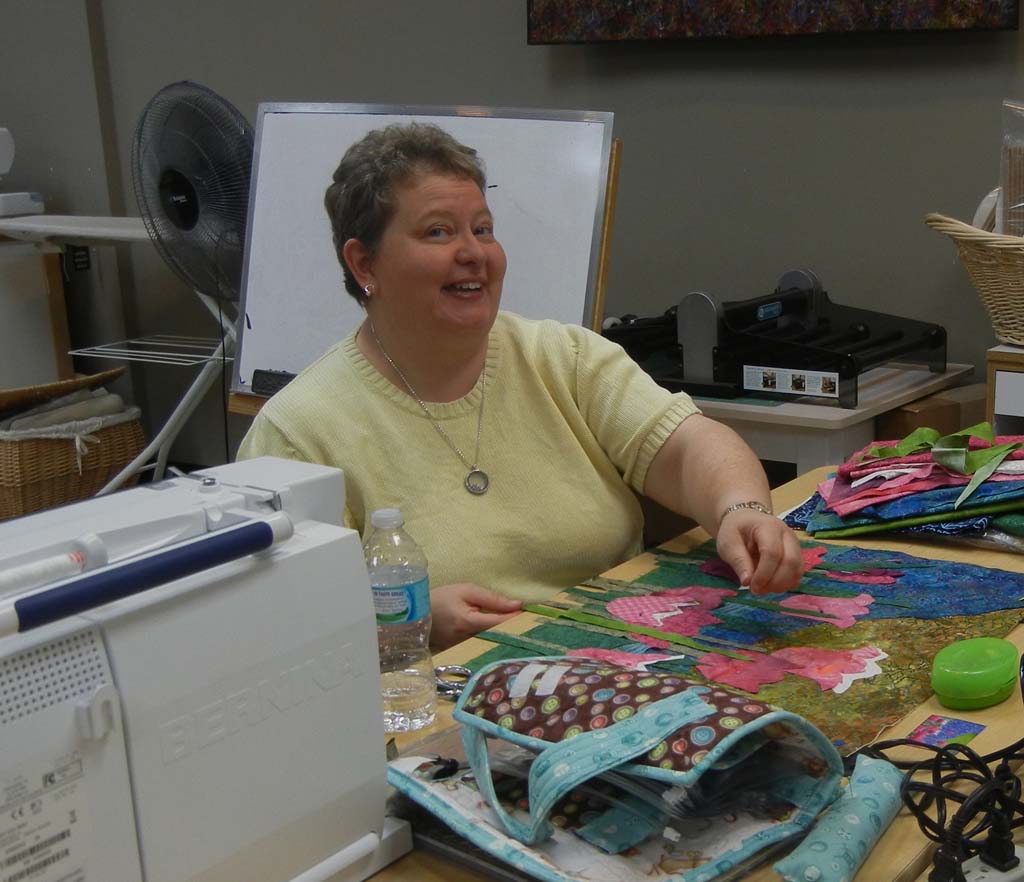
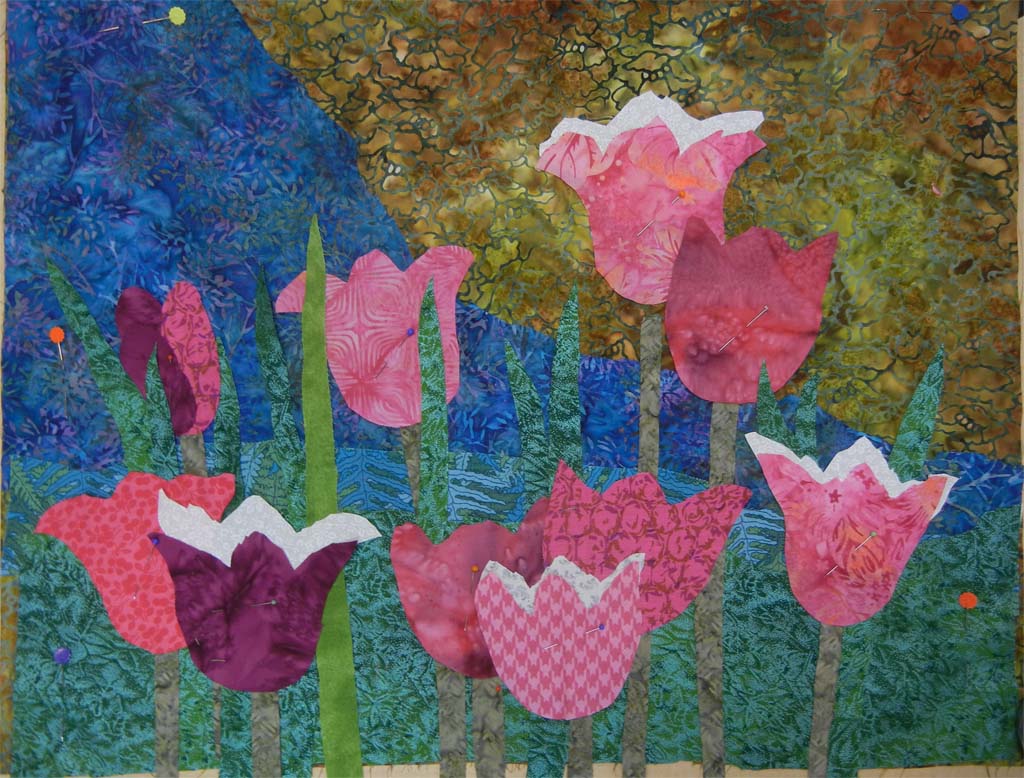
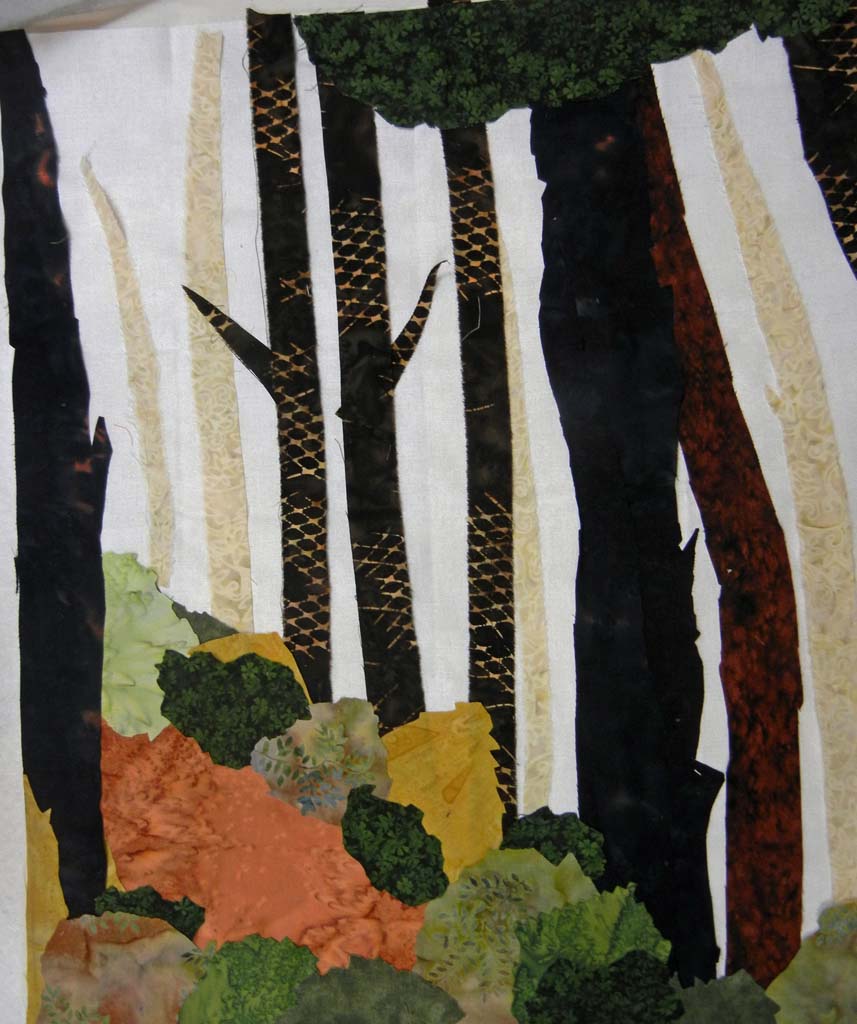
Referencing earlier works, while creating grass for the top quilt.
Why do I create what I do?
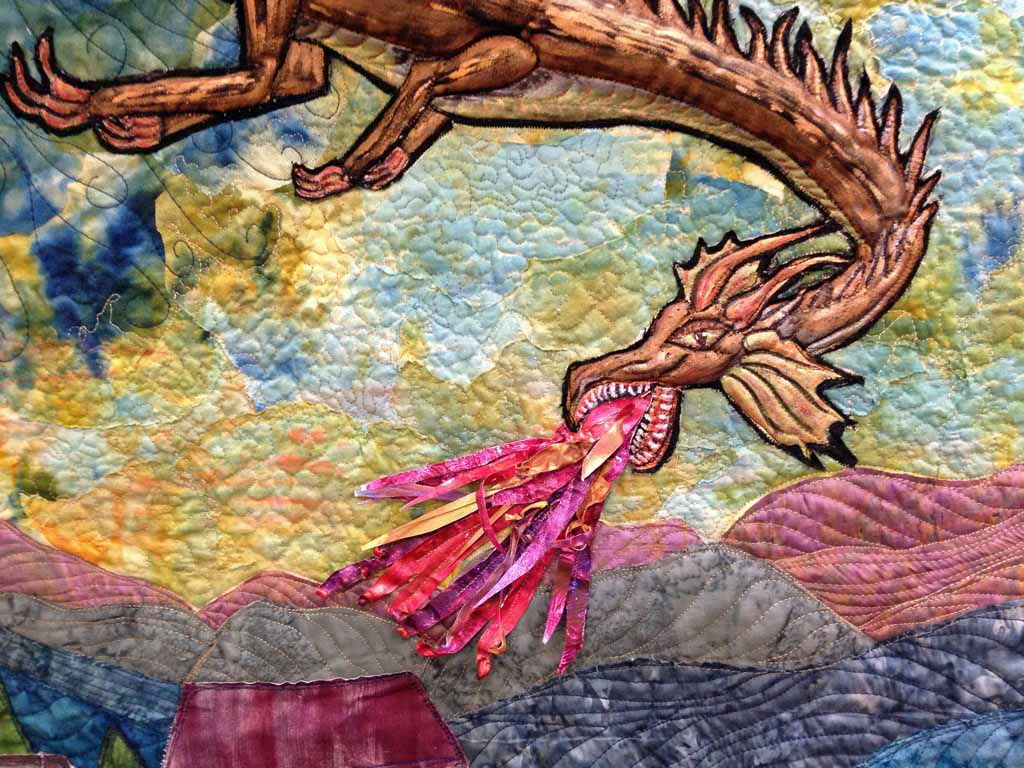
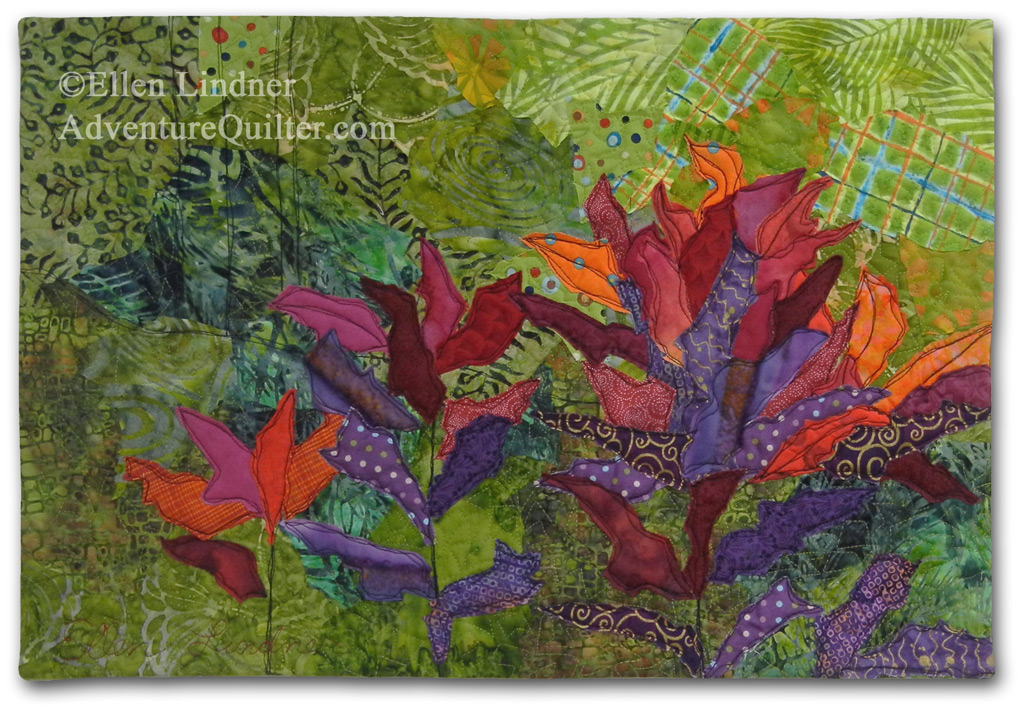
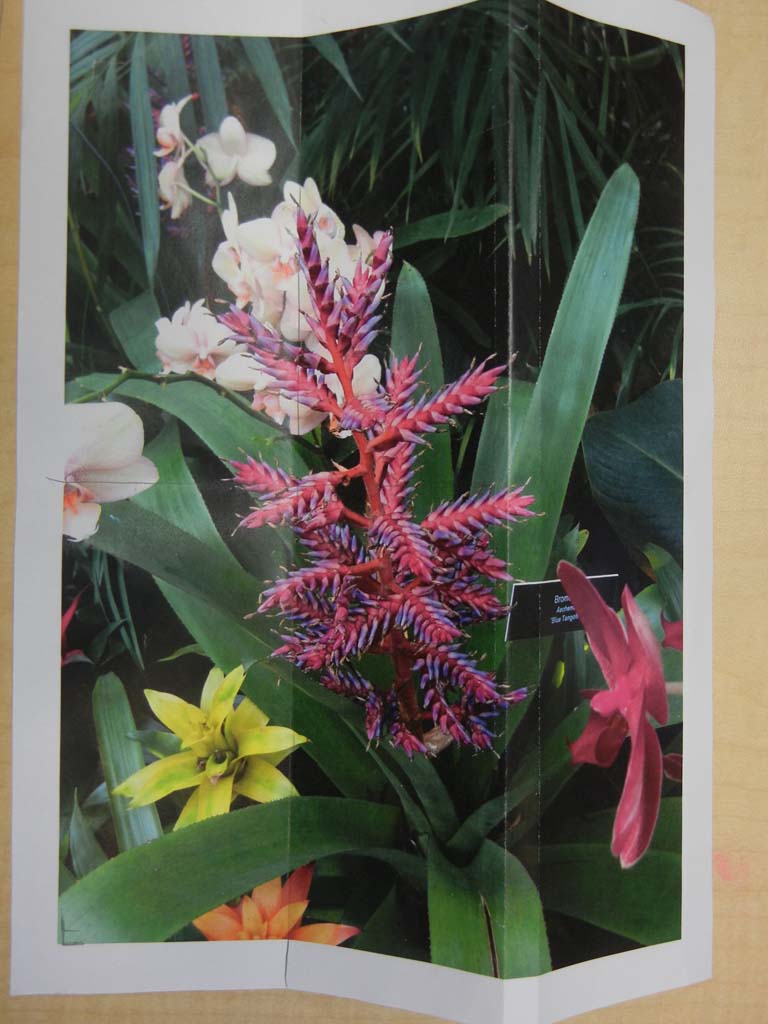
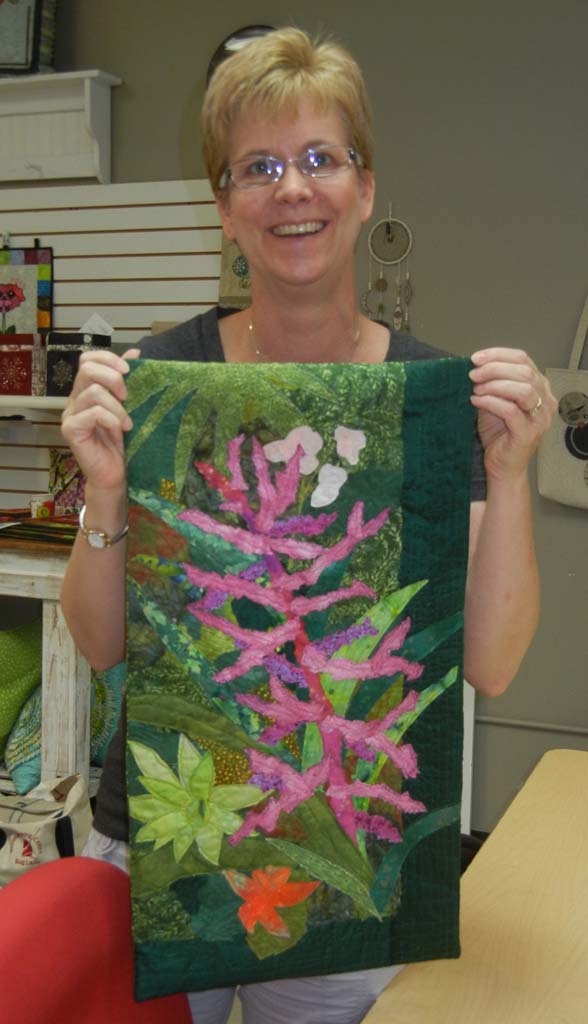
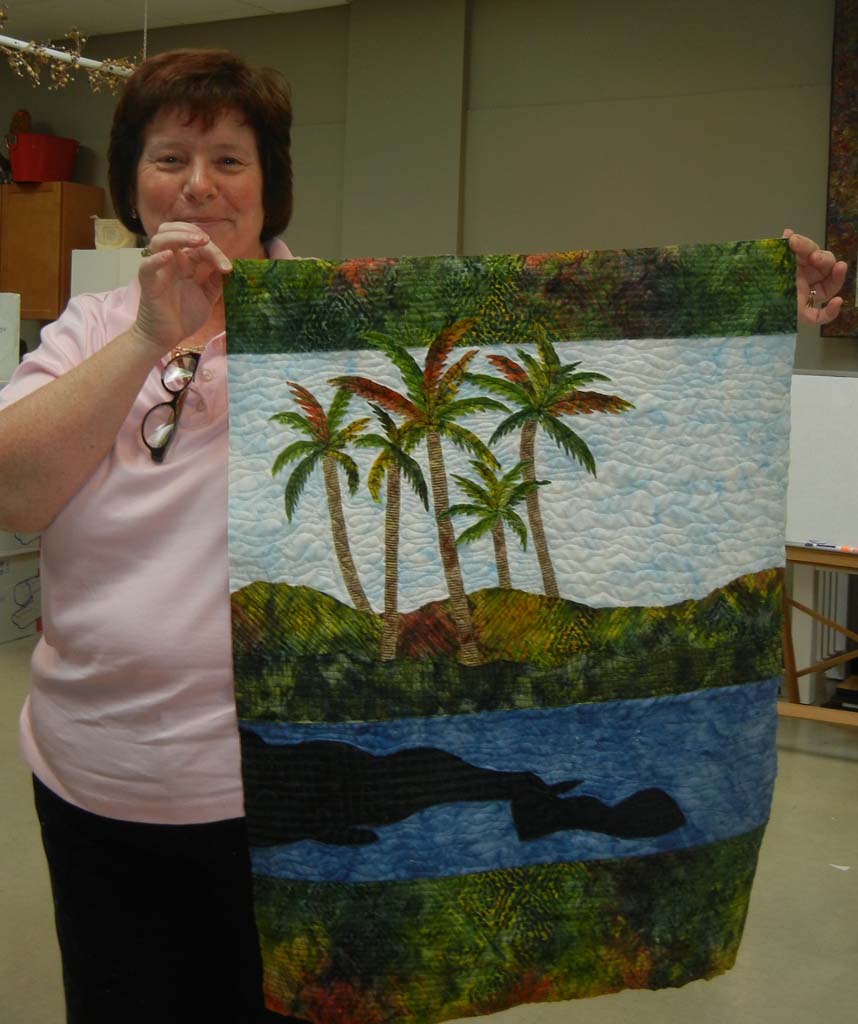
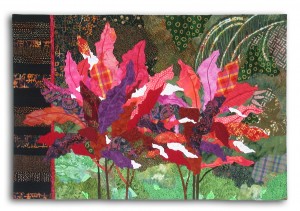
Because my inspiration excites me and I want to show it off! With Ti Plants A-Glow-Glow, below, I want to enthusiastically ask viewers:
– Did you notice the way the sunlight washes out parts of the leaves to pure white?
– And the stained glass effect of the veins when backlit?
– And what about the contrast between bright leaves and darker ones in the foreground? Isn’t that dramatic?
All of these attributes were there in real life. I just played them up and called attention to them. It’s EXHILIRATING!
How does my creative process work?
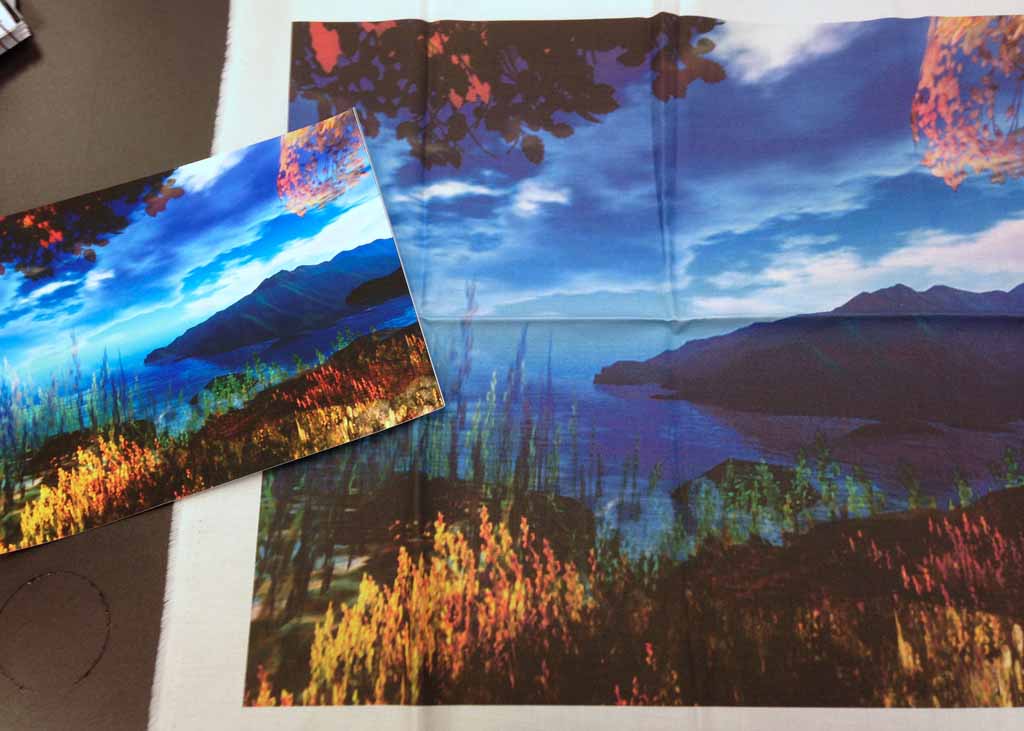
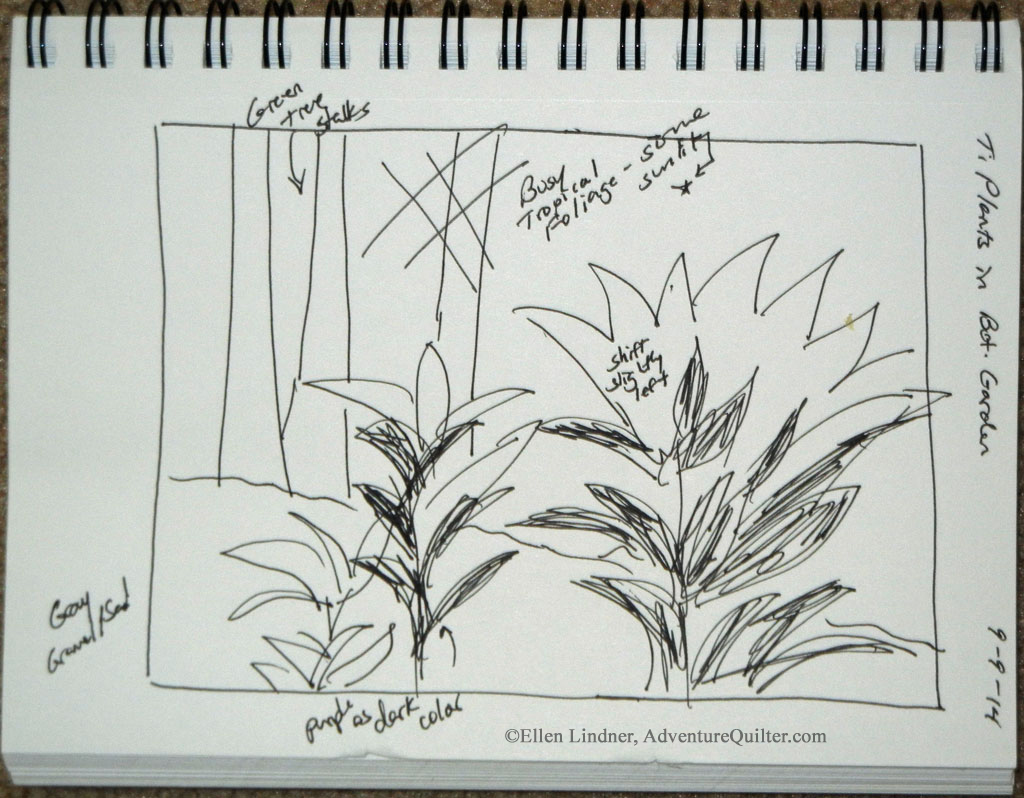
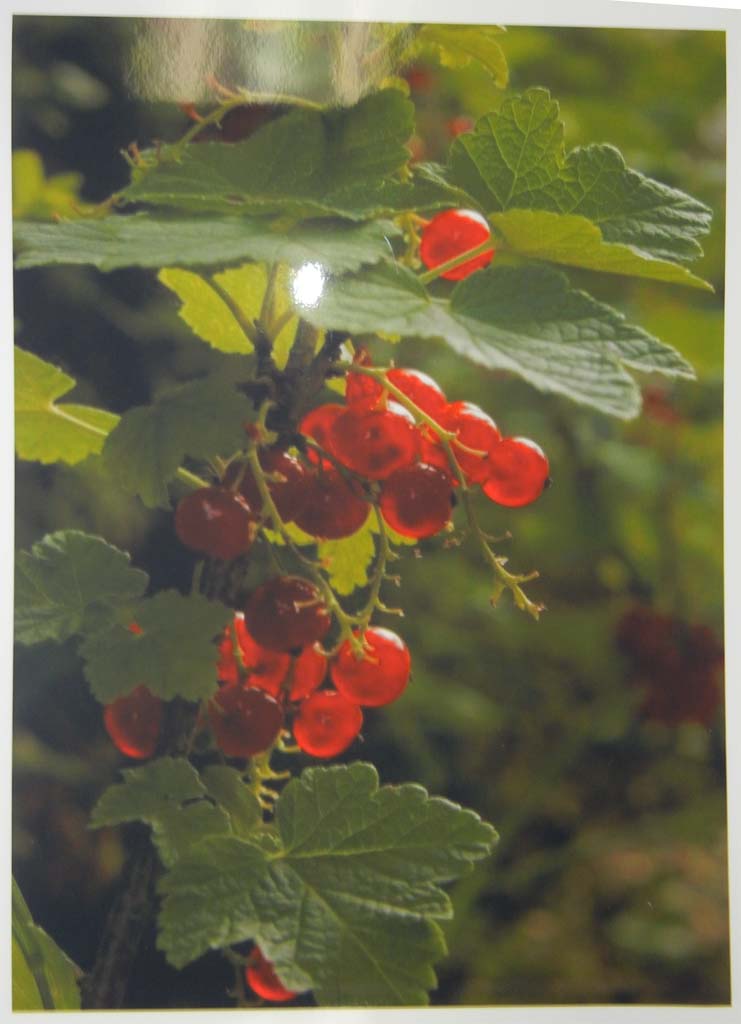
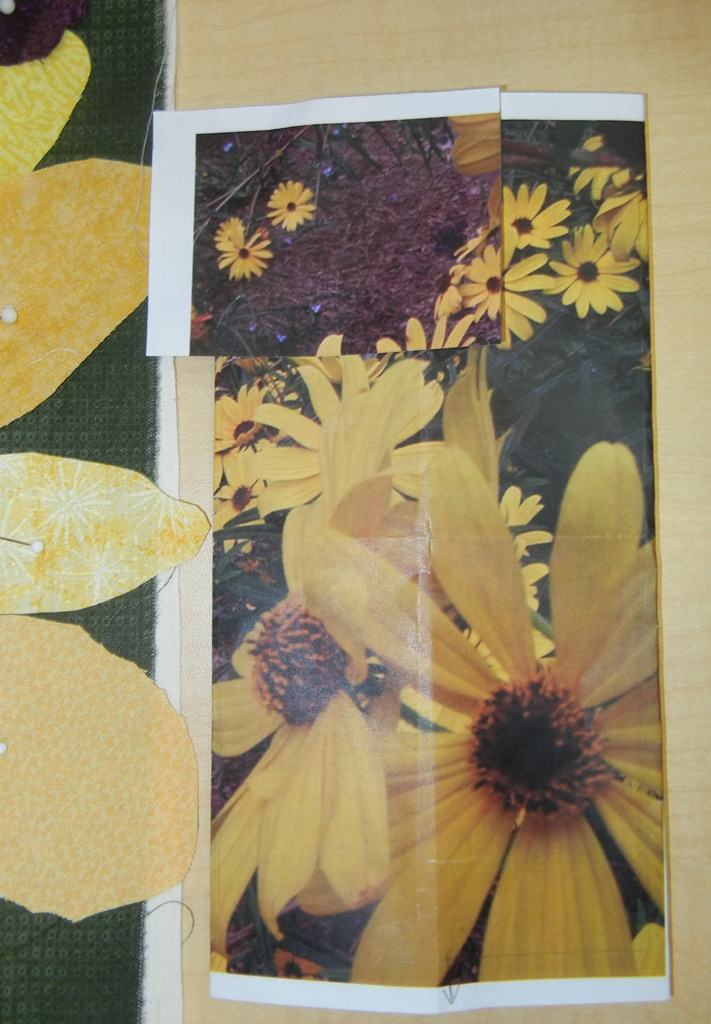
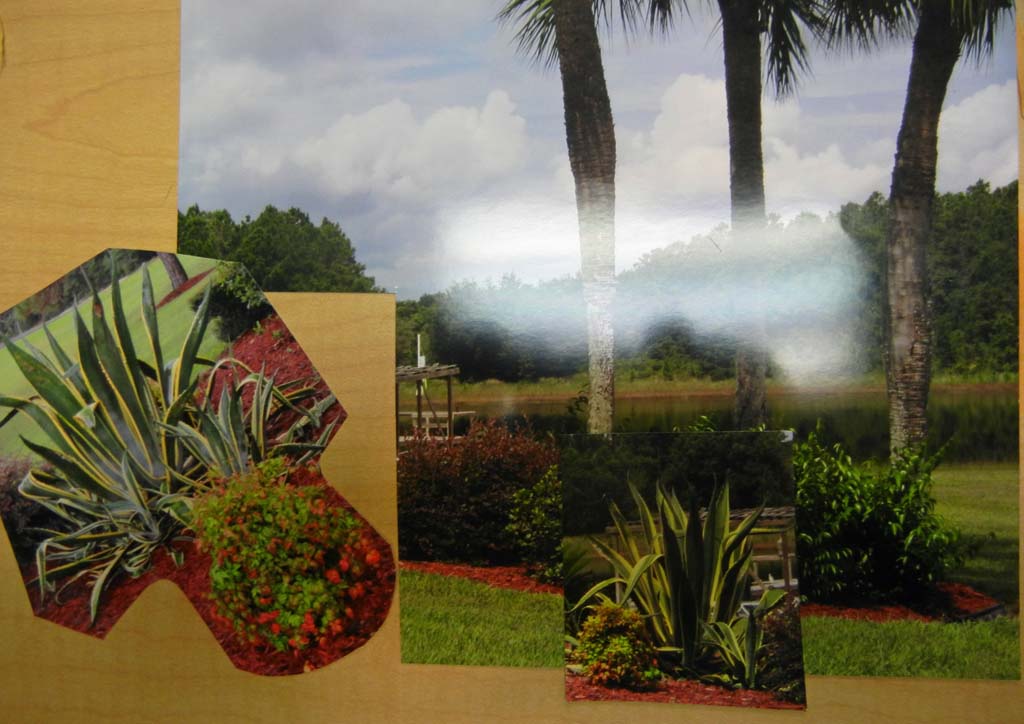
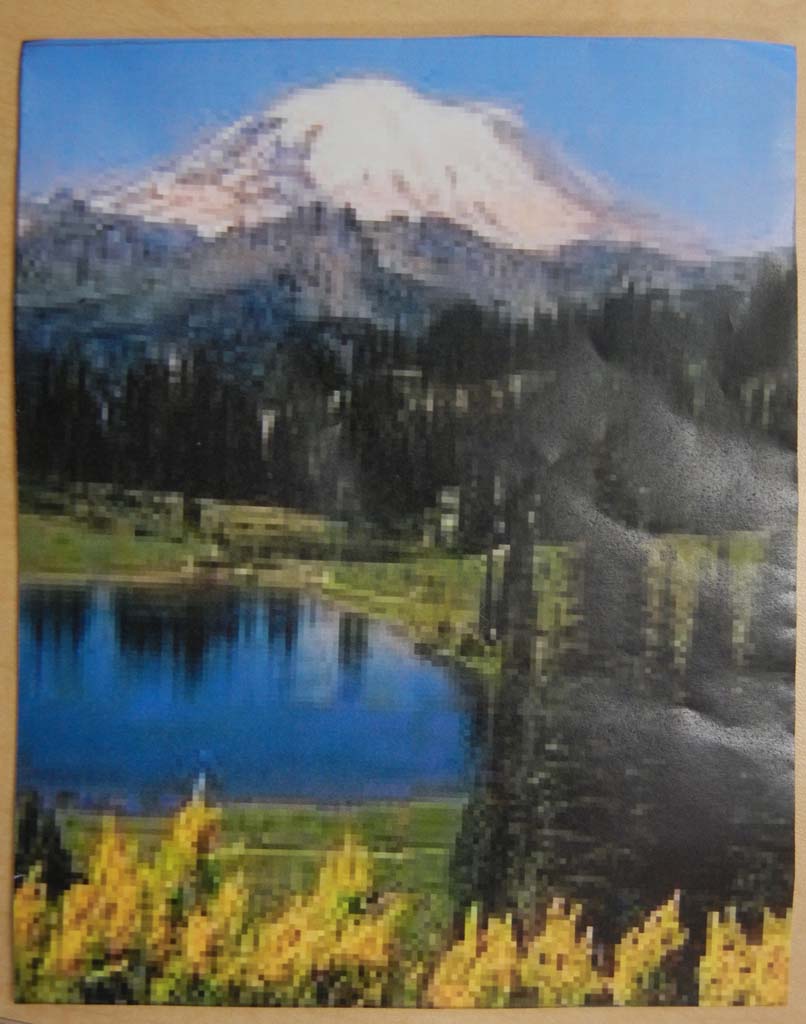
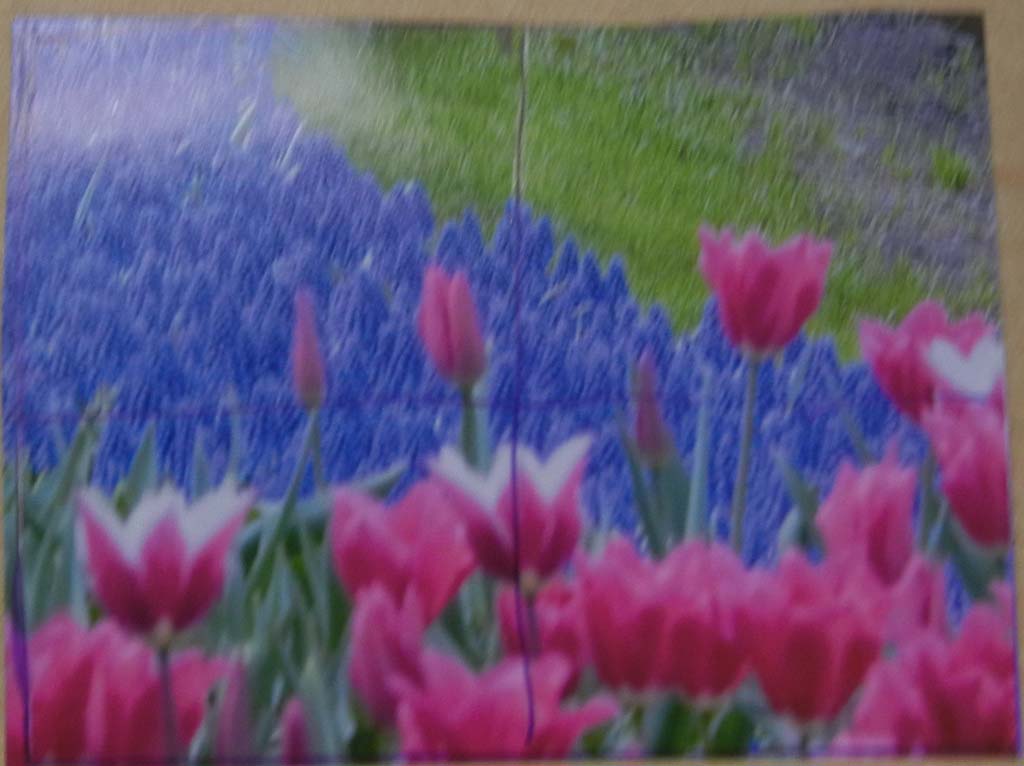
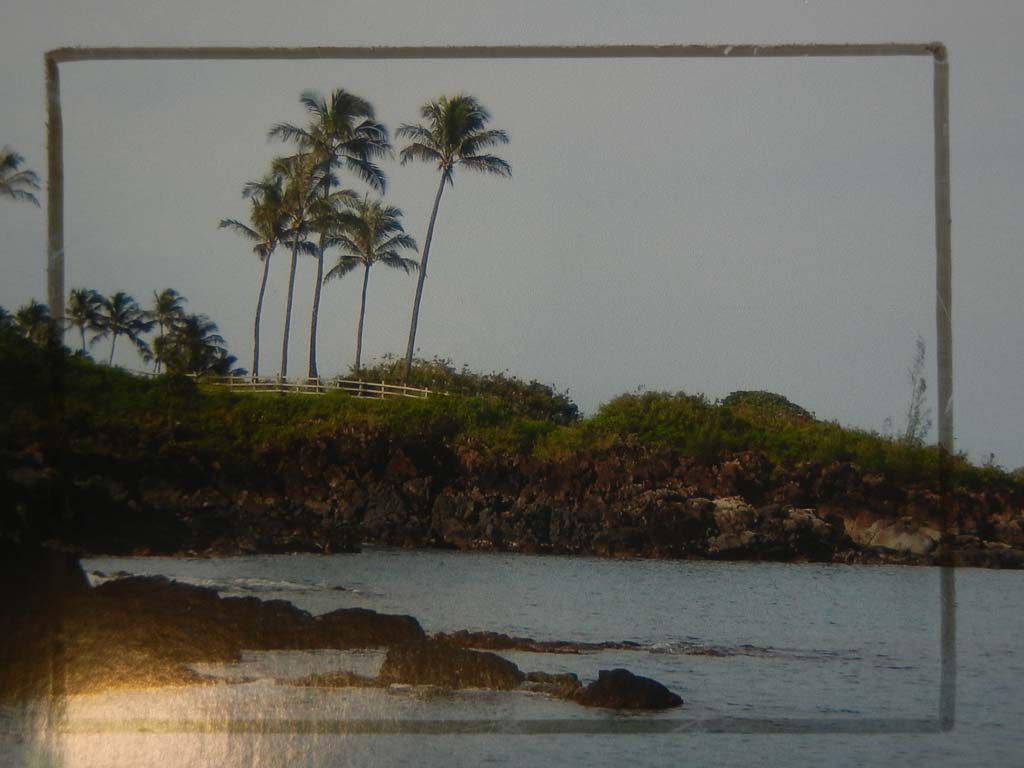
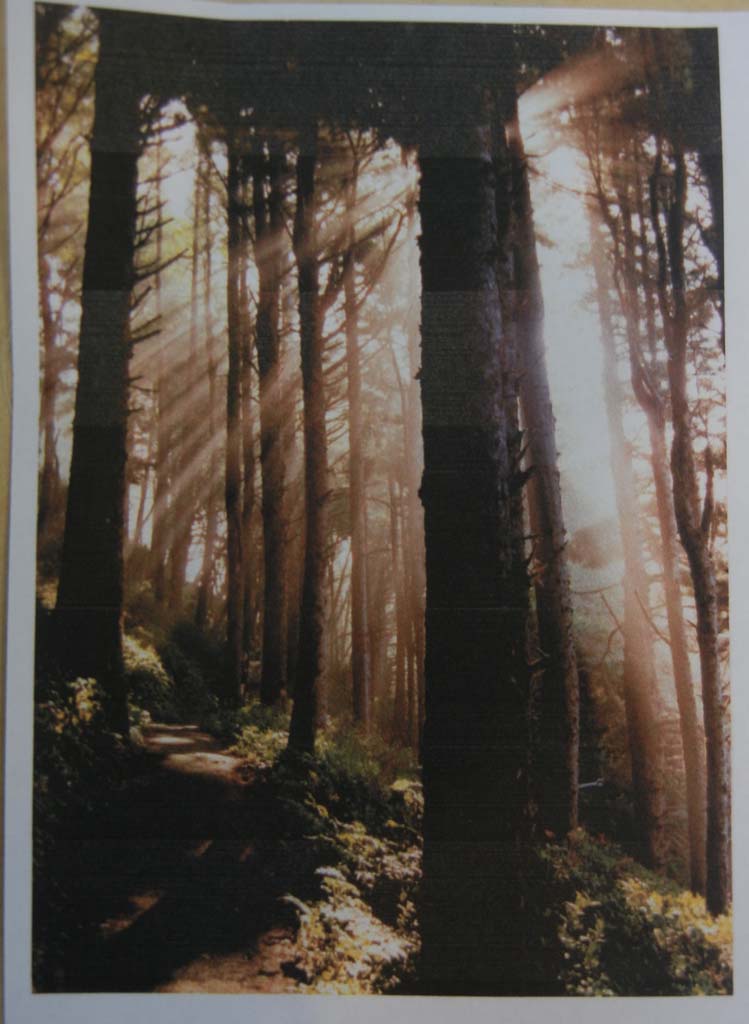
My process starts with a photo that I take myself. Often my subject is vibrant tropical Florida foliage.
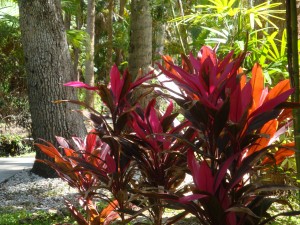
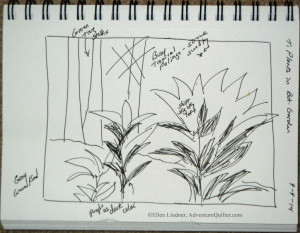
I spend some time cropping and editing until I find an arrangement that pleases me. Typically, I create a rough sketch, either with Photoshop Elements or with good ole pencil and paper.
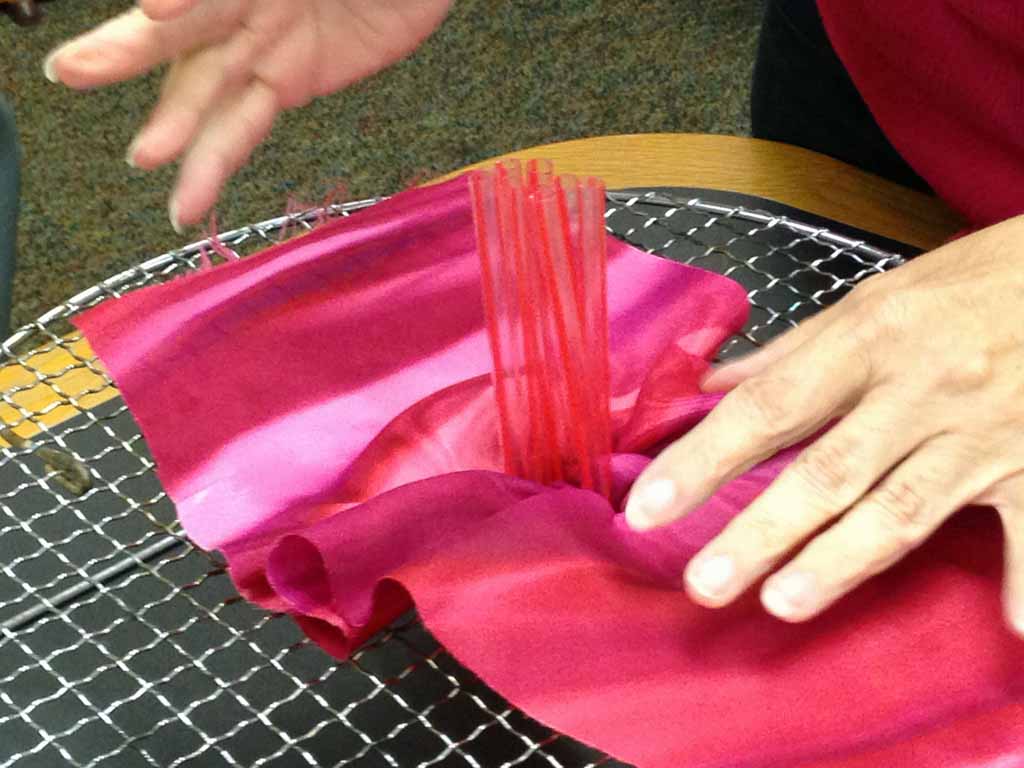
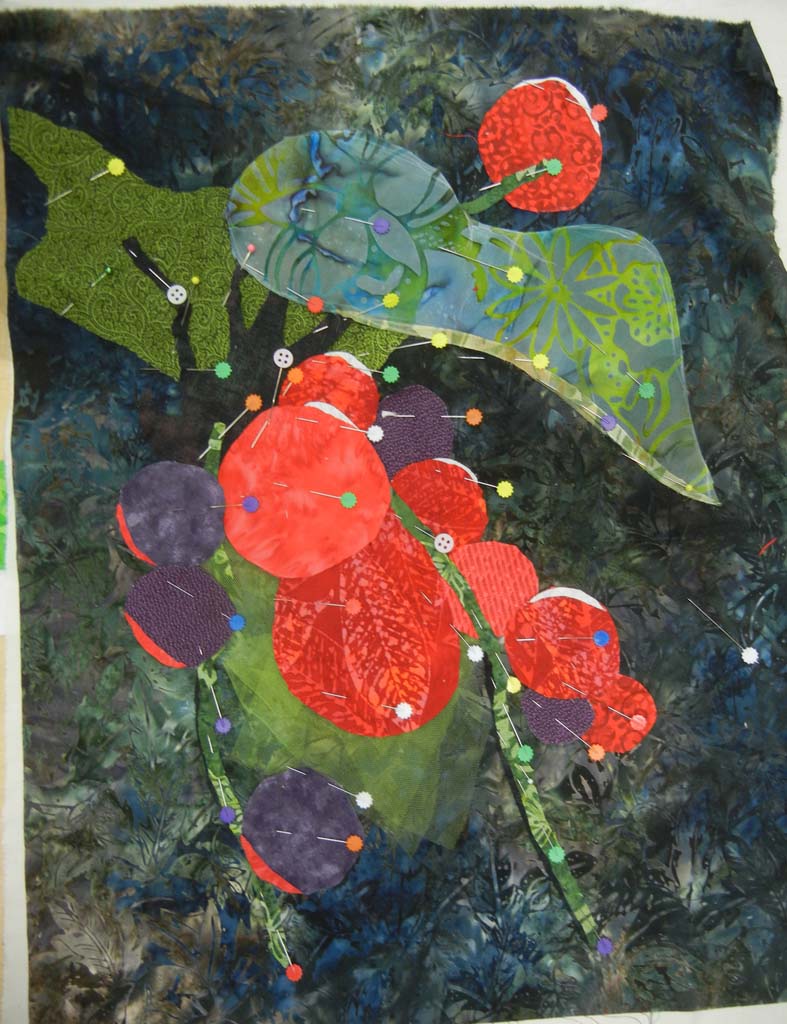
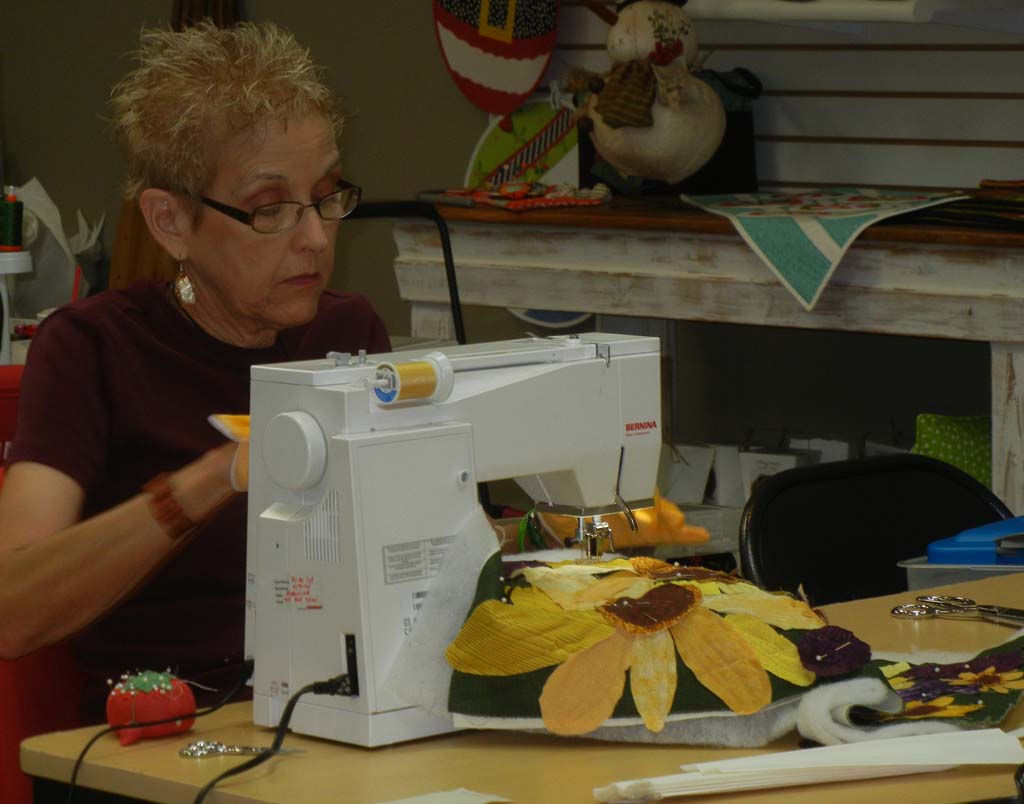
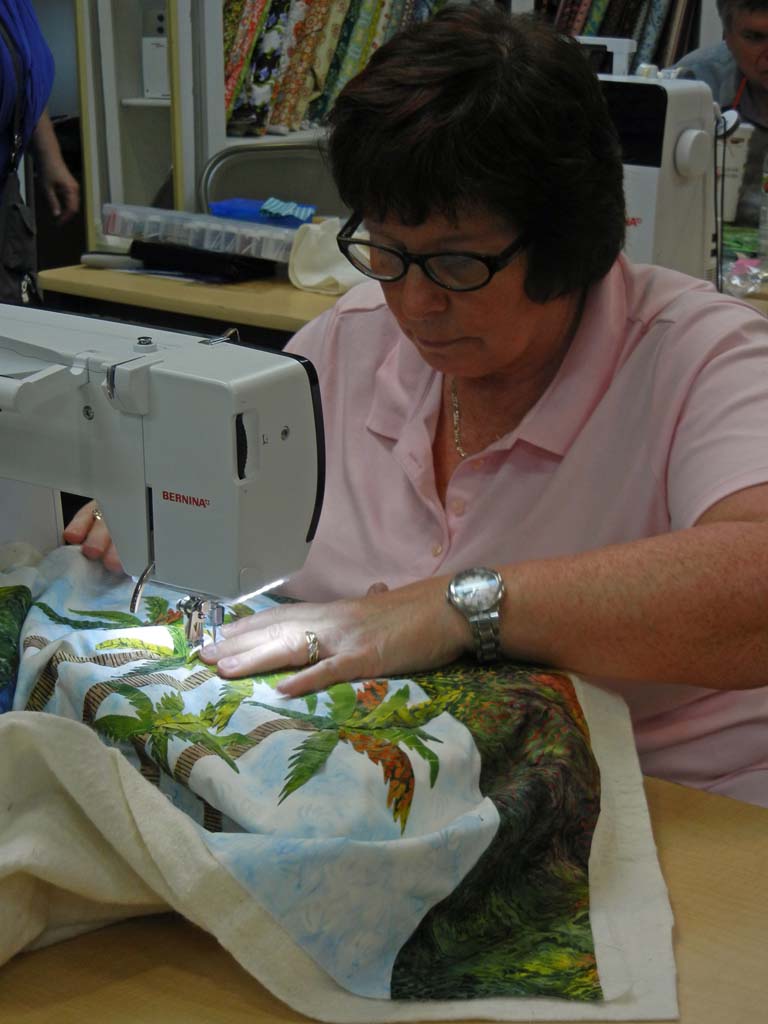
Working at my design wall, I cut and place fabrics onto a muslin base, building my composition. Things are held together with a LOT of pins, and maybe some glue.
All of this gets layered with batting and quilted. (I don’t create a quilt “top” first. The stitching secures the pieces in place.) I keep the quilting design loose, too, sometimes adding a double black line to create definition.
I really enjoy the flexibility of working this way. I can easily audition changes all the way to the end. (I’d like to tell you it’s speedy, but I do way too much analyzing for that to be true! But, analyzing/designing is my favorite part!)
In addition to creating my own work, I get an immense amount of pleasure and satisfaction from teaching my techniques and concepts to others.
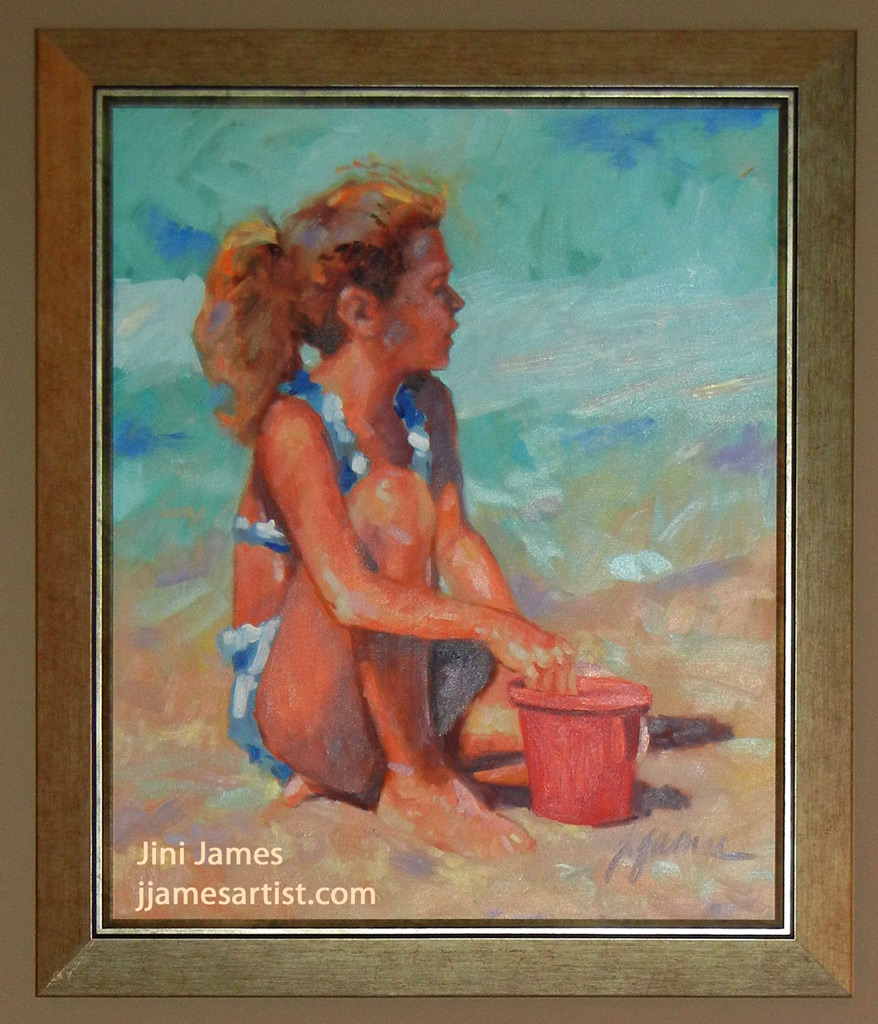
Ready to hop? You’ll definitely want to “meet” Elizabeth Barton. She has a wonderful eye for what works. She’s especially talented at looking at an image and extracting and exaggerating the essential elements. And she teaches others to do the same! I’m lucky enough to have one of her quilts hanging in my breakfast room!
Ellen Lindner