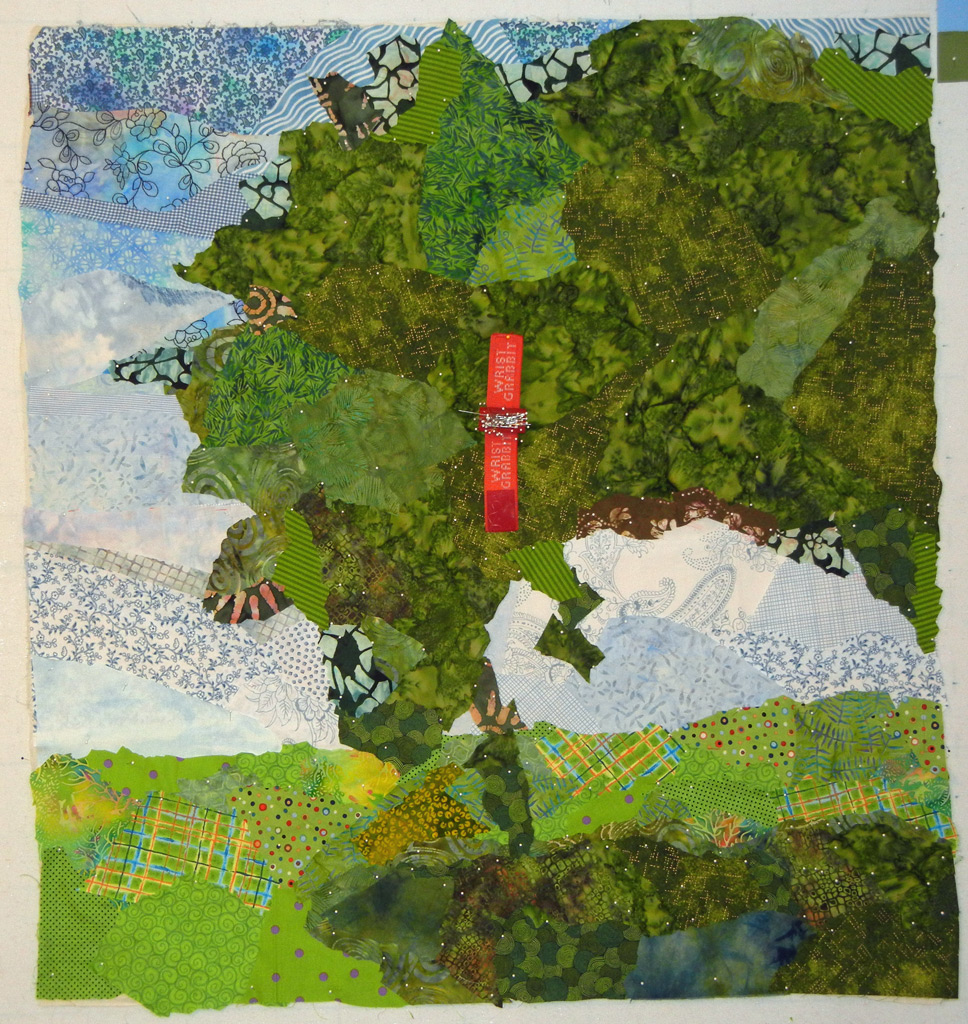
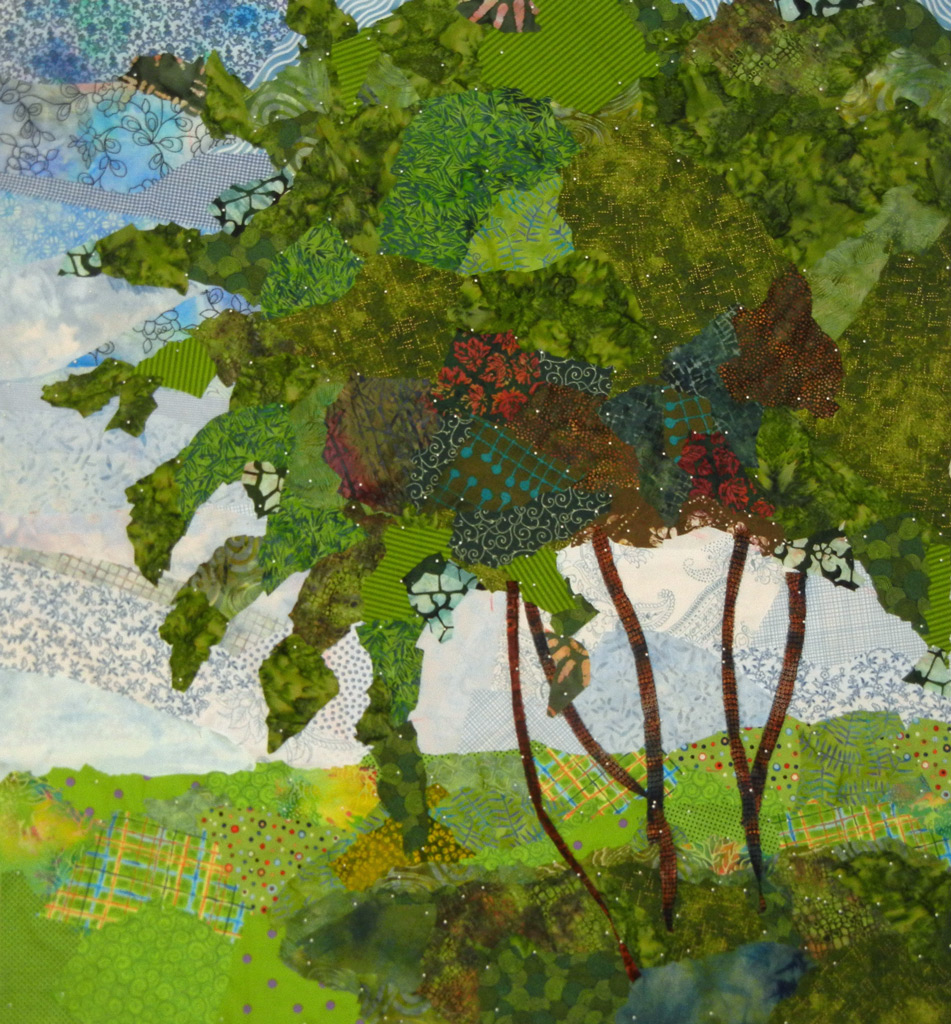
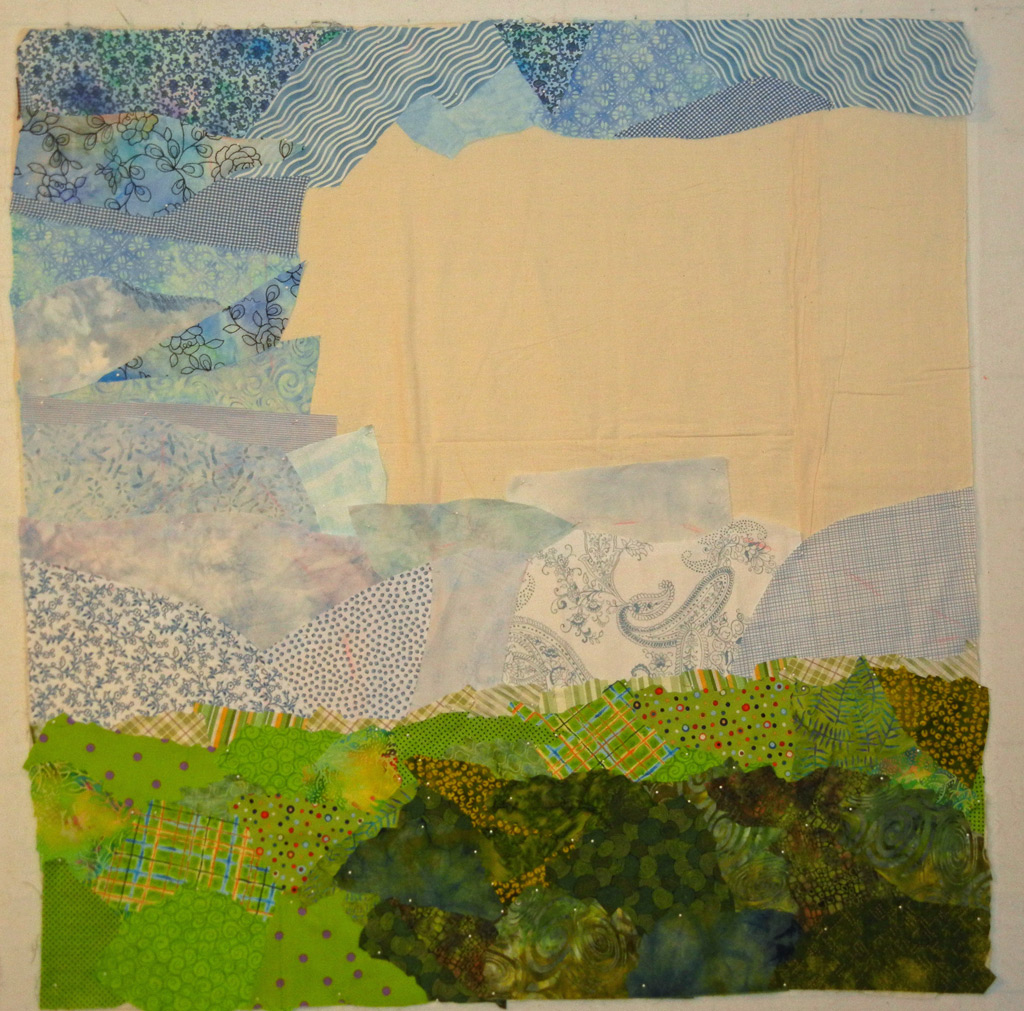
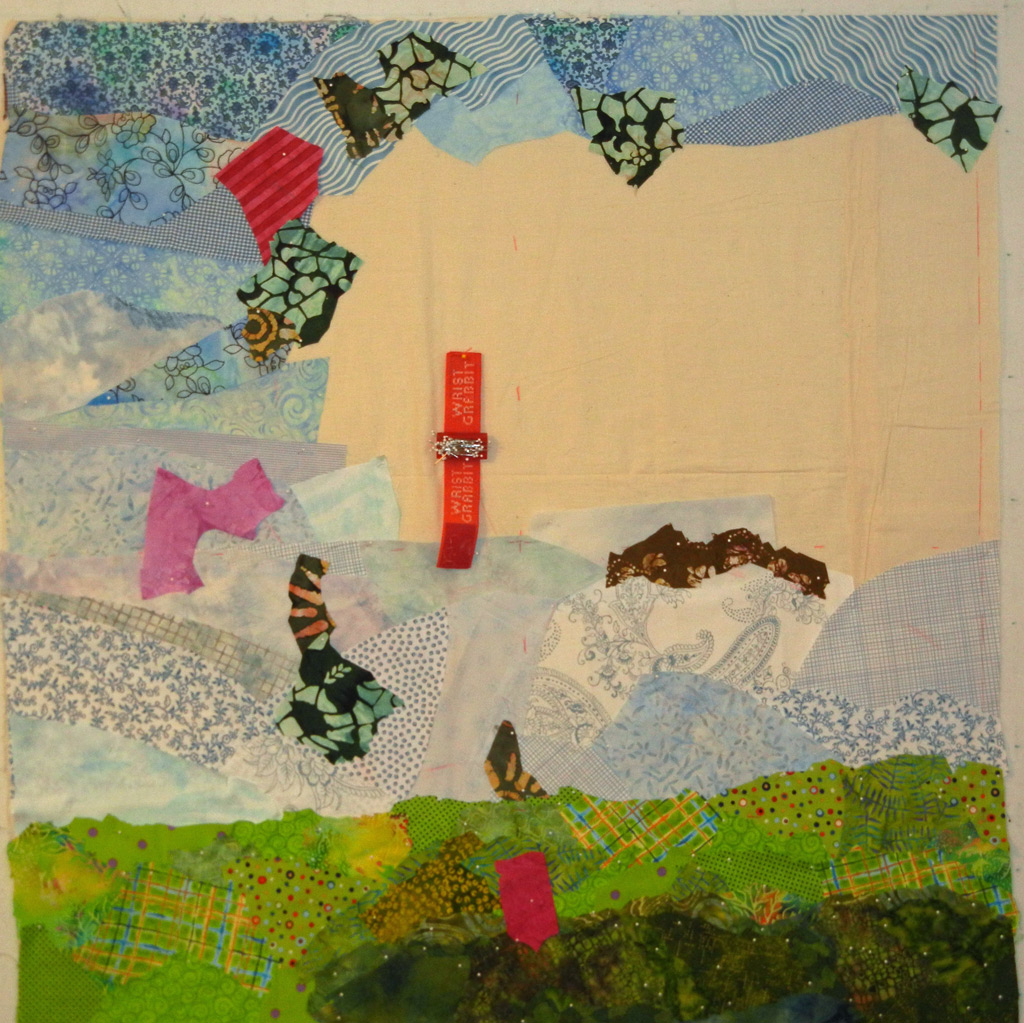
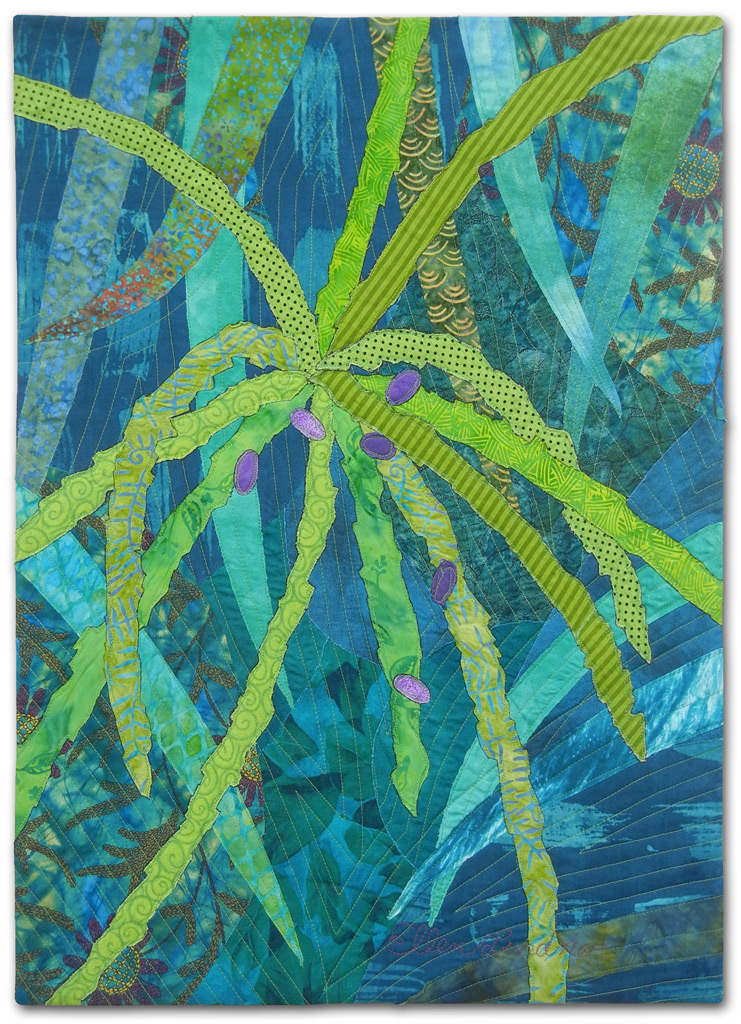
After completing the background for my crepe myrtle quilt, I got to work on the foliage. I followed my sketch closely and it looked like this.
(See the sketch and design process in this previous post.)
Click any image for a larger view

By scrunching my fabrics in the blades of my scissors as I was cutting, I got irregular, organic shapes. I call this process “jagged cutting” and I use it a lot.
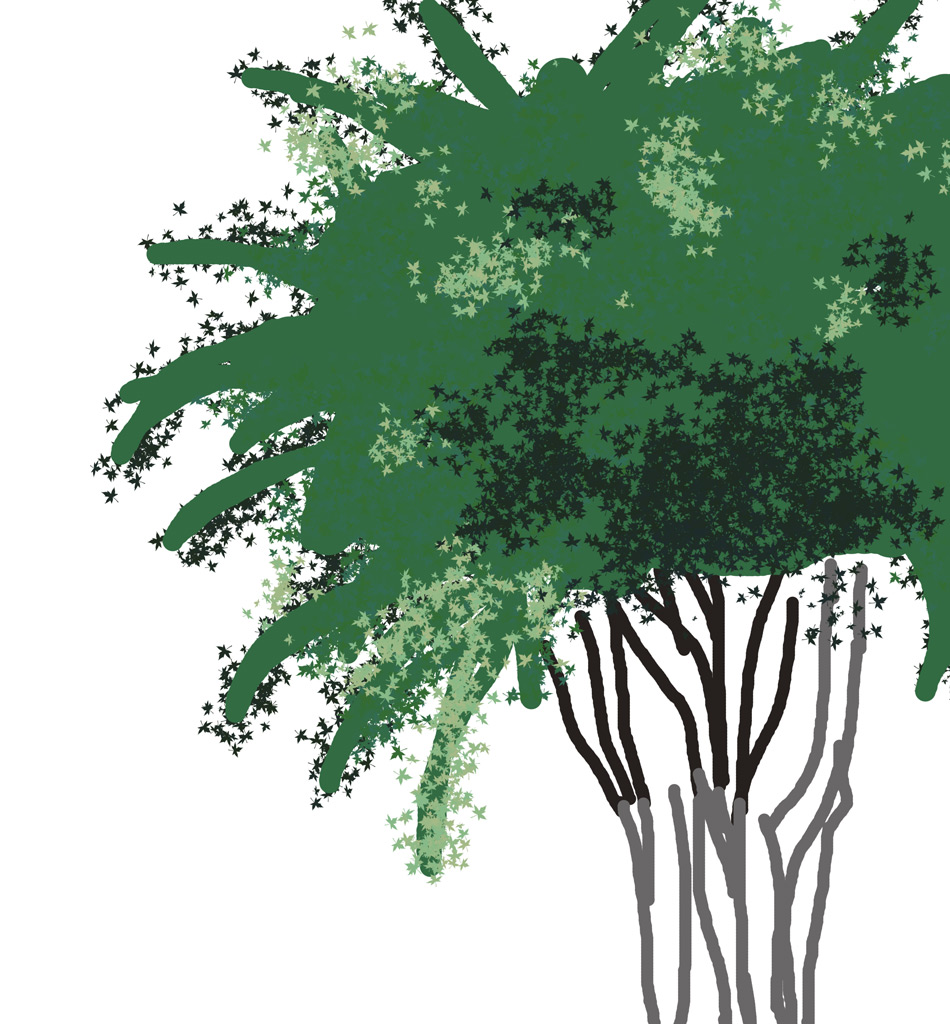
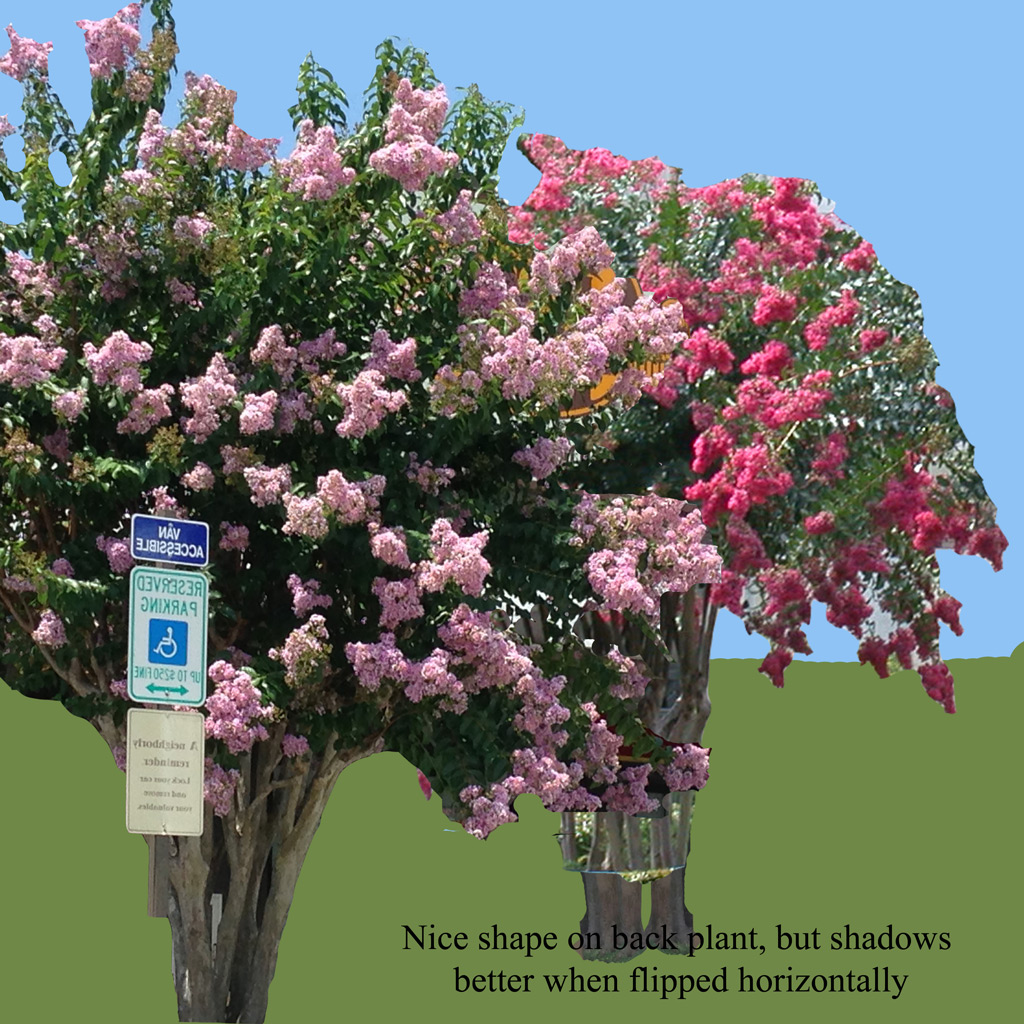
I was quite happy with my foliage until I started to notice the blooming crepe myrtles around town. The thing I really liked about them was their open airiness and the individual branches that sprang out. Hmm. Mine didn’t have that.
So, I worked with a different photo (my own) and printed out that plant’s silhouette as a new foliage model.
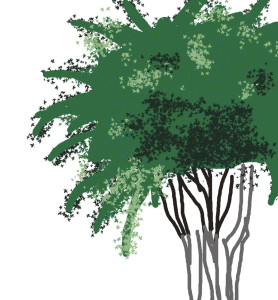
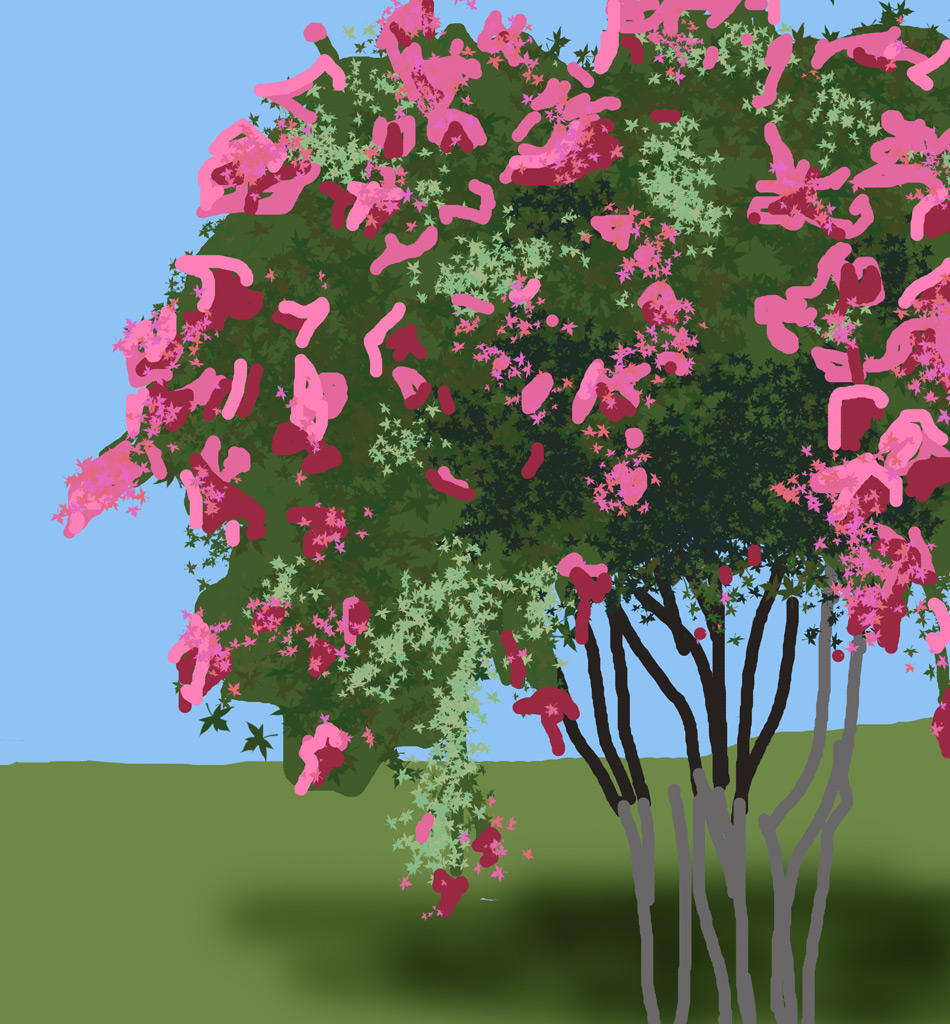
Much more open, right? Of course, this meant quite a bit of reworking. Resulting in this. Better, don’t you think?

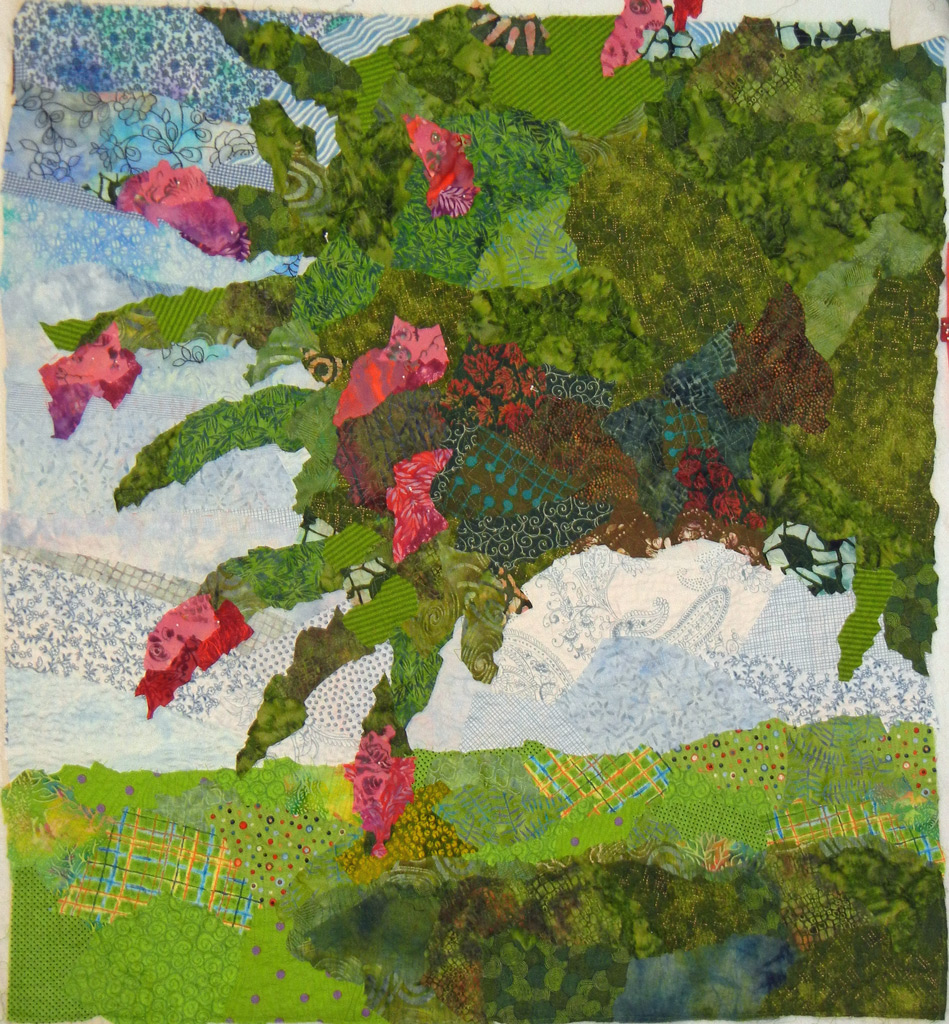
The trunks in the photo above, were just for a quilt fabric audition. I removed them and quilted everything. That’s rather unusual for me. But, I knew I’d be dodging pink blossoms later, so I decided to quilt in stages like this.
The first few flowers were to give me an idea about size and placement. Many changes to come.

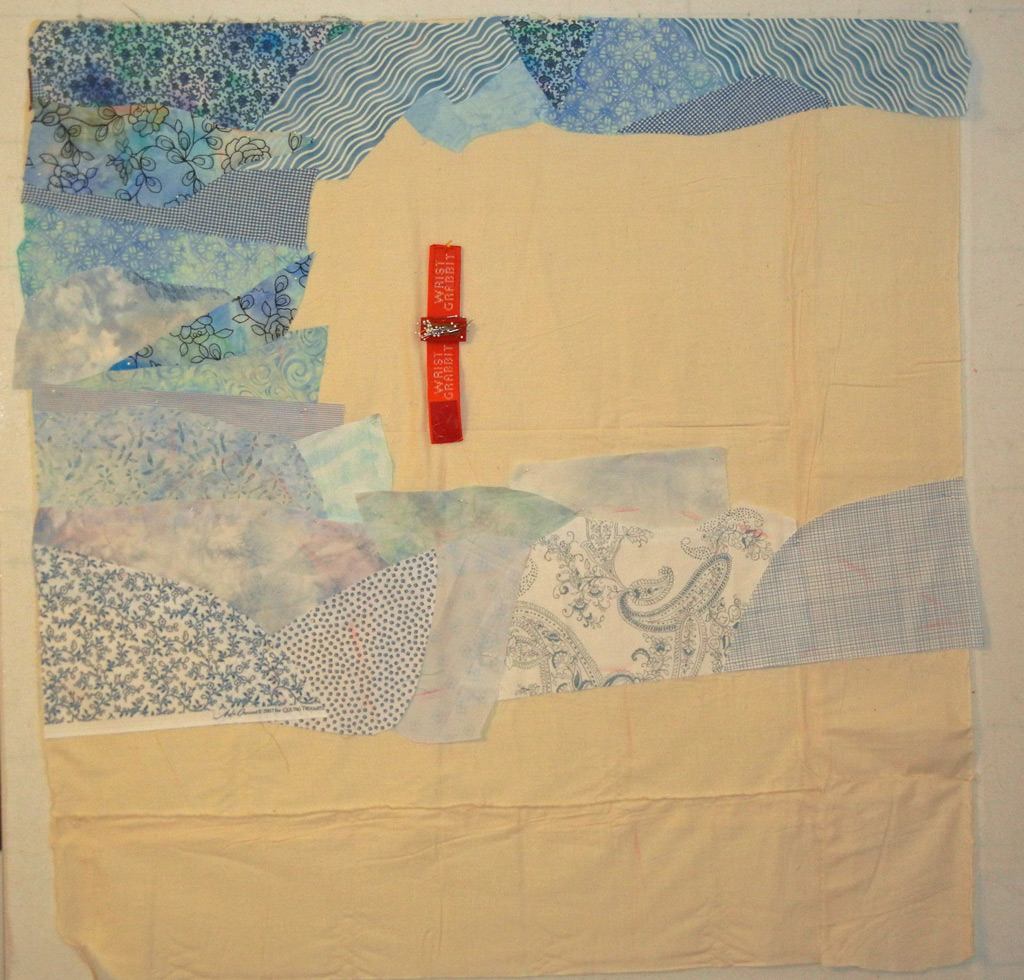
I generally construct my quilts with raw edge collage. I hold everything together with pins until I quilt and secure it. But, since I knew I’d be using several pink fabrics for blossoms, I decided to try fusing them.
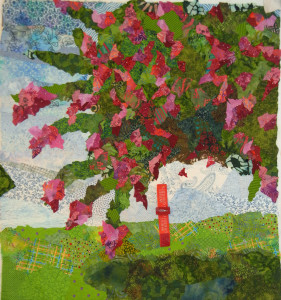
It was a little bit of a challenge to decide on the proper level of accuracy. I wanted the heavy blossoms on the left to have the almost triangular crepe myrtle shape, but I also wanted the interior ones to be rather loose. This made it really hard to stop! There was always something I could tweak.
The next photo shows the composition almost complete. I’ve added trunks, rounded a few blossom shapes, and filled in the “armpits” between some of the left branches. (You know what I mean, right?) It’s almost ready to have the flowers quilted.

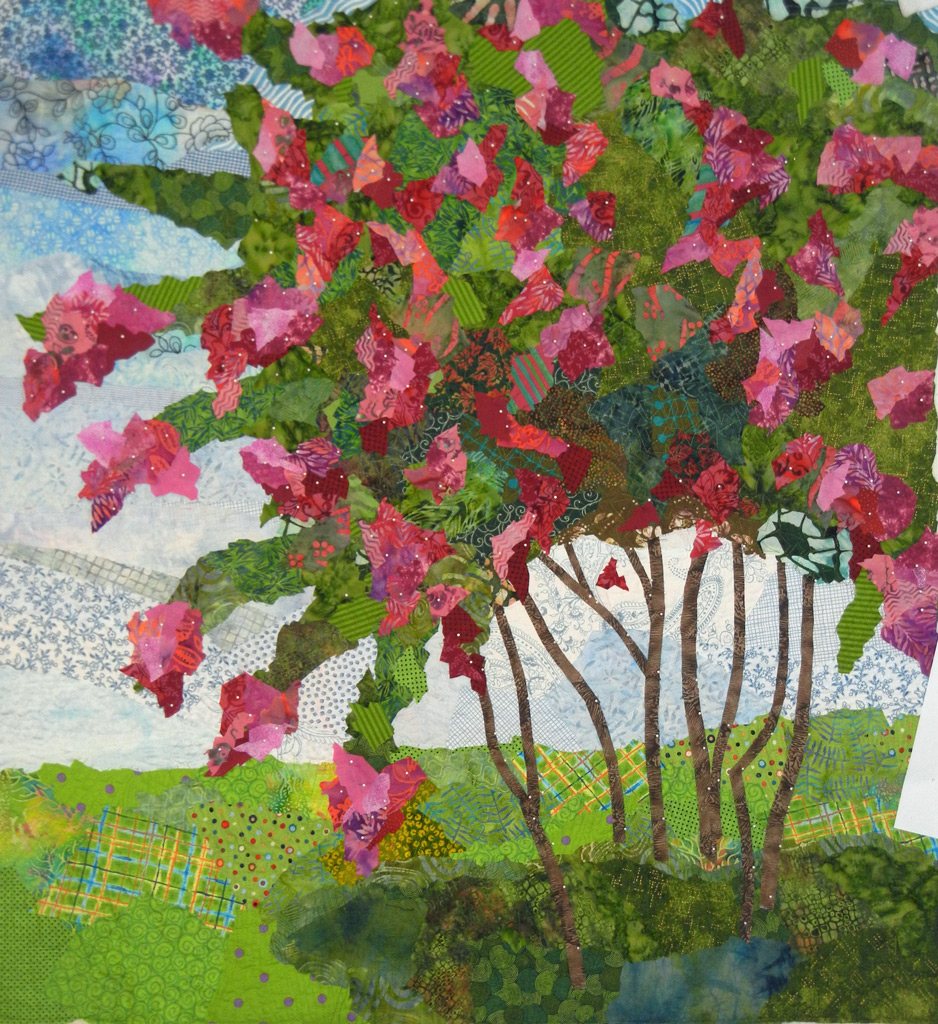
I’m pretty happy with it.
Ellen Lindner
P.S. Did you notice the red object in some of these photos? It’s a wrist pincushion. The fabric end allows me to pin it to my design wall. Very handy.