“Perspectives”

My local art quilt group, the Dirty Dozen Fiber Artists, were honored to be invited to have a display of our work at the recent Timeless Treasures quilt show, held in Melbourne, FL.  Called “Perspectives,” it included a diverse collection of subjects, techniques, (and yes,) perspectives.

The exhibit looked fantastic under the stage lights (although you’d never know it by these photos.)   This is the left side:

Click any image for a larger view3-left

And the right:

3-right

Dirty Dozen members are Jill Brown, Gabriele DiTota, Peg Horsfield, Elizabeth King, Ellen Lindner, Mindy Mairk, Bev O’Connell, Ruth Anne Parker, and Susan Rienzo.  A talented and creative group!  See better pictures of each panel below.

3-bev,-susan

Made by Elizabeth and Susan (L-R)

3-gabriele,-jill,-me

Made by Gabriele, Jill, and Ellen (L-R)
The left two look much better in real life!

3-elizabeth,-bev,-elizabeth

Made by Gabriele, Bev, and Elizabeth (L-R)

3-bev,-mindy,-me

Made by Bev, Mindy, and Ellen, (L-R)

3-bev,-ruth-anne,-gabriele

Mady be Bev, Ruth Anne, and Gabriele (L-R)

3-susan,-mindy,-rutha-anne

Made by Susan, Mindy, and Ruth Anne

3-peg,-susan

Made by Peg and Suan, (L-R)

3-ruth-anne,-gabriele,-me

Made by Ruth Anne, Gabriele, and Ellen
(The camera washed out the colors in the left one)

We were very proud of this exhibit and I hope you’ll enjoy viewing these quilts.

Ellen Lindner
See a gallery of my quilts

“Red Strata” Finished – I Think

I’ve finally finished my latest quilt, Red Strata.

Click any image for a larger view

Red Strata34 ½ x 16 ½, $395

Red Strata
34 ½ x 16 ½, $395

I made a pretty radical 11th hour change.  Can you see what it is?  I turned it upside down!  Yep.  (Although I think it looks good either way.)

This quilt really needs to be seen up close to appreciate all the textures and details.

2b-red-strata-detail-best

It includes burlap, cheesecloth, silk, synthetic sheers, lots of hand stitching, and beads.  An abundance of treasures!

I must admit to having a difficult time making decisions about this quilt.  I think that’s because I was winging it.  What I’ve learned:  ELLEN NEEDS A PLAN!  Even now I’m not sure I’m completely finished with this quilt. 

What about you?  How much do you plan your quilts?

Ellen Lindner
P.S.  Did you know you can audition any of my quilts in your home?  Check out the details.

A Well Oiled Machine

No, I’m not talking about my sewing machine.  I’m referring to my quilt guild, Seaside Piecemakers, in Melbourne, FL.  These ladies ROCK!

Today was “quilt turn in day” for our upcoming quilt show.  What a well-oiled machine!  The entire process was extremely efficient and thorough.  From paperwork, to nametags, to checking sleeve sizes, no stone was left unturned.

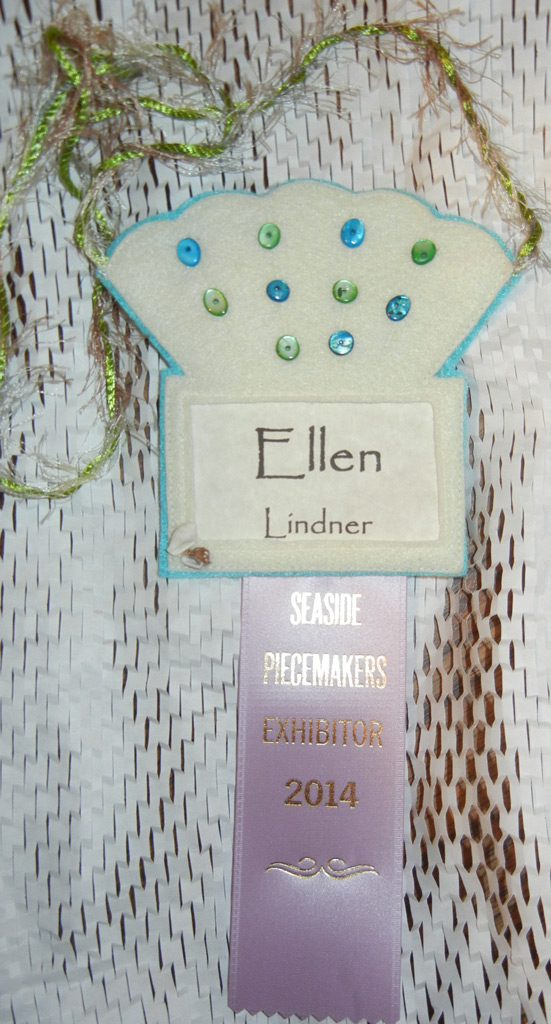
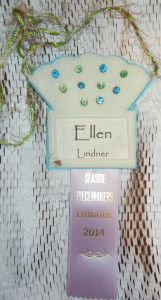
First, there was some paperwork, and then I got to pick out a nametag holder.  A group makes new ones for every show, always with a different format and color scheme.  This year’s tag hangs around the neck and has a handy pocket in the back.  (See what I mean about details?)

2c-SSPM-nametag

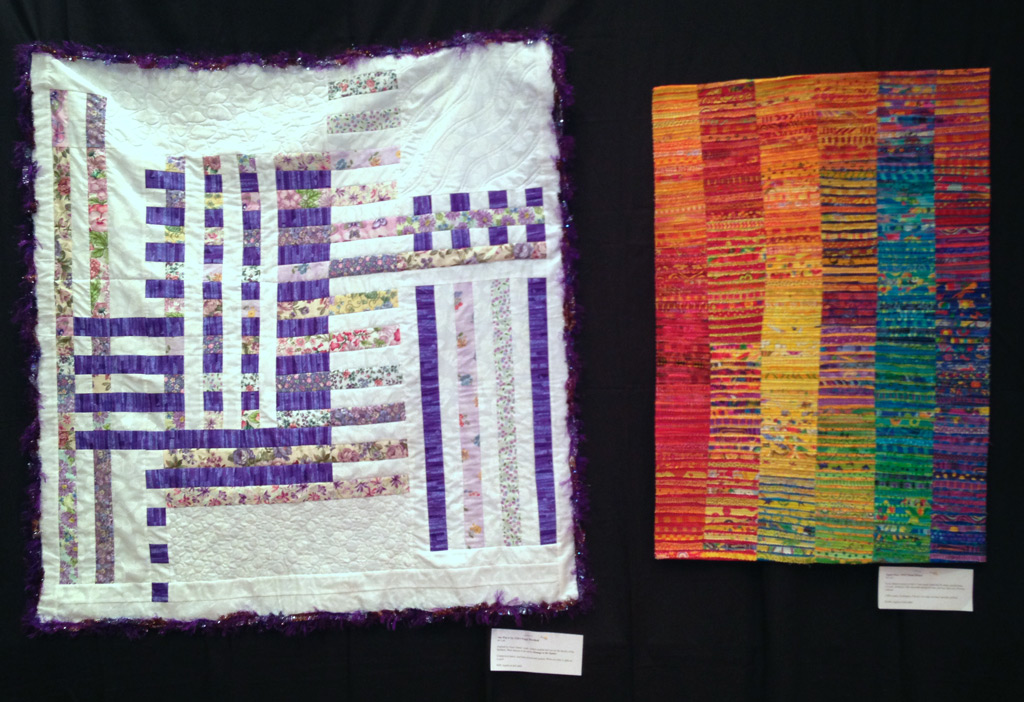
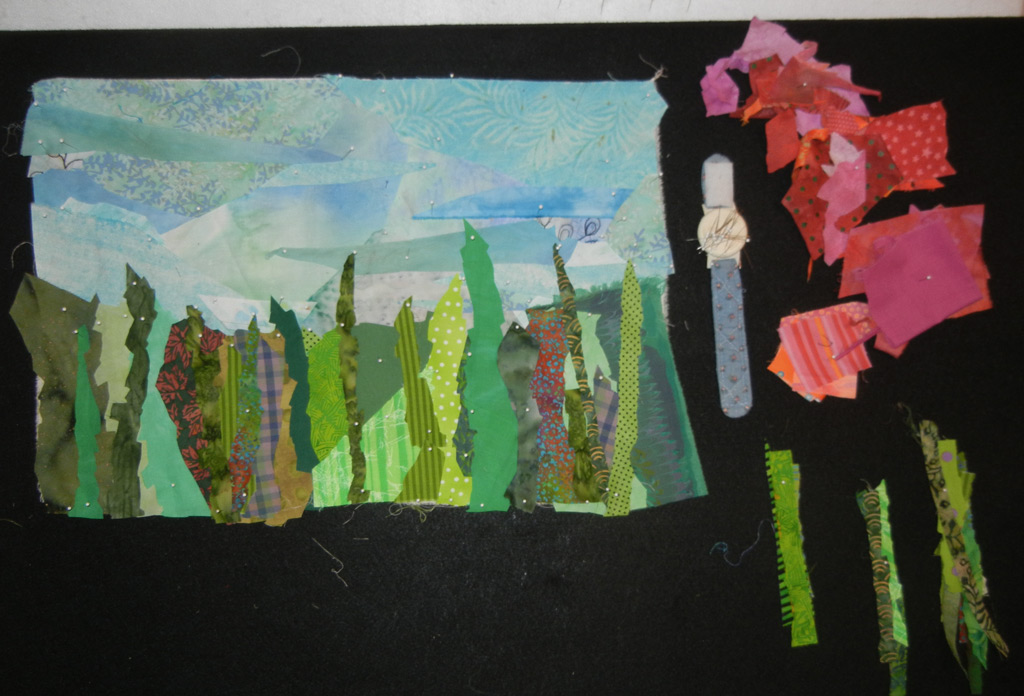
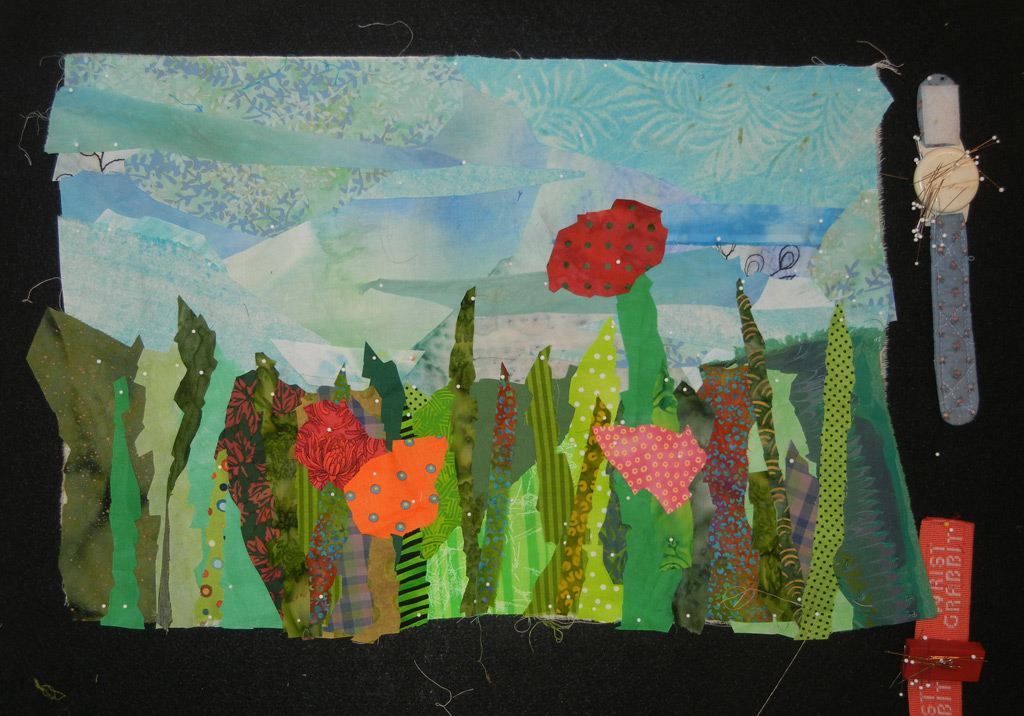
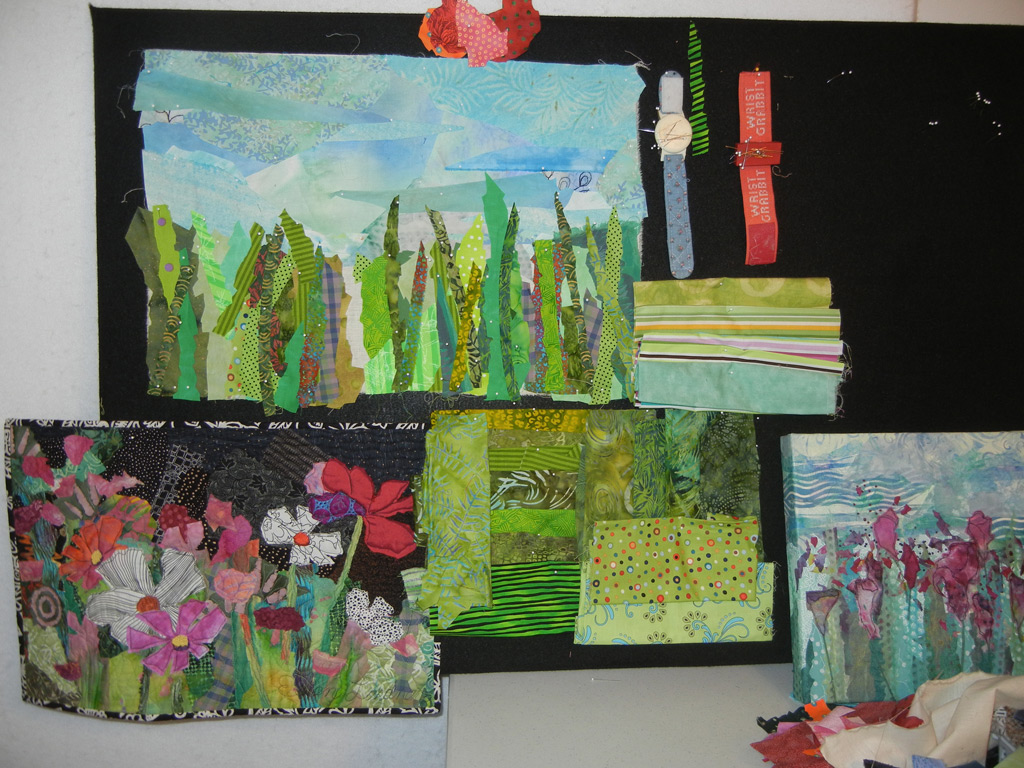
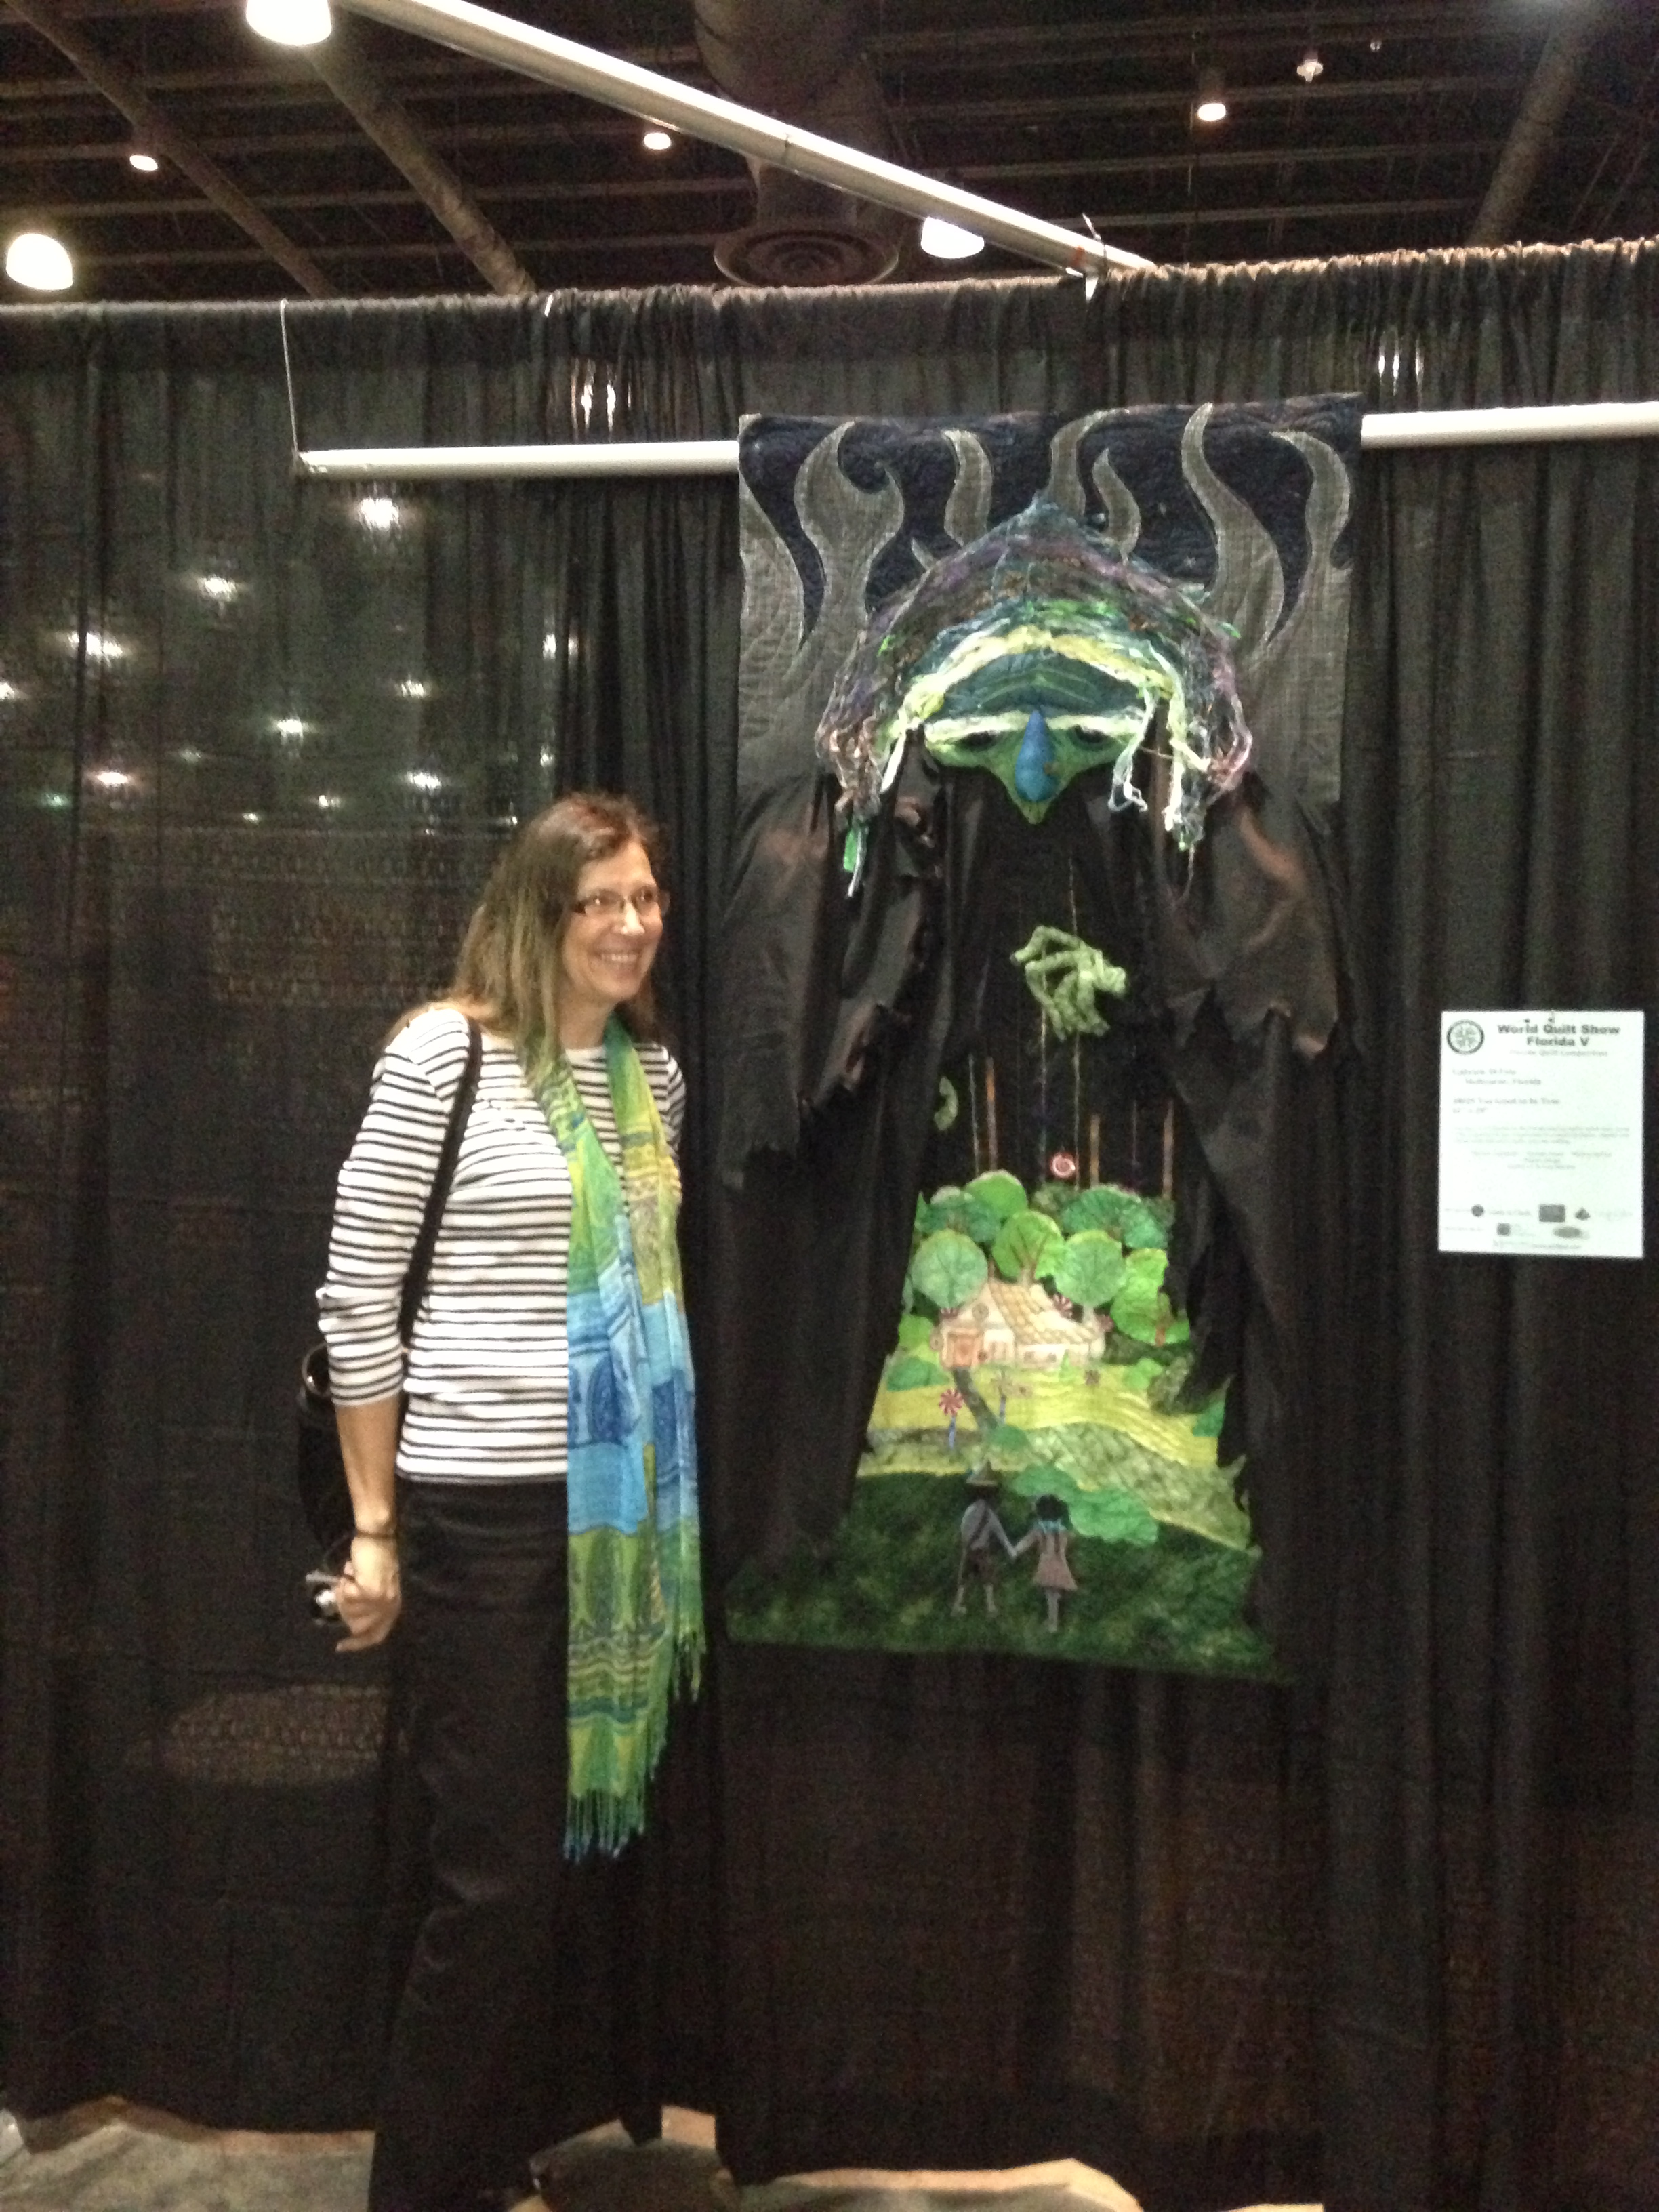
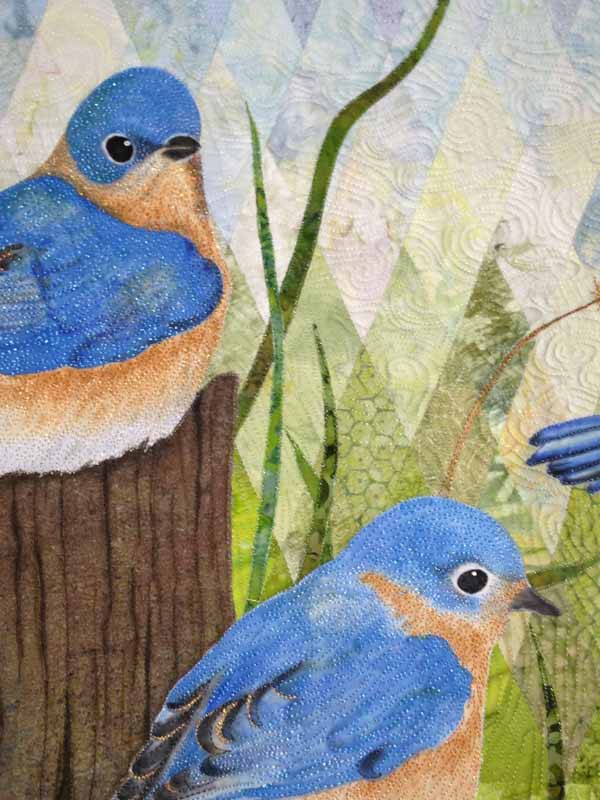
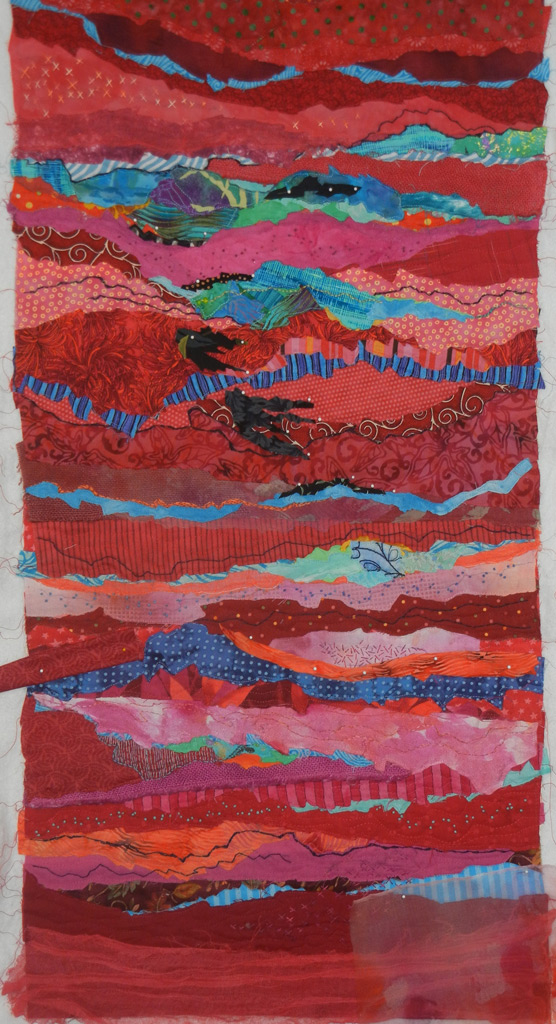
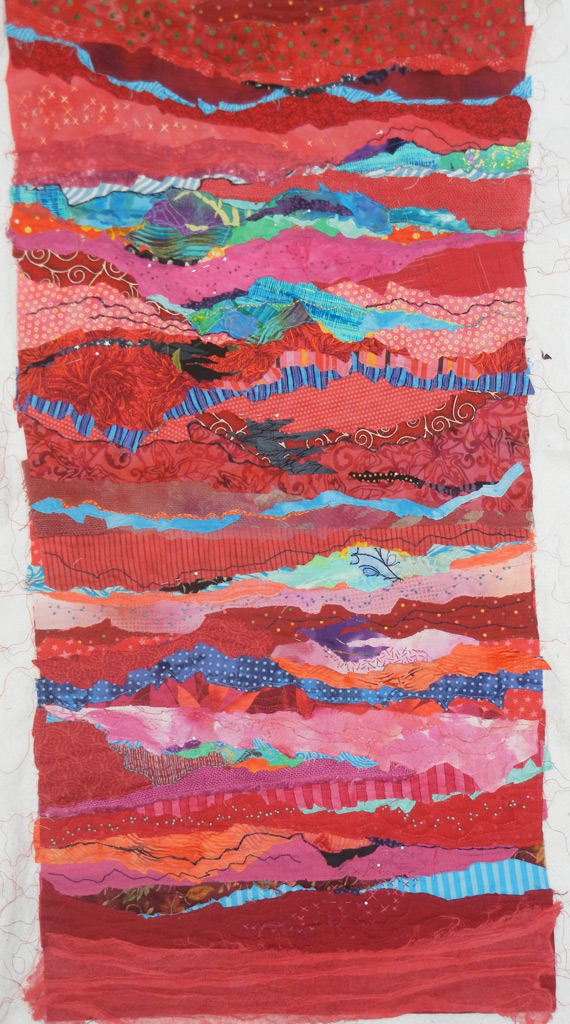
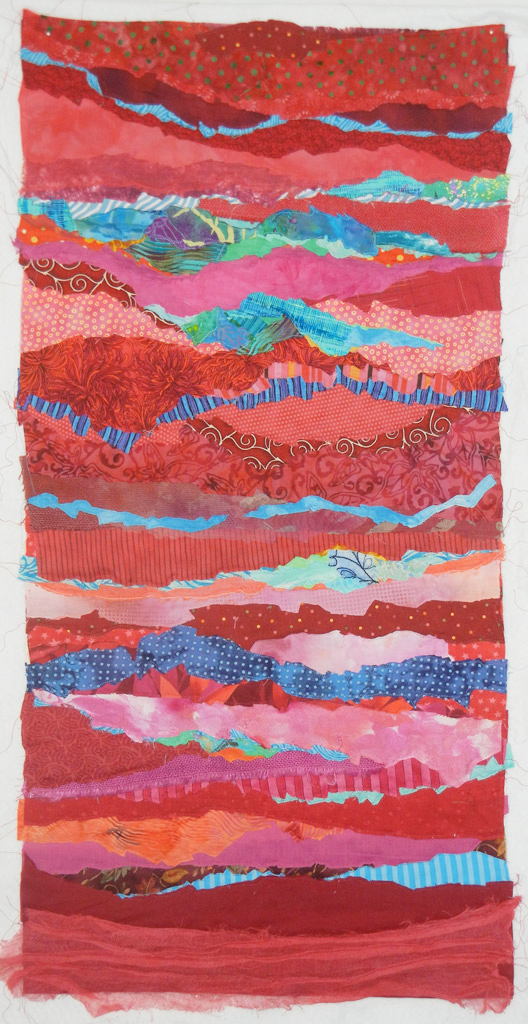
Next, I took my quilts to the quilt inspection ladies.  (At least that’s what I’m calling them.)  Here they are working with my quilt, Crotons.

2c-quilt-inspection

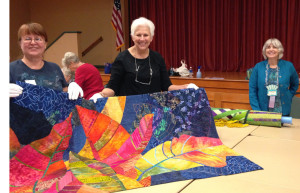
They measured each quilt, checked that the sleeves were the proper size, and inspected them for stray threads, etc.  One of mine did have a long thread, so they handed me the scissors to trim it.  Wonderful!  Then, they lint-rolled the front and back of each quilt and passed them to the labeling crew.  These ladies attached the appropriate paperwork to the back of each quilt, and then handed them off the sorting and storage ladies.

At this point I was losing track of the process, but could see that my quilts were well taken care of.  Another round of paperwork finished things off.

Wow.  If a group puts this much effort into just one aspect of our show, can you imagine how great the show itself will be?  I can’t wait!  I hope you’ll make it to Melbourne, FL on either March 7th or 8th, so you can enjoy the fun! 

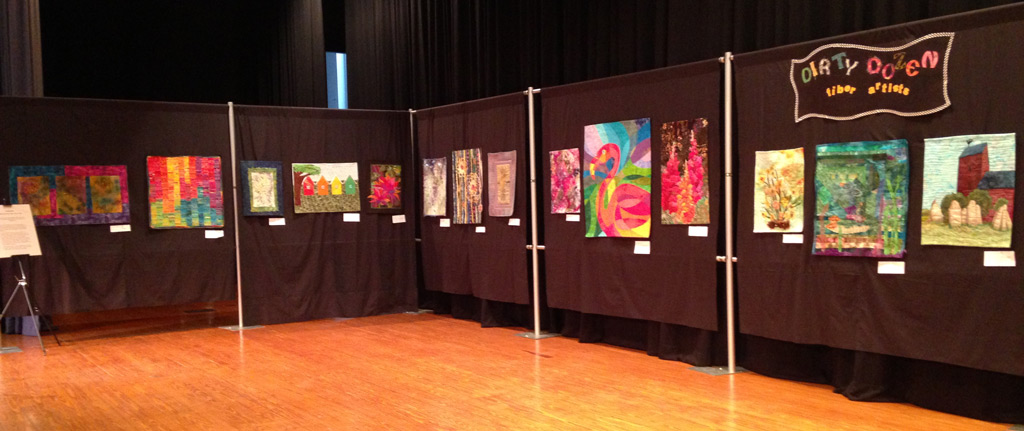
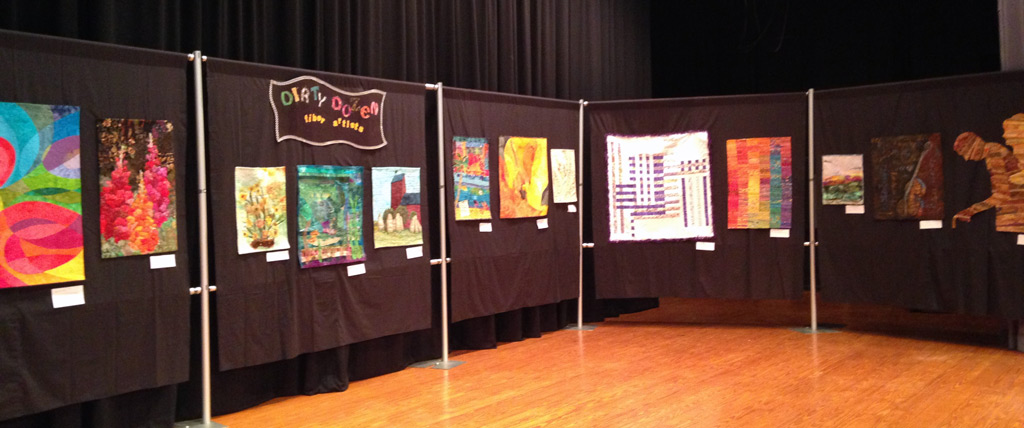
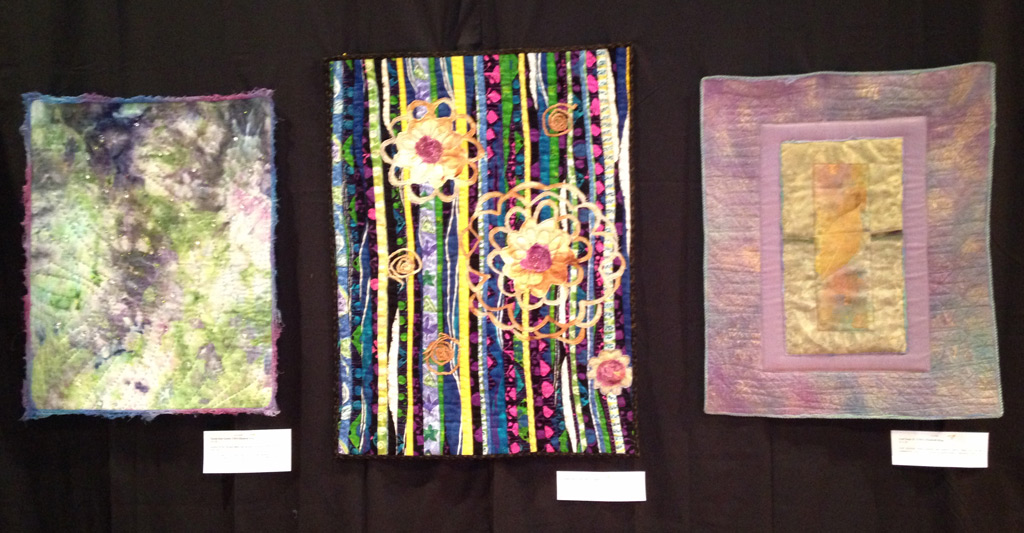
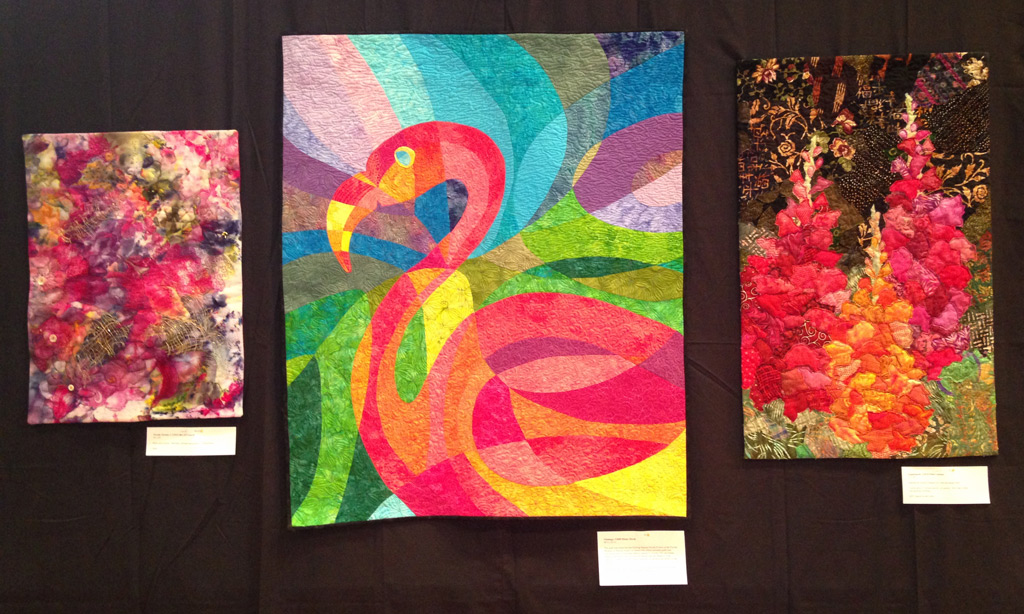
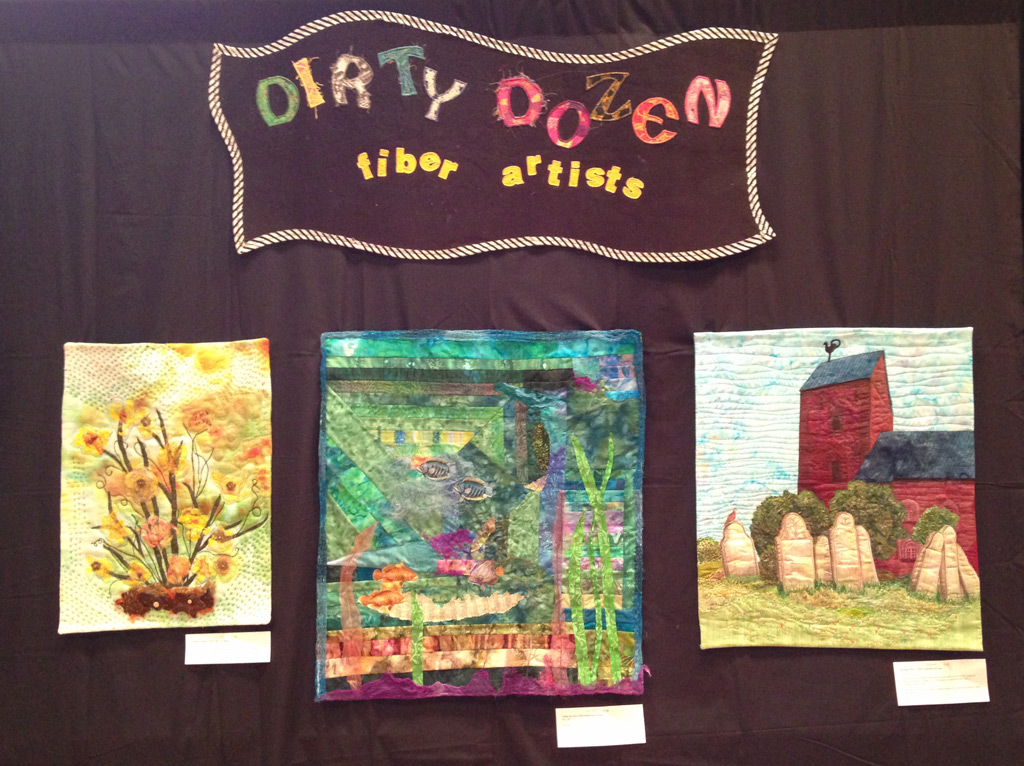
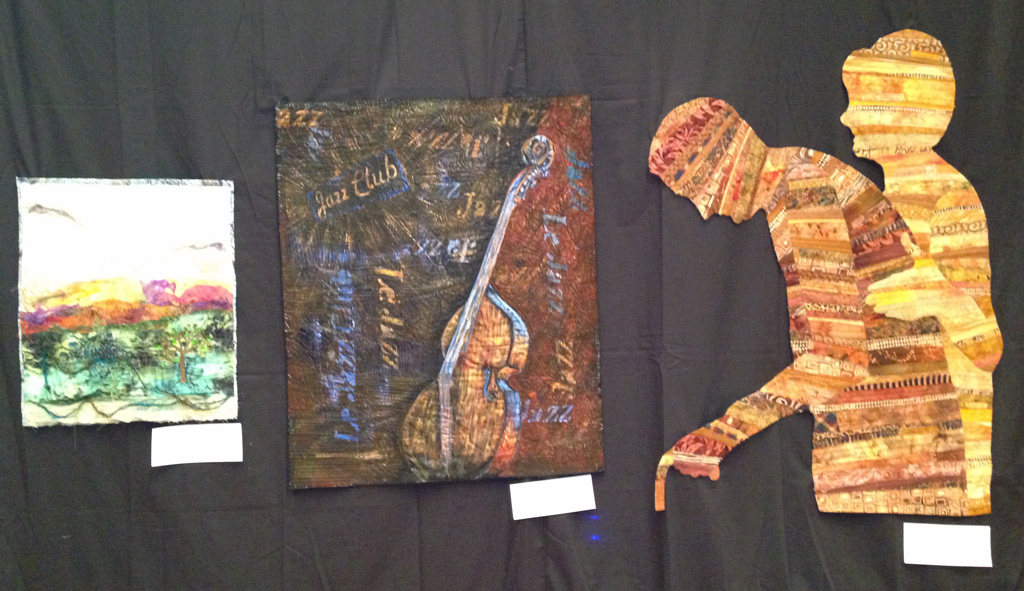
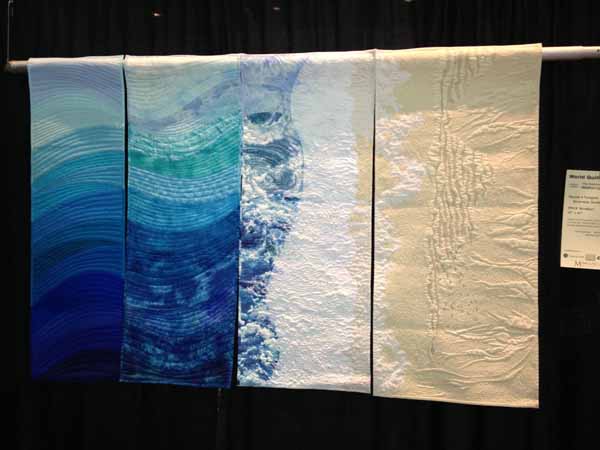
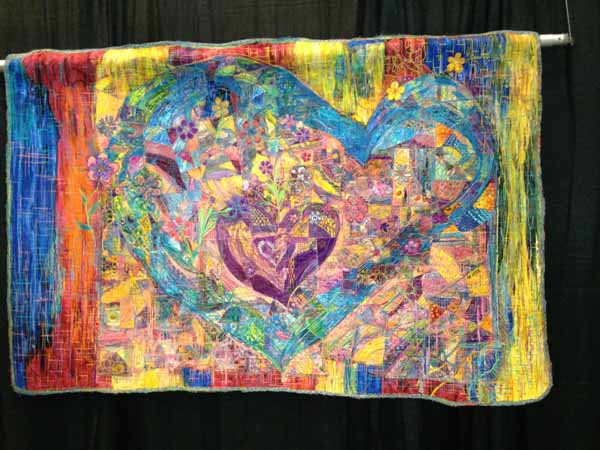
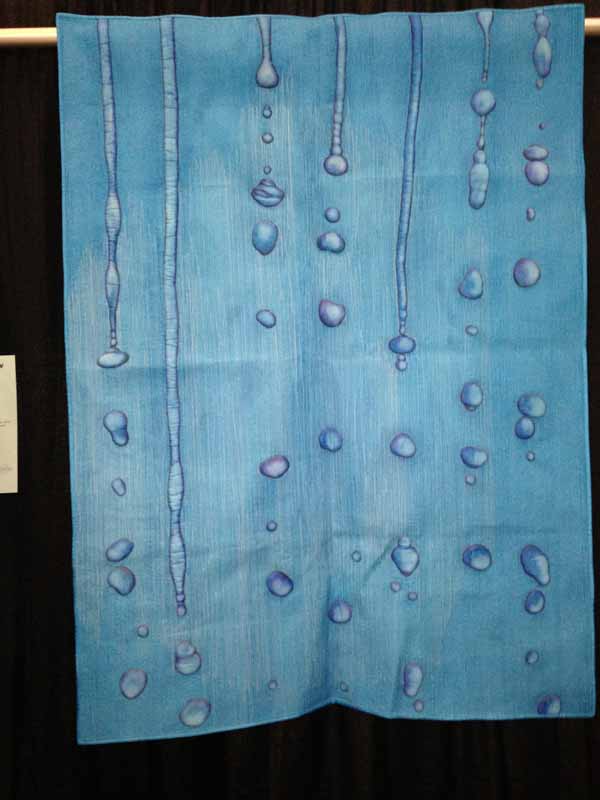
If you do, please look for me and say “hello.”  I’ll be doing a free color presentation each day at noon.  (Plus, I have five quilts in the judged show and three more in the Dirty Dozen exhibit.)

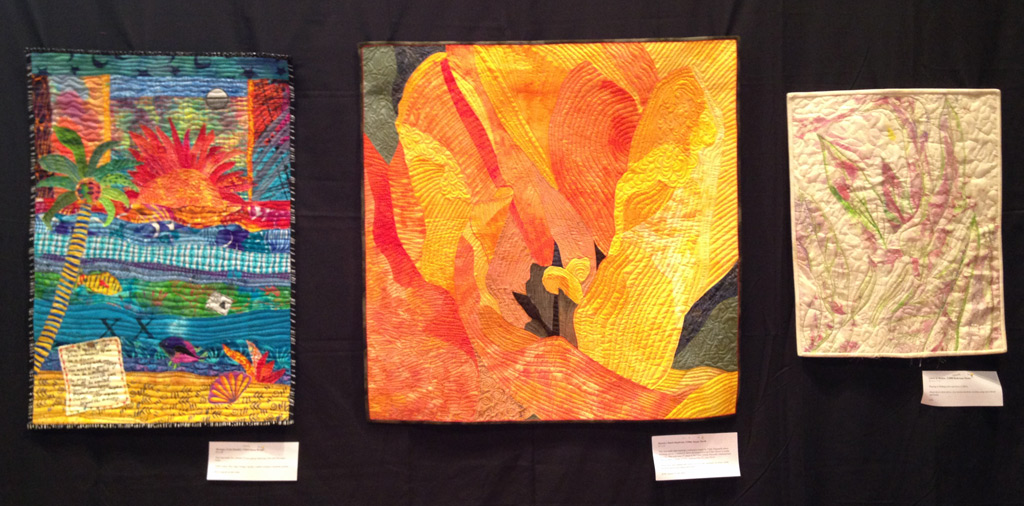
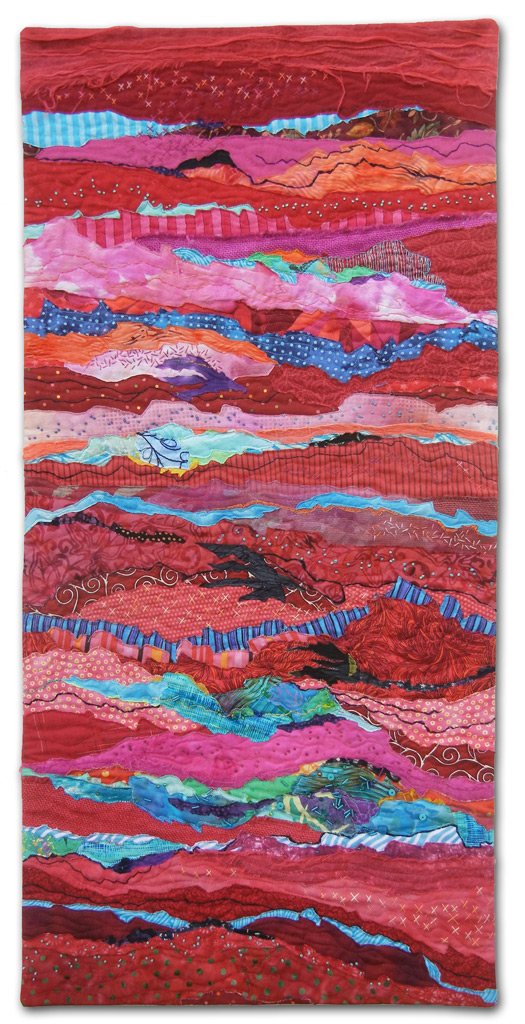
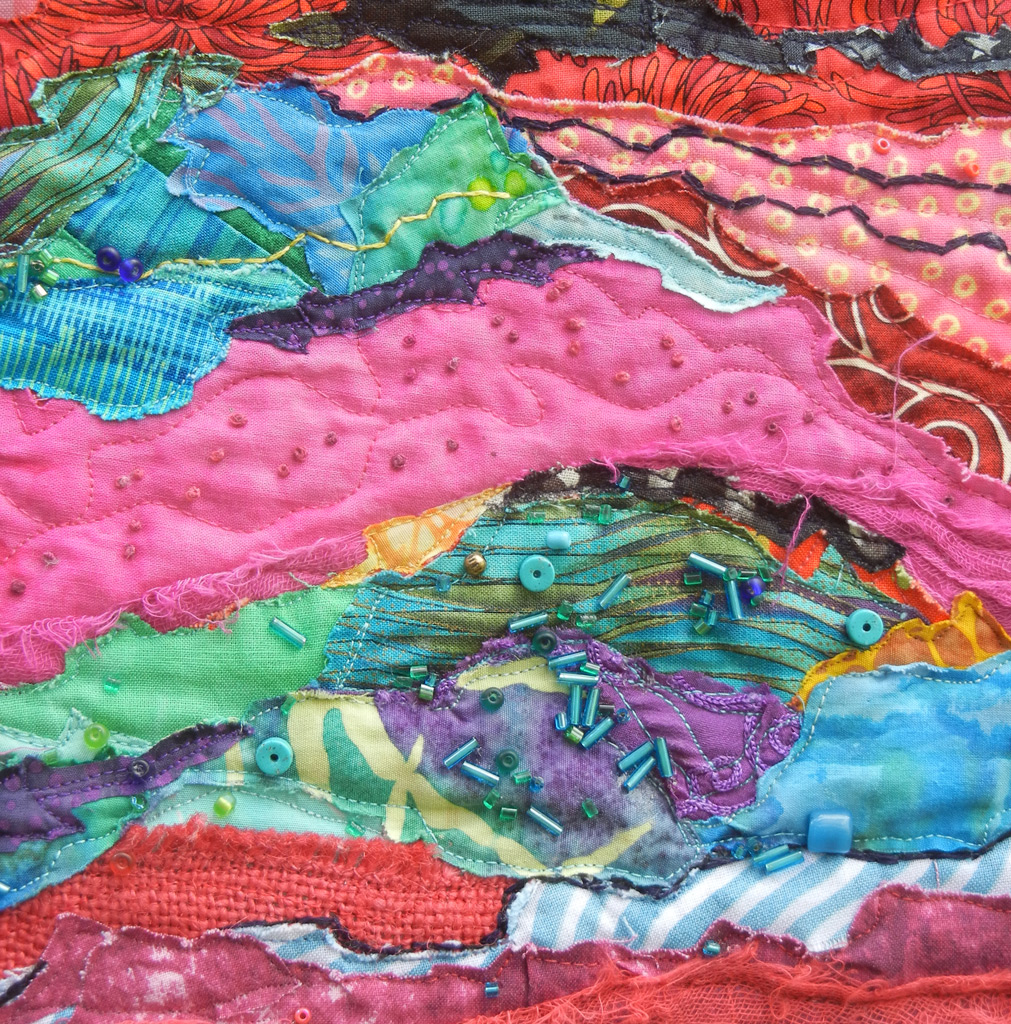
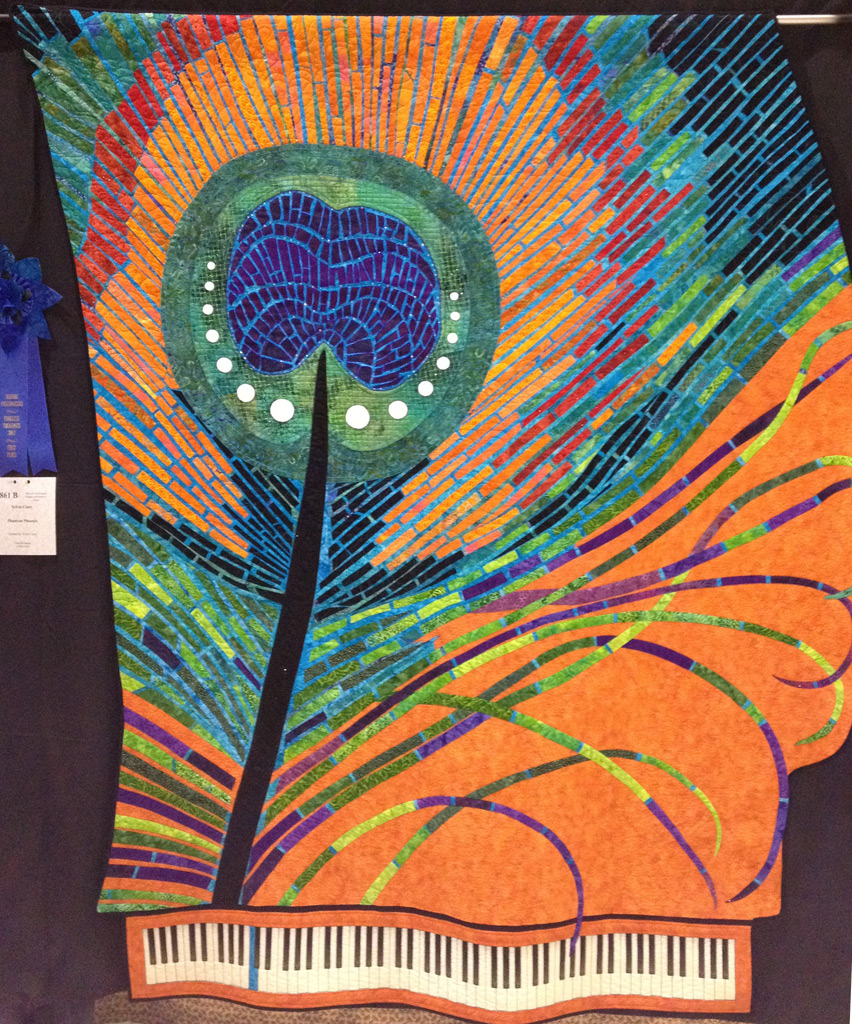
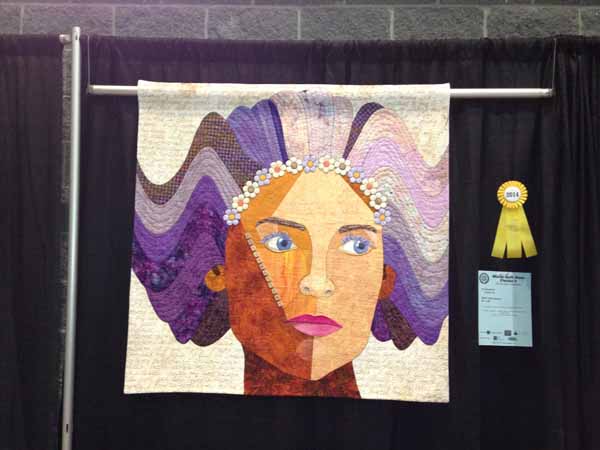
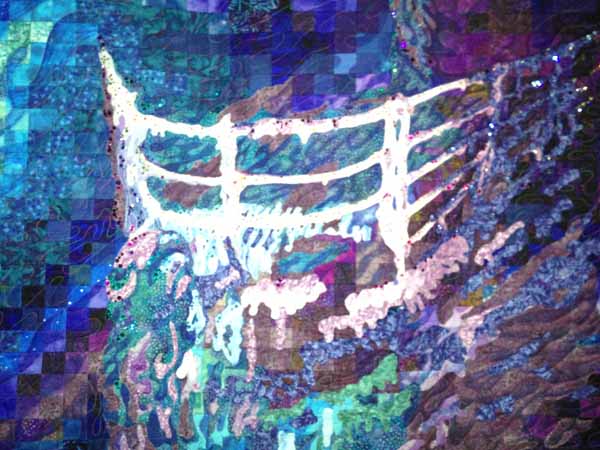
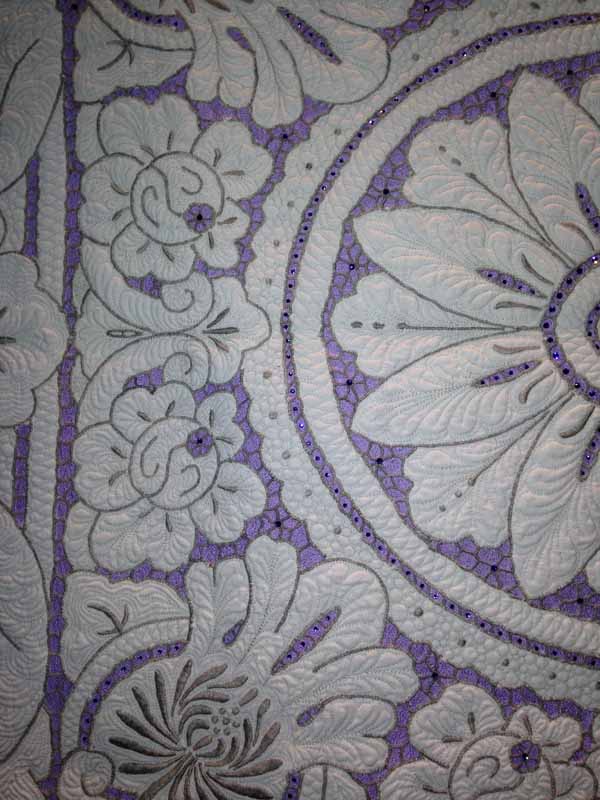
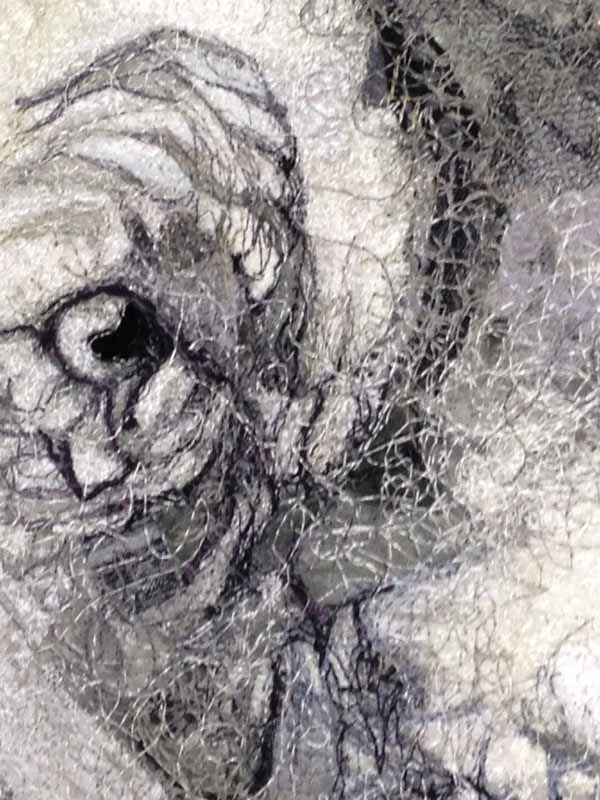
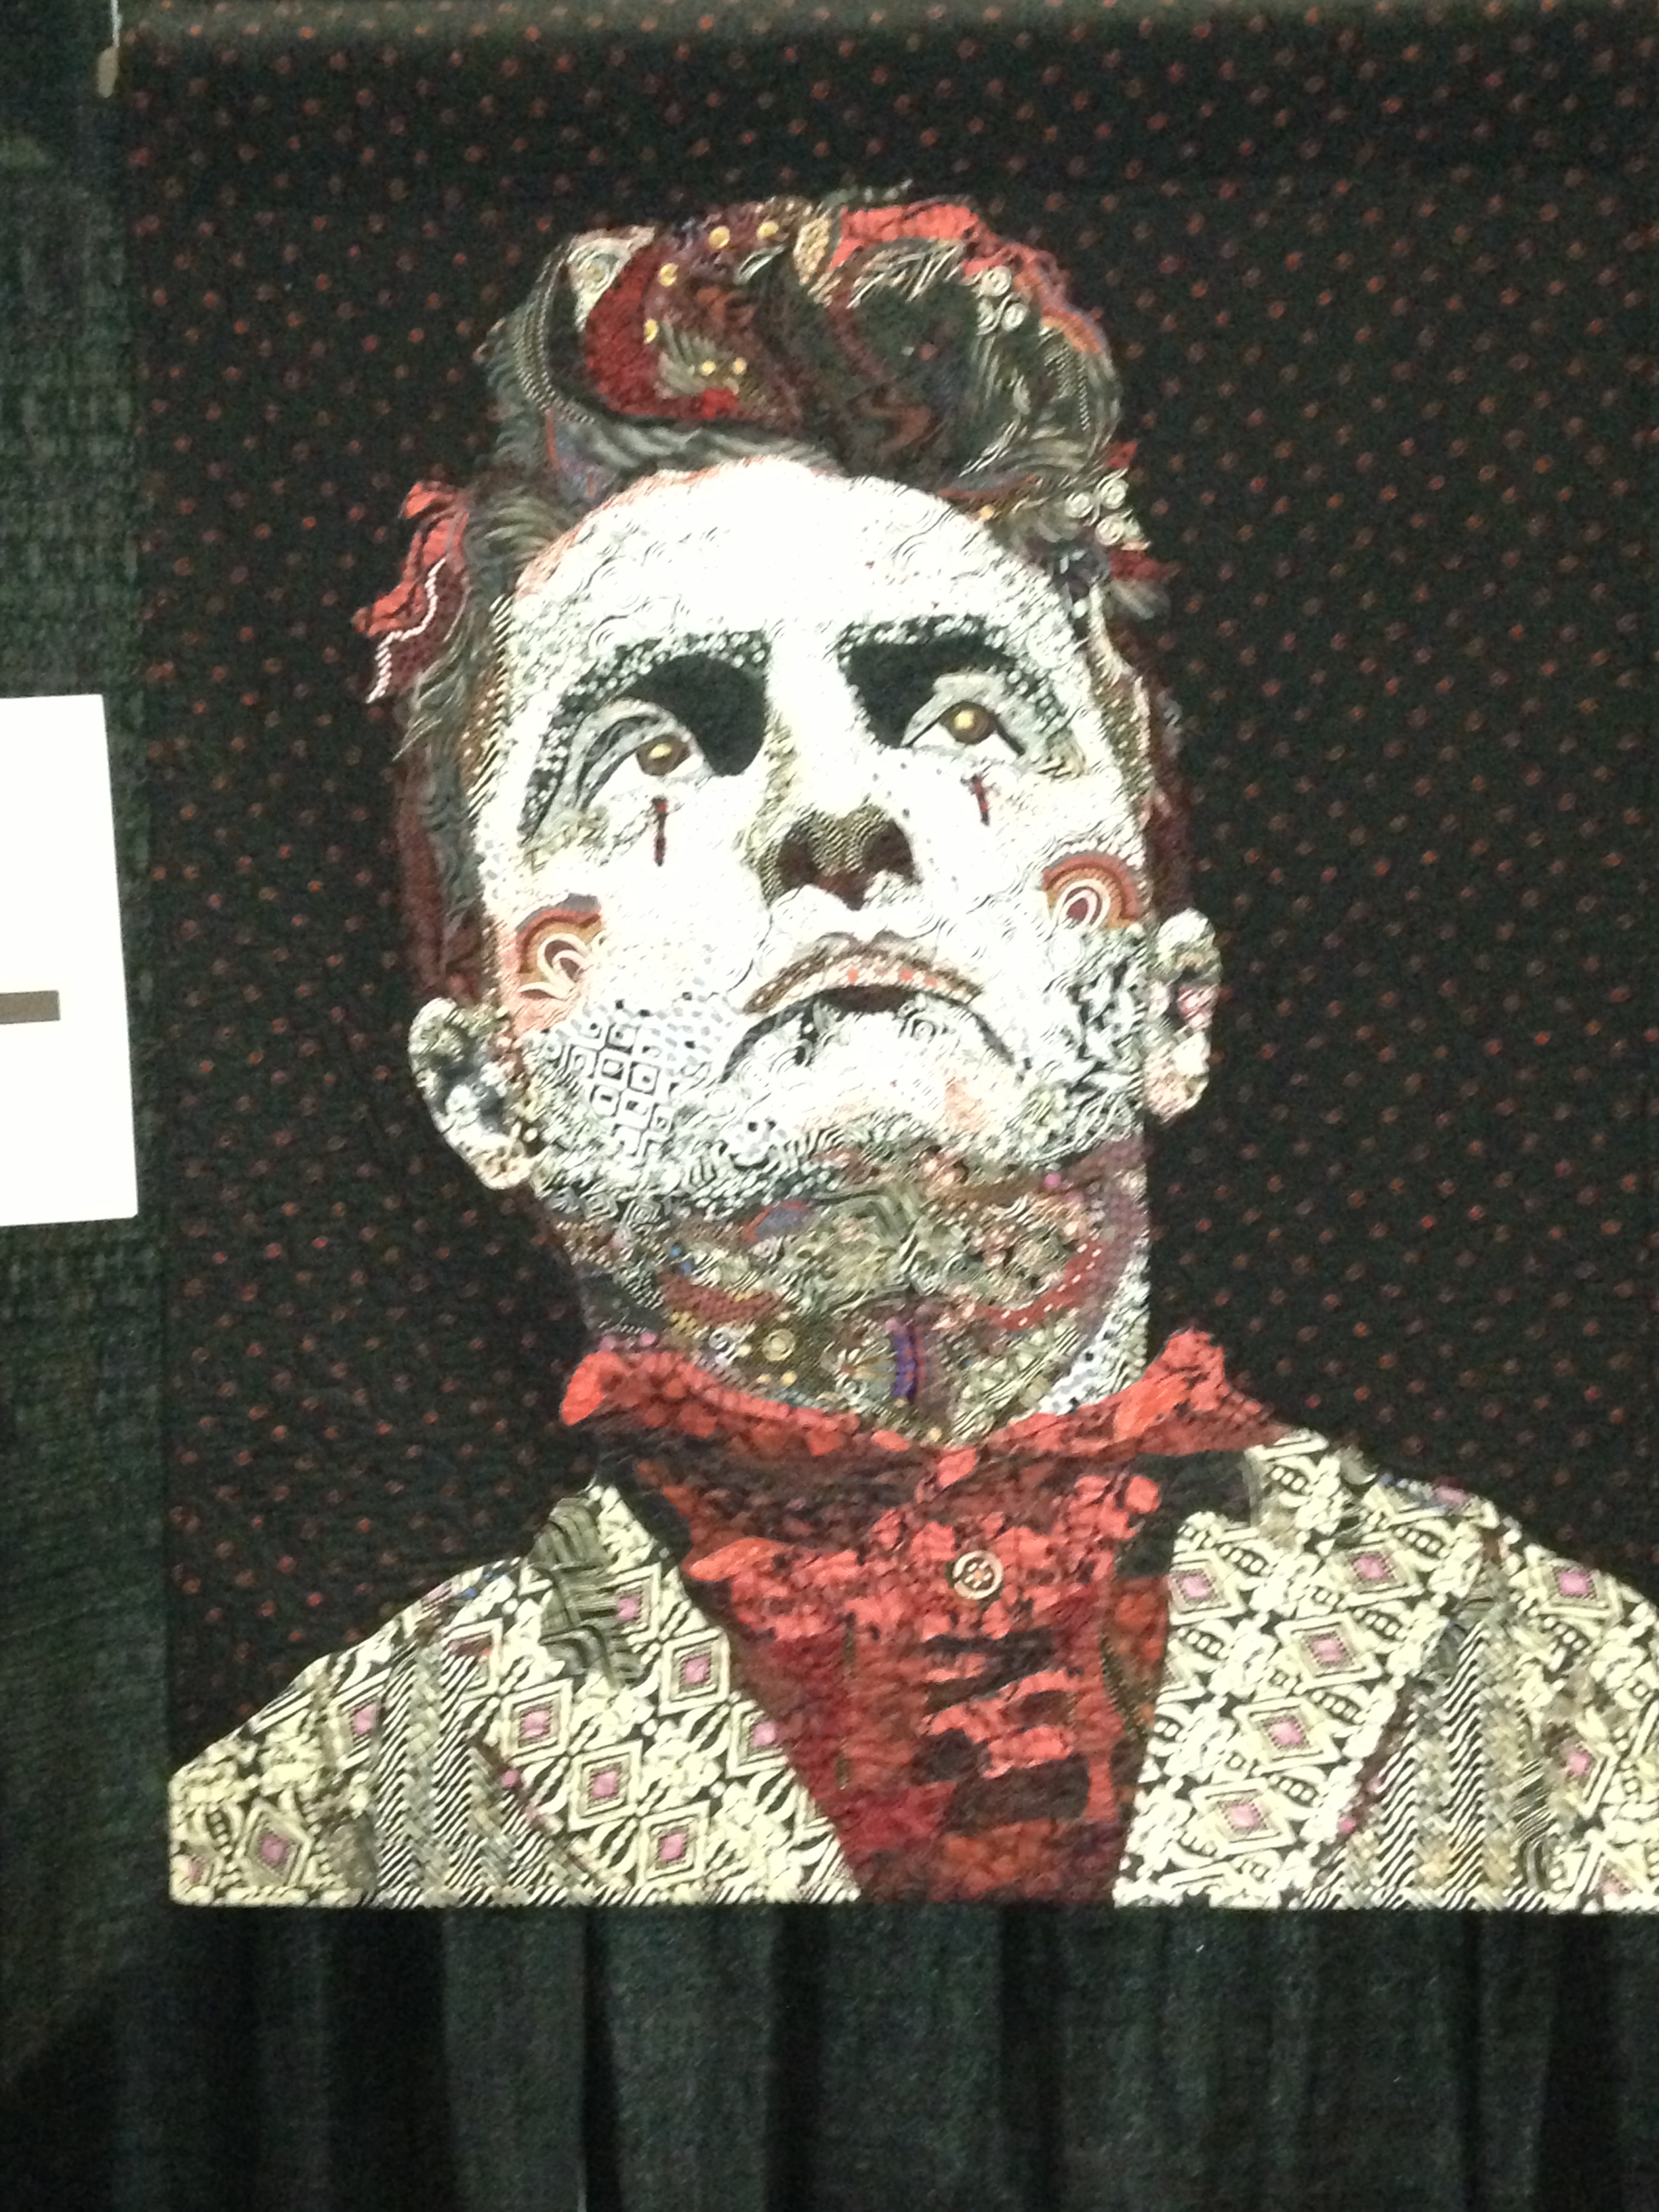
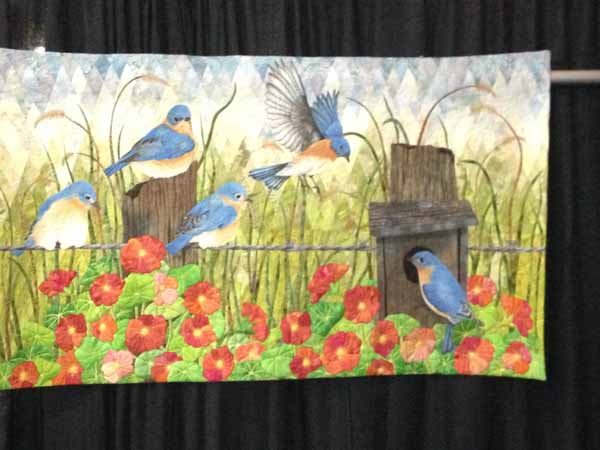
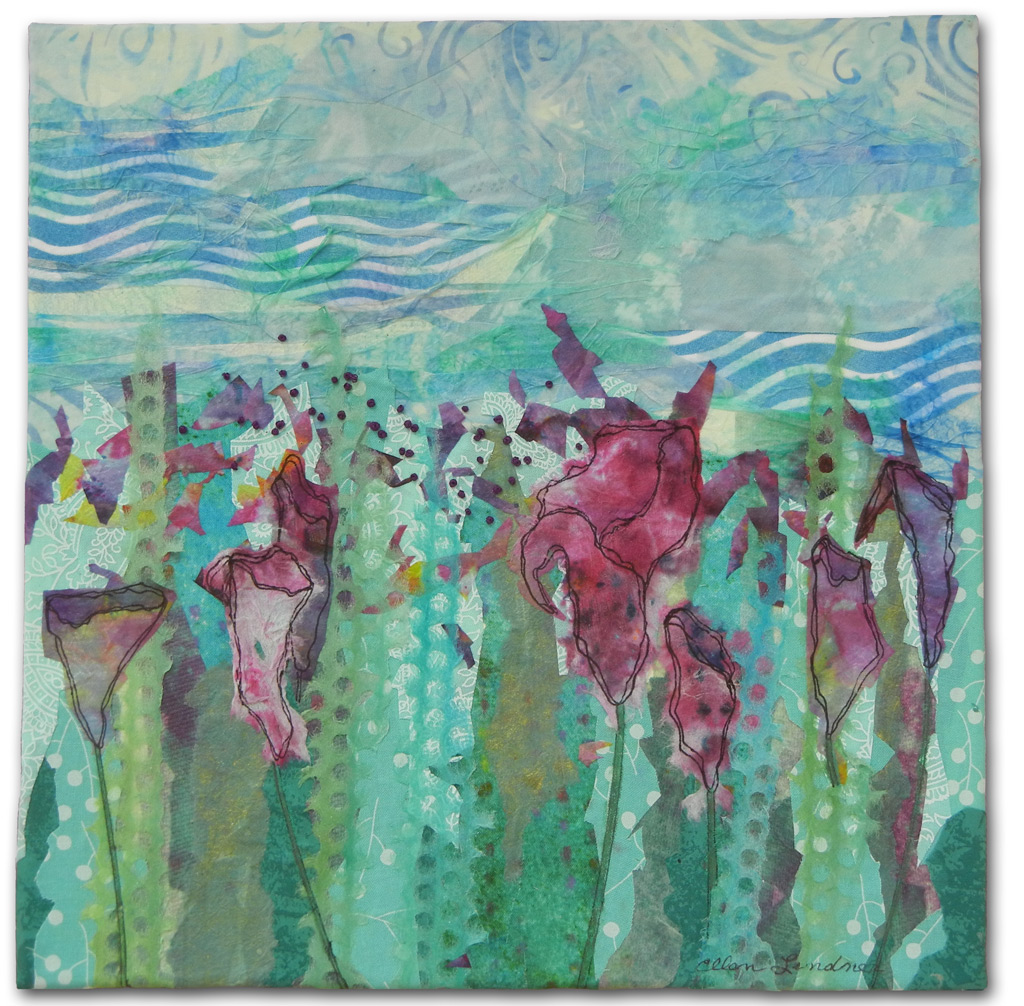
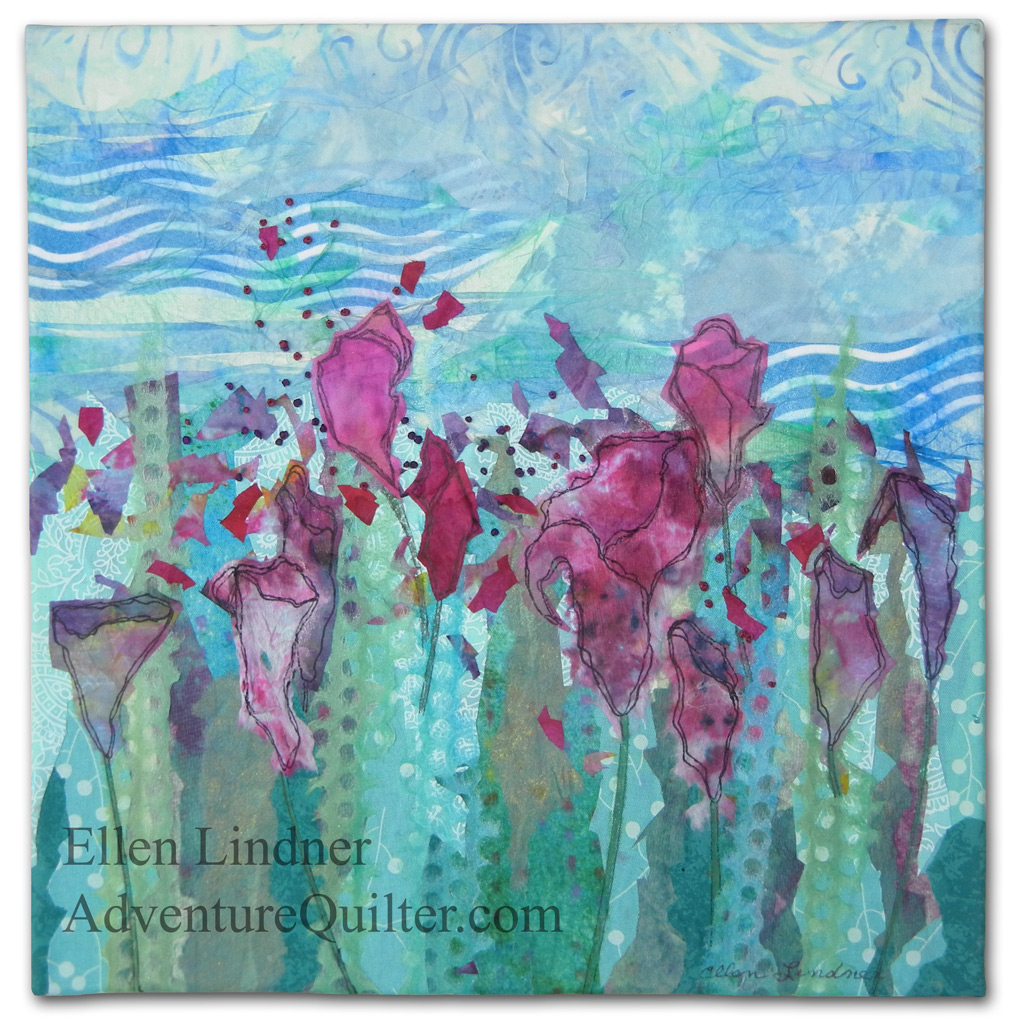
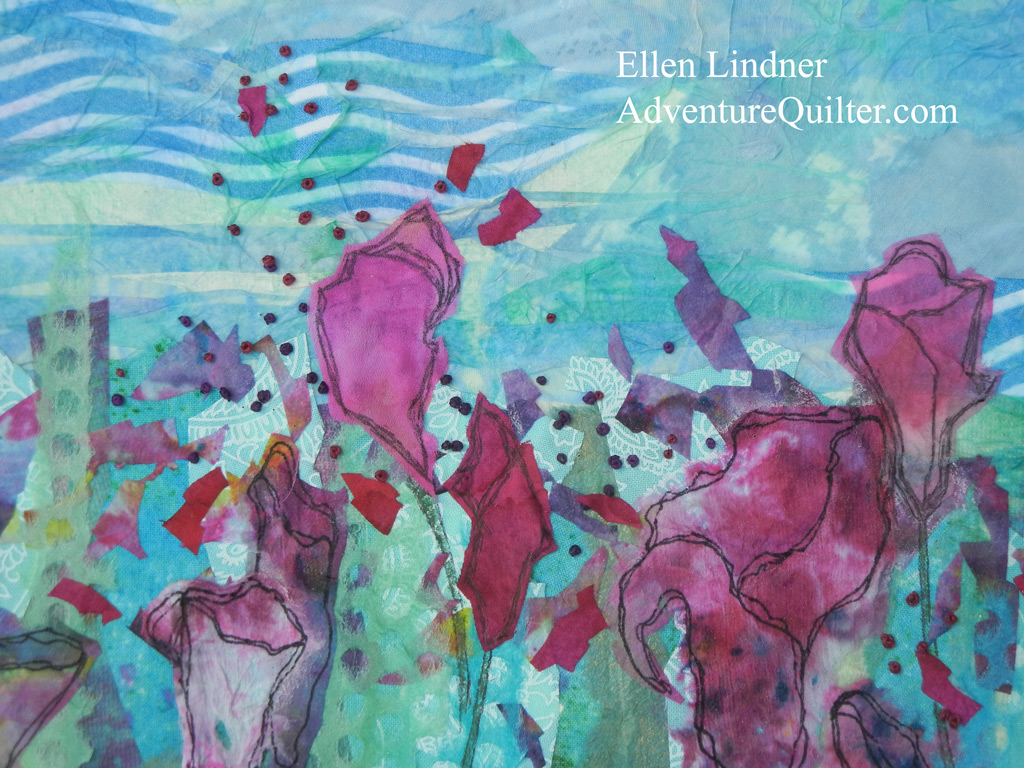
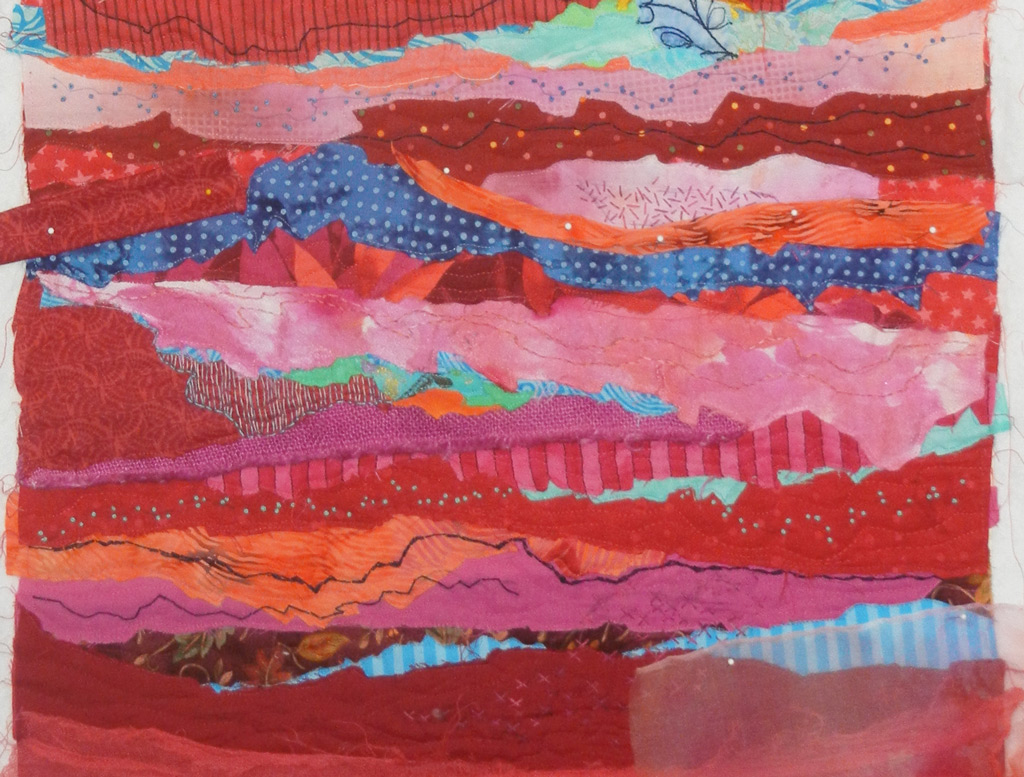
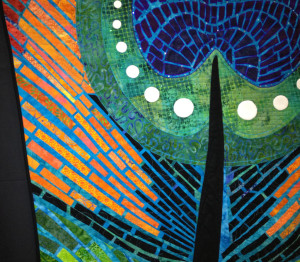
And, to whet your appetite a little more, here’s a photo of one of my favorite quilts from our last show.  It’s called Phantom Phoenix, and it’s made by Sylvia Clary. 

Click any image for a larger view

2c-sylvia-clary-phantom-pho

2c-sylvia-clary-detail

See you at the show!

Ellen Lindner

Full show details:

Treasures by the Sea Quilt Show
March 7 & 8, 2014, 10-5

Melbourne Auditorium
625 E Hibiscus Blvd.
Melbourne, FL

Admission Donation $7.00

Over 200 judged quilts on display

Opportunity quilt raffle to benefit the Children’s Hunger Project. 
Tickets $1 donation

Vendors, Lectures, and Demos

Special Displays by Free Spirit Art Dolls
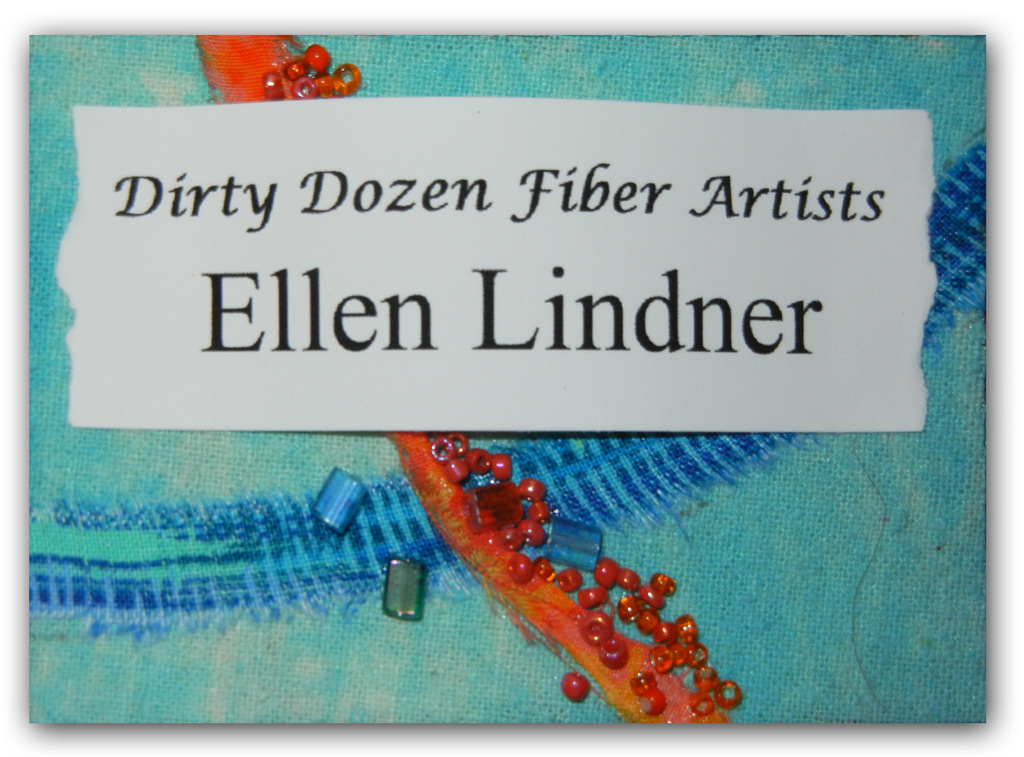
and Dirty Dozen Fiber Artists

Silent Auction
Small Quilt Raffle
Boutique Items
Book Nook/ Tool Shed

Quilts for Sale

Quilt Appraiser – Sharon Metzger, AQS certified

Light lunch available for purchase

New Beaded Name Tag

My local fiber art group, the Dirty Dozen, has an exhibit coming up soon and we’re all making new name tags.  For consistency, we all worked with the same support material, the same dimensions, and the same font/size for our printed names.

I had great fun making mine.  I decided I wanted the paper name part to be raised a little, so I glued a big bead on as a platform/obstacle of sorts.

2a-nametagip

Then, I added the name, glueing the two ends only.  Here’s the finished product.  Can you see how the name is raised a little in the middle?

Click any image for a larger view

2a-nametage-cows

About those beads.  They’re glued on!  I used Alene’s Jewel-It.  It works beautifully if you get enough on each bead.  (Practice never hurts.)

In order to attach this name tag to my clothing, I glued a small yo-yo on the back.  I’ll pin a safety-pin through my shirt and into the yo-yo.

Want to make a similar name tag?  Check out my tutorial, which includes dimensions, a supply list, and suggestions for variations.

Ellen Lindner

See more tutorials and articles

Designing with Teenagers

I’ve just started teaching an 8 week after-school art class to a group of teenagers.  We’ll be making glued fabric collages and also learning about some basic art principles.

Last week, I did a kick-off Show and Tell with an interactive demonstration.  Beforehand, I QUICKLY prepared a small background composition, with just sky and grass.  To make it portable, I worked on one of my travel (i.e. small) black design walls.  This is what it looked like when I took it in. 

Click on any image for a larger view2-Design-board-before-demo

(I was very happy with my quick sky, but I could see the grass would need some reworking.  No worries.  It suited my purposes.)

The students helped me make decisions about the addition of the first few pieces – only about 8 of them.

2-design-board-after-demo

I was quite happy with this start.  Those rough cut red/orange fabrics were definitely showing promise as flowers, and I think it was a good start to the composition.

But, I HAD to work on the grass.  It was a little awkward to work on a portable design wall, since I had it propped on a table.  This was my set up as I auditioned better grass fabrics.

2-design-board-in-studio---

I got rid of some of the darker and muddier fabrics, as well as some of the VERY yellowy greens.  Plus, I added some more high contrast fabrics and interesting patterns.  As you can see, I referenced two earlier pieces with grass in them.

And this is what it looks like now, with (I think ) all pieces pinned in place.  I’m very happy with it.

2-composition-complete


When stitching the flowers I’ll use black thread and turn them into poppies.  But it’ll be a while before I get to that:  I’ve got to plan next week’s lesson!

Ellen Lindner

Learn more about my collage process

World Quilt Show – Florida 2014: Part Two

In my last post I showed you many of the wonderful traveling quilts at what we locals call “The West Palm show.”  Now, for the ones made by Floridians.

Click any image for a larger view

Affirmations, by Pat Kumicich

Affirmations, by Pat Kumicich, one of the big winners

Mozart

The quilt above is called “Mozart.” I neglected to photograph the sign, so I don’t know the maker. But, see the detail shot below.

Mozart detail

100 Years at Rest, by Nikki Hill.  Detail shot below.

100 Years at Rest, by Nikki Hill. Detail shot below.

Nikki Hill, rest, detail

Equus, by Sandy Monk.  This was part of a special Black and White exhibit, from a local group.  Two ribbons!

Equus, by Sandy Monk. This was part of a special Black and White exhibit, from a local group. Two ribbons!

Breakers, by Sheena Norquay

Breakers, by Sheena Norquay – Click to see the texture

I didn't properly record the title of Michele Sanadajian's piece

Hearts on Fire, by Michele Sanadajian.

Drops, by Karen Marchetti.  The water drops in this quilt are actually 3D.  (But, even if they weren't, they're painted so well you would think they are.)

Drops, by Karen Marchetti. The water drops in this quilt are actually 3D. (But, even if they weren’t, they’re painted so well you would think they were.)

This is a detail shot of Deb Crine's "Bloom."  It won a blue ribbon in its category.

This is a detail shot of Deb Crine’s “Bloom.” It won a blue ribbon in its category.

And, last but not least, a photo of my chauffeur for the day, Gabriele DiTota.  She’s shown with her Hansel and Gretl quilt.  It’s VERY 3D!
Gabriele DiTota w. Hansel and Gretl

Wonderful quilts!

Ellen Lindner

See a gallery of my own quilts

World Quilt Show – Florida 2014: Part One

Kathryn Fox, Shattered, Face detail

Shattered Face, detail, by Kathryn Fox

Bam!  There it is:  my favorite quilt from the World Quilt Show – Florida 2014.  Isn’t it great?  Click any image for a larger view

Here’s another quilt by the same artist.

Karen Fox, rhino detail

Rhino, detail, by Kathryn Fox

Check out this very close shot.  This piece features A LOT of threadwork!
Karen Fox, rhino very close

Here are some more traveling quilts, for your enjoyment.

Hollie Dominie, Mr. Grimm

Mr. Grimm, by Hollie Dominie

Floral Lure, by Laura Friedman

Floral Lure, by Laura Friedman

Laura Friedman, detail

sherry pryor, not your grandmothers nine patch

Not Your Grandmother’s Nine Patch, by Sherry Pryor


Elrod, boathouse detail

Boathouse, detail, by Carol Elrod

And a traveling king.

King Hentry, by Linda Brackett, Curator's Choice, Hoffman doll challenge

King Henry, by Linda Brackett, Curator’s Choice, Hoffman doll challenge


Bluebirds, by Laura Ruiz, First place in its category

Bluebirds, by Laura Ruiz, First place in its category

Laura Ruiz, detail

This show has two distinct components:  a competition of quilts made by Florida quilters, and a display of traveling quilts.  Most of the latter are from Mancuso’s worldwide quilt competition.    I THINK I’ve shown you only traveling pieces in this post, but don’t hold me to it.  In the next post, I’ll show you the quilts made by Florida quilters.

There was lots to see and enjoy at this West Palm Beach show!

Ellen Lindner
P.S.  You might also enjoy seeing some of the quilts I photographed at the Houston International Quilt Festival.

It Just Had to be Done

I couldn’t take it.  It just had to be done.

That is, reworking a previous piece.  In this case, it was a glued collage, originally completed in 2012, called Garden of Restfulness.  Here’s the “before” version.  Definitely not horrible, but I thought it needed some flowers higher up.

Click any image for a larger view

1b--1st-Garden-version

Garden of Restfulness, 2012 version

So, as usual, I did some playing.

1b-Auditioning-changes

Much better.  I glued the fabrics down and arrived at this “after” version.  (These next two photos show the true colors.)

1b-Garden-of-Restfulness-re

Garden of Restfulness, updated 2014 version

More French knots added interest.

1b-Garden_Rest_detail

Am I the only one who alters things after they’re finished?

Garden of Restfulness, 12 x 12, $125.  Audition it in your home.

Ellen Lindner

The Value of Working Slowly

Creating art with fabric and thread is a slow endeavor.  I admit to sometimes being jealous of artists working in other media, since I “know” they can complete their pieces more quickly.

I’m using a lot of hand stitching on my current quilt, which is slowing me down even more than usual.  Click on the image for a much better view.

1a---close-up-hand-stitchin

However, I have to reluctantly admit the benefit of working slowly.  That is, it gives me time to ponder options.  And to consider a quilt’s strengths, weaknesses, and possible variations.

This sort of thinking made me notice some issues with my current quilt.  And convinced me to add more contrast to the desired focal area, top left.  I had been noticing, on Pinterest, how many art pieces benefitted from a few dark spots, so I auditioned the idea with some pieces of black fabric.

1a---first-black-added

Hmm.  From the first audition, above, I learned:
– Yes, black adds contrast,
– But, it’s pretty strong,
– And the placement and size of the pieces will be critical.

I calmed things down a little by switching out most of the black for dark purple and gray.  And did a lot of fiddling.  Plus, I reworked the largest blue shape.

Eventually, I arrived at this which is (I think) my final composition.

1a---final-comp-w.black

So, the title of this post is sort of a pun.  The “value” of working slowly is that I noticed the need for value (light/dark) contrast.

Now, for some more hand stitching.  While I continue to consider this piece.  Not sure, but it might be getting close to completion.

I’m interested as to how others work on abstract pieces like this.  Do you do a lot of this back and forth slow auditioning and reworking ?  Or, do you go in with a strong vision and efficiently implement it?

However, you do it, I hope you’re enjoying the process.  I am!

Ellen Lindner
AdventureQuilter.com
P.S. If you like this sort of abstract composition, you might enjoy my Notes for a Friend series.


Tweeking

I’ve been steadily working on my current quilt.  Here it is after I added all the blue-green shapes.  They really helped!  In this photo everything  is stitched in place.

Click any image for a larger view

1a---all-blobs-stitched

When I work with abstract compositions like this I do a LOT of trial and error!  A lot.  I work it, one idea at a time.  Often, one change leads to another.  I just start with the thing I’m most confident about and go from there.

I had two concerns with the composition above.
1- I wanted the blue-green shapes near the top left to be the focal area, but I felt like the light blue spot near the lower right was attracting too much attention.
2- I liked the dark blue shape, but felt like it would benefit from some variation in width throughout.

How could I modify a piece of blue fabric that was already stitched down?  Easy, overlap some other fabrics to modify the underlying shape.  I’ve just begun to audition this idea in the photo below.
 1a--reworking-blue-and-foca

To de-emphasize the blue spot, I had two ideas:
a – cover it with a sheer fabric to make it duller, (also auditioned in the photo above,) or
b – increase the contrast in the desired focal area.

What would you do?  Or do you think it’s perfect as is?  I’ll show you what I chose in the next post.

Ellen Lindner

See more quilts in progress, from a variety of artists.