Instant Art Quilts in The Villages – Part Two

Day Two at The Villages brought another Instant Art Quilt class.  And once again, the students rose to the challenge.

Click any image for a larger view

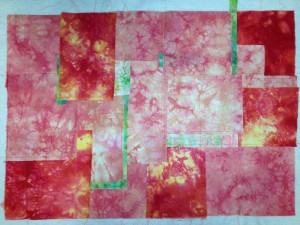
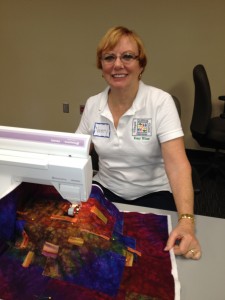
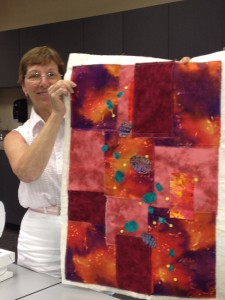
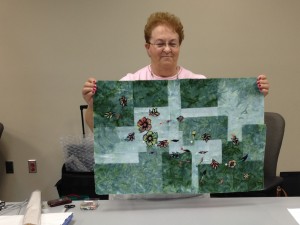
Brenda worked with a variety of fabrics to create her background: a tricky task that she managed extremely well.  A fabric with hot tropical foliage provided the perfect accent pieces.

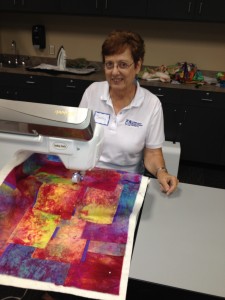
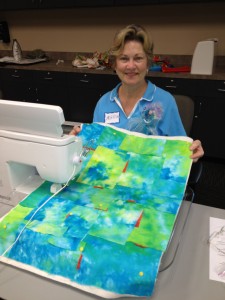
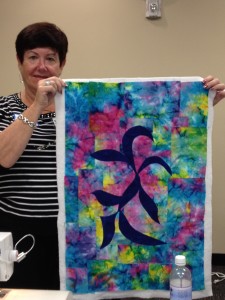
Kathy also used several different fabrics to create her background.  She selected a lovely spring green color for accents.  She plans to add leaves in this color, and sheer flowers in a variety of red-orange colors.  It will be very springy and organic!

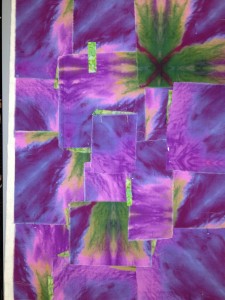
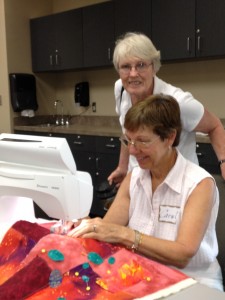
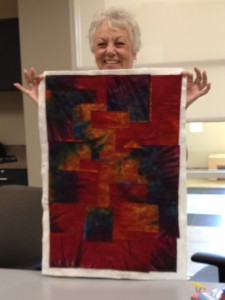
Once arranged, Sharon’s fabric created a natural diagonal effect, which she used to her advantage.  The lime green accents play this up very nicely.

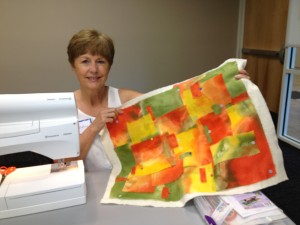
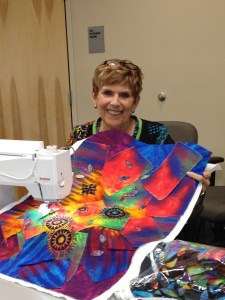
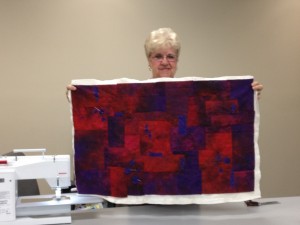
Sally’s fabric had drama to spare!  She was able to quickly work it into a fantastic design.

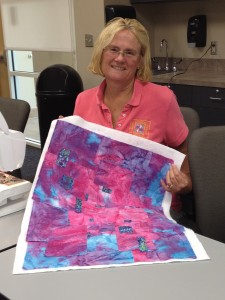
Cindy used a gauzy fabric.  It added a wonderful textural quality to her quilt.  And don’t you love those colors?

The lighter accents of Nancy’s quilt create a wonderful sparkle against the dark background.  A nice selection!

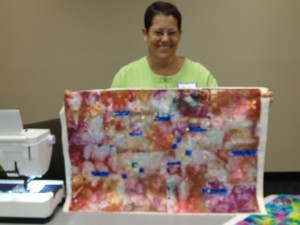
Marlene’s fabric produced a beautiful, subtle background.  She kicked things up with tiny hot accents.  It didn’t take much of that powerful orange-red to do the trick.  Very effective!

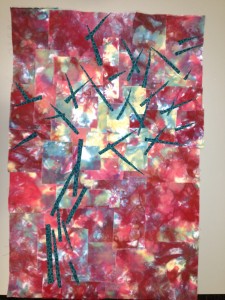
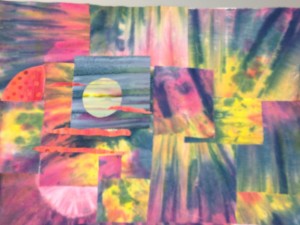
At first it seemed like Cathy’s fabric didn’t have enough contrast to create an effective IAQ.  But then I commented that her background reminded me of looking through vines toward the sky.  So, we sketched and experimented, and she created this design.  I think the abstracted quality of vines and branches is extremely successful.

All the results were FANTASTIC!  What a fun class – for all of us.

Ellen Lindner
P.S.  This class is also taught online.  Click here for info.
Instant Art Quilts in The Villages – Part One

I recently taught two Instant Art Quilt classes in The Villages, FL.  (Yes, that’s the name of the community.)  Geared toward retirees, it’s made up of multiple idyllic villages , with a TON of available activities and amenities – including a quilt club with around 700 members!!! 

As always in this class, the ladies were a little uncertain about the idea of tearing up their gorgeous hand dyed fabrics.  But, they jumped right in and produced beautiful results in just three hours! 

Click any image for a larger view

Above: Pat watching Carol
Below: Carol showing off her nearly finished quilt.
  

Carol actually used three different fabrics for her background, which can be quite challenging.  However, she did a great job.  The blue-green ovals were the perfect complementary accents to her very warm colors.

Dale cut loose, quite literally.  She used a batik for her background, and added fusible applique as her focal point.  She planned ahead and it really paid off!


This was Wendy’s very first quilt!  Wow!  The pride is showing on her face.

The spring colors in Heather’s quilt were very lovely.

Pat’s background fabric had a great variety of values, which she arranged quite well.  However, her quilt needed some excitement.  As she began to cut random accents from a floral fabric, we decided, instead, to “fussy cut” some of the floral shapes.  A unique and appropirate accent, I think.

Ann’s selection of  a complementary color for her accents was very effective.  (If only I had gotten a better photo.)

Joan did her own thing, which I always applaud.  She arranged her base rectangles off-kilter and added a variety of black motifs as accents.  Very dramatic!

Lynn was inspired to make a scene with her quilt.  She’s working on a setting sun and will add a sheer sail boat on the right.  How creative!

 This was the third time I’d had Jackie as a student and she was very enthusiastic, as usual.  Don’t you love the rich colors of her quilt?  And the dark purple accents really set it off.

Micki stayed busy as my hostess, but also had time to arrange her fabric into a dramatic composition.  The diagonal lines add a lot of movement.

Can you believe they accomplished all of this, along with a GOOD bit of quilting, in just three hours?  Way to go, ladies!

Ellen Lindner
P.S.  Learn about the online version of this class.  (Just started on April 6th, 2012.)

Phone Art

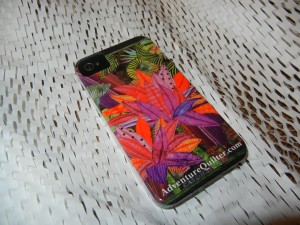
Ooh, I’m a happy girl!  Just check out my new phone cover.

It’s a custom design featuring one of my quilts, along with the name of my website.  Now, how cool is that?  I feel so professional with this slick little number.  I’m afraid I’m having a little too much fun showing it off, though.  I even showed it to a complete stranger at the gym!

Ellen Lindner
P.S.  I got this from zazzle.com.

The Appeal of Distant Vistas

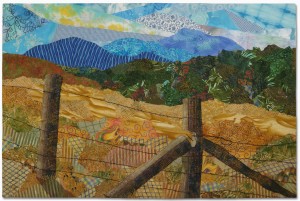
I’m currently part of a two-person show at a local performing arts center.  Called “Visions and Vistas,”  I mostly selected quilts depicting Florida vegetation for it.  But, at the 11th hour, I added this quilt, Mountain Meadows.

Click any image for a larger view.

As the only piece with a distant view, I was afraid it might not look right with the rest of the pieces.  Happily, I was wrong, since the colors and composition relate well to the other quilts. 

Still, I wasn’t expecting it to be so popular with the viewers!  Many of them said it was their favorite piece, and nearly all of them identified it as looking like some place they’d been.  (Although none of them mentioned the location that actually inspired it.)

Clearly there was some sort of universal recognition of this sort of vista.  Which made it much more personal for the viewers, and therefore (I think) affected how much they enjoyed it.  Interesting. 

Maybe there are other vistas or subjects that would strike a similar chord with viewers.  Not that I would necessarily choose subjects because of that, but it’s definitely got me thinking.

Ellen Lindner
P.S.  You can see most of my exhibit pieces here.

“Visions and Vistas”

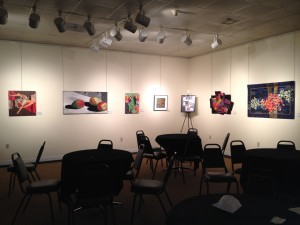
What do you get when you mix my colorful art quilts, the wonderful silk paintings of Jo-Ann Jensen, and a great venue?  Our current exhibit, Visions and Vistas.

Click image for a larger view

The exhibit space is the lobby gallery of our local performing arts center.  It shows off our work beautifully with good lighting and plenty of space.  Unfortunately, the gallery is only open during performances, but Jo-Ann and I have had fun arriving early to chat with the show patrons.  We’ve had some very interesting conversations and have received lots of compliments. 

Of course, most people are unfamiliar with fabric collage, so they’re very intrigued by my process.  It’s exciting to educate them about fabric as art.  (I don’t generally use the word quilt with non-quilters, since they tend to translate the word as “bedspread.”)

Jo-Ann and I are enjoying this collaboration so much we’re considering repeating it at other venues.

You can see all my exhibit pieces here.

Ellen Lindner

Courage in Ann Arbor

The ladies in my recent “Design Your Own Nature Quilt” class in Ann Arbor really rocked.

They set aside their fears about working loosely and forged bravely ahead.  (With a few hesitations, of course.)  The results were fabulous.  After only three hours of working on their compositions, these photos show just some of the results.

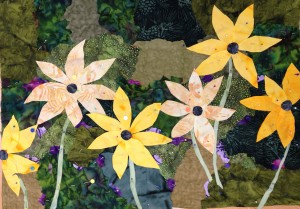
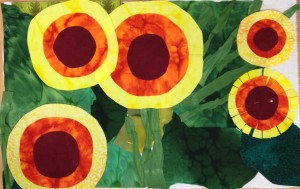
Norma cut loose – quite literally – with her quilt.  Although her inspiration photo showed the flowers from a variety of angles, she decided she liked this “full frontal” view the best.  (Great job being inspired by her photo, rather than owned by it.) 

Click any image for a larger view

I love the way she’s filled the space so effectively with these happy flowers.  Even the stems are dancing!

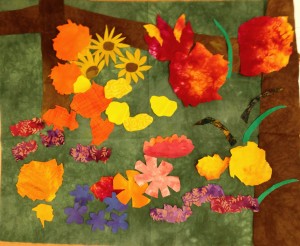
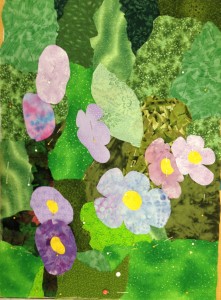
Carol worked from a busy garden photo and decided to depict her flowers somewhat accurately.  However, she took liberties with shapes and added a few new flower types to her exhuberant garden.

Carol will add lots of greenery in the foreground.  She’ll also add details to the flower shapes with colored pencils, thread stitching, etc.  It’s going to be a wonderful explosion of flowers!

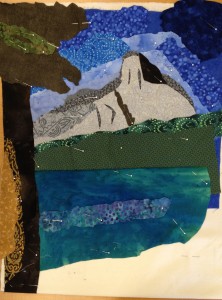
Mary interpreted a photo of a mountain lake – with a mountain in the distance and a tree in the foreground.  She did a great job of working loosely, and her piece is progressing nicely.  Mary wisely interpreted the light and shadows in her picutre pretty accurately, so her quilt will have a wonderful depth to it.

Lori worked from a wonderful photo of delicate pastel flowers, all of them facing right.  She’s representing that correctly with the oval-like shapes of her flowers.  Once the flowers are complete, she’ll add an abundance of delicate diagnonal stems and a few buds.  It will be a delightful and peaceful quilt!

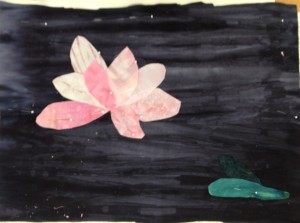
Paula’s photo depicted floating lily pads and a single flower.  Although it was tempting to use blue for her water, she realized that it actually looked dark gray in her photo.  She mimiced this with the perfect hand dyed fabric!
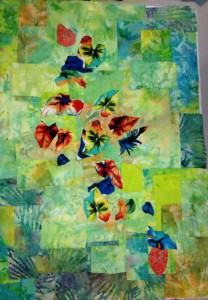
Normally, I’d suggest creating an image from the background foreward, which means Paula would have worked on her lily pads next.  However, we wanted to make sure the lily pad fabrics wouldn’t over power the delicate flower.  So, she created the flower first.  This reference will help with all her other decisions.  Doesn’t it look fantastic against the dark water?
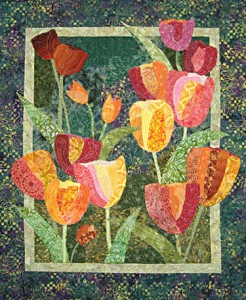
Debbie’s photo featured closely cropped flowers with lots of tiny petals. (Zinnias, maybe?)  She wisely decided to create the flowers with large pieces of fabric, cutting the tiny petals only after the fabrics were placed.  Brilliant! 

Debbie has just started cutting those petals on the right flower.  Rather than just snipping the fabric, she’ll also cut away some tiny triangles.  This will give those petals the needed definition.  It’s going to be great!

Unfortunately, I didn’t get photos of all the pieces in progress.  They included a Tuscan landscape with fuschia, another lily, several more lake scenes, and other exciting compositions. 

It’s so much fun to teach this class!  I’m very fortunate to be able to do so.

Ellen Lindner
P.S.  I also teach this class online, but only about once a year.  If you’d like to be notified when it’s offered next, you can add your name to the distribution list near the bottom of this page.
P.P.S.  I’ll be teaching this class live in Jacksonville, FL in August, and Orlando, FL in September.  Full details


Apples in Ann Arbor

I recently had fun teaching Double Reverse Applique in Ann Arbor, Michigan. 

Click any image for a larger view

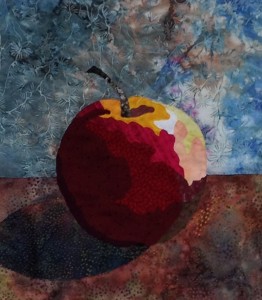
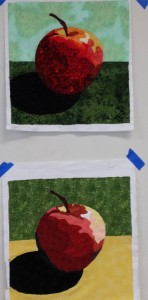
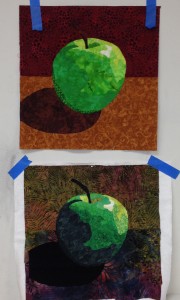
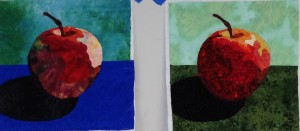
As usual, we had an awesome batch of apples by the end of class. 

It’s always great to see how different they all are.

Marilyn, Paula, Debbie #1, June, Brooks, Judy, Connie, Bertraud, Kaye, Marge, Debbie #2, Cindy, Rachel, and Janice did a great job!

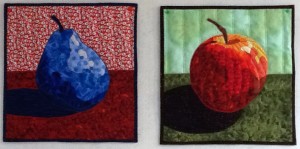
We also had 3 pears completed by the end of class, including one blue one!

Update:  Marilyn sent me photos of her finished projects.  She added a little satin stitching around the edge of the pear, which I think sets it off beautifully.  Awesome!

My hostess, Lori, went way above and beyond the call of duty.  She drove me all over the place, fed me, and took very good care of me.  

Ellen Lindner

Seams Unique 2012 Exhibit

We’re lucky to have several small art quilt groups in my area.  One of them is Seams Unique, which has their annual exhibit currently on display.

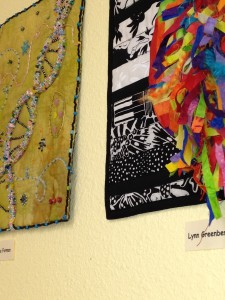
The far wall of the exhibit space features a large sign and a small quilt from each of the members.  Several of these have really wonderful textures.

Click any image for a larger view.

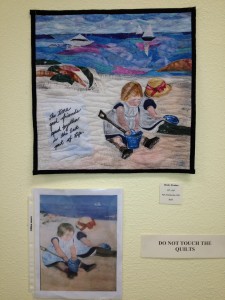
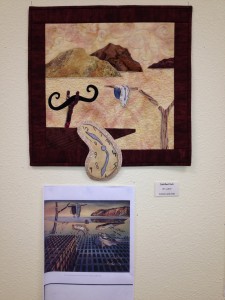
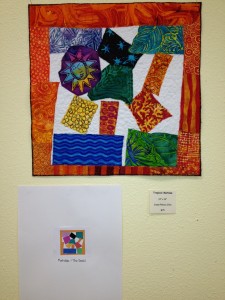
One of the group challenges involved interpreting a painting in fabric.  These were very interesting, and amazingly well done.

The piece below is by Pam Chamberlain, representing Cassatt.

This one is by Andrea Luliak, inspired by Dali.

Susan Rienzo interepreted Matisse in this quilt.

 See what I mean?  Aren’t they great?

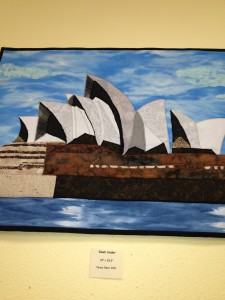
Another group challenge involved depicting a favorite location.  Vanya Neer did an exccellent job featuring the Sydney Opera House.

The Seams Unique exhibit is on display through March 31st at Boutique 4 Quilters, in Melbourne, FL.  Hope you get to see it!

Ellen

Awesome Student Work

I’m really enjoying working with the students in my current online class, Design Your Own Nature Quilt.  One of the items on the supply list for this class is “artistic courage,”  because the students often need to work outside their comfort zones. 

Click any image for a slightly larger view

The quilt above was made by Monica Spicker, and it’s entitled April in Amsterdam.  Her inspiration photo featured lovely tulips lit from behind.  Monica was inspired by the photo, but not owned by it.  (Our class motto.)  She altered the composition a little, and used value to both add depth and to create a focal point.  Isn’t it fantastic?

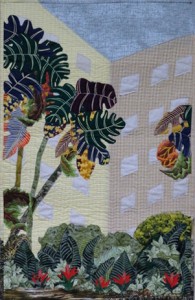
Martha Ginn made the quilt below, The Atrium at the Oschner’s.  She used several photos as her reference, creating her own unique composition.  Martha did an excellent job of getting her fabrics to do the work for her.  (Notice the vegetation throughout.)  Delightful!

I love the way these ladies, and the other students, have mustered their courage and moved forward, gaining new skills and confidence in the process.  I’m so proud of them!

Ellen Lindner
Resources:  Monica Spicker’s blog, Martha Ginn’s blog

Ready to Quilt – or Not (Croton Quilt)

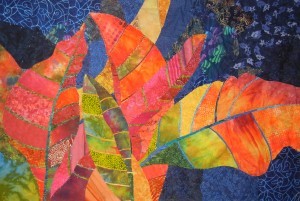
Woohoo!  The quilt was finally pinned and ready to quilt!  I was quite happy with it.  I liked the colors and the contrasting veins.  Just my sort of thing.

Click any image for a larger view

But then, something started to bug me. 

Sometimes I say, “I hate it when I get a good idea.”  Why?  Because then I have to put in the effort to act on it.  Such was the case with this quilt. 

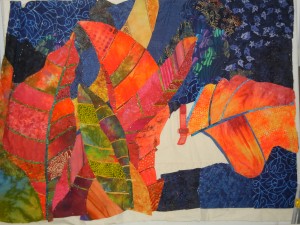
The large leaf on the right seemed sorta like it was springing from nowhere – even though it was consistent with the photo.  Did I really want to put in the effort to change it?  After all, the veins were glued in place and the underlying fabrics had been partially removed. 

But, I knew I had to do it.  I auditioned some changes on the computer and set to work removing the leaf.  See how the central orange leaf needs to be reworked, as well?

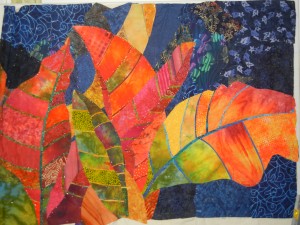
I rotated the base of the leaf a little and changed out the darkest fabric.  This is the result.  I’m much happier with it, even though the change is subtle.

Now, maybe I’ll actually get to quilt this puppy!

Ellen Lindner