Bev’s Results from Design-Nature Class

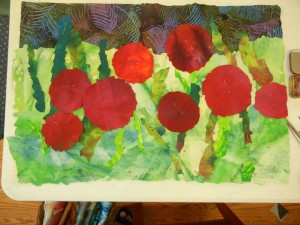
I just LOVE teaching the Design Your Own Nature Quilt class!  And this photo shows why. 

Click the image for a much larger view

Isn’t this a wonderful quilt?  It was made by Bev O’Connell and it’s called Button Zinnias.  You can read more about Bev’s design process on this blog post.

And, you’ll also want to see the wide variety of wonderful quilts students have made as a result of this class.  Check out the student gallery on my website.

Can you see why this is my favorite class to teach?

Ellen Lindner


To Everything There is a Season

There is an appointed time for everything.   And there is a time for every event under heaven.  Ecclesiastes 3:1

I find that I’m entering an appointed time as care giver for a special family member.  Of course, I’d prefer to have all my family healthy, but since that’s not the case, I’m HAPPY to help in this way.   I’m upbeat about the process and the outcome.


Of course, my art making will be curtailed somewhat during this season, but I plan to still find time for some projects.  At the very least I’ll do some sketching and some photography.  I may not be as prolific on this blog as usual, but I hope you’ll check on me occasionally.

Ellen Lindner
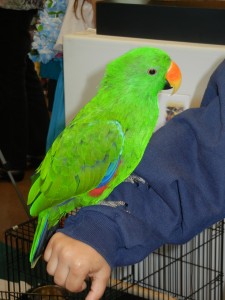
P.S.It’s amazing what can serve as inspiration for art.  Just look at the colors in the photo above.  Blue-green with red and orange: a great combo.

“Winter Maple” (White on White)

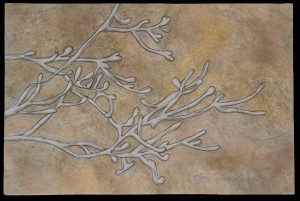
Ta-da!  My White on White challenge piece is finished.  See Winter Maple below. 

Click any image for a larger view

Working with such low contrast was different for me, but I’m quite happy with the final product. 

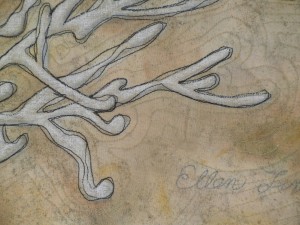
The branches are drawn with oil pastels and outline stitched with black thread.

I kept the stitching very loose (inaccurate) for a sketch-type effect.  Of course, this is easier than accurate stitching, but the main thing I like about it is the appearance.

Echo stitching in the background finished it off.

This was fun and easy to do.  There could be more in my future.

Ellen Lindner

Designing My Latest Quilt (White on White)

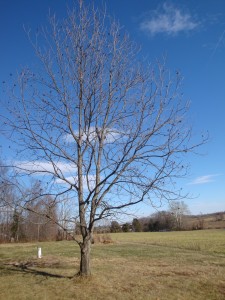
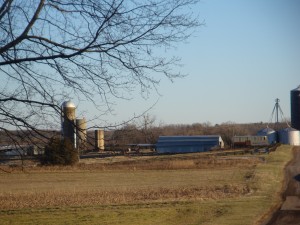
My quilt designs come from anywhere and everywhere, but frequently from the nature around me.  Here’s a photo I took of a solitary maple tree in the winter.

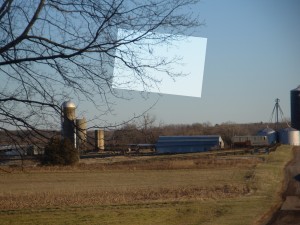
I loved the strong contrast between the bare branches and the blue sky.  I photographed this tree from many angles, and I THINK the one below is the one I eventually selected as an inspiration source.

I don’t quite remember which portion of this image I selected, but I think it was something like this:

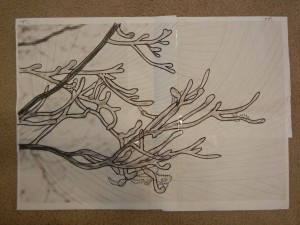
I had to do a lot of editing to get the number of twigs down to a manageable number.  I altered some, as well, and settled on this sketch.

Since I wanted to interpret this design for a White on White challenge, I did quite a bit of experimenting in order to decide on the best technique.

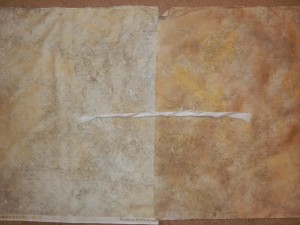
To make the white twigs show up, I decided to paint my purchased fabric with a thin wash.  See the before and after below.  Can you see how the white twigs will show up better on the painted fabric?

I was ready to start making a quilt.  I had a background fabric, a pattern, and a selected mixed-media technique.  Time to have fun!

Ellen Lindner

Birthday Fun with Fiber Artists

It just so happened that my birthday fell on one of the days of my local fiber art group’s annual retreat.  Oh, did we have fun!

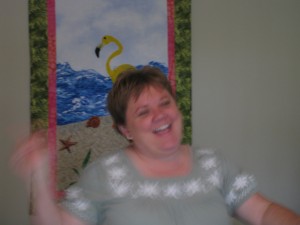
There was dancing, as we listened to oldies.  (See me, in mid-boogie, below.)

Andrea did her dancing while still sewing!

Click any image for a larger view

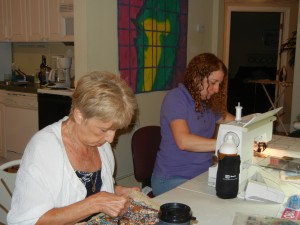
We gathered around a large community table for sewing.  It was fun to all be together.  Bev (L) and Jill (R) are at work, below.

Dij creating.

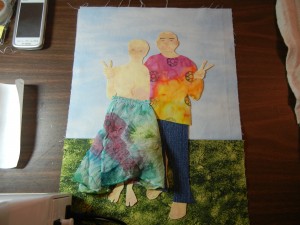
Dij worked on a piece depicting her and her husband as flower children.  We teased her about being topless” for so much of the day.

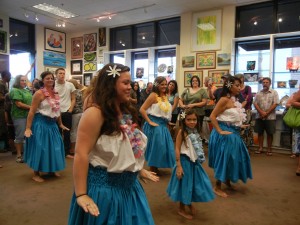
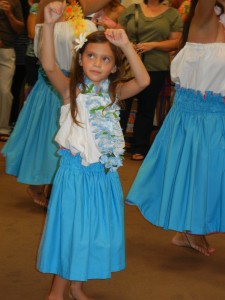
Later, we went to a gallery opening which featured hula dancing!

And steel drums, and parrots.  Quite the party!

We ended our evening with a great dinner out, complete with an awesome (and free) birthday dessert.  Now, I ask you, does it get any better than that? 
(Actually it does, because my family pampered me the next day too!)

Enjoying myself – and hoping you are too,
Ellen Lindner
P.S. Did you notice the nice background quilts in our sewing area?  They’re all made by Diane Smith, a former member of our group.

Abundance of Fabric!

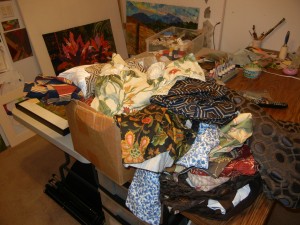
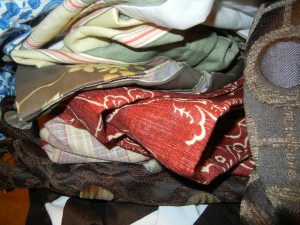
Ooh la la, look what I got!  Click images for larger views.  A friend brought me this big box of old drapery samples and such.

Most of the fabrics are large scale prints with lots of stripes and such.

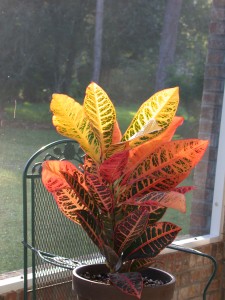
I’m about to start work on a large Croton quilt.  I think the striped fabrics will be perfect for some of the colorful veins.

Fun!

Ellen Lindner

She Loved It! – Barn Quilt Revealed

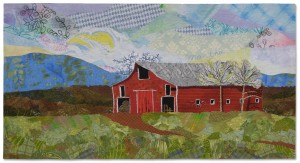
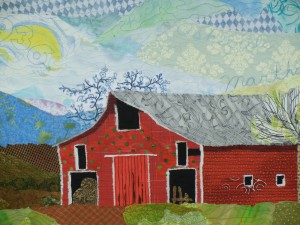
Since the barn quilt I’ve been working on was a commissioned gift, I didn’t want to show the finished project until the recipient had received it.  And now, she has.  So, here’s the completed quilt, made for (drum roll please,) MY MOM! 

Click any image for a much larger/better view.

It was commissioned by my uncle, in honor of his sister’s milestone birthday.  Isn’t that a fantastic gift?  The image shows a favorite view of hers, in rural Virginia, where she lives.

The stitching (quilting) includes a variety of family names, as well as significant dates and places.  And the standing seam roof is 3D.  (Click the image for a better view.)

The backing fabric is light, so family members signed it as part of her birthday celebration.

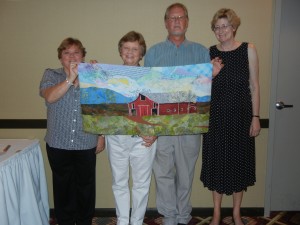
My mom was very surprised and delighted!  I’m so glad!  Here’s the group after she opened her gift. L-R:  Me, my mom, her brother, and his partner.


The presentation of the quilt was just one small part of a weekend full of brithday events and family fun.

I’m quite happy with the way the quilt turned out.  However, I’m not sure I’ll be doing lots of additional buildings.  The barn wasn’t particularly hard, but I did feel compelled to recreate it accurately.  And since I like to work loosely, that was a little challenging.  But, I did the trees and sky loosely, so it all balanced out.  

Happy birthday, Muz!  I hope you enjoy this quilt for many years to come!
Lots of love,
Ellen

Great Progress Made in Design-Nature Class!

The students in my recent “Design Your Own Nature Quilt” class brought their artistic courage to class and bravely jumped into unknown territory.  It was exciting!

Most students found that their compositions were improved when they cropped their inspiration photos rather dramatically.

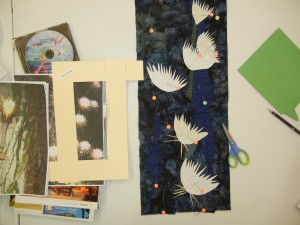
Kathy was an example, and you can see her cropped photo below, at left.  She was able to easily complete the composition (and pinning) stage of her small quilt, below.   She’ll add some of the tiny details with fusing.  Great contrast and drama, right?

Click any image for a larger view.
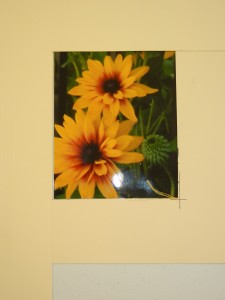
Kristy selected a photo with lots of yellow flowers, but cropped the composition down to just two.  This was very effective.
She made good progress on her lower flower in class (and later did the same with the top one.)  She’ll add red/brown shading with colored pencils to add definition to the petals.  That will make those petals pop.
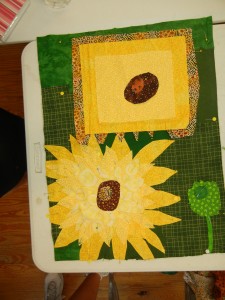
I often photograph my work in progress, and look at the camera image to give me a sense of distance and perspective.  When Kristy and I looked at this image, we immediately realized that her bottom flower looked a little square: something neither of us had noticed earlier.  She rounded it out with a few tweaks.

Bev’s photo had a wonderful composition and contrast.  She decided to follow the image very closely, just cropping the bottom a little.
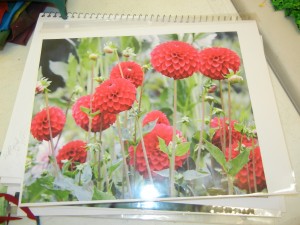
When translating a design from a sketch to an actual fabric composition, properly judging the size of items is often a challenge.  For instance, in Bev’s sketch, the red flowers were about 2″ wide.  But, the fabric ones needed to be more like 4″ wide.  After a little encouragement, she took the plunge and it paid off.  Isn’t it going to be great?

Mary took on quite a challenge in selecting a photo of croton leaves.  Lots of details!  The photo below approximates her cropped version.
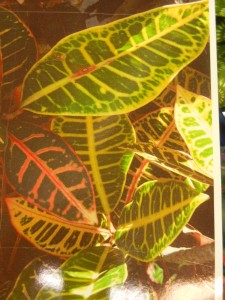
The first large leaf is in place in Mary’s composition:  a large green one near the top.  She’s added the yellow rim at the top, which adds great definition.  Mary knows a technique for adding the little yellow bits throughout, so she plans to lay the yellow lines in place once she’s home.  Won’t that be effective?
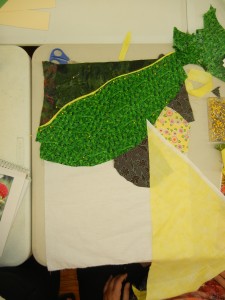
 

On the right, (above) she’s auditioning fabrics for the bases of the next two leaves.  

As is often the case with yellow fabrics, Mary discovered that hers were a little transparent.  She’ll handle this by adding a second layer of fabric and cutting both layers  together.

Carma’s crop, below, added intrigue by having part of her subject run off the edge.  That engages the viewer and adds a lot of interest.
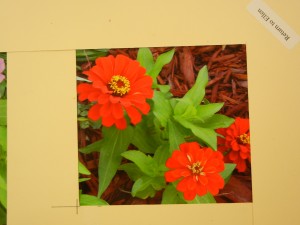
Carma is off to an excellent start with her quilt.  She incorporated purple, burgundy, and gray in the mulch area.  Much better than just browns!
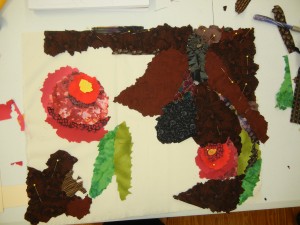
She’s building up her flowers layer by layer.  As with others in the room, she found quite a discrepancy  between the flower size on her drawing and the one she needed for her quilt.  But, when she realized the top left flower occupied nearly one quarter of the composition, she began to increase its size.  This concept was so important to Carma that she decided to name her quilt Think Big.

Update – After a couple of days, Carma sent me this photo of her finished composition:
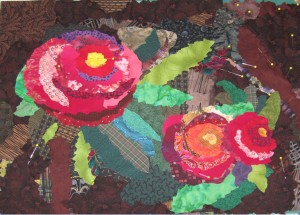
Isn’t it great?  She did a fantastic job of working loosely!  Way to go, Carma!

It was a very successful class.  The ladies learned a lot about design, which they were immediately able to implement into their quilts.  I can’t wait to see the finished products!

Ellen Lindner
P.S.  Want to take a class with me?  Check out my schedule for both online and in person classes.  Or, go to LearnWithEllen.com for more options.
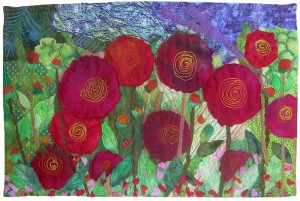
Art Camp Under the Trees

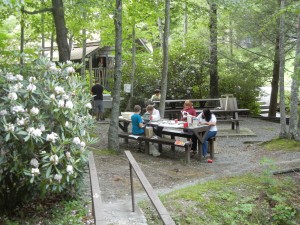
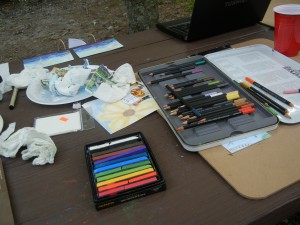
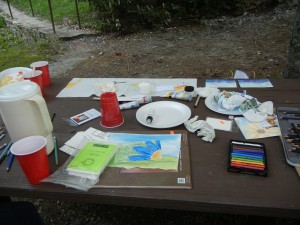
On a recent vacation, I wandered through an art supply store with my mom, sister, and three nieces.  It didn’t take long for the art bug to bite and we were chomping at the bit to create some art!  After purchasing just a few supplies, we headed back to our cabins for “art camp.”  Since we were staying in beautiful rustic surroundings, we decided to conduct our camp on a picnic table under the trees.
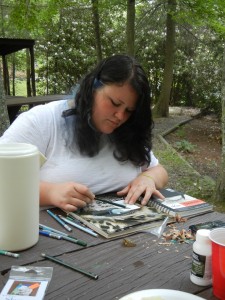
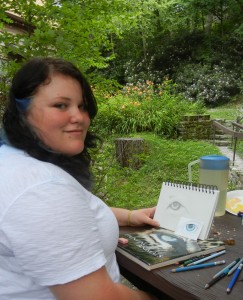
Click any image for a larger view.

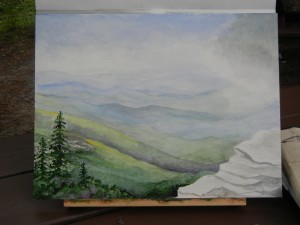
 My mom is the only one who had a concrete plan.  She worked on a watercolor painting she’d started earlier.  (She was the only one smart enough to bring art supplies from home.)  This painting depicts her memory of one of our hikes.

The rest of us worked with abandon, completely PLAYING and making a mess.  What an adrenalin surge!  We purchased several small paper supports and these helped us to work quickly.

We had to pay attention in order to avoid confusing the pitchers and cups containing paint water with those containing lemonade!

Nolie has excellent drawing skills.  She bought a book about drawing animals and couldn’t wait to sketch an eye.

She did a great job!  (Click to see.) 

Wasn’t our setting idyllic?

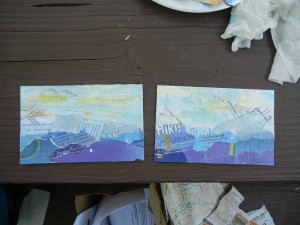
I decided to create a couple of small glued compositions using the various brochures and catalogs I’d picked up at the art store.  Starting with a map of the area, I freely tore and glued.  Simple mountain scenes were both easy, and appropriate for our location.

This was so much fun, I’m thinking I should do it every time I travel.  Wouldn’t that be cool to collage with only materials found on location?

I’d love to hear about your “art camp” experiences.  I highly recommend them! 

Ellen Lindner

Experimenting with White on White

My local fiber art group is having a White on White challenge.  Since I like vivid colors and strong contrasts, that’s a bit of a stretch for me.  But one that I welcome.  Still, I’m VERY thankful that we’re interpreting the definition of white pretty loosely!

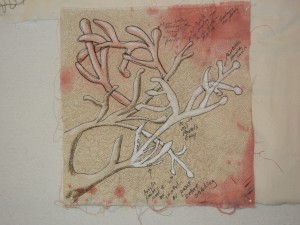
I decided that such a delicate color scheme might be served best with a delicate subject matter.  So, I began to consider tree branches:  white on tan, maybe.  But, how to depict them?  To find the answer, I began to experiment.

Click the image for a much larger view.

How should I create the white branches?  Paintstiks? Acrylic paint, oil pastels, ink…?
But, I need some black stitching to define the branches, right?  Single stitching or double?
What about shading?  Can I do that effectively on a small scale?  Is it even needed?
And what about the background stitching?  Stippling, echo, or something entirely different?

I don’t think I’ve hit on the perfect combination yet, but I’m having lots of fun on the journey.  One happy accident:  I noticed that the reddish “stains” on this scrap are quite nice.  I think I’ll try to replicate something like them.

What experimenting have you been doing lately?

Ellen Lindner