Flower Wagon Group Results

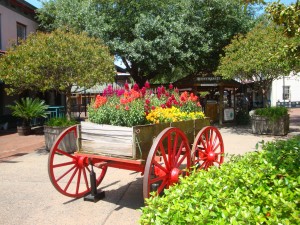
Way back in May of 2010, I offered up some photos of a flower wagon as the starting point for a challenge.

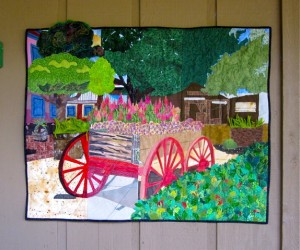
Several people, (including me,)  have created quilts or other art using these photos. ( Just search on Flower Wagon Challenge to see all related posts.)  Contempos, a group in Sarasota, FL also took up the challenge, and sent me photos of their completed quilt.

Click any image for a larger view.

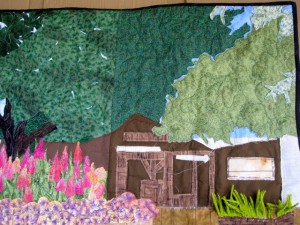
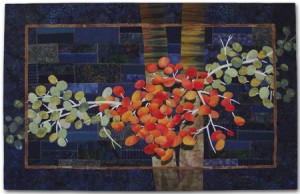
Isn’t it great?  I love the way the tree runs off the top edge.  And the great contrast throughout.  This quilt is currently on display at the Arts Council of Manatee County,in Bradenton, FL.  It will be there until the end of February.

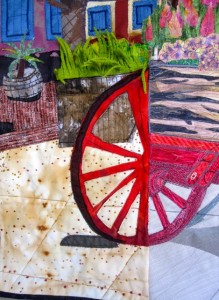
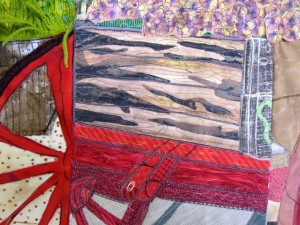
It’s hard to tell that this piece has any seams, but take a closer look.

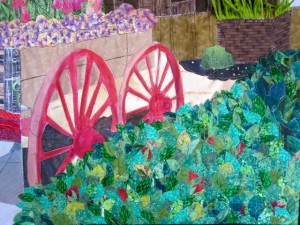
See the floral fabric in the next photo?  They created it with markers and alcohol!


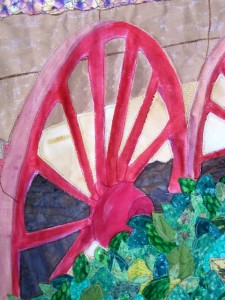
And this wheel is painted.

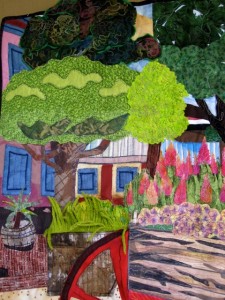
The top left tree is felted.

 
The next photo shows some of the 3D leaves and grasses.
 
 
In addition to the techniques mentioned, this piece also includes thread painting, rusting, hand embellishment, burning and couching!  Wow!  What a creative interpretation! 
 
You can also see this quilt at the Friendship Knot Quilters Guild
upcoming show, March 11 & 12.
 
Ellen Lindner

Embassy Publications!

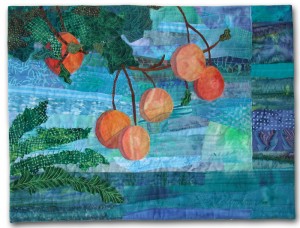
My quilt, Lakeside Citrus, is currently on loan to the U.S. State Department and on display in the residence of the U.S. Ambassador to Estonia.  Pretty cool, huh?

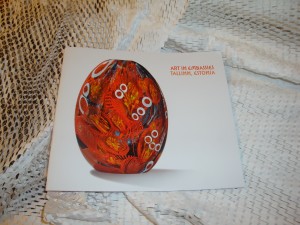
The State Department runs a program called “Art in Embassies,” through which artwork is placed in U.S. embassies around the world.  An exhibit catalog is created for each exhibition.  This is the cover of the Estonia catalog, featuring a beautiful blown glass vase by Eric Rubinstein.

Click any image for a larger view

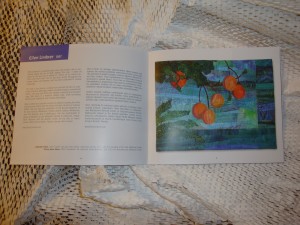
And here’s the two-page spread featuring my piece.

(Part of the reason each piece needs two pages is because the text is written in both English and Estonian.)

Perhaps you’d like a better look at this quilt.

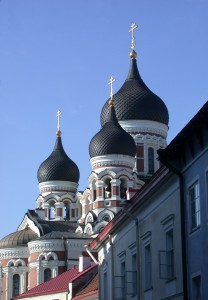
As part of a Scandinavian cruise, I briefly visited Tallinn, the capitol of Estonia.  It is a beautiful walled medieval city, and our favorite stop on the cruise.  Think stone city walls, cobbled streets, onion domes on Russian Orthodox churches, and long Northern shadows.  Delightful!

Here’s my favorite photo from that day. 

The State Department is putting together a 2012 calender featuring 52 of the “Art in Embassies” pieces from around the world.  I was thrilled to learn that Lakeside Citrus was selected to be included, out of the over 3000 pieces considered.  The calender will be used by U.S. ambassadors worldwide, as a gift of good will.  It won’t be for sale, but I’ve been promised a few copies.

I’m THRILLED to have my artwork featured in such ways, especially since I was so charmed by my little glimpse of Estonia.

Ellen Lindner

Fund Raiser to Benefit Injured Military Personnel

I’m very happy to be participating in a fund raising exhibit called All 4 Love, to benefit Sentinels of Freedom Space Coast.  They offer “life scholarships” to severely injured military personnel returning to the east coast of Florida.

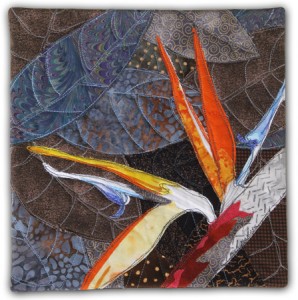
70 artists have donated art to the exhibit, each piece on a 10″ x 10″ canvas, (except for 3D ones.)  My donation, Bird of Paradise, is shown below, (before mounting.)

Patrons will purchase a ticket for $100. This entitles them to a reception for two people, and a piece of art. Numbers are drawn to determine the selection order. I think that will make for a lively reception!

All of this will take place at Fifth Avenue Art Gallery, in Melbourne, FL. Tickets may be purchased by contacting them. Direct donations to Sentinels of Freedom are also appreciated.

Ellen Lindner

Caught in the Act of Teaching

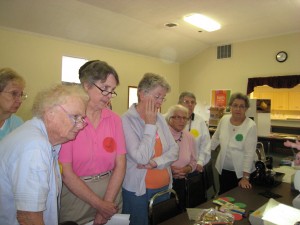
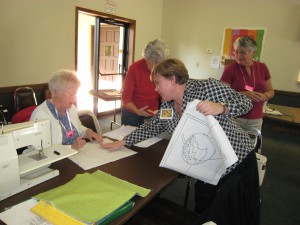
On a recent teaching trip to Vero Beach, FL, one of the students, Helen Gene was kind enough to take several shots of me in action.

I was teaching the half day version of Double Reverse Applique to a very attentive group of students.

Click any image for a larger view

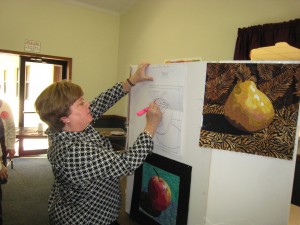
We started by talking about the importance of planning the stitching. 
(Notice the class samples on my board.)

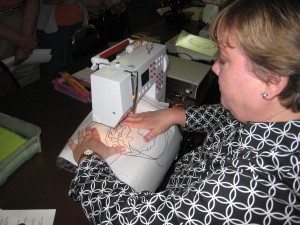
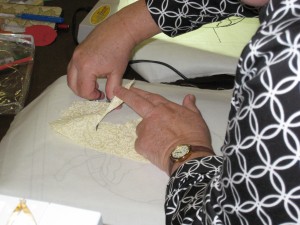
I demonstrated stitching…

and trimming.

I stayed busy, which is exactly the way I like it!

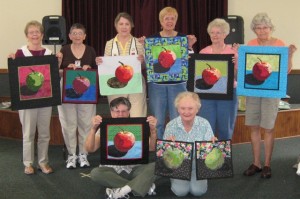
Update See some of their great results (shown at the next month’s group
Show and Tell.)

Back row: Helen Gene (my photographer!) Jane, Marti, Susan, Judy, and Carol. Front row: Roberta and Marty

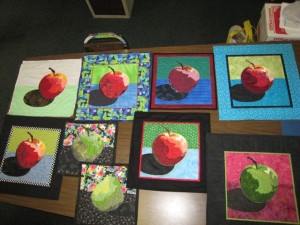
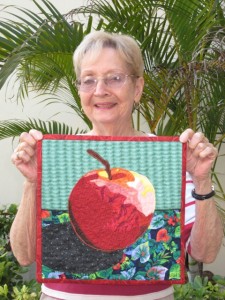
(Note:  The class covers the apple, only.  A seperate pear pattern is offered to those who want to make it on their own, as Marty has done.) 
See the closer view below.

Late addition:  Vanya with her finished quilt. 

My website includes an entire gallery of quilts made with this technique.  Some of the quilts shown were made by my students.  Others were made by people who purchased my ebook of the same name. Double Reverse Applique is very accurate and easy.  It’s especially great for portraits and other subjects requiring accuracy.  Maybe you’d like to give it a try.

Ellen Lindner


One More Time

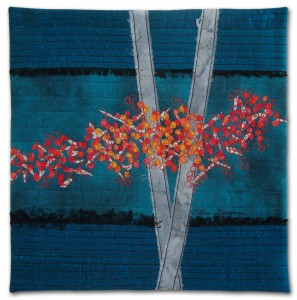
In my last post, I showed you my quilt, Ripening, which was inspired by a photo.  Here it is again:

Click any image for a larger view

I was very happy with this quilt, so when I needed a small one for a SAQA exhibit, I decided to loosely copy it, and  Ripening II was created.


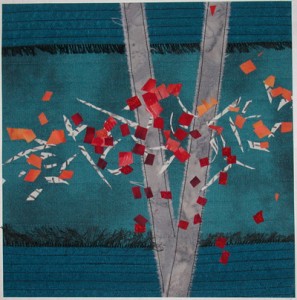
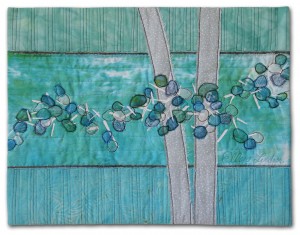
This time, I represented the twigs more abstractly, using sharp little triangles.  At one point in the construction process, I had just the white twigs showing, along with a few berry colors I was auditioning.

I realized too late that this actually looked better than the finished product.  (Too late because I had fused those TINY little berry circles.)  Darn it!  Well, I immediately knew I wanted to work with this idea again.  But, maybe fewer twigs and berries the next time.

So, I started on the next rendition.  See the in-progress photo below.   (Since the berries are made from sheer fabrics, you can still see the twig shapes.)

And here’s the finished quilt, Rhapsody in Blue Berries, which I’m very pleased with.

It’s interesting how an idea evolves, isn’t it?

I’ve often heard it said that artists develop more when working in series.  I don’t have enough experience with series to agree or disagree, (since I’m usually too impatient to work that way.)  But, I can certainly see the value in allowing one thing to lead to another.

Have you ever worked in series, or allowed one project to influence another?

Ellen Lindner
P.S.  Design note:  look at how much the addition of a contrasting value (black) helped that last piece.  Value always DEFINES the composition.

Garden Quilt: Painting and Progress (?)

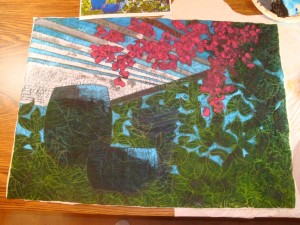
Back to my garden quilt.  A couple of weeks ago, I started painting it.  (This was my plan all along.)  I knew the paint would only catch in the raised areas, leaving the stitched areas untouched, and hoped that this would create an interesting effect. 

In the photo below, I added white, gray, and pink, along with a little burgundy and black.

Click any image for a larger view


At this point I began to wonder if the whole thing would look like a cartoon.  Since I was mostly painting inside the quilting lines, would the stitched texture  even matter?  I began to consider options.

Still, I painted away.

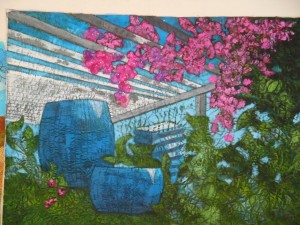
And, eventually, I ended up with this:


The picture doesn’t begin to do justice to just how hideous this quilt truly is!  TRUST ME.  As feared, it does look like a cartoon.  Ugh.  I spent hours and hours to get this?!?

But, remember, I was already thinking about Plan B.  A pretty radical one:  over painting the entire thing with white paint!  I auditioned my idea with  some sheer white fabrics.


Hmm.  Could I be that brave?  I knew the paint wouldn’t get down into the stitched grooves, so some of the image would still show.  Maybe that’s just what this cartoon needed.  And, what if I then emphasized the flowers with sheer fabrics?  Maybe.

At this point, I figured I had nothing to lose.

But, since this quilt will be unveiled at a special exhibit in March, I’m now required to put it’s construction under wraps.  So, look for the finished quilt in March, and see what became of my Plan B idea.

Ellen Lindner
P.S.  I have done some pretty fearless alterations to some of my pieces over the years.  Like this extreme makeover.

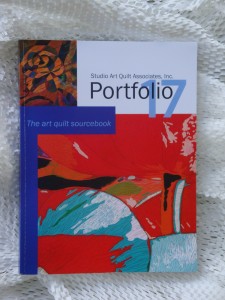
Published: Portolio 17

Every year, SAQA (Studio Art Quilt Associates) publishes a book showcasing the work of all the Professional Artist Members.  It’s always extremely well done and this year is even better than all the others!

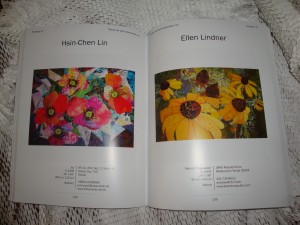
My quilt, Natural Progression, can be seen on page 135:


What makes this year’s Portfolio better than previous ones?  It’s all online – FREE!  You can flip through the pages at your leisure and even search by genre, name, etc.  You’ll find all this wonderfulness here.

Of course, the printed version of this book is also available for purchase.

I think you’ll really enjoy looking through this book.  Warning, though, it will take you a while.   Happy reading!

Ellen Lindner

Tea Book Finished!

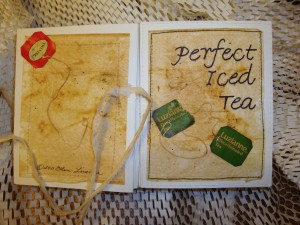
Finally.  I’ve finished the book and I think it’s “tea-riffic!”  (Sorry, couldn’t resist.)

Click any image for a larger view

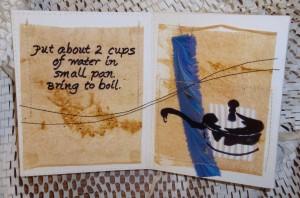
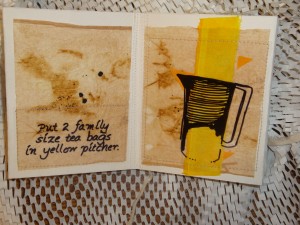
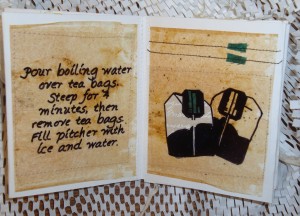
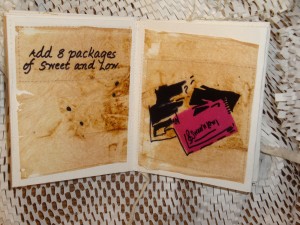
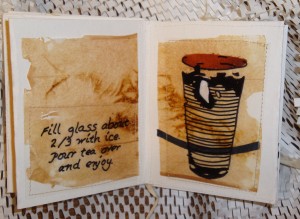
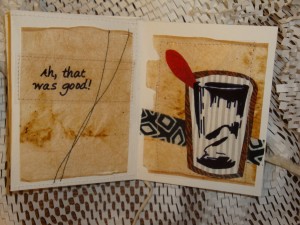
 All the black writing and drawings are on clear acetate, which form partial overlays on each interior page.  I photographed them at angle to avoid glare.

In addition to glued fabric collage, most pages include either hand or machine stitching, such as the French knots below.

(If you look closely you’ll notice that I left some of the tea grounds attached to the tea bag papers.)


It was a little tricky getting the fabric and the drawn imagery to align.  But, I think the effect was worth the effort.

I love my iced tea!

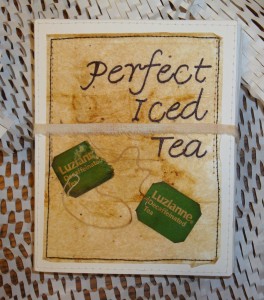
The photo below shows the front, with the book tied together.

Although I had some technical challenges with this book, I’m really glad I did it.  (And I know the next one will be much easier!)

I learned a few things about these books.  Maybe I should write up a few pointers, measurements, and such.  Would anyone be interested in that?

Ellen Lindner

Tea Book: Three Steps Forward

You know what comes next:  2 steps back.

I tend to frequently tackle new technical challenges, and they don’t always turn out as I had hoped.  Such is the case with the mixed media tea book I’m working on.

This was the plan:  an accordion book on heavy paper, with partial fabric collages.  Overlaid would be another accordion book made from acetate (transfer paper.)  The images on the clear acetate would complete the composition.

Click any image for a larger view

Well, many hours of fiddling later, the whole plan was coming together, as can be seen above.

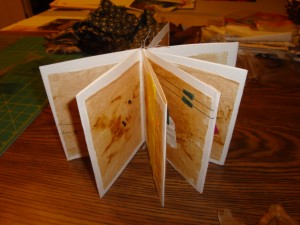
Then I realized that it was just all too cumbersome in an accordion format.  I knew  it needed the rigidity of pages stitched together, back to back.  Like this.

However, when I tried to insert the clear accordion pages into the rigid pages shown above, it just didn’t work.  There was too much bulk.  Too much to make the book close, too much to maintain the alignment of the acetate images, and too much to easily stitch through.  Darn it!

I quickly realized I could cut the acetate pages apart and stitch part of each onto the appropriate page.  But that meant unsewing the pages I’d just created!  Grrr.  I felt sorry for myself for a little while several hours, and eventually picked the sewn pages apart.

Now, I’ve started working on integrating the acetate imagery directly onto the pages and things are finally going my way.  I should have it completed soon, and I can’t wait to show you the finished product!

Ellen Lindner

Tea Bags to Tea Book

I’m really picky about my iced tea, so it didn’t take long for me to decide that a mixed media book using tea bags should be about my favorite beverage.  Therefore, “Perfect Iced Tea” became the subject of my book.  

First, I took photos representing the stages of making iced tea:  tea bags, my yellow pitcher, Sweet ‘n Low, etc.
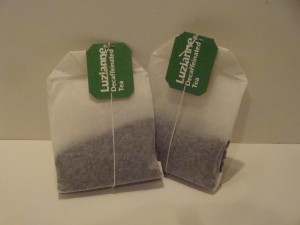
I had seen a mixed media book which incorporated some clear plastic pages.  You know, like that transparency paper you can run through your printer?  I thought it would be cool to print stylized versions of the various images onto the transparency paper and incorporate them into the book.

Great idea, but achieving a “stylized version” that I was happy with became a challenge.  Eventually, I printed out high contrast versions of these photos and traced the major lines onto the transparency paper.  This worked well, and I liked the hand drawn aspect.

In the photo below, you can see my audition of the concept.  The pot has been drawn onto transparency, as I’m auditioning fabrics to go with it.

Click any image for a larger view
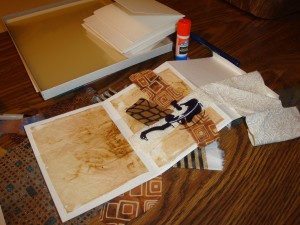
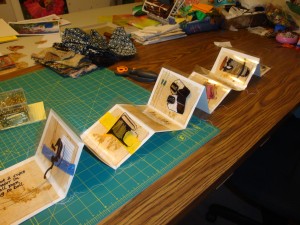
The above photo shows the rest of my idea, as well.  I decided to make an accordion style book, using heavy watercolor paper.  Each page has 1/2 of a tea bag glued to it, as background.

My plan is to create a simple fabric collage on each right page which will support the printed image floating above it.  It’s a little tricky creating a collage in this fashion, but I’m making progress.  The left side with feature text, again printed onto transparency.  Here are a few in-progress pages:
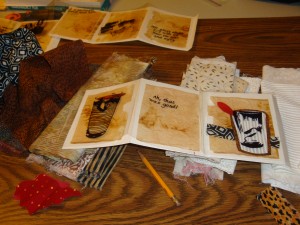
 It has taken a lot of fiddling to get to this point.  Now, let’s see if I can pull it all together.  My work table is filled with this project and I’m having fun working through it, at a relaxing pace.

I’m anxious to see how it turns out, and will show you soon!

Ellen Lindner