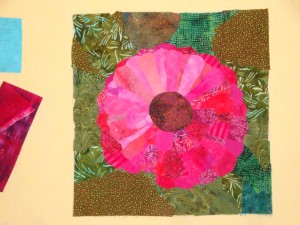
Facebook Fan Page

I finally took the plunge and created a Facebook fan page.  If you’re not familiar with fan pages, you can access them like a website.  You don’t need to belong to Facebook.

My fan page is called Ellen Lindner:  Adventure Quilter, and you’ll find it at http://tinyurl.com/fbAdventureQuilter.  The Wall (home) page looks something like this:

Screen shot FB fan page

At the top is a Photos tab, which you can click to see several photo albums of quilts. 

If you belong to Facebook, you can post messages or “like” the fan page.  It’s much easier to comment than with a blog, so that’s one of the reasons I created it.  I’m very social, so why not continue that online?

I hope you’ll take a look!

Ellen Lindner

Prepping for Classes

I sure really enjoy teaching, so it’s always fun to plan, prepare, and anticipate, when the next one is on the horizon.  This week, I’m preparing for two.

I’ll be teaching Sticky Fingers (Glued Collage)online, starting on the 24th.  This glued fabric collage technique is VERY fast and easy!  I love it!

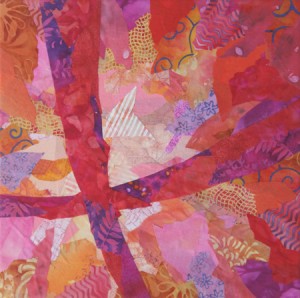
The class sample is a simple cruciform design, although students are encouraged to do their own thing.

Pink-cruciform-cutout-web

Many students create their own designs, like Helen Ernst.

Helen-Ernst-Brookes-Eyes-we

And Anne Wise.

Anne Wise Askance SF

If you’d like to join in the fun, find full class details here.

Later this week, I’ll be traveling to Shelby, NC for a lecture and my Design Your Own Nature Quilt class.  This is my favorite class to teach!  The students are challenged, but they learn SO much!  It’s exciting to be in the same room!

In this class, students use their own nature photo as a starting point.  Remembering the class motto, “Be inspired by your photo, not owned by it,” they create a design plan and get to work, using a raw edge collage technique.  The results in this class are always amazing!  (Even more so, if you could see the starting photos and realize how much the students have improved upon them.)

Just look at some of these examples.  Like this quilt by Nathalie Goosens:

Nathalie-Goosens-Marseille-

And this one by Patricia Powers:

P.Powers S and S-web

Great, right?  I’m getting excited!  Hope I’ll see you in class!

Ellen Lindner

Stitching, then Painting: Part Two

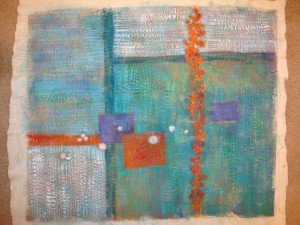
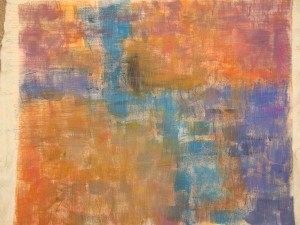
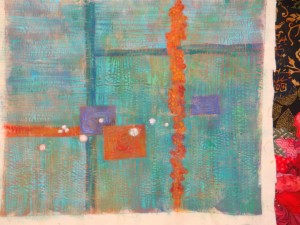
Version 2:  The photo below shows quite a few changes since the last post.  I decided  the four quadrants were too similar in value, so I painted them again.  (How nice that I could change it so easily!)  Plus, I broke up the heavy line of orange circles, creating spaces between them.  Much better, I think.

DSC05438

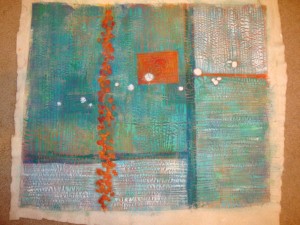
Version 3:  I decided I didn’t need to follow the previously stitched shapes, but that I could paint anywhere.  So, I painted over the purple rectangles, and added a few more white circles.  And I began to consider the proper oreintation for the piece.

DSC05455

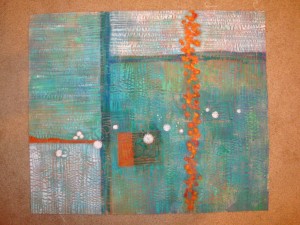
Version 4:  The orange rectangle was too large for my liking, so I painted over about 2/3 of it.  Better, but still not quite right.  And what about that dark shadow?  Still, I was confidant enought to add some hand stitching and to trim it.

DSC05456

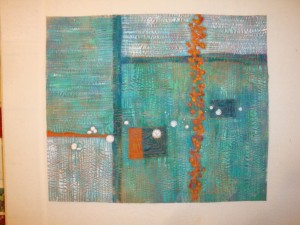
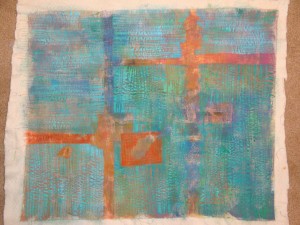
Final Version?:  Hey, I’m starting to really like this!  The shadow that used to be part of the orange rectangle gave me the idea to paint some darker blue-green rectangles. 

Now, I think maybe I’m through painting.  I’ll rotate it 90 degrees to the right, though.

DSC05457

Maybe I’m ready to face it.  And name it.  Hmm.

Ellen Lindner

Stitching, then Painting

A while back, I got the idea to paint over an ugly quilt.  Although I never finished that project, it was clear that the idea of painting over quilted areas had great potential.  I’ve even seen artists, such as Deidre Adams, who do this almost exclusively. 

So, I decided to give it a try.  First, I painted a piece of fabric,
with no particular design or plan.

Click on any image for a larger view.DSC05397

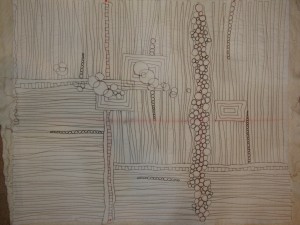
Next, I layered it with batting and backing and quilted it, from the back.  (Just so I could
see where I was going.)  Again, I planned very little, and I got this, the back:

DSC05386

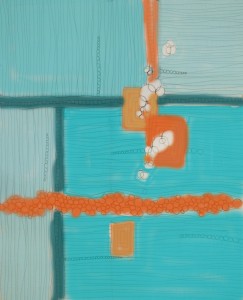
Then, I began to regret my lack of planning, as I tried to come up with a design that went with these shapes.  I eventually settled on the combo below, even though I knew I’d be changing the colors some.  (Looking back, I can’t believe I liked this!)

blue-green background copy

Finally, I began to paint.  Thankfully, it was looking better than my sketch above,
but I definitely had a long way to go.

DSC05399

Version 1:  The photo below shows what it looked like after I covered it with paint. 
I changed some of the orange rectangles to purple.  At this point, I painted each
shape exactly as it had been stitched.  I deviated from that later.

DSC05419

Check back to see where I went from there.  (I promise:  it gets better.)

Ellen Lindner
P.S.  DO click on that last photo, so you can appreciate the texture of this piece.

Flowers All Around: Two Finished Projects

I’ve been flitting from project to project all summer, but have finally managed to finish two of them.

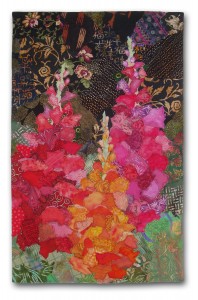
The first, is my Flower Wagon Challenge, titled Snapdragons.

Click any image for a larger view.Snapdragons_w_shadow-med

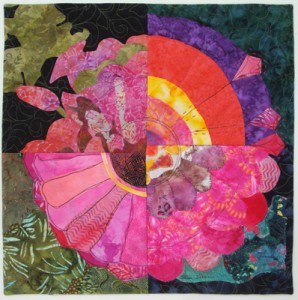
The second is the result of another small group challenge, titled Flower POW-er.

Flower_POWer-web

That leaves me with two other projects in progress, and a new one that I’m itching to start.

Ellen Lindner

Bragging on My Mom

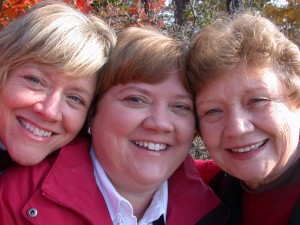
Check out this silly photo of (L-R) my sister, me, and my mom.  This was a self-portrait taken at arm’s length, and we were cracking up as we tried to smoosh our faces close together to make it work.  (My arms were too short so my sister had to do the honors.)

3 women

My mom, Martha Harris, is a very talented artist.  She put most of her artistic activities on hold while she had four kids at home.  Although she never taught me art in a formal way, our everyday conversations often included things like arranging articles on a mantle, noticing the shape of a tree trunk, or admiring  interesting antiques.  In other words, I was learning about art from her.  As a result, when I began to dabble in art, in my forties, I found that many of the concepts came easily to me.  Thanks Mom!

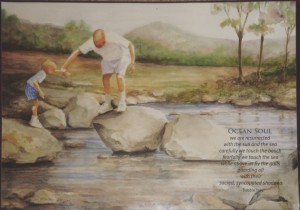
One of my mom’s paintings is very special to me, since the subjects are my husband and my son.  It depicts a perfect summer day, when my son was five, and we played in a rocky mountain stream.  My husband deftly swung our son from one large rock to another, and our son was totally trusting that he would arrive safe (and dry) on the next perch.  I took photos as my mom watched, and later she painted the scene.

Click any image for a larger view.best calendar copy

The photo above is not that great, since it was taken from a calendar page, but I love this painting!  And so does my husband.  (Do click on the image to fully appreciate it.)

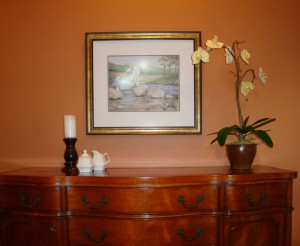
For years, my mom has been saying “the painting is yours whenever you want it,” but she was enjoying it in her home, so we never asked for it.  Until this year.  I decided it would make a perfect Fathers’ Day gift for my husband.  So, my mom shipped it and I had it reframed, all in secret.  As you might imagine, my husband was pleasantly surprised, and he loved it!

And now, it’s hanging in our dining room.  

best copy

Viewing this painting always gives me a warm feeling.  One of appreciation for ALL the special family members in my life!  What an aweseome gift for all of us.

Ellen Lindner

Double Vision Class

My good friend, Jo-Ann Jensen, is a talented fiber and mixed media artist.  She’s particularly adept at batik and various fabric dyeing techniques.  So, I was delighted to recently preview her latest class, Double Vision.

Since a picture’s worth a thousand words, let me show you what we did.  First, we each created a fabric collage of our own design.  Here’s mine:

Click any image for a larger view.fabric collage
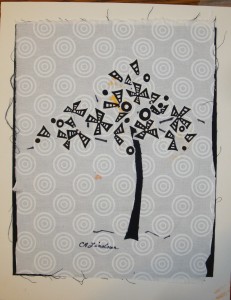
(The orange was accidentally added in the next stage, but it didn’t matter.)  Jo-Ann encouraged us to use fabrics with patterns, since this would give us some interesting opportunities in the next stage.

A hint for fiber artists:  When using tone-on-tone fabrics, like the white background above, the motif can often get lost.  To make it show up, put a darker color behind it.  In this case, I used black.

In the next stage, we batiked on sheer silk, repeating the motifs of our collage (if desired.)  This part was rather challenging, since we worked with melted wax.  It took a little getting used to.  Then, we painted the silk with fast-drying paint.  Like this:
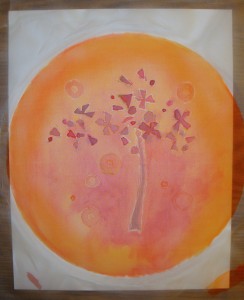
sheer Layer

The paint also took a little getting used to, but as you’ll see, the final project conceals some of the little mistakes and irregularities.

Finally, Jo-Ann showed us how to mount our sheer layer in a way that would raise it off the collage layer.  When mounted together, they look very cool.
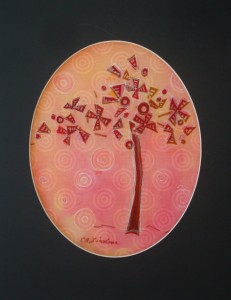
all layers finished
What you can’t tell in this photo is the sort of holographic effect that the two components create.  Especially since they don’t line up perfectly.  That’s part of the effect, and the charm.

Isn’t Jo-Ann creative?  If you live in Brevard county, Florida, you can take a class with her too.  Click on the image below for all the details.
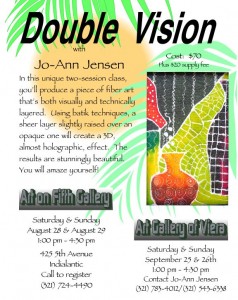
Double Vision Both Galleries flyer

Thanks to Jo-Ann for this fun and creative experience!

Ellen Lindner
Flower Power Challenge: Making Adjustments

When I last showed you my Flower Power Challenge piece, it looked like this:

Click any image for a larger view.Ellen_qtrs2

Since then, I’ve made a few changes.  I:
– over painted the leaves in the bottom right quadrant.
– added some pink to the top left quadrant.

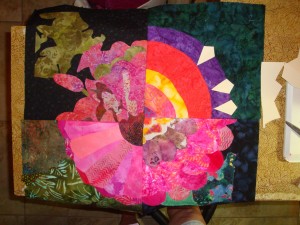
– rearranged the two pieces on the right, so the top colorful edges matched.
– began to think about how to integrate the designs of the two right quadrants.

One of the things I considered for that last point was adding some abstracted petal points, in hot pink.  I auditioned that idea with some little paper pieces.

Adjustment 1

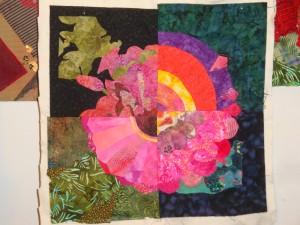
 I decided to do that, and I also added a skinny yellow band in the bottom left quadrant.  This mimics the yellow band in the top right quadrant and helps to integrate the graphic and organic elements.

DSC05420

Next, I quilted the center and added some hot pink hand quilting around the new pointy petals.  Soon, I’ll finish the quilting and maybe add a few more hand stitches.

Ellen Lindner
Flower Power Challenge: Part Two

After completing our small zinnia inspired quilt tops, it was time for some more fun.  We cut our pieces both vertically and horizontally and swapped quadrants!  Each person kept one of their original quadrants, and received three from others. 

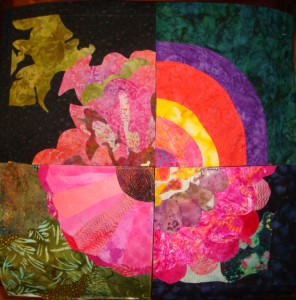
The quadrants shown below were made by (from top left, clockwise:) Ellen Lindner, Bev O’Connell, Barbara Bilbo, and Dij Pacarro.

Click any image for a larger view.DSC05372 copy

Of course, we knew they wouldn’t match up and that was part of the fun.  We considered it charming.  Plus, we knew we’d have fun working with them from this slightly challenging start.

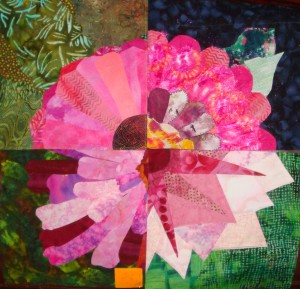
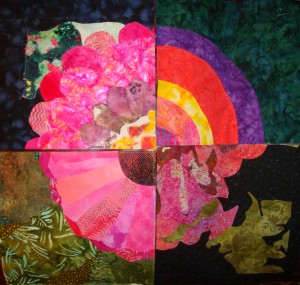
These are my four quadrants, made by (from top left, clockwise:) Bev O’Connell, Lisa-Marie Sanders, Martha Wolfe, Ellen Lindner.

Ellen_qtrs1
We’d already decided that it was acceptable to rearrange the four quadrants, so I did so.  Like this:

Ellen_qtrs2

Our rules say that we can alter the four quadrants in any way, as long as the centers stay placed in the center and as long as it retains the required dimensions.

So, I began to think about the changes I might make.
– What if I raised the right half some, to make the bright colors match at the top?
– Maybe I should add some more pink in the top left corner.
– And what about the big discrepancy where the pink/orange of the two right halves meet?  Do I need to address that, or let it be “extra charming.”  If I did want to address it, what could I do?

I’ll show you my decisions in future posts.

Ellen Lindner
Retreat Flower Power Challenge

Recently, my small art quilt group, Dirty Dozen Fiber Artists, had our annual retreat.  As usual, it was tons of fun, with lots of sewing, chatter, eating and laughter.

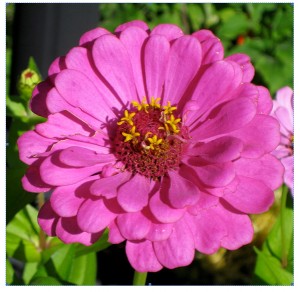
Each year, we do some sort of group project, which we call Group Therapy.  This year’s challenge started with each of us creating a quilt top inspired by this photo:

Click any image for a large view.2010 zinnia

We were not asked to recreate this flower exactly, but rather to make something inspired by it, with similar proportions, that would fit a predetermined size.

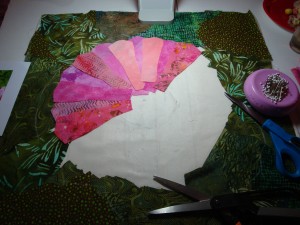
I had fun working on this.

DSC05358

DSC05360
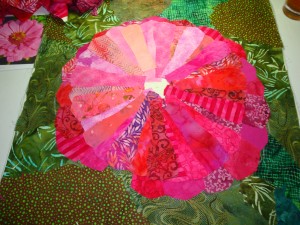
And here’s my finished quilt top (before trimming:)
My flower
I was quite happy with it.

Wait till you see what we did to our flowers next!

Ellen Lindner