The Amazing Shrinking Quilt

***Challenge spoiler***  If you’re participating in the flower wagon challenge, you may not want to see my progress.

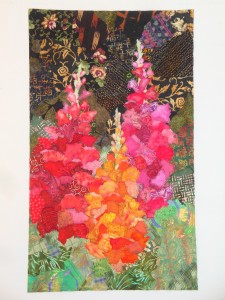
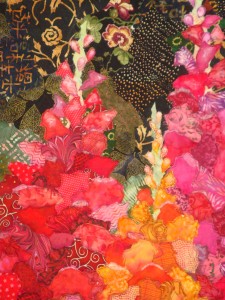
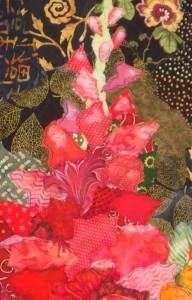
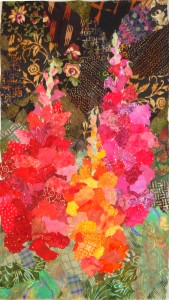
Here’s my snapdragon quilt as it neared completion.    But, it was about to shrink, as I began the finishing process.

Click on any image for a larger view.
Partial quilting 

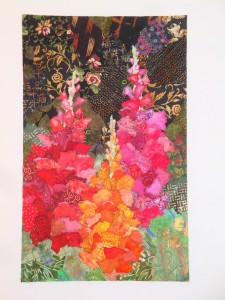
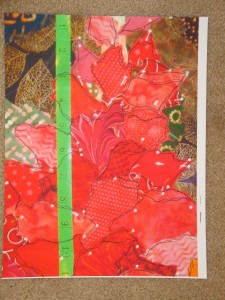
 The edges were trimmed to square it up, so that was the first reduction.  Like this.
 First trim

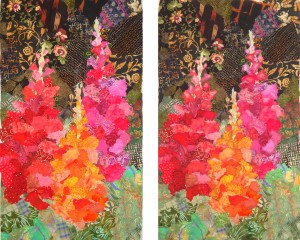
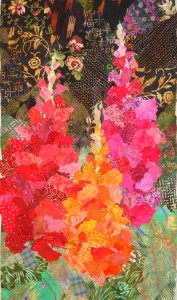
Then, if it’s one of my pieces, there’s a very good chance I’ll crop it some more.  (My friends consider me the poster child for cropping!)  I often find cropping to be useful in improving the composition of quilt.  That was the case with this quilt.  Here it is, after cropping.

 Cropped

Finally, another 1/4″ will be lost all around as I complete the finishing process with a facing.  That’s coming soon.

Ellen Lindner

Petals on Parade

***Challenge spoiler***  If you’re participating in the flower wagon challenge, you may not want to see my progress.

As I mentioned in my last post, after completing the design/composition phase of this quilt, I realized that the individual flower petals needed more definition.  So, I set to work.

First, I took a photo of my quilt and printed it out, to scale, in color.  This allowed me to audition my solutions on paper, rather than on the actual quilt.

Click any image for a larger view.DSC05305

First, I auditioned the idea of outline stitching each petal with black thread.   I’ve done this before and it’s been successful, and I decided that it would be here, too.  (I could have actually stitched on the paper, but in this case, I just drew the lines with a fine tipped marker.) 

Referencing my inspiration photo, I  noticed that many of the petals had a lip that flopped over at the top, so I drew in a few of those, as well.  This looked good up close, but from a distance more was still needed.  Therefore I tried two more things:
– With a white oil pastel stick I colored in the petal lips.
– With a darker color, as appropriate for each flower, I drew in shadows with a regular colored pencil.

Although subtle, I think these changes were effective.  The photo below shows “before” on the left and “after” on the right.

Before_After_Shading
And here are a few close up shots, so you can see what I mean. 
(Although the white marks don’t show up as much in real life.)

DSC05333

After_shadowing_detail

I’m happy with this now, and am working on quilting it.  Looking forward to finishing it!

Ellen Lindner

Orange Snap Dragon

***Challenge spoiler***  If you’re participating in the flower wagon challenge, you may not want to see my progress.

When starting to work on the final snap dragon, I initially used the same colors as those in the photo:  yellow and orange.

Click any image for a larger view.orange and yellow sd

However, I thought the pure yellow stuck out too much, so I switched it to more of a yellow-orange.  And this is what I got:

Finished pinning

At this point, I was basically through designing.  Assessing my progress, I could see that, just as I had feared, the flower petals didn’t show up that well.  I didn’t want this to look like three blobs of color, after all!

I had several  ideas for fixing this problem, and I began to audition them.  Soon, I’ll show you what I did.

Ellen Lindner

Second Hand Stitching Complete

Ta-da!  Here’s my second hand stitched piece, finished and framed.

Click any image for a larger view.Handstitch2 COWS copy

The stitched area is only 5″ x 7″, but the framed dimensions are approximately 16″ x 19″.

Here’s a detail shot:
Handstitch2-detail1

I think I like it as much as the first one! And I definitely enjoyed stitching it just as much.

Now, I need a name for it.  Maybe some reference to the surf?  Any ideas?  If so, I’d love to hear them.

Ellen Lindner

More Hand Stitching

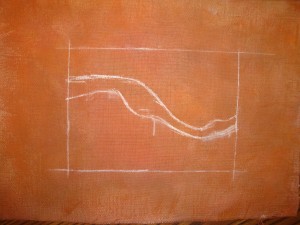
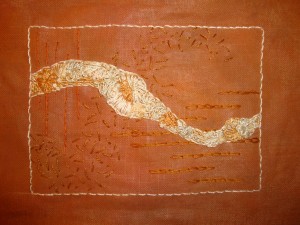
Once I started hand stitching I really enjoyed it.  So, I started a second piece.  This time, I used the same background colors, but with different colors of threads.  Although I intended to orient it vertically, this shows the design for this new piece.

Click any image for a larger view.

DSC05244


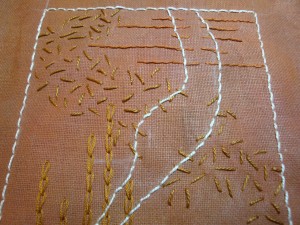
As before, I added stitching to the background, for interest and texture.  Plus, I outlined the interior shape and the outer border.

DSC05246

Then, I got busy stitching.  My plan was to use only cream, white, and light tan.  I pretty much stuck with that, but it looked pretty boring to me at this point.  I was hoping a healthy dose of beading would bring it to life.

DSC05256

In the next post, I’ll show you the finished product and you can judge whether or not the beads did the trick.

Ellen Lindner

Traveling Studio

I was recently away from home for about a month, first in a hotel, and then in an apartment.  Knowing I’d need entertainment, I decided to take plenty of art and quilting supplies with me. 

Since we have a van, we took out all but two seats and I started loading!  (My husband just quietly shook his head.)  That van was pretty full, because I took my sewing machine, table, and chair, a card table, a design wall, most of my thread, and my entire collection of fat quarters!  (See why he was shaking his head?)  Oh yeah, there were some suitcases and “normal” things, as well.

This was my set up in the hotel.  I had a suite, so I used the hotel ironing board as a base for my desgin wall and wedged it all in between the TV and small eating table.  The card table held more supplies to my right.

Click any photo for a larger view.
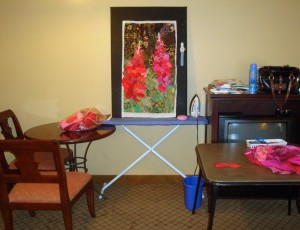
travel studio living

The bedroom was not spared either.  In it, I put the wire drawers with my fat quarters, and under the wardrobe, a drawer full of threads.
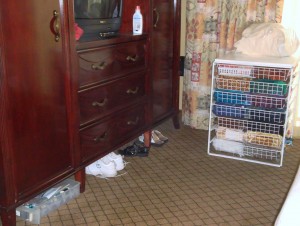
fat quarters+

This all worked quite well, and I figure the maids got to “admire” my progress when they came every day.  (They were probably shaking their heads too!)

In the apartment I had a whole bedroom as my studio.  Woohoo!  I pushed the twin beds against the wall, parked the fat quarters in the closet and got busy.
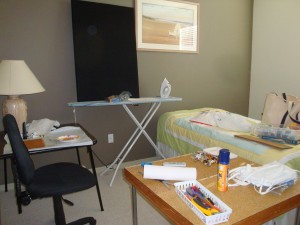
Apartment studio

Fortunately, my sewing table closes up to be like a card table.  (You can see it in the foreground.)  So, I had a fair amount of work space for painting and hand stitching.  As it turns out, I never used my sewing machine, but I made a good amount of progress nevertheless.

My husband asked me if I was happy with my decision to haul all that stuff with us, and I answered without hesitation, “Absolutely.”  My projects really did a good job of keeping me entertained!

Ellen Lindner
P.S.  Do you suppose the maids miss me?
Flower Wagon Challenge Results

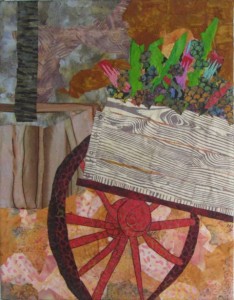
The great thing about a challenge is seeing the diverse results that come from it.  For the Flower Wagon Challenge, Kathy Edwards decided to crop the primary image, focusing on the lines of the wagon and one back wheel.  I really like her crop and the impact of that big red wheel.

Click image for a larger view.KathyEdwards_wagonofflowers

 Her piece is called Wagon of Flowers.  It’s actually a glued collage, a result of Kathy’s participation in my online “Sticky Fingers” class.  (I KNOW her fingers were sticky after this!)

Kathy is very creative.  If you visit her blog, you’ll see many interesting things, including several posts about the progress of this collage.  (See June 2 and forward.)  The Sticky Fingers’ Student Gallery on my website also includes one of Kathy’s pieces. 

THANKS for participating and sharing your results, Kathy!

How’s everyone else coming on their challenge pieces?  I can’t wait to show them off.

Ellen Lindner

Hand Stitched Piece Complete!

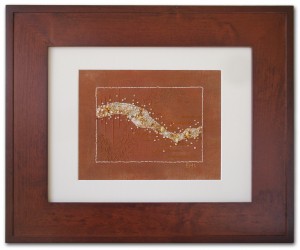
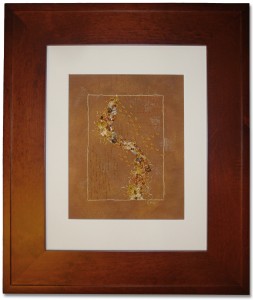
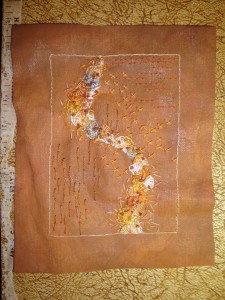
Ta-Da!  Here’s my finished piece, all nicely framed.

Click any image for a larger view.Handwork1_framed


What do you think?  I’m really happy with it.  Especially after framing!  Isn’t it amazing how much farming adds to a piece?  (Not only visually, but also figuratively.  The stitching measures only 5″ x 7″, but the framed dimensions are 16″ x 19″.)

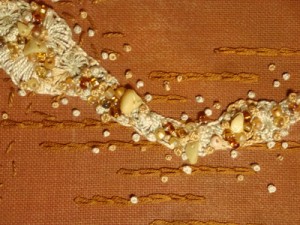
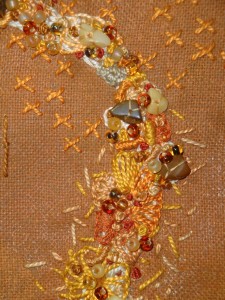
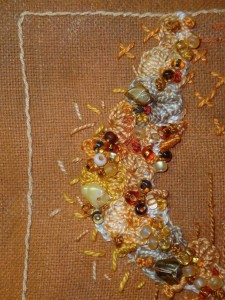
I love the texture of this little abstract piece.  Here’s a detail shot. 

bead detail 2

I need a title for it.  Any ideas?

This hand stitching was great fun and I’m already working on another one.  I can definitely see myself creating more.

Ellen Lindner
Updated 7-27:  I named it Unexpected Treasures.  (It sold right away!)

Hand Stitching: Almost Finished

After establishing the background colors with large shapes, I worked smaller ones on top.  Lots of partial buttonhole wheels.  Next, I started adding more texture and color with bullion knots ( the ones that look like caterpillars.)  I decided they were too much work, so resorted to that old stand by, French knots.

Click on an image for a larger view.emb. 3

At this point, I was pretty happy with the BACKGROUND stitching, but I thought the French knots were too high contrast in places.  I hoped I could integrate everything better with the beading.

Here’s a detail shot of my results.  I think I succeeded in integrating the colors pretty well.  (Who am I kidding?  I was actually delighted with the results!)

bead detail 1 w. border

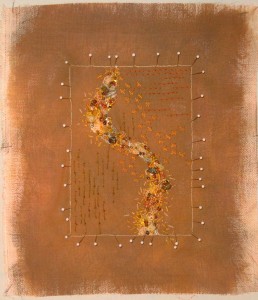
As you can see from the photo above, the stitching distorted the fabric (see the curvy border) so I blocked it back into shape.

blocking

I’ll show you the finished results in the next blog.

Ellen Lindner
P.S.  There’s a tutorial on blocking on my website.  See it here.  (It shows quilts, but the process is exactly the same for handwork.)

Your Flower Wagon Challenge

Did you accept my challenge to create artwork inspired by my Savannah photos?  If so, how are you coming?

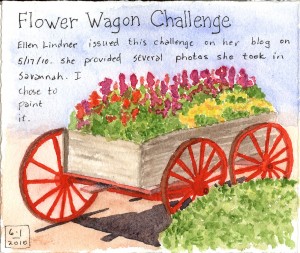
Cheryl Gebhart took up the challenge and decided to realistically paint the primary image.  She did so in her sketchbook, along with notes about the challenge and the date.  Click the image for a larger view.

Cheryl Gebhart flowerwagonchallenge

Didn’t she do a good job?

I can’t wait to see how everyone responds to the original images.  My interpretation will be much more loose, focusing on just three snapdragons.  How about you?

This challenge is VERY loose, with no concrete deadlines.  That means it’s not too late to join in.  When you finish yours send me an image and I’ll post it here.  (Mine still needs work!)

Ellen Lindner