Featured in Spaces Magazine!

Woohoo!  I’m so excited!  My article in Spaces magazine just came out.  For those of you in Brevard County, FL, it will arrive with your local paper, and you’ll find the 8 page article starting on page 36. 

It’s also available online.  Check it out!

Here’s a sneak peak at the first 2 page spread, featuring Mangolicious,
on display in my dining room:
pg.36-37,-800pixels

Not only does the article include beautiful photography, it’s extremely complimentary of my work.  How exciting!

Ellen Lindner
P.S.  You can read about my experience being interviewed and photographed here.

Hand Stitching: Getting Started

This hand stitching is fun!  Especially since I’m doing everything very free form, with a minimum of planning.

I have limited expertise with hand embroidery, so I searched online for some stitch tutorials.  I found Sharon Boggon’s excellent stitch directory, as well as her stunning examples.  Some of Sharon’s pieces are heavily textured with stitches literally piled on top of each other.  I immediately loved this look and decided to go for something similar.

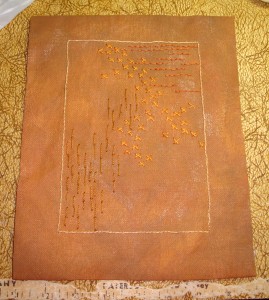
I started by stitching a 5″ x 7″ outline.  It seemed to me that some background stitching was in order, so I added that, as well.  I plan to frame the finished piece with an 8″ x 10″ portion showing.  Therefore, I folded the fabric to these approximate dimensons – just to help me judge the scale.

Click any image for a larger view.
background

(This piece will probably have a vertical orientation, but most photos will be shown horizontally.)

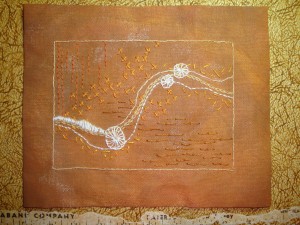
I wanted my stitching to represent movement, in response to a group challenge.  So, I sketched and stitched an undulating line with this in mind.

emb. 1

 I had no idea how to go about designing an embroidered piece like this.  I studied some online examples and then  just jumped in and started stitching shapes that I thought would be appropriate for the background.  (The buttonhole wheels shown above were too open for my liking.  I later filled them in with more spokes.)

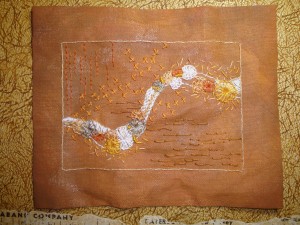
Randomly selecting from my palette of threads, I continued working the background of the line shape.

emb. 2

The colors were looking a little hodge podge at this point.  However, I wasn’t concerned, since I knew they’d later be covered with lots of french knots, bullion knots, and beads.  And besides, I was having fun!

Ellen Lindner
P.S.  If you didn’t already click on the link for stunning examples, you really should.  Very cool stuff!

Where Ideas Come From (New Hand Project)

While waiting for a shopping opportunity, I put my mixed media book aside, and started on something VERY different (for me.)  My new project is the result of several fairly diverse ideas.

It all started with my admiration for a friend’s beautiful hand embroidered piece.  Although I loved it, I certainly had NO plans to tackle anything similar.

Click any image for a larger view.detail 2
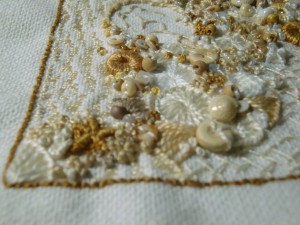
– Meanwhile, I was busy working on snapdragons for my Flower Wagon Challenge.
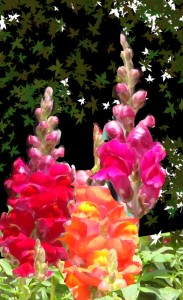
snapdragons-cropped-layered

Next, my friend, Martha, sent me a wonderful care package.  It included all the supplies needed for hand stitching, including linen, as well as floss and beads in the colors of my snapdragons.

Since I had some time on my hands (and now the needed supplies) I enthusiasticaly began to plan a hand stitching project.  However, I had some beautiful perle cotton threads in colors of gold, tan, and rust, so I decided to use them as my palette, rather than repeating the floral colors. 

Finally, my fiber art group announced a project involving the theme of movement.  I thought that was perfect for an abstract subject.  A beautiful undulating line and lots of texture should do the trick!

So, now I’m off in this new direction.  First things first:  change the color of linen.  I did this by painting it.  Since I used artist acrylic paints, this had the added advantage of stiffening the fabric.  So, I won’t need to use a hoop.

I bought some fantastic beads and I’m ready to start!  Gorgeous colors right?
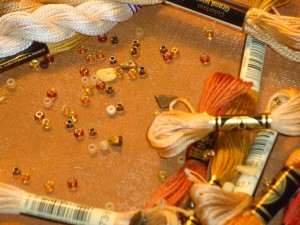
Beads +

Soon, I’ll show you my early results.

Ellen Lindner
P.S.  I’m enjoying hand stitching, since it’s a slow and meditative process.  A good activity when your husband selects the TV show!

Art Book: First Layer of Paint

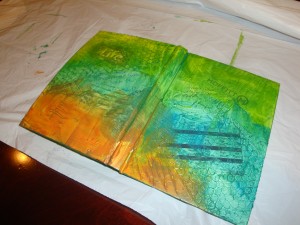
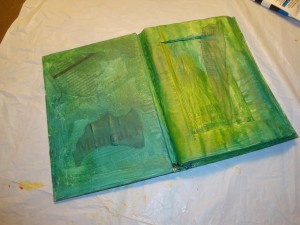
When applying the first layer of paint, my idea was to mostly obscure the underlying collage.  In addition I wanted to create colors of nature for the front and back covers:  a blue sky, tree line, and golden grasses in the foreground.  All of this would come to fruition with the second paint layer, so this first one was meant to provide a good base for that.  

 Click any image for a larger viewCover paint 1

The interior will probably feature something floral.  So, I kept it fairly simple with yellow-green through blue-green.

Interior paint2 maybe

I’m really liking the results, thus far, and having lots of fun with the process!

Now, I need to go buy some white paint, so I can produce a proper sky color.

Ellen Lindner

Mixed Media Book Art

For quite some time I’ve been wanting to try my hand at a mixed media art book.  When my friend gave me a blank journal book, I decided to alter it and to see where it lead.

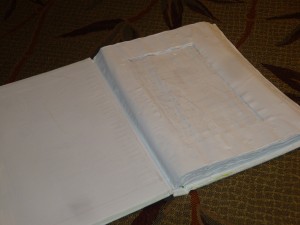
My initial decision was to change the interior, gluing all the pages together.  But first, I cut a “window” from the first 20 or so pages. 

Click any image for a larger view.Bood white
Although I like the look of this, it was quite a bit of work, so I don’t recommend it.

After my cutting and gluing, I painted everything with a layer of gesso, inside and out. 
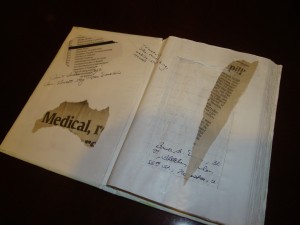
Next, I wrote on the pages, and collaged some papers on. 

I planned this project for a time when I was away from home, caring for a loved one.  I purposely didn’t pack paper,
preferring instead to gather them at my destination.  Since I spent a lot of my time in a hospital, many of the papers,
as well as my own written comments, hinted at the medical nature of the trip.

Book interior collage

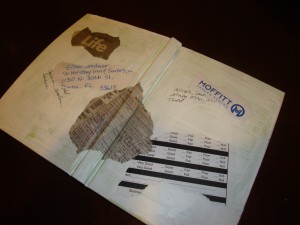
 The front/back of the book got the same writing and collage treatment.

Book cover collage

Next, I applied a thin coat of modeling (molding) paste to the front/back, and textured it with a variety of objects.

book texture close

The opaque modeling paste also helped obscure the collaged items, an effect that I wanted.

Next comes paint.  Can’t wait!

Ellen Lindner

Red Snapdragon

***Challenge spoiler***  If you’re participating in the flower wagon challenge, you may not want to see my progress.

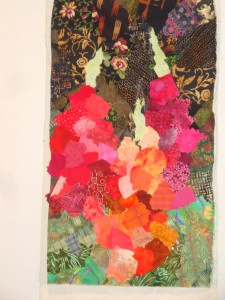
Here’s the red snapdragon, showing my progress thus far.  Click for a larger image.

red flower

I’m happy with the shape, but I think the individual petals might need some more definition.  I’ve got several ideas in mind for that.  The first is to add a few darker spots here and there.  I’ll try that and see where it leads me.  Then, on to the orange flower.  (Or will it be yellow?  Still deciding.)

I’ve heard from several people, including one group, indicating that they’ll be participating in the challenge.  I can’t wait to see how differently everyone interprets my photos.  And, it’s not too late for you to join in.  Just follow the link in the first line for details.

Ellen Lindner


Hot Pink Snapdragon

***Challenge spoiler***  If you’re participating in the flower wagon challenge, you may not want to see my progress.

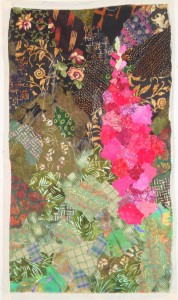
First, I tackled the hot pink flower on the right.  You can see my early progress below.
Click the image for a larger view.

red flower ip1

I’m pretty happy with this, even though it’s still rough.  You can see that I’ve finessed a few details, like the buds at the top of the flower.

I also roughly chalked in the placement of the next two flowers.  My next challenge will be one of time!

Ellen Lindner

Snapdragon Placement

***Challenge spoiler***  If you’re participating in the flower wagon challenge, you may not want to see my progress.

I knew the size and placement of my three snapdragons would be critical to the effectiveness of my design.   I did two things to help me judge this correctly.  First, I created a photo sketch.

snapdragons-cropped-layered

 Then I did something I’d never done before:  I loosely blocked in the shapes and positions with fabric pieces pinned to the background.

DSC05125

My idea was to place a few large pieces of fabric, just to work on the placement.  Once I got it figured out, I intended to cut the fabrics smaller and rework it.  This was useful, as I found some things I liked and some that needed some tweaking.  I also learned that I would need to use quite a variety of fabrics within each flower, and that I’d have to pay attention to defining the edges of each flower.

On to the actual flowers.

Ellen Lindner

(FYI:  You can read a photo essay on my collage process here.)

Snapdragons Sketch (Flower Wagon Challenge)

***Challenge spoiler***  If you’re participating in the flower wagon challenge, you may not want to see my progress.

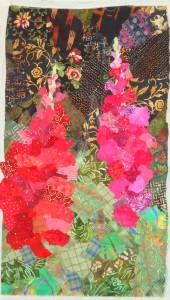
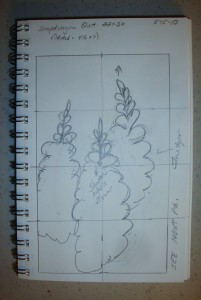
After examining the flower wagon photos, I decided to use just three flowers in my collage.  I sketched my idea, below.

DSC05130

I noted some elements of the sketch that might need changing and then got started creating the background.

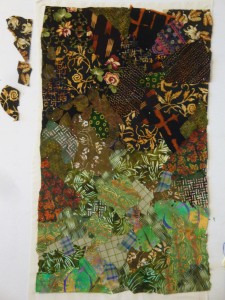
background

I was careful to use dark and dull fabrics for the background, knowing that these would be best for setting off the bright flowers.

Maybe you’d like to participate in the flower wagon challenge also.  You can see all the flower wagon photos and challenge details here.  All you have to do is create artwork inspired by these photos and I’ll publish your results on my blog!  I hope you’ll join us!

Ellen Lindner

Sketching with Silk, Piece #3 Complete

I’ve finally decided on a name for my series of silk pieces:  Sketching with Silk.   (Each one is a fabric interpretation of a recent sketch.)

Here’s the latest piece, Sketching with Silk #3.  It measures 9″ x 36″.

blue study layered copyClick for a larger image.

You can see a larger image of this quilt, along with a detail shot and other info on my website.

Now, I’ll take a break from these very specific pieces and work on a loose composition of snapdragons.  (Perhaps you’d like to join me.   See the Flower Wagon Challenge.)

Ellen Lindner