Transformations Opening

Opening night of the Transformations exhibit was very exciting!  The 12 art pieces and 12 poems nicely filled the small gallery at the Brevard Art Museum, in Melbourne, FL.

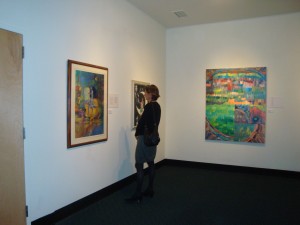
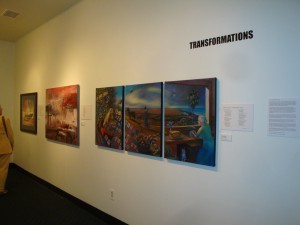
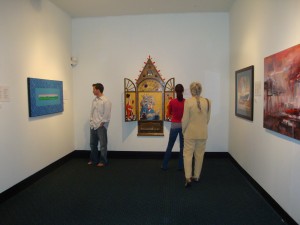
I took these photos around the room before the crowds arrived:
Click any image for a larger view

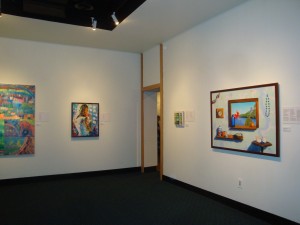
L-R artwork:  Monica Ebert (partial view,)Derek Gores, Suzanne Clements, Denette Schweikert

L-R artwork: Monica Ebert (partial view,)Derek Gores, Suzanne Clements, Denette Schweikert

scan 2

L-R: Cindy Michaud, Carmen Beecher (partial view, ) Monica Ebert

L-R:  Nancy Dillen (tryptich,) Jerry Hooper, Jini James

L-R: Nancy Dillen (triptych,) Jerry Hooper, Jini James

L-R:  George Snyder, Steve Lomazzo, Jini James, Jerry Hooper
L-R: George Snyder, Steve Lomazzo, Jini James, Jerry Hooper

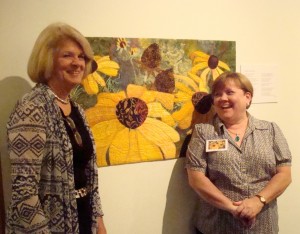
And finally, my piece, Natural Progression.  Here, I’m standing in front of it with the poet with whom I collaborated,  Marcia Denius.  (She’s on the left.) Her poem is behind me.  The poets really enjoyed having their works displayed on the wall as art.

L-R:  Poet Marcia Denius, Artist Ellen Lindner

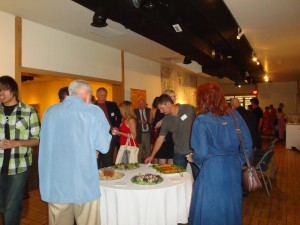
Soon after I shot these photos, the doors officially opened and the crowds poured in.  It was very hard to navigate.  (How exciting!)

crowd

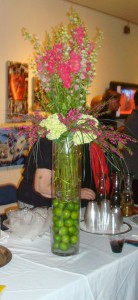
As usual, “the museum ladies” did a wonderful job of providing refreshments.  I loved this tall flower arrangement on the drink table:

flowers cropped

A very nice book was produced for this exhibit.  It’s much more than a catalogue, since there are 6-8 pages devoted to each poet/artist pairing, each of whom explained their process.  There was lots of book signing going on!

The highlight of the evening was a brief presentation by each poet/artist pair.  The poet read his/her poem and shared a few remarks about the process.  Then, the artist talked a little about his/her piece and the process.   (We over flowed the chairs for this portion of the evening!)

What an event!  A HUGE thank you to the exhibit organizers, Cindy Michaud, Fay Picardi, and Denette Schweikert, as well as the Brevard Museum of Art.

Of course, I can’t overlook the poets.  I’ll tell you about them in an upcoming post, and reveal “my poet’s” poem.  In the meantime, check out this video.  It shows all the art and includes snippets of the poetry.

Ellen Lindner
A Visit to Mood Fabrics in New York City

Are you a Project Runway fan?  If so, the title of this post may have you given you a little tingle of anticipation.  If not, allow me to introduce you to the ultimate fabric store.

Mood Fabrics is three floors, packed almost floor to ceiling, of more fabrics and notions than you could imagine!   On a recent trip to New York City, I HAD to visit.  And I was not disappointed.

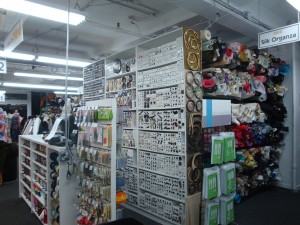
In the photo below, you can see the huge collection of silk organza, down the aisle to the right.  Who knew this variety existed???  (Click  for a larger view.)  Just to the left of the low counter is the spot where the Project Runway contestants say “Thanks Mood,” as they exit.  The exit is further to the left:  an old elevator that must be operated by an attendant.

mood pan 2

Although well organized, the feel of the place is sort of like a warehouse.  Definitely not fancy.  At only 5′ tall, literally 1/3 of the fabric is above my eye level.  I’d need stilts to shop here!  (Well, actually, that didn’t slow me down much.)

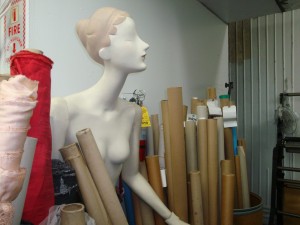
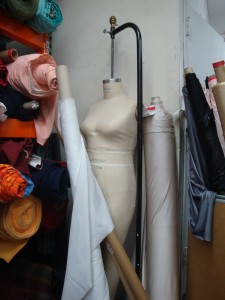
Although the overall look of the place is very interesting, I was especially taken with more intimate views here and there.  Like these mannequins:

mannequin w. tubes

(I love that they have a plus size mannequin!)

plus mannequin

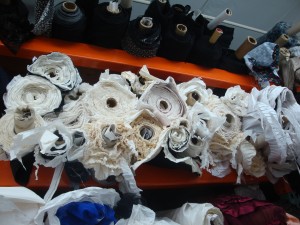
And this collection of white fabrics, pleated and/or sheer.

white pleated etc.

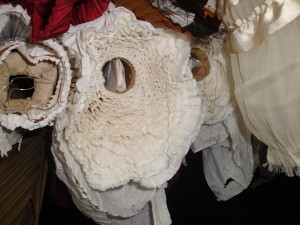
I loved the textures of those white fabrics, especially since there was some sort of paper wrapped around them.  Upon further study, I realized that the paper was pleated.  How cool!

white pleated paper

Well, I WAS in New York, and I DID need some souvenirs, so I asked the very nice owner, Jack, if I could have some of the paper.  And he agreed!  Won’t that be fun to incorporate into a mixed media project?

I did actually purchase some fabric there, as well.  (And might I just say that I have very expensi good taste.)  I’ll show you my purchases and some pricey trim in a future post.

Remember that you can click on any photo for a larger view.  Enjoy!
Ellen Lindner

Transformations Exhibit Opens April 17th!

Imagine reading the poetry of a particular author, meeting the poet herself, and then being asked to create new work inspired by this interaction.  This is just what I was asked to do for the Transformations exhibit, which is opening April 17th at the Brevard Art Museum, in Melbourne, FL.  Of course, I’m not the only one involved.  12 poets were paired with 12 visual artists for a loose collaboration.

At the opening, (7 P.M. on the 17th,) each poet will read his/her work and each artist will discuss his/hers.  Plus, a book has been published which we’ll be signing, and there will be  refreshments, etc.  (I’ve never been a book signer before.  How exciting!)

This is the piece I’ve made for the exhibit, called Natural Progression.  Of course, it looks better “in person,” so I hope you’ll get to see it.

Nat Progression cutout

The exhibit will run through June 5th, and I’m the only fiber artist.  (Kinda cool, huh?)

Enjoying it all,
Ellen Lindner

Making Art Quilts Instantly in Hudson, FL

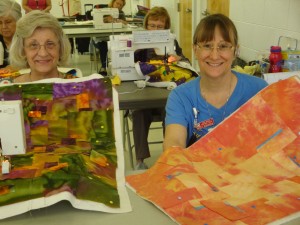
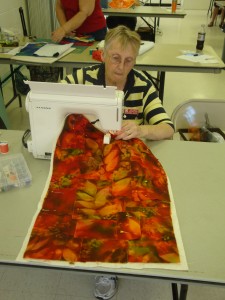
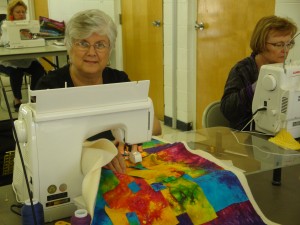
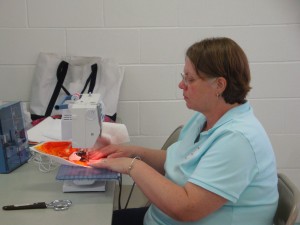
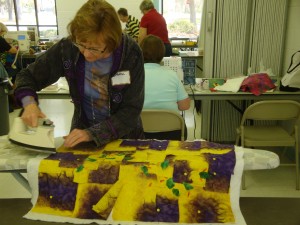
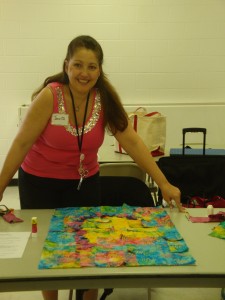
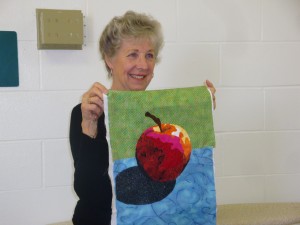
My second class in Hudson was Instant Art Quilt.  The ladies were hard at work in this short class (only 3 hours,) so I didn’t make them stop for photographs.  Still, I think you’ll get a hint of the wonderfully diverse quilts that were quickly developing.

Click on any image for a larger view.

DSC04248

DSC04247

DSC04249

DSC04252

DSC04253

DSC04251

Many of these ladies were working outside their comfort zones.  But, they bravely followed directions and were happy with the results.

If you’re interested, I also teach this class online.

Ellen Lindner
Double Reverse Applique Class in Hudson, FL

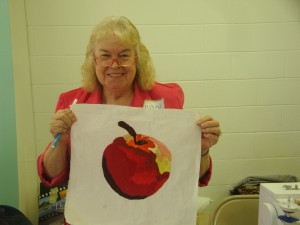
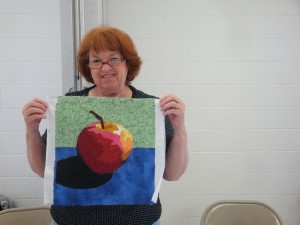
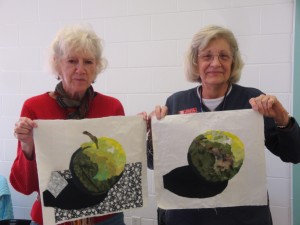
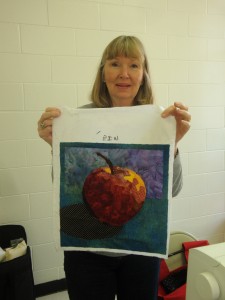
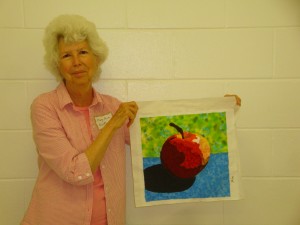
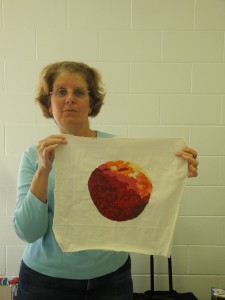
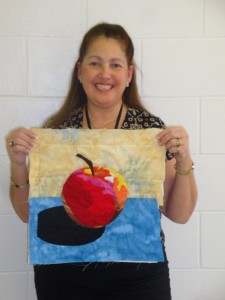
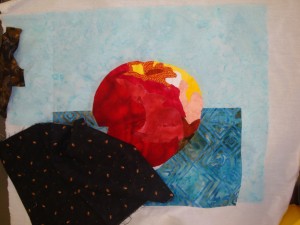
I always enjoy teaching, and my recent classes in Hudson, FL were no exception.  On the first day, I taught Double Reverse Applique.  Despite my almost non-existent voice, the students had excellent results!  Everyone finished their apples by the end of the day and several were working on pears.

Check out the tasty variety!  (Some of these photos show apples before completion.) Click any image for a larger view.

DSC04227

DSC04228

DSC04224

DSC04231

DSC04229

DSC04234

DSC04226
DSC04235
DSC04232
Don’t they look great?

In addition to constructing this apple project, the students also learned about creating their own patterns.  I hope to see lots of future projects using this wonderfully accurate technique.

I also offer this class online and as an e-book, if you’re interested.

Ellen Lindner
“Timeless Treasures”, Melbourne Quilt Show 2010

As usual, the quilt show put on by the Seaside Piecemakers, was totally fabulous.  Of course, the quilts were wonderful!  But other highlights included a delightfully creative doll display, well stocked vendors, a silent auction, demonstrations, socializing (one of my favorite activities,) and more!

Want to see some of my personal favorites?  Here you go.

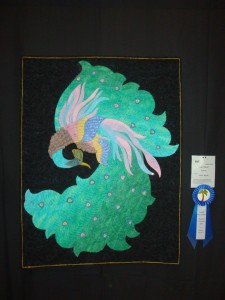
Viewer’s Choice went to Pam Hensel, for her BEAUTIFULLY beaded quilt,
Summer Celebration

DSC04172

Check out the beading!  Click any image for a larger view.
DSC04175

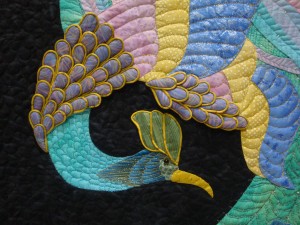
Peacock was made by Laurel Merrill, who was co-chair for the show.

DSC04150

I took this next photo with the flash off, so you could appreciate the texture of the individually bound 3D feathers near the head.  Wow!

DSC04152

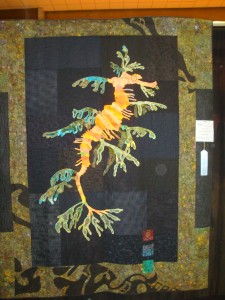
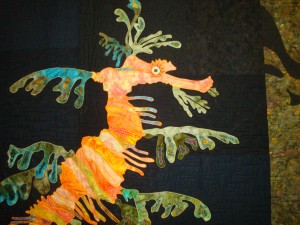
My photo doesn’t begin to do justce to Sylvia Clary’s Endangered Fascination.

DSC04164

But, the detail shot below, will give you a better idea.

DSC04165


There were so many awesome quilts!

Ellen Lindner
Art Swap

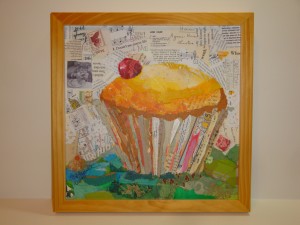
“Paper paintings” artist, Elizabeth St. Hilaire Nelson, and I have recently swapped commissioned work with one another. 

This is my Cupcake piece from Elizabeth.
Click any image for a larger view.

DSC04272

Oh, I’m a lucky girl, because I LOVE this little collage!  (It’s 12″ x 12″.)

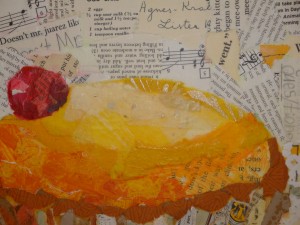
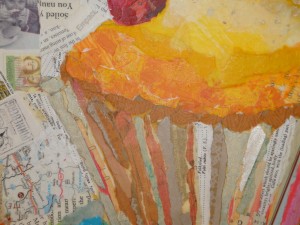
Elizabeth’s work is created exclusively with collage.  She uses a variety of papers, some of them hand painted before use.  Check out these fantastic details:

DSC04274

DSC04275

Guess what:  I’m now planning to redecorate my kitchen to accommodate this “paper painting.”  What do you think of soft blue-green walls?

Thankfully, Elizabeth is equally delighted with her piece from me.  (Although I haven’t heard anything about redecorating.)  It’s called Cosmo Duet #2, shown below. 

Cosmo-Duet-2-wht-web

What a wonderful way to add to our art collections!

Ellen Lindner
P.S. Check out Elizabeth’s fantastic work here.

Bouquet of Circles

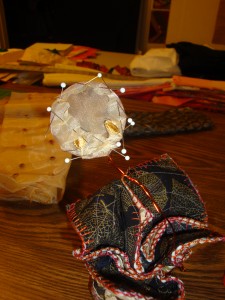
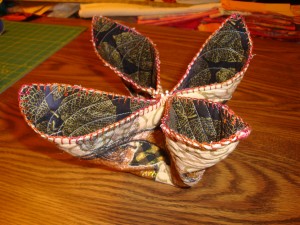
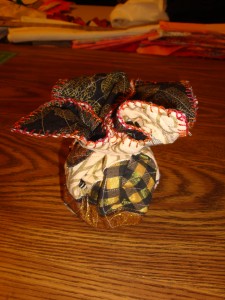
After transforming my ugly circles quilt into a vase, I needed something to go in it.  Something circular, of course.  And here it is, a fabric vase filled with a bouquet of sheer circle “flowers.”  Click any image for a larger view.

bouquet

I’m pretty happy with this.  What do you think?

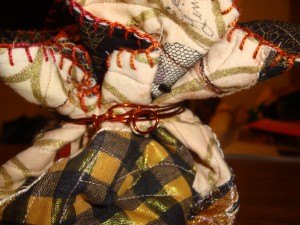
After getting the folds of the quilt to look the way I wanted (for the vase,) I put a rubber band around the neck of it.  Next, I added copper wire, and then cut the rubber band.  So the wire is the only thing holding it in place.   If removed, the quilt would lay flat once again.

twisted copper

The “flowers” are made from wire circles, wrapped with sheer fabric.  Here’s one in-progress:

flower IP

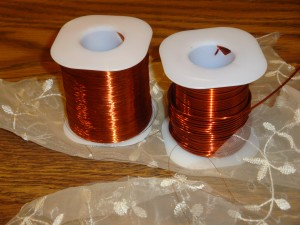
I used very thin wire as my thread, overstitching  the fabric to the frame.  This worked very well, since the wire stayed in place and I was able to wrap the ends around one another.  Later, I trimmed the excess fabric.

flower materials

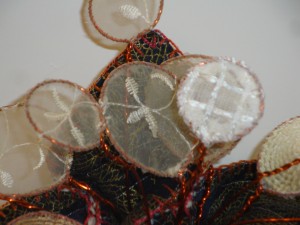
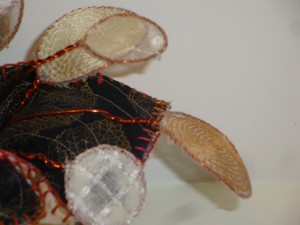
Detail shots:

detail top
detail right

I hope you enjoyed seeing the metamorphisis of this project.

Ellen LIndner

Reworking My Circles Challenge

Last month, I finished a small challenge quilt, which required significant use of circles.  I (mostly) enjoyed the process, but I have to say that I was NOT happy with my results.  Oh well.  You win some and you lose some, right?

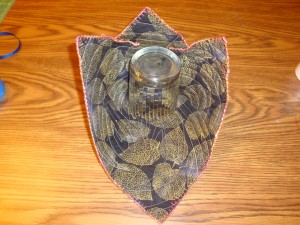
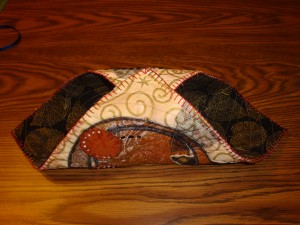
But then, I got to thinking I might like to transform this ugly little quilt into some sort of 3D bowl or vase.  So, I started to play, folding, pinning, and experimenting.

DSC04131

DSC04134

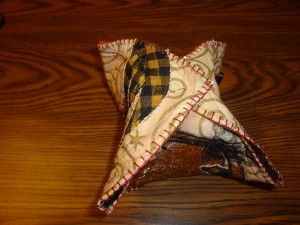
DSC04135Even though these last two are not functional vase shapes, I think they’re pretty cool.  Maybe they’ll find a way into something else.

DSC04136

DSC04139

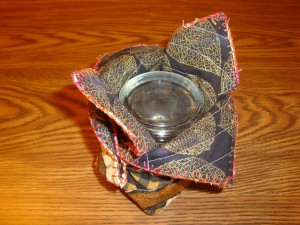
Can you say “wacky?”  Actually, this symmetry gave me the idea
for my eventual arrangement:

DSC04140

Okay.  That’s looking pretty good.  Now, I’m thinking about how I might secure it.  Stitching?  Glue?  Something less permanent?

And then, it will need some sort of organic arrangement in it.  Circular shapes, of course!  Stay tuned.

Ellen Lindner
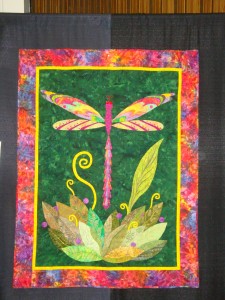
Sticky Fingers Demo Results

I had great fun giving a demonstration of my “sticky fingers” (glued collage technique) on Saturday.  There were a couple of small challenges:
– My easel broke just as I set it up.  No worries.  My helper, Linda, became my “easel.”  She was very supportive.  (Get it?  I couldn’t resist.)
– Thanks to a sore throat, my voice alternately sounded like Minnie Mouse and Kris Kristofferson.  Although this was rather amusing, I sure was glad to have a microphone!
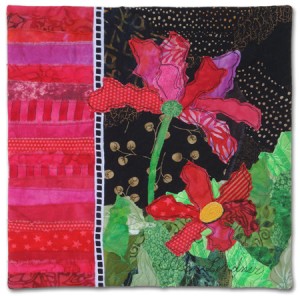
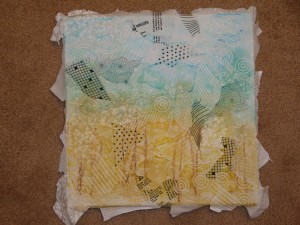
I had an enthusiastic audience and they were very intrigued by the way paint goes on unevenly, when applied to white-on-white fabrics.  I opted for a very loose landscape effect, as my example.  A little blue scribbled on top, then a green tree “line”, and golden grain in the foreground.  Add some water and move it all around and you get this.  Click to see the cool effect I love.
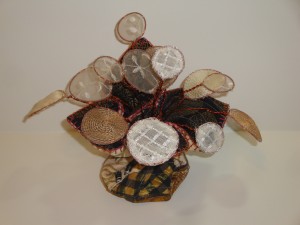
DSC04221

The color in this represents about 20 seconds of effort.  It is THE VERY BEGINNING of an interesting idea.  I have many ideas about where to go from here, and I will enjoy exploring them – when I can find the time.

Ellen Lindner