Looking Back: The Early Years

I made my first quilt in 1983, as a newlywed.  My husband and I needed art to hang over the sofa, but couldn’t afford a framed painting.  But, I knew how to sew and I thought I could learn to make a quilt.  I bought a book for $10, and the fabric for another $10.  Six weeks later I had finished my first quilt, a Variable Star design (also called Ohio Star.)  It was the perfect addition to our country decor.

First Quilt:  1983
First Quilt: 1983

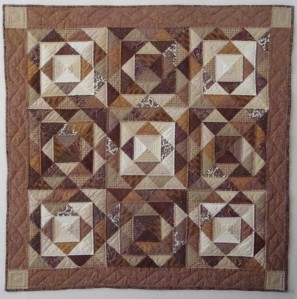
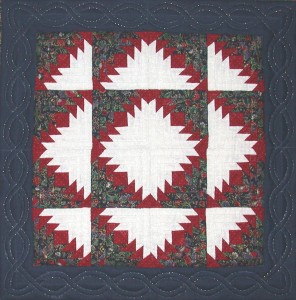
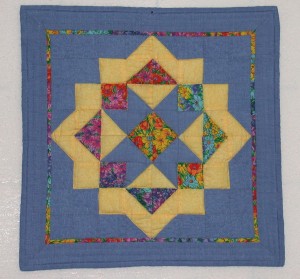
Throughout the 80s and most of the 90s I continued to make pieced wall quilts.  (I made one queen sized bed quilt which I hand quilted.  After about 500 hours of effort, I decided I did NOT want that experience again!)  The next few quilts are typical of that time period.

Brown Triangles (A "scrap" quilt made from purchased scraps.)
Brown Triangles (A “scrap” quilt made from purchased scraps.)
Flying Geese in the Cabin, Miniature (paper pieced by hand)
Fragrant Starlight, a challenge quilt for Seaside Piecemakers

Fragrant Starlight, a challenge quilt for Seaside Piecemakers

Things sure have changed in the quilting world since I entered it!  To give you an idea, the top two quilts were made using cardboard templates, with each piece drawn and cut by hand.  No rotary cutters!

I was learning about machine quilting, though.  The first three were done by hand, but the last one was done by machine.  I could only do stippling, that was good enough for me.

Where did your quilting journey begin?

Ellen Lindner
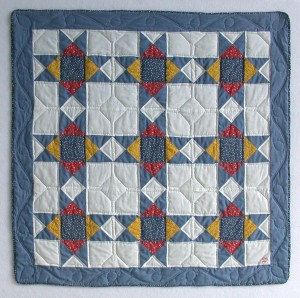
Photo Safari, Continued

As part of my recent photo safari, I shot these photos in my yard.  (Click any image for a larger view.)

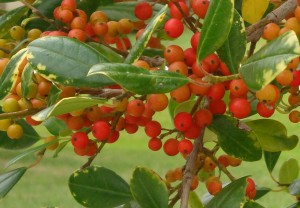
Here in Florida, the holly berries have perfect timing.  They’re orange for Halloween, a beautiful red-orange for Thanksgiving, and red at Christmastime.berries close up

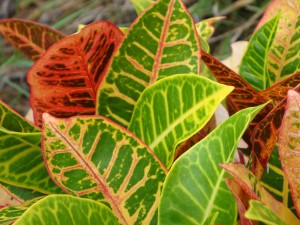
We have very little fall color in my part of Florida, but I compensate by noticing the beautiful colors of the crotons (which have these colors all year long.)
croton
Hmm, I notice that both of these photos have the same
color scheme.  Inspiration, perhaps?

What colors do you have in your area?

Ellen Lindner
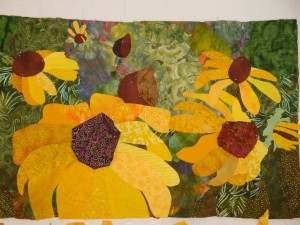
Photo Safari

When I need a break from my task list, I often grab my camera and head outside for a “photo safari.”  My goal is to notice the interesting things around me, perhaps in a new way.  I have fun photographing them, studying the compositions, zooming in and out, and moving my body to get interesting arrangements.  Later, I may spend some time cropping and editing on the computer.  By the time I’ve finished all this, I’ve had a very nice artistic break and I feel refreshed.

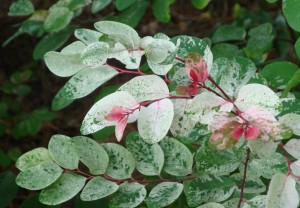
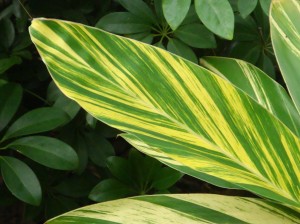
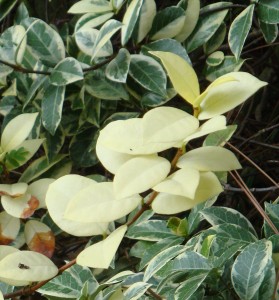
Recently, I headed for my neighbor’s yard and these are some of the things I noticed in her yard.  (Click on any image for a larger view.)

pink leaves close up 1

green and yellow leaf
white leaves 1

By the way, I tried this once in the produce section of my local grocery store.   It worked beautifully, but I made the stock boys quite nervous.

What interesting things can you find in your surroundings?

Ellen Lindner
Dirty Dozen Community Play Day

Our local group, the Dirty Dozen Fiber Artists, decided to have a play day, and we invited several others to join us.  We met at our favorite hang out, RiverHouse, and had tons of fun. 

Ruth Anne showed us how to use a variety of inks.  Of special interest was marking with permanent markers and then spraying them with alcohol to get the colors to run.

Martha and Jill showed us how to print from gelatin plates.  Oh, the options!

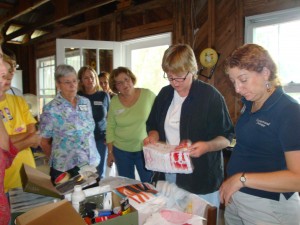
Below, Jill (far right) and Martha (second from right)
showed printing techniques and examples.printing demo

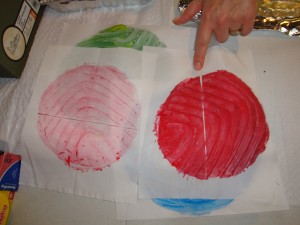
A first print and a second “ghost” print, as created by Jill.
1st print and ghost
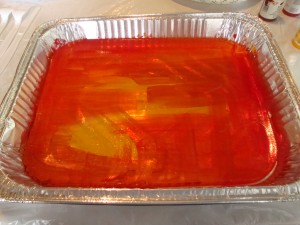
The paint added to a shimmery pan of gelatin looked like stained glass. 
It was so mesmerizing I didn’t even want to do any more to it!  (As a matter of fact, after slowing down enough to admire and photograph this batch,
the paint dried and I had to start again.)
gel plate with paint 1

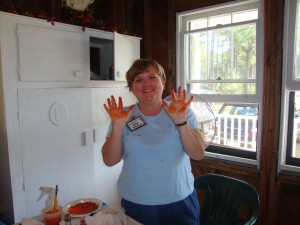
I’m very messy with paint and I managed to get almost as much on myself as I did on the fabric.  I always wear old clothes so I don’t have to worry about it. 
What fun!orange hands

(Click any photo for a larger image.)

Ellen Lindner
You own HOW much fabric?!?

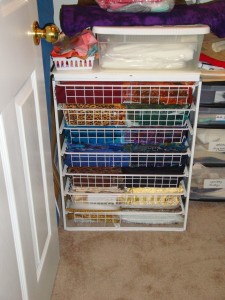
Don’t tell my husband, but I own about 1000 pieces of fabric.  (Maybe you do, too.)  Of course, it doesn’t do me any good to own them if I can’t find them and see them.  Plus, I  need to be able to easily pull them out and them put them away again.  Therefore, I store them in drawers, standing up vertically.

Thankfully, I work, primarily with “fat quarters,” fabric pieces that are about 18″ x 22″.  Here’s a photo of the storage container for those.  (Click any photo for a larger view.)

FQ storage

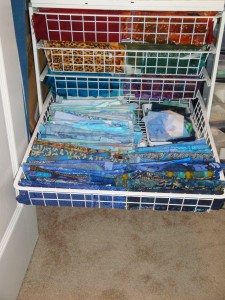
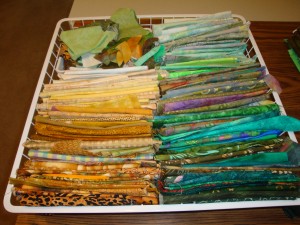
Each drawer holds one or two colors, arranged by value (light and dark.)
  The fabrics are folded to size and they stand up like file folders.

blue drawer in place

I can select fabric with the drawers still in place, or I can remove an
entire drawer for a better look.

yellow-green drawer
Each drawer includes a container for scraps.  Once a fabric is too small to show
up among its neighbors it is designated as a scrap.  When it gets smaller than
my fist it becomes trash.  (Well, not exactly.  Some of my friends collect
tiny pieces like that, so I pack up little gift baggies for them.)

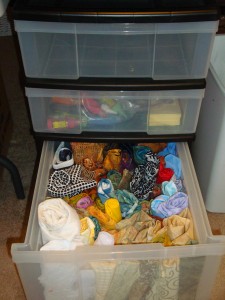
Larger pieces (and I don’t have many) are stored in a file-size drawer.  Rolling these fabrics gives them enough body to stand up so I can get a good look at ’em.

larger pieces storage

How do you store your fabrics?  Brave enough to admit how many you have?  (Or maybe I should ask if you’re brave enough to count them?)

Ellen Lindner
Double Reverse Applique in Venice, FL

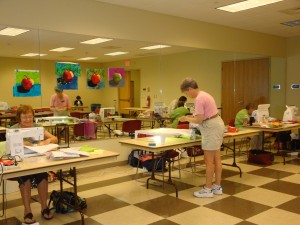
Last week found me in Venice, FL, teaching my Double Reverse Applique class for the Venice Area Quilters Guild.  The project for this class was a high contrast apple.  The photo below shows the first few finished apples taped up for display, as the rest of the class is reflected in the mirrored wall.  (Click the photo to see a larger view.)  It’s amazing how different the apples look.

classroom 1

These ladies were very productive.  By the end of the day, all 18 students had finished an apple, and quite a few had a pear well under way.

The Double Reverse Applique technique is easy and fast, and perhaps best of all, very accurate.  It’s great for portraits and such.

After class, I spoke at the evening meeting, delivering my “Playing with Fabric” lecture.  A full and productive day.  Not to mention fun!

Ellen Lindner
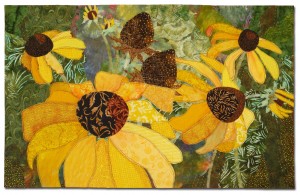
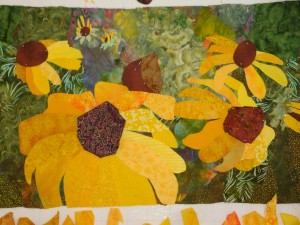
“Natural Progression” Complete!

Here’s the final piece, with stitching added. 

Nat Progression cutout

The stitching does three things:
– It structurally holds everything together.
– It adds texture.
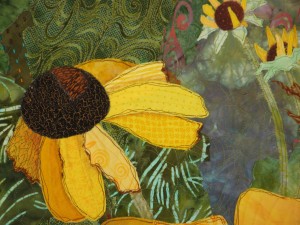
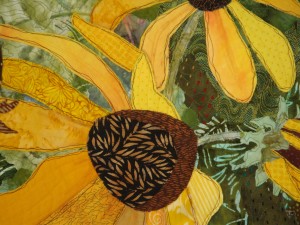
– When a constrasting thread is used, it adds a visual line that becomes a design element.  The petals are an example of this last item.  I used dark brown thread to add defintion.

Here are some detail shots:

detail leftIn the photo above,  I used an acid-free marker to depict the torn and
browning edges of the petals.  (Again, showing the flowers in all stages.)

detail right
I’m really happy with this piece! 

As I mentioned in an earlier post, it is to be part of the Transformations exhibit.  In it 12 visual artists have been paired with 12 poets, in order to foster loose collaborations.  The piece is my response to the poetry of Marica Denius, who often writes about changes in her life.  (I’m the only fiber artist in the group, so I’m especially honored to be included.)

Ellen Lindner

Nearly There

Next, I decided on the size and placement of the seed heads. 
And, I pinned down (literally) the flower centers.

2 seed heads

Finally, it was time to add stems.

stems added

Then, on to some much needed shading (below.)  This helped create definition between the petals.  (Compare the before image above, and the after, below.)

shading added

To create the shading I used a combination of media:  Prismacolor colored pencils, cheap oil pastels, Caran D’Ache Neocolor II water soluble wax pastels.
(Click on any image for a larger view.)

At last, I was ready to stitch my composition.  I pinned everything to the base fabric, layered it with batting, and headed for the sewing machine.

Ellen Lindner

Flower Buds

Since I wanted to show all the stages of these flowers, I needed to add in a few buds. 
(I left the seed heads alone for a little while longer.)

2nd bud

3rd bud

At this point, the two small buds (near center top) gained an unexpected 3D effect.  Since the petals were not stitched down yet, they flared out from the body of the piece.  I considered leaving them that way, but I decided against it for two reasons:
– I was afraid they wouldn’t  hold up to the extra wear involved, since I hadn’t construted them with that in mind.
– I knew that any 3D objects would attract attention.  Since these little buds were very minor players in the composition, I didn’t want them to become the first thing a viewer noticed.
(Click any image for a larger view.)

Ellen Lindner


That’s a Wrap!

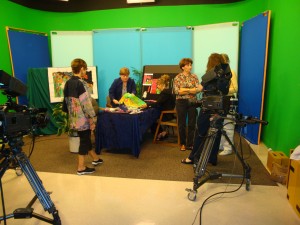
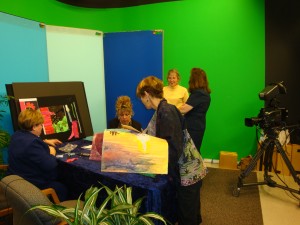
Did I mention I was going to do a TV interview?  Well, last night was the night.  After lots of preparation with my co-interviewee, Dij Pacarro, we were anxious to talk about fiber art on “Focus on Art,” a local show.

It ended up being rather fun, and we were both pleased with it.  (Although we haven’t viewed it yet.  It will air in November.)

The crew members were very welcoming and oh so patient as we tried to rangle our quilts, demos and other props into a workable arrangement.  And our interviewer, Pearl Ollie, was energetic, pleasant, and engaging.  To top it all off, we managed to talk about our local fiber art group, one of our primary goals.

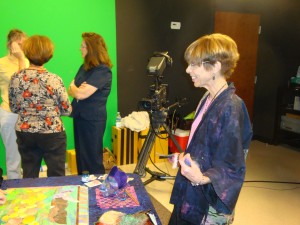
Our interview was actually two fifteen-minute segments.  These photos were taken during the break, as we set up for the second half.  (Click images for a larger view.)

prep all
L-R: Dij, Ellen, Pearl, Crew members

The photo below shows the demo board, ready to go.  I demonstrated my process,
and with the help of Pearl and Dij, added flower petals to the waiting background.  
(This is the start of a commission piece, in the style of Cosmo Duet.)

trio prep, Ellen's back
 
At one point we discovered that our loose Angelina fibers were attached to everything!  We did a quick recovery with a lint roller.  (Angelina looks like tiny tinsel.  It was everywhere!)
 
dij laughing
 
 
This interview was a very rewarding experience, for which I’m very grateful.
 
Ellen Lindner
P.S. Thanks to Dij’s husband, Rudy, for catching us off guard and capturing these candid shots.