More Flowers Appearing

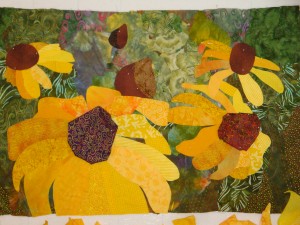
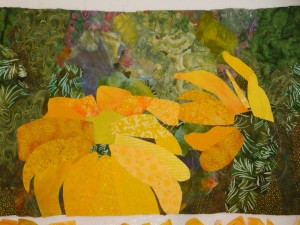
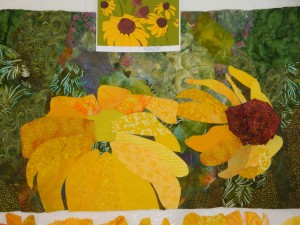
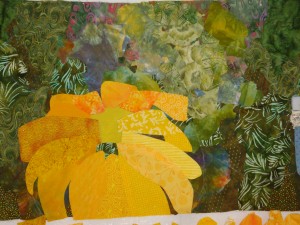
20Hmm. Yeah, that last flower (on the right) was a little too large.  Although it looked fine, I knew that it would crowd the rest of the composition, causing the flowers to overlap too much. That would make it harder to tell them apart, and I’d lose the nice contrast with the background.  So, I made it slightly smaller. 

DSC03013

The brown center was just loosely pinned at this point.

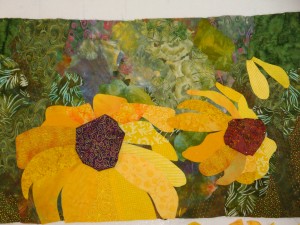
Have you noticed the light source?  I decided it’s coming from the right.  Therefore, I’ve used lighter fabrics for the petals that catch the light.  I wasn’t aiming for a photo-realistic image of flowers, with exactly perfect shadows and such.  Instead, I wanted to give the impression of light and its direction.

Three flowers down, with centers still in debate:
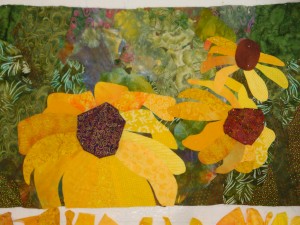
DSC03016

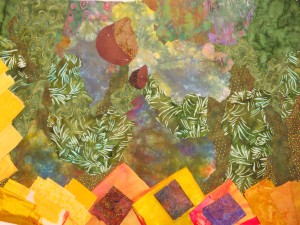
Now, four flowers complete, except for tweaking the centers.  I did finally decide on brown for the flower centers, though.  Time to figure out the seed heads:

DSC03017

At this point, the floor of my studio was COVERED in yellow bits of fabric!  I didn’t mind,  though, because  I was happy with the progress.

Ellen Lindner
An Exciting Invitation

I was recently surprised to receive an email from the Art in Embassies program.  This program borrows art from artists, museums, etc. and installs them in the residencies of American ambassadors all over the world.  Artists can apply to participate in this program, but I never got around to it.  However, the program found me.  Cool!

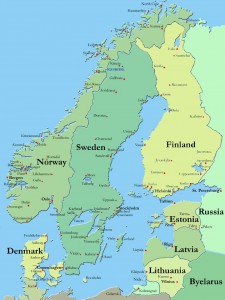
The email asked for the loan of one of my pieces for display in the Tallinn, Estonia ambassador’s residence.  Wondering where Estonia is?  I did too, until a Scandinavian cruise took me there.  Estonia is on the eastern side of the Baltic Sea.  It’s just west of Russia and just south of Finland (across the Bay of Finland.)

scandinavia_map

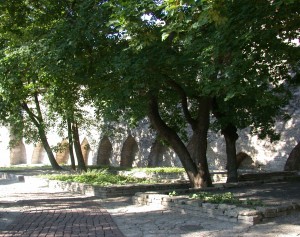
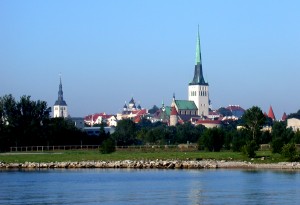
The capitol of Estonia is Tallinn, a delightful town which has a walled medieval section. 

city wall

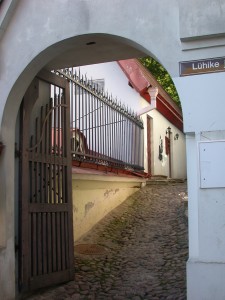
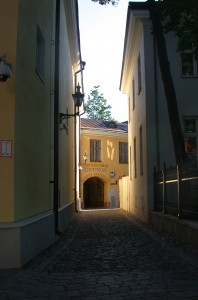
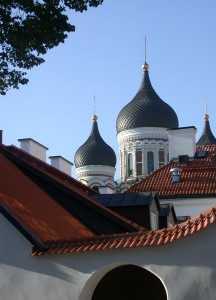
It features narrow cobblestone streets, roofs with clay tiles, and occasional glimpses of  onion roofs adorning Russian Orthodox churches.

gateway and cobblestone street

yellow street straightened jpg

rooftop 3

view of port+

Until 1990 Estonia was under Russian control.  As a result, it’s currently experiencing some growing pains and challenges. 

I imagine the new ambassador, Michael Polt, will have challenges as well, so I’m delighted to support his efforts in such a wonderful setting.

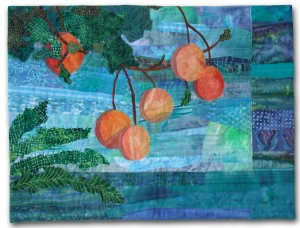
The Polts have requested my piece Lakeside Citrus for their exhibit. 

Lakeside citrus

I am happy to loan it to them, and I hope it will brighten their days during the long dark Estonian winters.

Ellen Lindner
Back to my Latest Piece

(If you want to see where this all began, start here.)

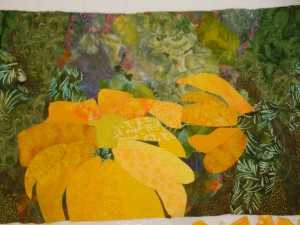
After constructing the first flower, I worked on the second one, in the same fashion.

DSC03002

DSC03003

Again, I delayed adding the dark center,.  However, I folded some dark fabric and pinned it in place, just to get the proper effect.  Hey, looking good!

DSC03008

At this point, I was quite happy with it, even though I realized  this second flower was a little too large.  Would that be a problem?  I wasn’t sure, so I forged ahead.

Ellen Lindner
Final Exhibit Photos

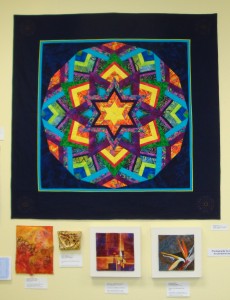
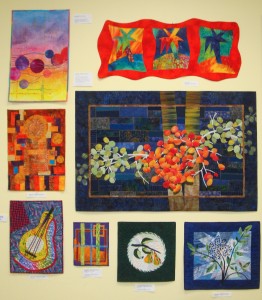
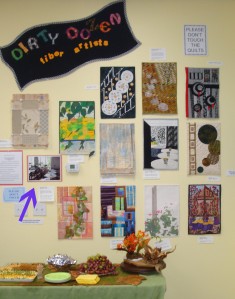
These photos represent the final ones from the Dirty Dozen Exposed! 2009 exhibit.  (Click on any image for a larger view.)

wall 4

 wal 5

wall 6

Many of these pieces are for sale, and one has sold already!

The exhibit is on display through October 31st.  If you’re in Melbourne, FL, I hope you’ll get to see it!

See more of what the Dirty Dozen gals are up to on our group blog.

Ellen Lindner
Even More Exhibit Photos

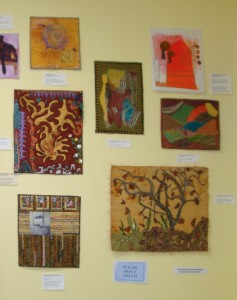
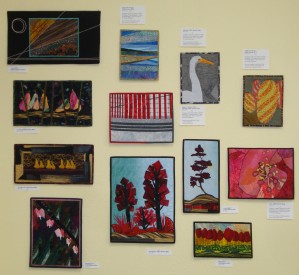
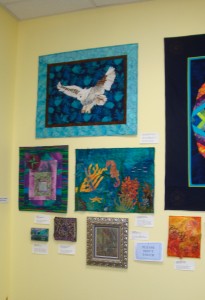
The following photos show more of the wonderful artwork currently on display in the the
Dirty Dozen Exposed! 2009 exhibit.  (Click on any photo for a larger view.)

wall 1

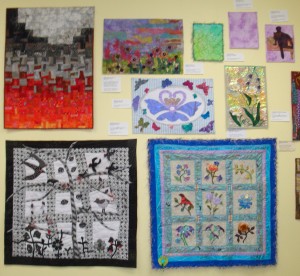
 Two of my small pieces are shown in the next photo, bottom right. 
They are Reflections, and Bird of Paradise.

wall 2Ripening,

 My piece is the largest one in the following photo.

wall 3

The Dirty Dozen Exposed! 2009 exhibit is on display in Melbourne, FL through October 31st.  Full details here.

Ellen Lindner
More Exhibit Photos

Sue asked for more exhibit photos, so here are photos of the three group projects.

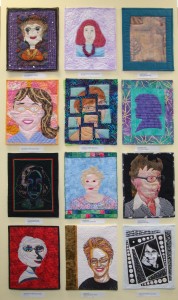
The first is our self-portraits.  These are integral to the group, since completion of one is a criteria for membership.  Mine is the purple silhouette on the right, done six years ago.  (Click on any image for a larger view.)

self portraits

Next is our “Photo-Graphic” challenge.  It started with the selection of a photo showing a quiet scene in a Swedish cafe.  The challenge was to find some intriguing aspect of this photo (or all of it,) and to interpret that in a new piece.  It’s amazing how different the final results are!  Mine is bottom left, called East Facing Window.  (Click for a larger view, and click here to see the photo enlarged.)

challenge pieces w

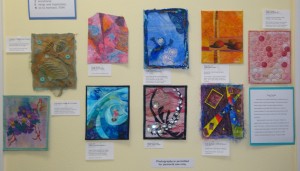
We always have some sort of group challenge as part of our annual retreat, which we call “Group Therapy.”  This year’s was to use some sort of acrylic gel or paste, along with paint, as part of the project.  Mine is the orange one, Mangolicious.

group therapy

Did I mention that these gals are very creative?

All photos copyright the artists.  More photos in the next post.

Ellen Lindner
Fantastic Dirty Dozen Reception

Today, we had the opening reception that launched Dirty Dozen Exposed! 2009.  This is the annual exhibit put on by my art group, the Dirty Dozen Fiber Artists.  The reception was a huge success, with a room full of visitors throughout the afternoon.  (At one point, it was even hard to get in!)

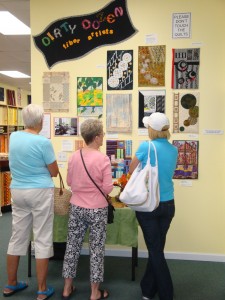
The women shown below are admiring our challenge pieces, all of which were inspired by the same photo.  Yet, they were all extremely different.

DSC03081

The exhibit included 83 very diverse pieces, which garnered many compliments  It was especially nice to accept these from people who were new to the concept of fiber as art.  They were extremely impressed with our results.

At the end of the afternoon, we were tired,
but also happy with the satisfaction of a job well done.

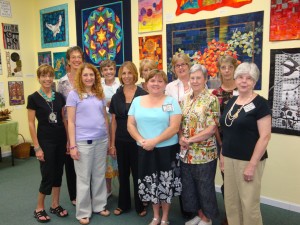
group

Above, L-R:  Dij, Lisa-Marie, Jill, Peggy, Paula, Bev, Ellen, Martha, Barbara, Irene, and
Ruth Anne.  Not shown:  Elizabeth.

(Click photos for larger versions.)

Time for Flowers

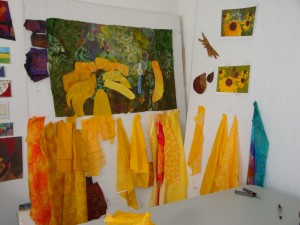
After the background was complete, it was time to start creating the flowers.  The photo below shows my set up.  (BTW, I have my blog set up so you can always click on a photo for a larger view.)

DSC02993

My composition was on the left design wall, with my design cartoon on the right one.  I had all my flower fabrics arranged from orange/dark to pale yellow.  It was easy to see my options with them pinned directly to the design wall.

My process was to put a piece of yellow fabric on the wall, see through it to the part of the design already created, and draw a petal.  Then, I cut it and pinned it in place.

Did you catch the “see through it” part?  That’s not good!  Because of it, I knew I’d have to line all the yellow fabrics.  I wasn’t banking on that.  Since I was half way through the first flower before I decided to do this, I elected to line it all in one operation.

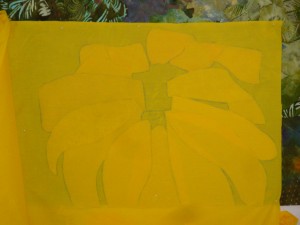
Using the see-through nature of the fabric to my advantage, I placed a large piece of fabric over the entire flower and drew the shape, with each petal indicated.  See below.

DSC02996

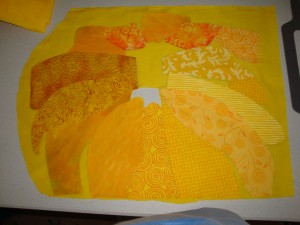
Then, I moved each petal to the new yellow fabric base and glued them in place.  See below. 

DSC03000

 Finally, I cut away the excess background fabric and put the flower back on the wall.

DSC03001

There was one unforseen advantage to all of this:  the flower now held together as a unit.  This allowed me to easily audition different arrangements as the design developed.  Plus, I didn’t need as many pins to control it.  (With subsequent flowers, I was smart enough to line each petal as I went.  But, again, I glued them all into units, so I could easily move each one.)

At this point, I was undecided on the color for the dark flower centers.  I decided to leave that decision until last.

I could tell that, indeed, the petals looked very similar to one another.  I began to think of ways to accentuate the differences.  Stitching?  Painted shadows???

All in all, though, I was very happy with it at this point.  What do you think?

Ellen Lindner
First, the Background

Before I tell you about my design decisions, perhaps it would be helpful if you knew a little about the technical aspects of my process.  Construction starts on a design wall.  This is housing insulation covered with felt.  I pin up a piece of white background fabric, as a base.  Then, I begin to pin other fabrics into place.  I use my straight pins like push pins, pinning right through the fabrics and into the design wall.

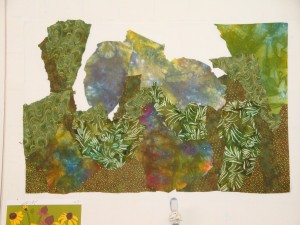
In the photo below, I was well on my way to finishing the background.  I purposely selected fabrics that were rather dull and subdued, so the flowers would shine as the stars of the composition. 

You may be able to tell that I cut the fabrics with very jagged edges.  The speed of this technique, and the irregular shapes it produces help me to avoid over thinking.  Plus, it’s very appropriate for foliage.

DSC02951

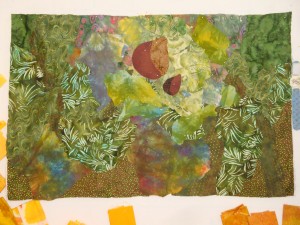
The next photo shows the background finished.  I temporarily placed two seed heads, to see if there was enough contrast between them and the background.

DSC02961

Nope.  I had to add some lighter fabrics and to enlarge the lightest portion of the background.  Afterward, it provided the contrast that was needed.

DSC02978

In the bottom two photos you can see that I was begining to consider fabrics for the flowers.  The first thing I noticed was that they all looked very similar.  Perhaps that would become an issue.

If you like seeing things in progress, you may enjoy reading a photo essay about the creation of Ti Plants A-Glow-Glow.

Ellen Lindner
Dirty Dozen Fiber Artists Exhibit Coming!

The annual exhibit showcasing my local fiber art group starts in just a few days, and we’re getting very excited!  If you’re in Melbourne, FL during the month of October, I hope you’ll get a chance to stop by.  Here are the details:

Fiber Art Exhibit:
Dirty Dozen Exposed! 2009
6th annual exhibit

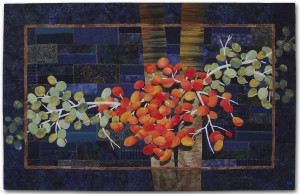
Ripening_cutout+jpg

 From October 2nd through October 31st,
Boutique 4 Quilters

 The Dirty Dozen Fiber Artists will transform the Boutique 4 Quilters
classroom into an exhibit of over 60 original fiber art pieces,
made with a variety of exciting materials and techniques. 
In addition, two group projects will be featured. 

 Reception October 3rd, 1-3 PM
General viewing during regular store hours

 Boutique 4 Quilters is located at
2945 W. New Haven Ave., West Melbourne, FL 
Store hours are M-F 9:30-5, Sat. 9:30-4.  Phone 321-768-2060  

Dirty Dozen Fiber Artists: Barbara Bilbo, Jill Brown, Paula Furgason,
Peggy Horsfield, Elizabeth King, Ellen Lindner, Bev O’Connell, Dij Pacarro,
Ruth Anne Parker, Lisa-Marie Sanders, Irene Watson, Martha Wolfe

Learn more about the Dirty Dozen Fiber Artists on our group blog.

Ellen Lindner