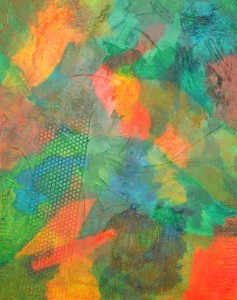
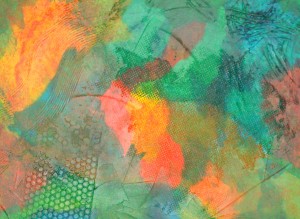
Elizabeth St. Hilaire Nelson

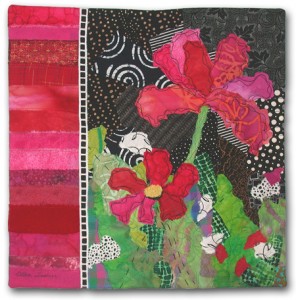
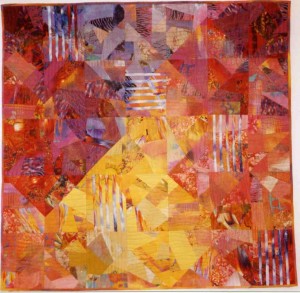
Check out this awesome image:

Elizabeth Nelson Blue

Isn’t it fantastic?  It’s the work of paper collage artist Elizabeth St. Hilaire Nelson.  I was introduced to Elizabeth’s work several years ago, and I’ve been an admirer ever since.

Elizabeth recently had a show in a local gallery, so I suggested a meeting.  She must be brave, because we met for a delightful lunch, during which we talked about art, photography, marketing and much more.  It’s always fun to meet new artists because we have a lot of common ground.  That leads to plenty of lively conversation.

Plus, we love each other’s work.  As a matter of fact, Elizabeth has commissioned me to make a fabric collage similar to this one:

Cosmo-Duet,-wht

I hope you’ll check out Elizabeth’s website.  Her gallery is chock full of amazing pieces!  Prepare to be mesmerized.

(I’m considering purchasing one of her 12″ x 12″ pieces.  Which one do you think I should get?)

Ellen Lindner

Sketching with My Computer

I’ve finally learned enough Photoshop Elements to use it as a design tool.  (Which is to say I can eventually figure things out, with the help of a good tutorial book.)

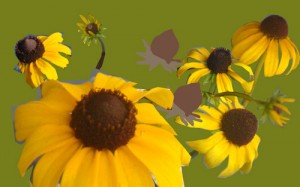
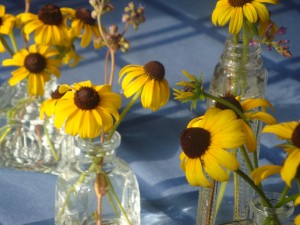
I put those skills to work in creating the composition for my latest piece which features Black Eyed Susans.  First, I isolated several of the flowers, “cutting them out” and placing them on a green background.  I wanted to show the flower in all its stages, so I chose a variety.

Then, I started resizing, rotating, and flipping, as needed.BE-susans-photos1-web

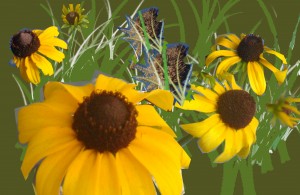
When I got pretty close, I added some busy vegetation.  It was just distracting,
but I liked the composition pretty well at this point.BE susans photo composite

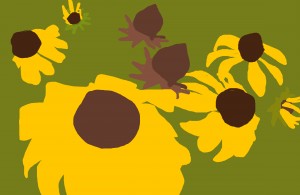
This is the final sketch/cartoon I decided to work with:BE susans cartoon copy

I could see that I would have a few issues, such as:
– Making the background dark enough to provide contrast with the flowers, but keeping it light enough so the brown seed heads wouldn’t disappear.
– Defining individual flower petals in the sea of yellow.

FYI:  I highly recommend the books in the “Teach Yourself Visually ***” series.  The *** represents the name of whatever software it explains.  These books are VERY easy to use, and at $30, they’re a fantastic value!

Ellen Lindner

“Rooted in Tradition,” an Exhibit of Art Quilts

Recently, I visisted the “Rooted in Traditions: Art Quilts from the Rocky Mountain Quilt Museum” exhibit, in Vero Beach, FL.  It was my second visit and I enjoyed it as much as the first.

The exhibit shows art quilts from the 1970s (or 80s?) forward, sort of an explanation or retrospective of art quilts.  Quite a few of the quilts are made by well known quilters:  Yvonne Porcella, Caryl Bryer Fallert, Micheal James, and others.  It was interesting to see the progression of techniques, materials, and designs over time.  Some of the earlier quilts were hand quilted, and the designs were very symmetrical and reminiscent of traditional quilts.  Later hand dyed fabrics and other surface design techniques became prominent.

The exhibit was curated by Judith Trager, who had two of her own pieces on display.  The one below is my favorite: “Abstraction/Difraction.”

Judith Trager_ABstraction-Diffraction

The exhibit will be on display at the Vero Beach Museum of Art through October 25th.  It’s a GORGEOUS little museum!  One of the docents there is a quilter and she create several hands-on clipboards which explain the various techniques.  This is a fabulous idea!  (And one that should really travel with the show.)

If you’re in east central Florida anytime soon, I really recommend this exhibit.  (Be sure to include lunch overlooking the river or nearby beach, as part of your trip.)

Poet-Artist Collaboration

As part of the upcoming Transformations art exhibit, I’ve been paired with poet Marcia Denius.  The idea is for us to share our work with one another, get to know one another, and allow the experience to influence new creations.  This is being loosely termed collaboration, but we’re not actually working on one another’s pieces.

Marcia is a very talented poet, who writes very honestly.  Many of her pieces are highly personal, and she’s not afraid to make herself vulnerable to her readers.  The first selections that I read dealt with changes in her life, many of them negative.  I was having a hard time figuring out how that could relate to my current trend of depicting brightly colored vegetation.  Finally, it occured to me that these pieces referred to transitions and I thought this would be something I could work with.  I discussed it with her and she agreed:  we would use the word transition as our springboard.

I was still thinking that maybe I should depict a somewhat negative transition, to be consistent with my first impression of her work.  But nothing came to mind.  One day, when walking the dog, I saw a patch of Black Eyed Susans, and stooped down to pick the pretty ones.  Then, I noticed the ones with the missing and mangled petals.  They were interesting, too, so picked those as well.  Finally, I spotted the seed heads that had no petals left at all.  Then it hit me:  transition!  I had my subject matter.

I took tons of photos and my head began to spin with ideas.

!good group4

In coming posts, I’ll show you how this piece progressed.

Ellen Lindner

But Why is the Floor Yellow?

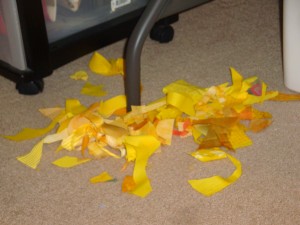
DSC03018

I’ve been busy.   Busy cutting and placing fabric for my current collage.  

As you can see, I’m using a wide variety of yellow fabrics.  Using a collage technique means that I cut various shapes for my compositions.  That creates SCRAPS!  I only keep those that are bigger than my fist, but I have several friends who save little tiny bits, like these on my floor.   So, as I’m working, I just let these smaller scraps fall to the floor.  Later, I’ll rake them up with my fingers and put them in baggies for my friends.  Believe it or not, they’ll be delighted to receive them!

What am I working on?   It’s going to be part of an upcoming invitational exhibit, called Transformations.  I’m very excited to be part of this exhibit, especially since I’m the only fiber artist in the group.

To get an idea of my current subject matter, follow this link for hint.

Ellen Lindner

Drawing Class Wrap Up

Finally, we added white charcoal to our tools and learned about shading to create a sense of form or shape.  (Yeah, using boxes AGAIN!)  As we had done earlier, our instructor had us create quick thumbnail sketches of compositions that we found interesting.  (Click for a larger image.)
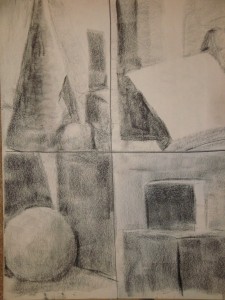
shading thumbnail

To her credit, she encouraged us to think about composition throughout the course.  Her suggestions were exactly the things I think about in my fabric collage designs:  zoom in on an intriguing part, fill the space, make your subject touch the edges of your paper.

After creating the thumbnail sketches, we were asked to pick one and to develop it into a more finished piece.  Unlike the hurried gesture sketches of the early classes, we were now spending about 45 minutes on these larger pieces.
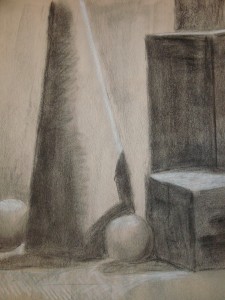
shading 1

For our last two weeks in class, we focused on value and drew on black paper.  (I was too cheap to purchase the black paper for the first session.  However, after seeing everyone else’s results, I bought it for the final class.  See the July 28 post.)

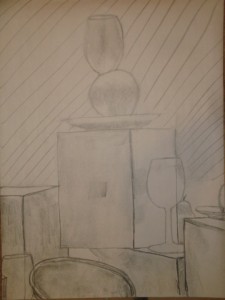
We had plenty of time to create the very last drawing for class, one in which we tried to capture both shapes and reflections.  This is what I chose to focus on:
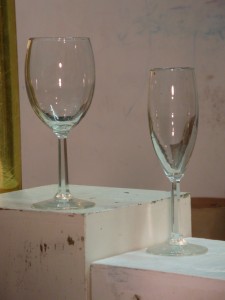
Photo for last sketch

I used a little artistic license to change the composition and came up with this:
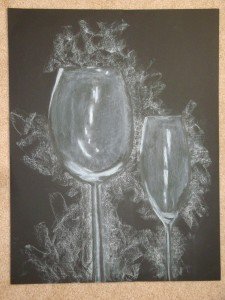
last sketch

Hey!  Not bad!  I was delighted with it. 

An interesting note:  drawing with white onto black paper required lots of drawing with my eraser!  (I don’t mean erasing my mistakes.  I mean erasing away the white smudges to get the black to show.)

My conclusions:
– Taking a drawing class was a very good way to improve my skills of observation, which is the primary component of drawing.
– I can draw!  But, only if I’m willing to be patient, concentrate, really study my subject, and and take my time.
– I have a hard time being patient, concentrating, really studying my subject, and taking my time.

It’s good to know that I have some drawing skill in my repetoire, but I think I’m too impatient to use it very often.  It’s still work for me.  I know it would get easier if I spent more time practicing.  However, I don’t see that happening any time soon.  Instead, I’m distracted by my next creative opportunity.

Ellen Lindner
Back to the Drawing Class

Earlier, I showed you some of the gesture sketches I did in my summer drawing class.  (July 28 and forward.)

After LOTS of gesture sketches, we finally moved to contour drawing.  That is, accurately drawing the edges, or shape, of an item.  Since this was much more realistic, my classmates and I also found it to be much more difficult!

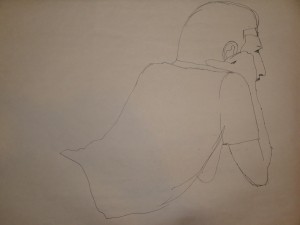
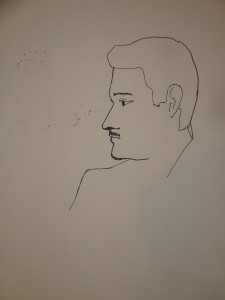
My contour drawing of our model looked A guy, but not THE guy in front of us.  Still, I was pretty happy with that effort.  (Click on images for a larger view.)

contour a

contour 1

GEE, that was challenging!  It took all of my concentration!

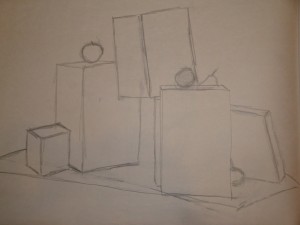
Next, we did LOTS of contour drawing with boxes and shapes:

boxes 1

Although these were a little repetitive, doing them definitely helped each of us to develop our “eye.”  It was exciting to look around the classroom and see the improvement that everyone was making.

In anticipation of learning to shade, our instructor also had us begin to add some value (light/dark) contrasts to our drawings.

boxes 2

I was beginning to think that I might actually get the hang of it!

Ellen Lindner

“Sticky Fingers” Glued Collage Finished

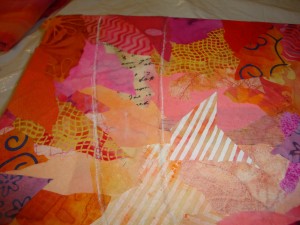
I had fun finishing up the sample for “Sticky Fingers,” my upcoming glued collage class.  In the photo below, I was working on adding a simple cruciform shape to the background.

line ip

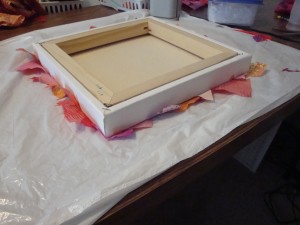
When I was happy with the front, (and after it dried,) I flipped
it over and finished the sides and back.

starting on sides

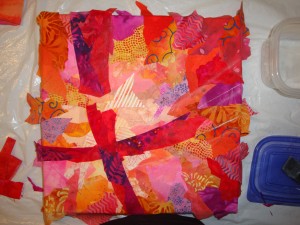
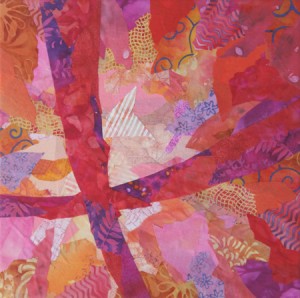
This is the finished composition.  (The colors in this photo are
more accurate than the first one.)Pink-cruciform-cutout-web

This is a very fast and forgiving technique.  I’m really looking forward to teaching it.  (Just need to find time to make more samples!)

If you’d like advance notification of this online class, you can sign up using the subscription box at the bottom of my newsletter page.  (If you already subscribe to my newsletter, you’ll need to follow the directions for updating your profile.)

“Sticky Fingers” Progress

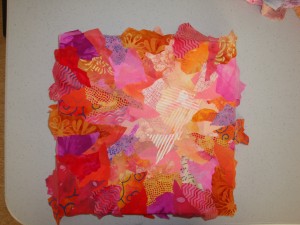
I recently mentioned the fun I’m having as I work on samples for a new online class, “Sticky Fingers:  Glued Fabric Collage.”  This photo shows the background portion finished.  (The lose fabric around the edges will later be wrapped around the sides.)

background finished 2

Next, I decided on the design – a curvy cruciform shape, which I drew in with chalk.

pencil lines added

Soon, I’ll show you the development of the cruciform shape, which I’ve done in strong pink and purple fabrics.

If you’d like advance notification of this class, you can sign up using the subscription box at the bottom of my newsletter.

Ellen Lindner

Painting with Acrylics

Previously, I talked about Renee Decator’s process for painting with acrylic paints.  Gee, that sounded like fun!  So, I pulled out my paints, and gave it a shot.  What a blast!

painting 1

I mimicked Renee’s process:
1 – Add texture to the canvas.  (I used Golden molding paste.)
2 – Randomly apply opaque colors.
3 – Randomly apply transparent colors.
This was fun, fun, fun!!!

To get texture, I:
– applied molding paste very unevenly, using an old credit card as a spatula,
– pushed paste through a scrap of sequin waste,
– laid needlepoint canvas in the paste, then lifted it,
– scraped the paste with a plastic knife and a plastic fork,
– pressed cheesecloth into it, and left it attached.

Click on the photo below for a better look.
Painting detail

I’m actually liking this unplanned painting quite a bit.  Maybe I’ll work with it a little and turn it into a finished piece.

Ellen Lindner