Join Me in Melbourne, FL

Talking about my quilts is one of my favorite things to do and I get to do it for the Sunstitchers on January 16th.  Can’t wait!

I’ll show many quilts, tell about my inspiration and process, and answer questions.  I’m not sure which quilts I’ll be bringing, yet, but I’ll definitely include this large favorite.

Click on image for a larger view

Crotons, an art quilt by Ellen Lindner. AdventureQuilter.com

Crotons

If you’re in the Melbourne, FL area, you’re invited to attend.  The fun starts at 9:30 AM.  For directions, leave me a comment and I’ll send you a private email.

Ellen Lindner

2014 in Review

While most people are busy making resolutions for the new year, I prefer to look back at the accomplishments of the previous year.  So, I put together a compilation photo of (most of) the fabric collages I made in 2014.  They’re shown in approximately the same scale, with sizes ranging from 7 x 5 to 51 x 33.

Click on the image for a larger viewEllen Lindner's 2014 art quilts.  AdventureQuilter.com

I think it’s pretty clear that I like vivid colors and strong contrasts!  Still.

I know I’ll have just as much fun making quilts in 2015 and I can’t wait to get started!

Ellen Lindner

See all of my quilts


More Grow with the Flow Quilts

EVERY one of the 19 women in my first “Grow with the Flow” class completed the bulk of her quilt in class.  (With just the facing remaining for home work.)

All the students worked with the same pattern, but because they chose different fabrics, there was a great variety in the room.  Even when the fabrics were identical!

Click any image for a larger view

Grow with the Flow class, taught by Ellen Lindner. AdventureQuilter.com

L: Barbara’s quilt, and R: Brenda’s quilt made with the same fabrics

Above, Barbara and Brenda shared a “Jelly Roll” pack, but used the fabrics a little differently.

The instructions suggested one color for the entire background, but with a variety of values.  Most of the ladies chose accordingly.

Grow with the Flow class, taught by Ellen Lindner. AdventureQuilter.com

Linda with her quilt

Grow with the Flow class, taught by Ellen Lindner. AdventureQuilter.com

Barbara chose muted tones


Grow with the Flow class, taught by Ellen Lindner. AdventureQuilter.com

Carol’s soft green quilt

Several students varied their background colors somewhat.  Like Judy, Ann, and Jo-Ann, below.

Grow with the Flow class, taught by Ellen Lindner. AdventureQuilter.com

Made by Judy.


Grow with the Flow class, taught by Ellen Lindner. AdventureQuilter.com

Ann with her quilt

Grow with the Flow class, taught by Ellen Lindner. AdventureQuilter.com

Jo-Ann chose prints of rust and green, with accents of purple!

Two of my students really cut loose and “disobeyed.”  They did their own thing with the color selection and I totally applaud that!

Grow with the Flow class, taught by Ellen Lindner. AdventureQuilter.com

Pat selected a wide variety of bright colors for her background.


Grow with the Flow class, taught by Ellen Lindner. AdventureQuilter.com

Melinda reversed the colors, using the bright accent color for her plant, and black and white for the accents.

Didn’t they do a great job?  I think so, and they did, too.  A success, all the way around.

Ellen Lindner
P.S.  I’ve got an online version of this class coming up on January 23rd.  I’d love to have you join me!


Merry Christmas

May you and your family enjoy all the festivities and joy of the season.

Merry Christmas 2014 from Ellen Lindner, AdventureQuilter.com

Merry Christmas from my family to yours!
Ellen Lindner

Grow with the Flow Results

Drum roll please.  Check out the fantastic quilts my students made in my first “Grow with the Flow” class.

Click any image for a larger view

Grow with the Flow class, taught by Ellen Lindner.  AdventureQuilter.com

Carma chose hot colors

Grow with the Flow class, taught by Ellen Lindner.  AdventureQuilter.com

Terri with her quilt

Grow with the Flow class, taught by Ellen Lindner.  AdventureQuilter.com

Sharon’s pink piece

Grow with the Flow class, taught by Ellen Lindner.  AdventureQuilter.com

Sandy’s Florida colors


Grow with the Flow class, taught by Ellen Lindner.  AdventureQuilter.com

Patty’s orange accents go well with her complementary blue

Grow with the Flow class, taught by Ellen Lindner. AdventureQuilter.com

Lynda’s quilt

Grow with the Flow class, taught by Ellen Lindner. AdventureQuilter.com

I think I know Jody’s favorite color.

Aren’t they cool?  These are completely stitched at the end of a six-hour class.  I was so proud of them!

But wait.  There’s more.  I have a bunch more to show you in the next post!

Ellen Lindner
P.S.  Find out more about the Grow with the Flow class.

Grow with the Flow Debut Class a Hit

Nineteen women took my first “Grow with the Flow” class, and boy did we have fun!

First, I showed them how to create the background composition.  Because they arrived with their fabrics arranged by value, this went very quickly.

Click any image for a larger viewsharon and barbara smiling121814

Grow with the Flow class, taught by Ellen Lindner.  AdventureQuilter.com

Grow with the Flow class, taught by Ellen Lindner.  AdventureQuilter.com

Little strips of “zippy” fabrics were added as accents.

After composing (but not stitching) the backgrounds, we set them aside in the back room.

Grow with the Flow class, taught by Ellen Lindner.  AdventureQuilter.com

Aren’t they pretty?

Grow with the Flow class, taught by Ellen Lindner.  AdventureQuilter.com

Grow with the Flow class, taught by Ellen Lindner.  AdventureQuilter.com

Next, I taught them how to “fussy fuse.”  This is a technique which is very efficient when composing lots of little fabric pieces into one larger shape.

Grow with the Flow class, taught by Ellen Lindner.  AdventureQuilter.com

All of that before lunch!

After lunch, everyone top stitched their compositions in place.

Grow with the Flow class, taught by Ellen Lindner.  AdventureQuilter.com

I had to laugh because, with everyone sewing, it looked like I was running a sweat shop!

The results were great, though and I’ll show them to you in the next post.

Ellen Lindner
P.S.  I’d love to teach “Grow with the Flow” for your guild!

Gift Wrap and Other Christmas Blessings

As I was wrapping gifts today, I came across a somewhat nostalgic scrap.  It was left over from a particularly stressful Christmas a few years ago.  That year, I decided to make the best of our circumstances, and to look for small blessings at every turn.  So, I decided to buy the most absolutely gorgeous gift wrap and ribbon I could find.

Oh what fun I had wrapping gifts that year!

Click on any image for a larger view
Ellen Lindner ponders Christmas blessings.  AdventureQuilter.com/blog
 Isn’t that paper beautiful?  The black and white one is flocked.  No bows, since everything had to be shipped.  (Here’s a tip:  don’t ever buy paper with glitter unless you want it EVERYWHERE.  For weeks!)

I admit to getting a little “wrap crazy” that year, and my husband had some interesting surprises on Christmas morning.

Ellen Lindner ponders Christmas blessings.  AdventureQuilter.com/blog

Ellen Lindner ponders her Christmas blessings.  AdventureQuilter.com/blog

Coming across that scrap of paper today made me thankful for many things:
– The initial joy I got from my silly wrapping activities.
– How God blesses me in so many small, but  significant, ways.
– A greatly improved situation, that’s now mostly stress free.
– The “reason for the season.”

What a blessing it is to recognize our blessings!  In the midst of this crazy time of year, I hope you’ll be able to focus on your own blessings.  And maybe to even discover some new ones.

Ellen Lindner
P.S.  Were you able to identify the wrapped items above?  A toothbrush, toothpaste, laptop, and mouse.
P.P.S.  That same year I received probably my best gift ever.  Read about it here.

“Carefree” Complete

My latest quilt, Carefree, is now complete, and I’m VERY happy with it!

Click any image for a larger view
Carefree, an art quilt by Ellen Lindner.  AdventureQuilter.com

I’ve heard it said that your favorite quilt is your most recent one, and that’s definitely true for me with this quilt.  For me, some of the appeal is the subject:  my son and two of his cousins skipping down the road on my parents’ farm.  I think it captures that universal moment of cousins being playful, as well as the personal story of my own family.

Carefree - detail, an art quilt by Ellen Lindner.  AdventureQuilter.com

I’ve really enjoyed working on this piece.  It was a good reminder of the power of fabric.  The people were originally just printed on the background fabric, (as is the rest of the background,) but they really came to life when I collaged fabric on top.  I love the effect!

Ellen Lindner
P.S.  You might enjoy scrolling back to see more of my process.

What Color is Skin?

As I studied the inspiration photo for my current quilt, I realized that caucasian skin is WAY more diverse than just tan!  As a matter of fact, since the people in my quilt are backlit, their skin looks pretty dark.

Click on any image for a larger viewCousins skipping, altered photo. Ellen Lindner, AdventureQuilter.com/blog

After increasing the contrast, this was even more true.  Therefore, these were the fabrics I auditioned for skin.

Creating skin with fabric collage.  Ellen Lindner, AdventureQuilter.com/blog

And here’s the first neck with the pieces pinned in place.

Creating skin with fabric collage.  Ellen Lindner, AdventureQuilter.com/blog

It works, I think.

I’m really having fun with this quilt!

Ellen Lindner

Deconstructed Screen Printing

Do you know about deconstructed screen printing?  Well, it’s a little hard to explain.  Basically, you apply thickened dye, in a random design, to a screen and let it dry.  (Yes, let it dry.)  Then, you print with a release agent.  It picks up the color from the screen in a variety of unexpected ways and is very cool!

Kerr Grabowski developed this technique and she was the teacher at a workshop I recently attended.  I think you’ll really enjoy seeing a demonstration from her on this YouTube video.

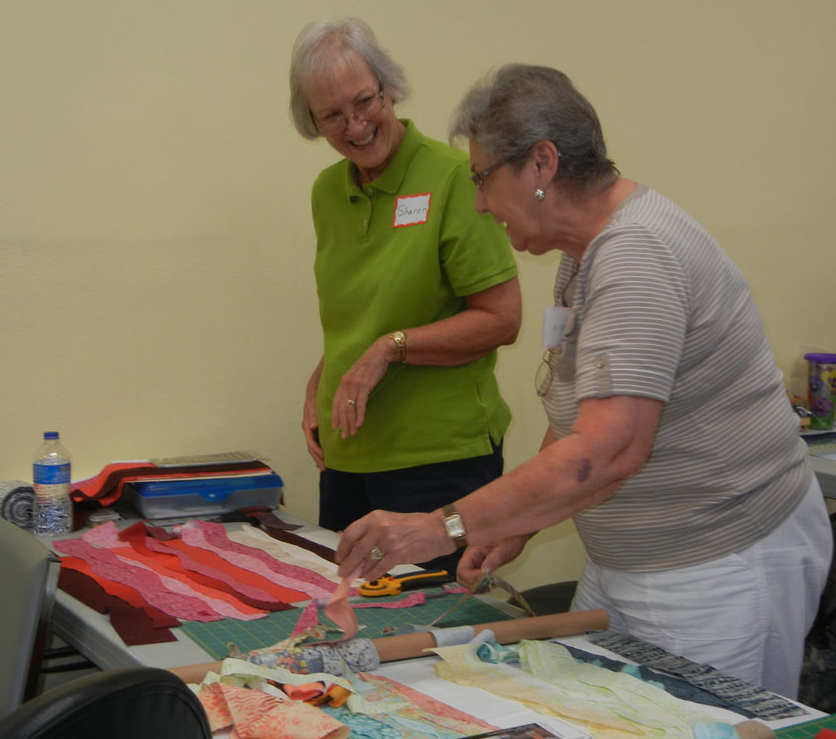
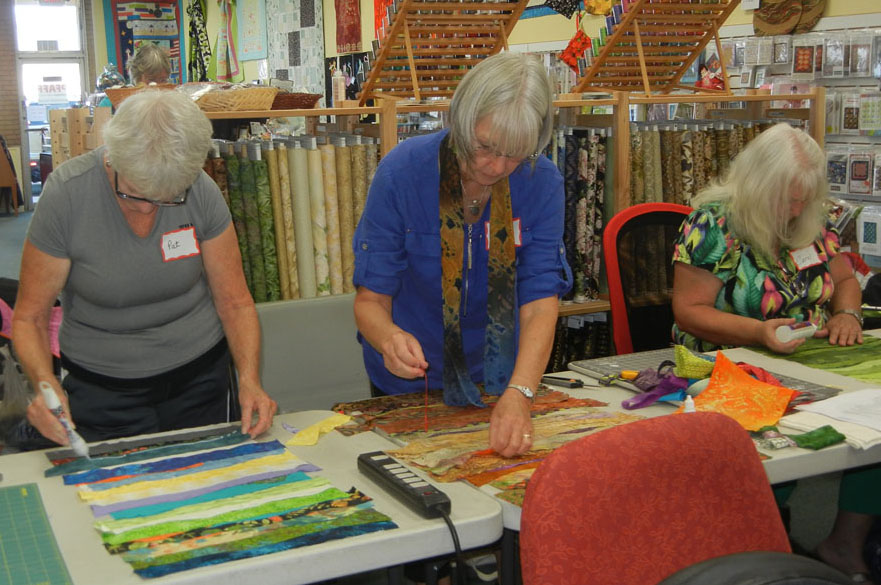
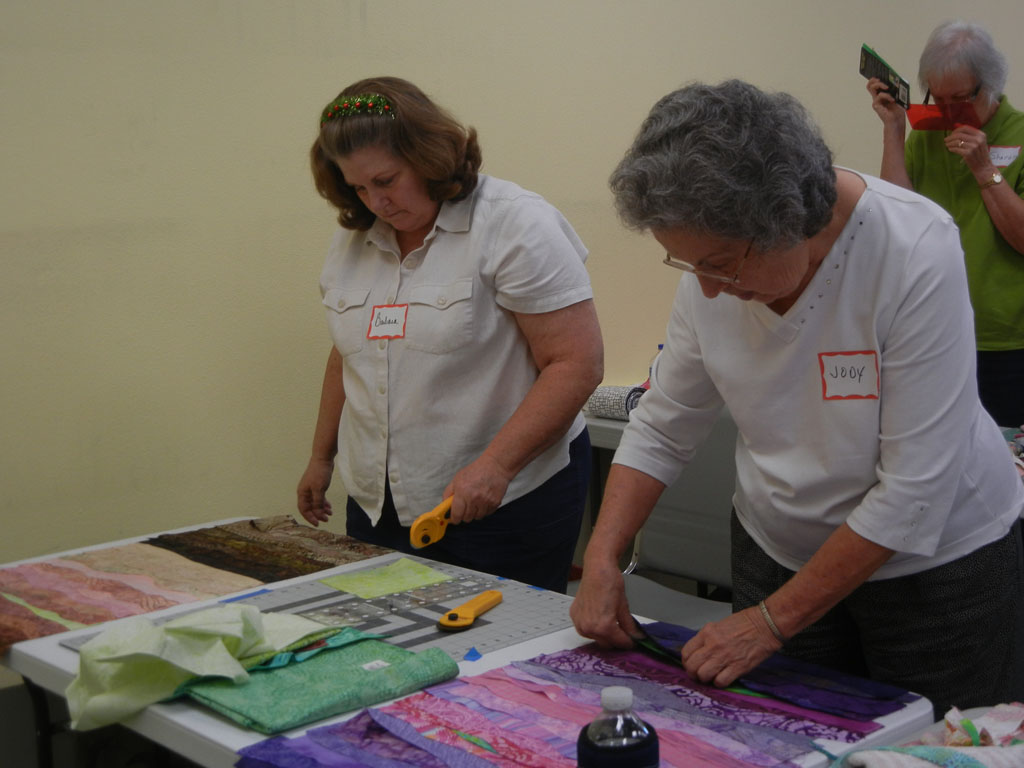
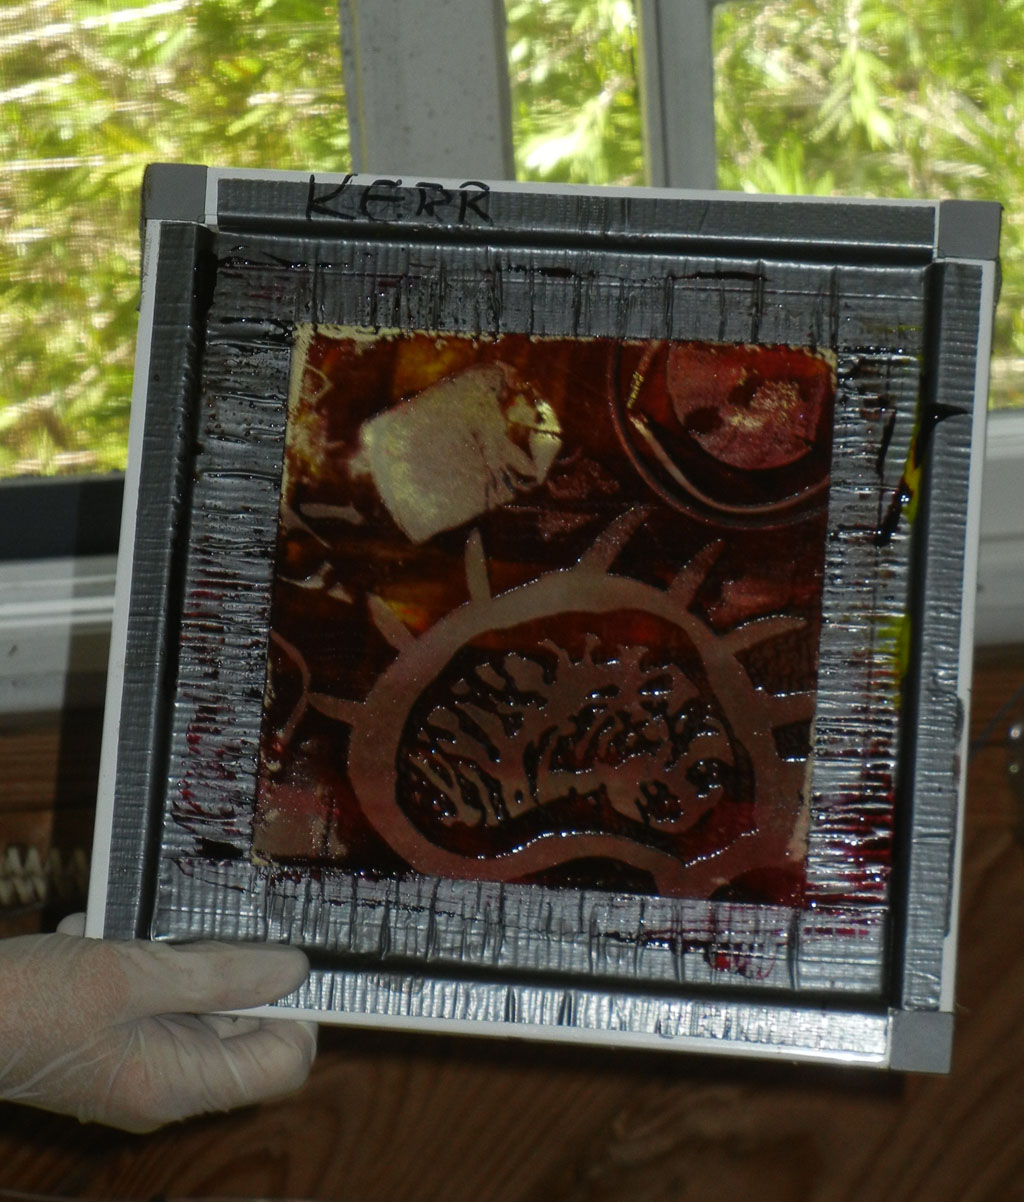
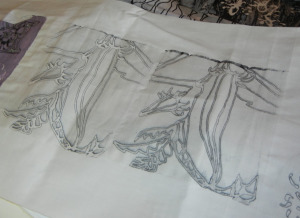
I wasn’t very good about taking photos in our workshop, but here are a few.  This was Kerr’s sample screen.  For texture below the screen, I think she used a tea bag, the lid to her tea/coffee cup, and a squiggly sort of stamp.

Click any image for a larger viewDeconstructed screen printing with Kerr Grabowski.  AdventureQuilter.com/blog

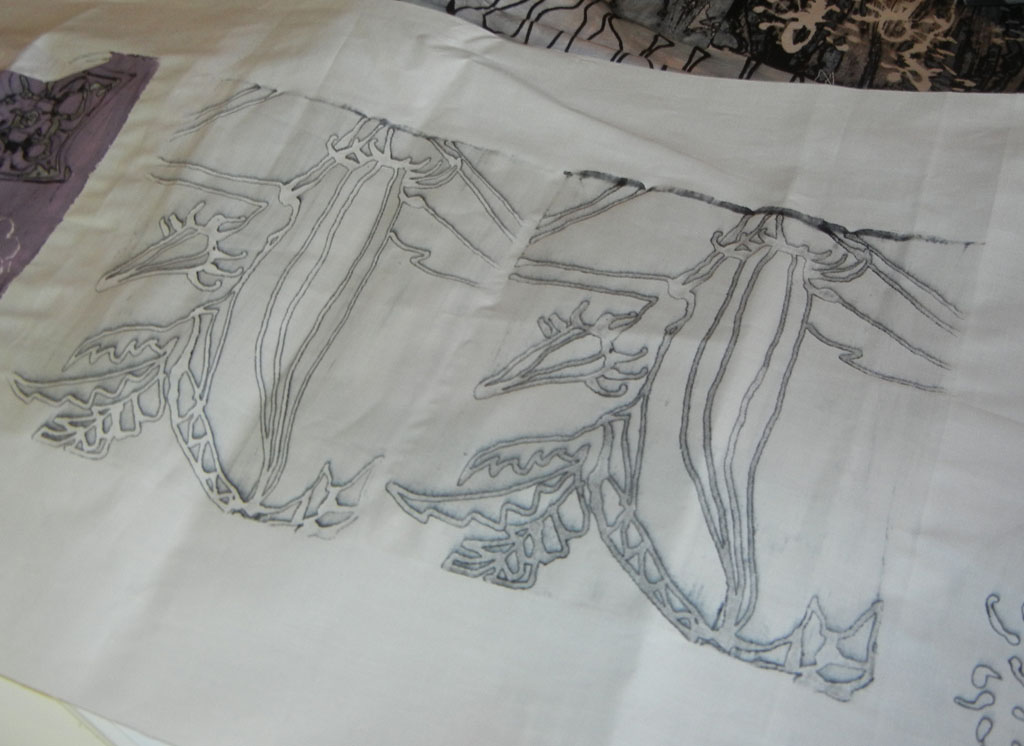
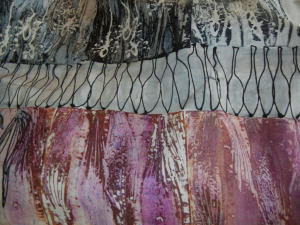
She brought beautiful samples with her.  These delicate lines were made with a syringe filled with black dye.  Even though the dye didn’t print on these passes, an interesting shadowing effect was achieved.

Deconstructed screen printing with Kerr Grabowski.  AdventureQuilter.com/blog

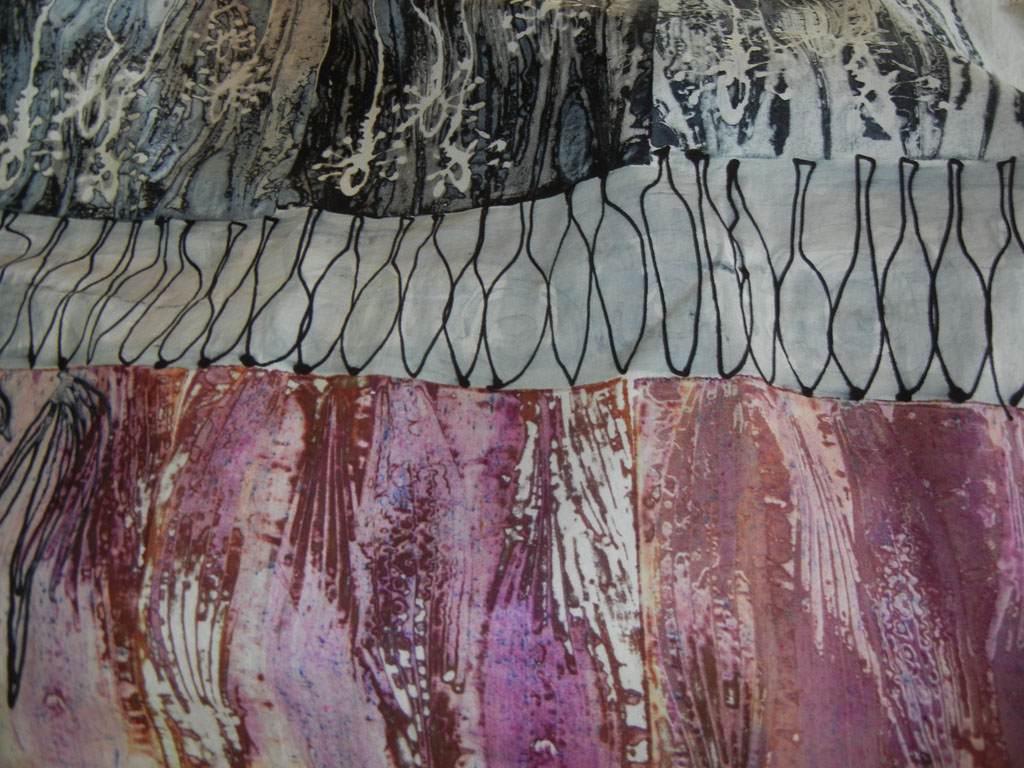
More of her samples.  Again, the most delicate lines were done with a syringe.

Deconstructed screen printing with Kerr Grabowski.  AdventureQuilter.com/blog

Deconstructed screen printing with Kerr Grabowski.  AdventureQuilter.com/blog

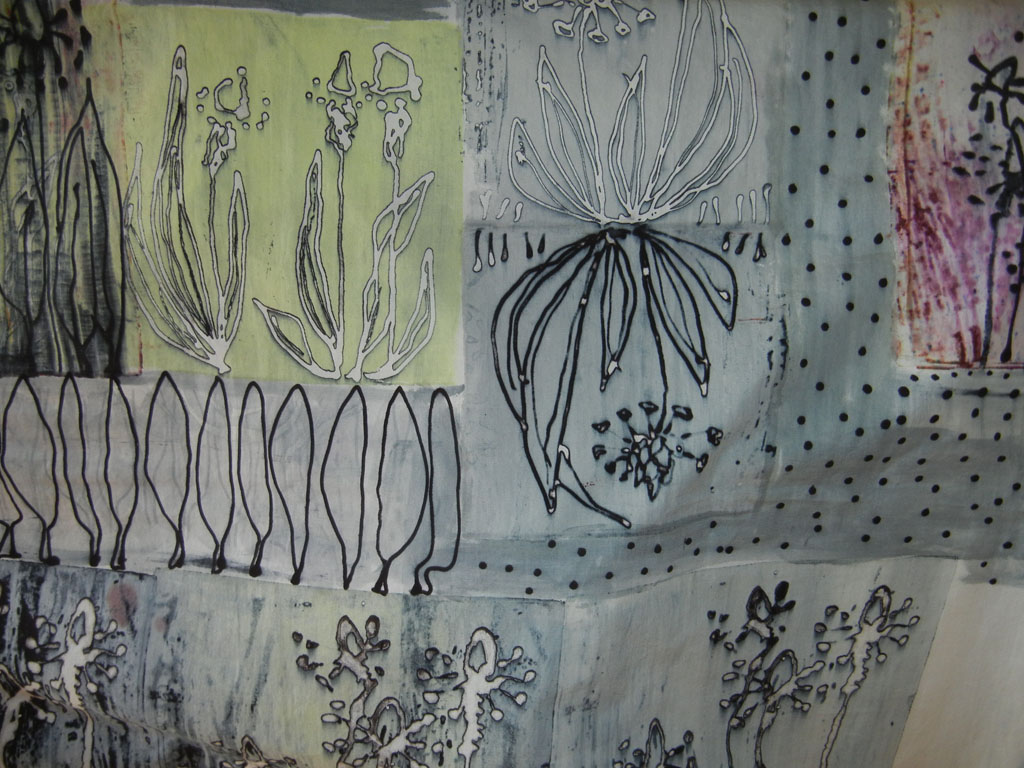
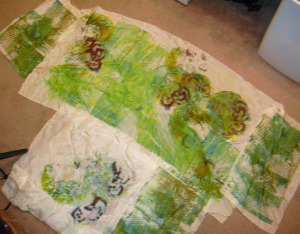
Now for my results, which were QUITE humbling, (and out of focus.)

Deconstructed screen printing with Kerr Grabowski.  AdventureQuilter.com/blog

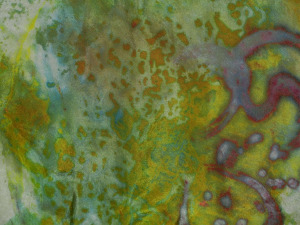
The red swirls were made with a syringe of BLACK dye.  Clearly, that black had a lot of red in it.  Detail below.

Deconstructed screen printing with Kerr Grabowski.  AdventureQuilter.com/blog

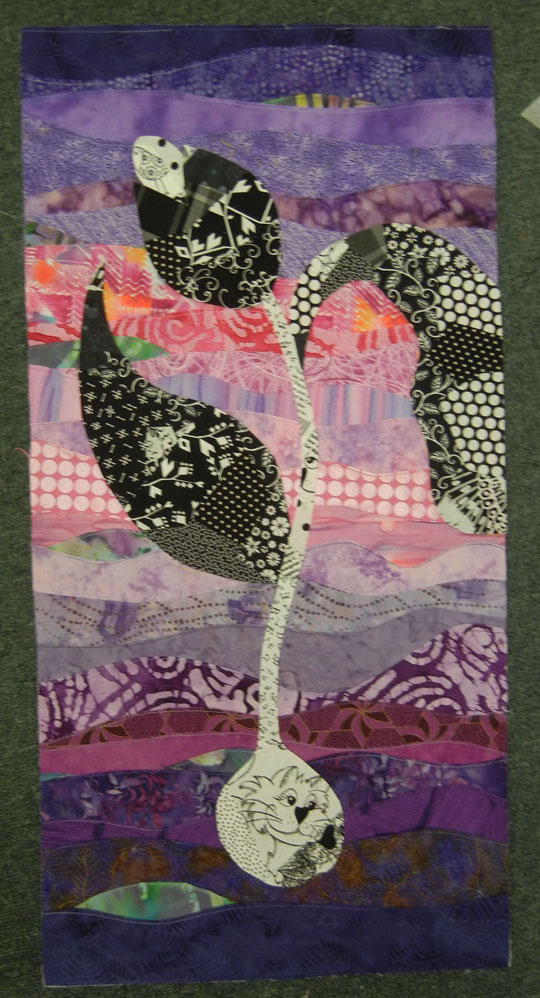
Although my results were marginal, I bet they’ll make their way into future quilts.

I doubt I’ll use this technique again, but I definitely enjoyed a day of learning and play!
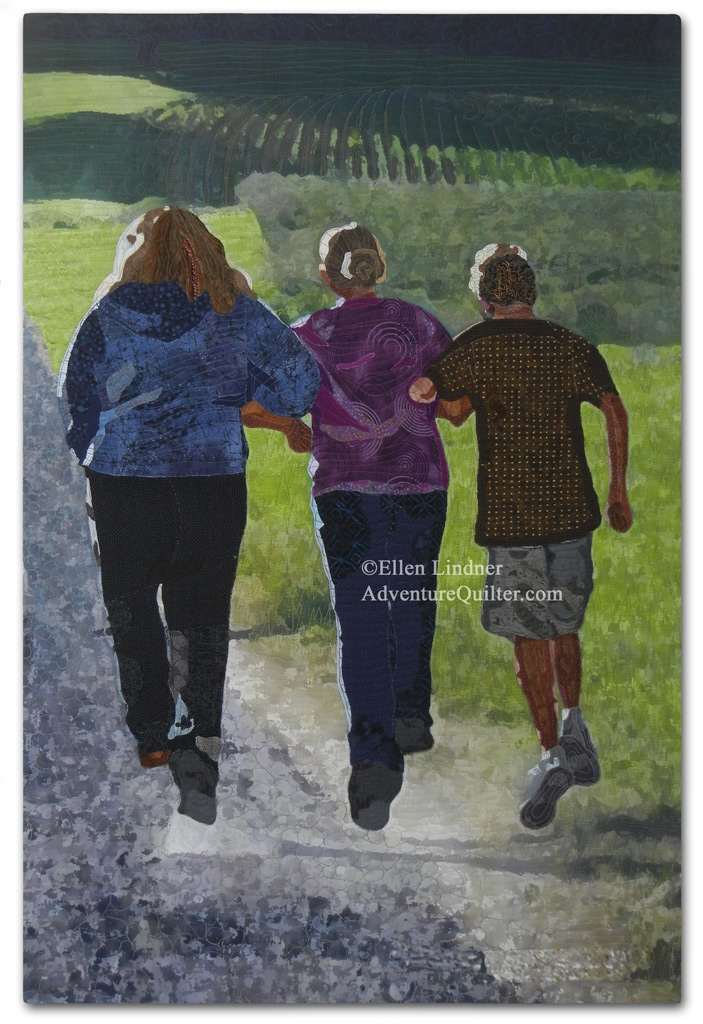
Ellen Lindner