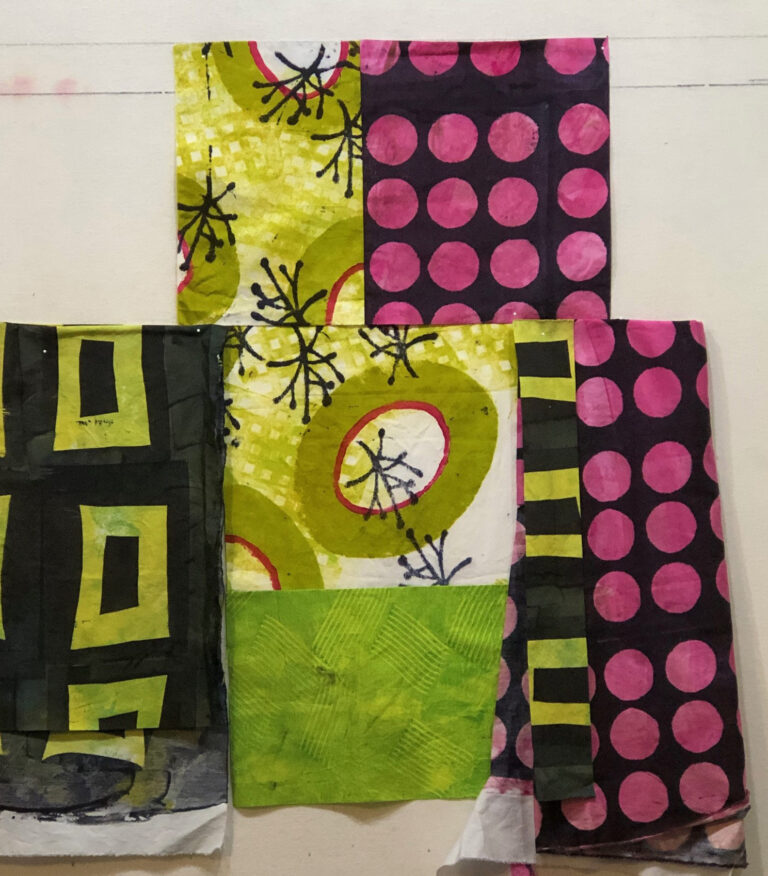
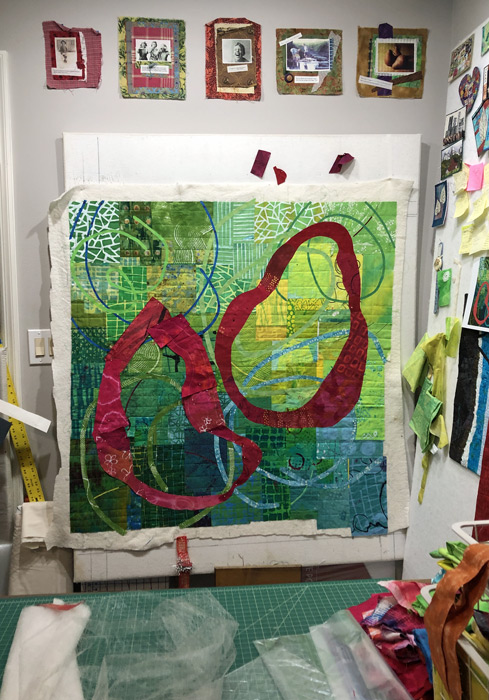
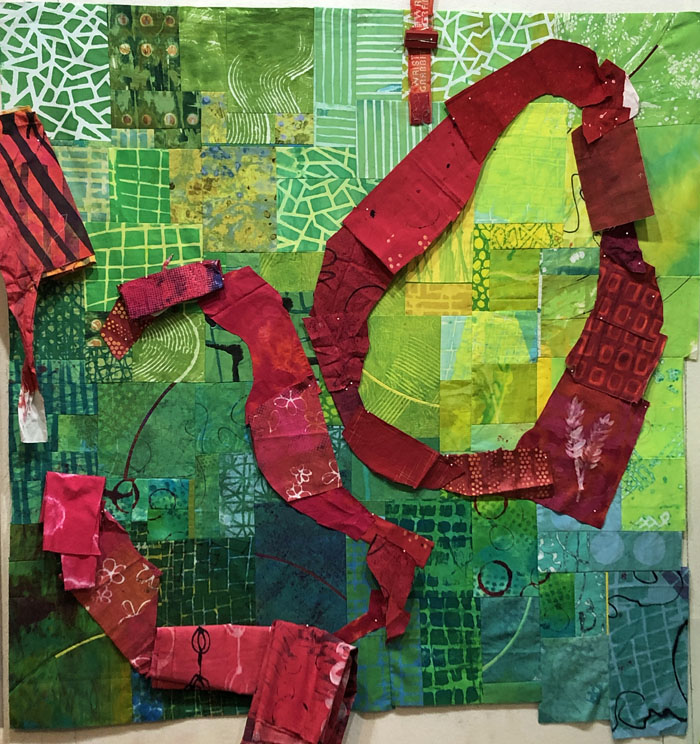
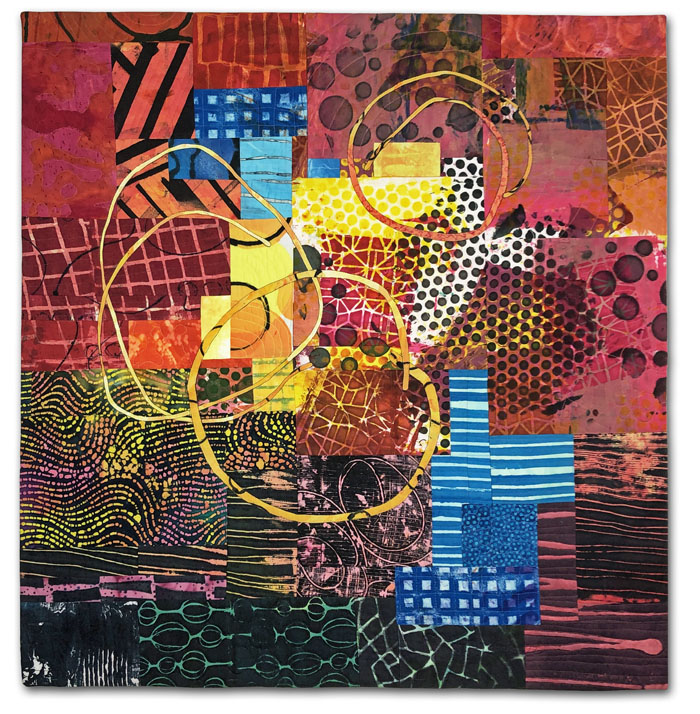
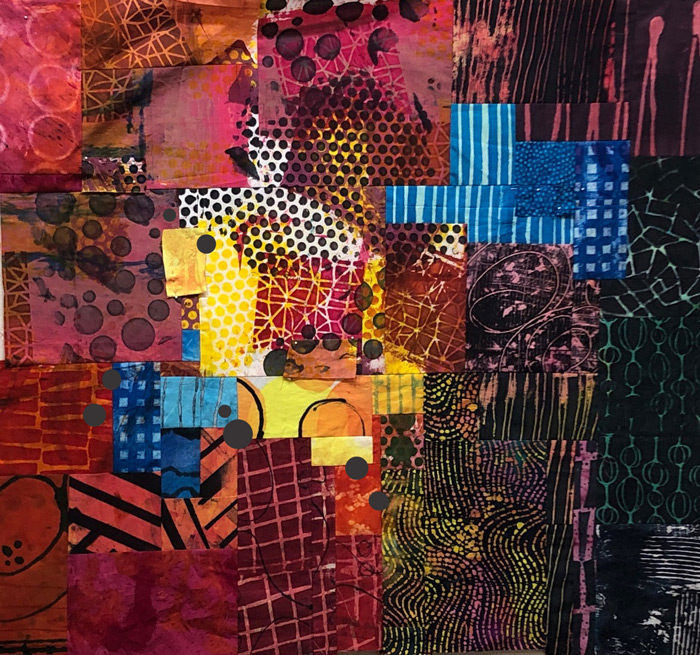
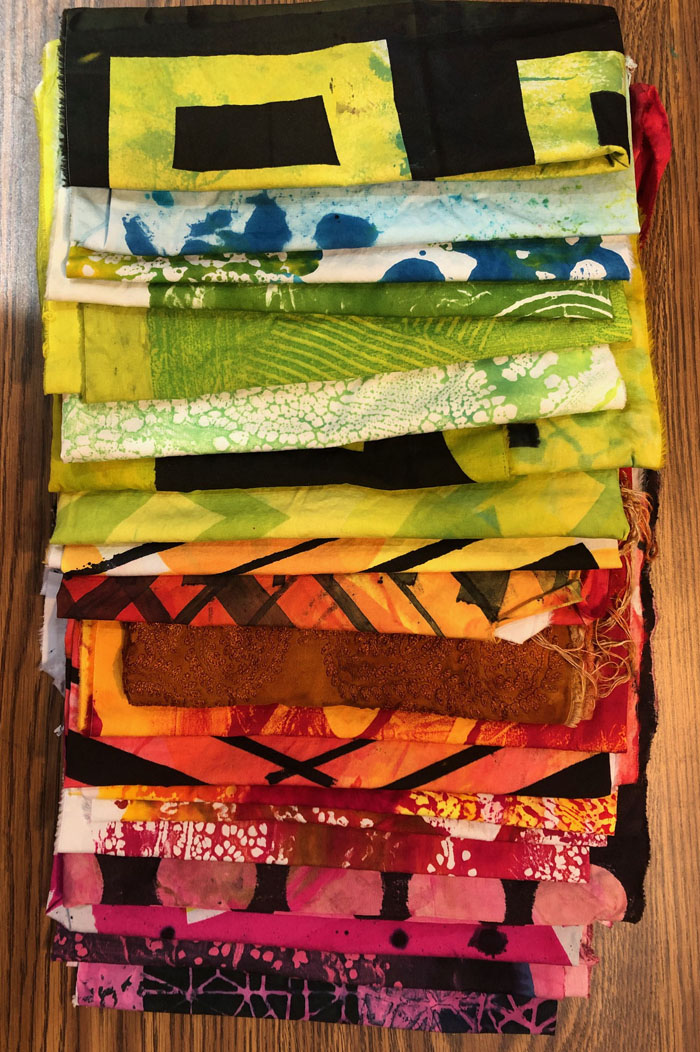
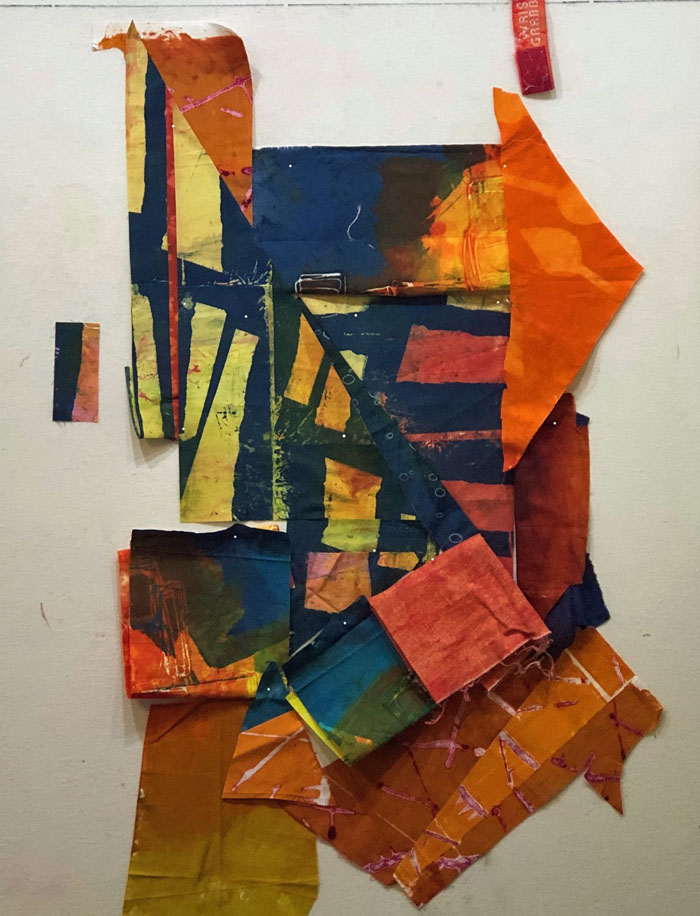
Tag Archives | Dyed Fabrics

Dying Again

As usual, I really enjoyed my recent dying session. I was trying out a new color, Tangerine, so I did a lot of swatching to get to know how it worked.

Dying Again. Getting to Know Tangerine. Ellen Lindner, AdventureQuilter.com/blog

The swatches above show what happened when I mixed tangerine with each of my other 7 colors, in 3 ratios, and 3 values. Yes, it takes a while, but the results are worth it. I’ve done this with each color and have them all sorted, and LABELED, in a book.

When dying fabrics, I often repeat colors and motifs, so the pieces will work together well. This time, I did quite a few pieces with large, squarish meandering. Some of them were in high contrast colors and others were more subtle.

Dying Again. Ellen Lindner, AdventureQuilter.com/blog

A few more examples, (with one exception.) Several of these were mono printed, and I’ve written an article about that process.

Learning to Monoprint. Ellen Lindner, AdventureQuilter.com

These are fabrics I dyed that will probably go together in the same quilt. As you can see, I also played around with a “bean” shape. I think these will work well together.

Dying Again. Ellen Lindner, AdventureQuilter.com/blog

More dyed fabrics in the next post!

Ellen Lindner
P.S. See the earlier swatching I did with my other colors.

0

“Seeking the Horizon” Complete

I finished up my little (18 x 18) scrap quilt and I’m pretty happy with it. I’m calling it Seeking the Horizon.

Seeking the Horizon, art quilt by Ellen Lindner. AdventureQuilter.com

Detail shot.

Seeking the Horizon, art quilt by Ellen Lindner. AdventureQuilter.com

All the fabrics are dyed and printed by me. I think they have a lot of impact together!

Ellen Lindner
P.S. If you read about my quilting problems in the previous post, you can see that I improved upon it.
P.P.S. I made this for an exhibit called “Reflections.” It sorta has that quality, doesn’t it?

0

Working with Scraps

I had some interesting scraps left over from Waiting for the Lightnin’ Bugs. 

Working with Scraps. Ellen Lindner, AdventureQuilter.com/blog

As you can see, they included many skinny triangles, so I knew that would drive my design. And, because they were so skinny, I knew I’d use a collage technique, rather than piecing them.

After creating a background, I started with the brightest shapes, placing them off-center.

Working with Scraps. Ellen Lindner, AdventureQuilter.com/blog

More trial and error.

Working with Scraps. Ellen Lindner, AdventureQuilter.com/blog

It was taking shape. But, when I started quilting it I had a terrible time with the concentric circles I wanted to use. I’m just not good with parallel curves!

Working with Scraps. Ellen Lindner, AdventureQuilter.com/blog

Deep breaths.

Much of the above was picked out. After drawing the desired lines I redid a lot of it and it looked much better. Thank goodness!

Ellen Lindner

0

“Waiting for the Lightnin’ Bugs” Complete

My latest quilt is complete! As you can see, I decided to square off the edges.
These colors are true. My earlier ones were shot in the studio. This one got proper lighting.

Waiting for the Lightnin' Bugs. An art quilt by Ellen Lindner. AdventureQuilter.com

Waiting for the Lightnin’ Bugs

The dark colors of the quilt, combined with yellow streaks, reminded me of a cool evening, in VA, watching the lightnin’ bugs as they came out. (Yes, I pronounce it like that. I’m from the south!)

Here’s a detail shot

Waiting for the Lightnin' Bugs - detail. An art quilt by Ellen Lindner. AdventureQuilter.com

And another. All fabrics were dyed by me.

Waiting for the Lightnin' Bugs - detail. An art quilt by Ellen Lindner. AdventureQuilter.com

I’m kinda loving this.

Check out the web page for a larger image, another detail shot, and purchase information.

Ellen Lindner


2

My Version of Muted

Possible duplicate post

When putting away hand dyed fabrics, I noticed that my least favorites, the dark muted pieces, actually looked pretty good together. I decided to make a quilt with them, and to include a few accents of lighter colors. I was headed for a quilting retreat, so I packed up my potential fabrics to see what I could come up with.

First, I wanted to get the color palette right.  I threw all possibilities up on my portable design wall and easel combo.

My Version of Muted. An art quilt in-progess. Ellen Lindner, AdventureQuilter.com/blog

Not bad, but I could see that some of these colors would need to be used in smaller amounts. See the next photo for modifications. Note that I scaled back a few of the brightest colors. (Ignore the blue tape.)

My Version of Muted. An art quilt in-progess. Ellen Lindner, AdventureQuilter.com/blog

I spent quite a bit of time getting happy with the palette. Then, I started joining fabrics in pairs. Next, I altered each pair in some way. Maybe I added a skinny line, a skewed alignment, or a curved seam. I call this process”slicing and dicing.”

My Version of Muted. Art quilt in progress. Ellen Lindner, AdventureQuilter.com

I continued adding alterations, trying to make each unit interesting. Other than making sure I mixed up the colors well, I didn’t think about composition, shapes, or joining. Once I was home, I assembled units into larger sections.

Finally, it was time to think about composition, size, and shape. I spread out units to see what I had. I was happy with the level of energy and interest, but I didn’t want a horizontal quilt. I knew I’d need to make additional units for the top and bottom, and to fill in some other places. No more random “slicing and dicing.” I was now designing “with intent.”

My Version of Muted. Art quilt in progress. Ellen Lindner, AdventureQuilter.com

Watch for my progress in the next post.

Ellen Lindner


0

Cutting Up Again

Once again, I decided to cut something up. This is where I started, with an already quilted quilt.

I liked it, but realized I liked the left side better than the right.

Cutting Up Again. Ellen Lindner, AdventureQuilter.com/blog

So, after some folding and auditioning, I cut this quilt into two pieces. I set the left portion aside.

Cutting Up Again. Ellen Lindner, AdventureQuilter.com/blog

And started work on the right portion.

Cutting Up Again. Ellen Lindner, AdventureQuilter.com/blog

My plan was to slice into it diagonally and then join the two portions back together, using a loose satin stitch. I was surprised by how easily this technique worked. Even on curved shapes! I added some skinny stripes and continued slicing and reassembling until I got something along these lines.

Cutting Up Again. Ellen Lindner, AdventureQuilter.com/blog

It definitely had more energy! I sliced into it some more.

It was obvious that the overall shape would not be rectangular. I began to think about what those edges should look like. Should I make them even more irregular? To audition this idea I used pieces of muslin to obscure and reshape the edges in places.

Yes! I was liking the spiky nature of these edges. I decided to pick out some stitching and cut new nooks and crannies.

I had to use my sharpest tools to slice away the loose zigzag without cutting the fabric.

Cutting Up Again. Ellen Lindner, AdventureQuilter.com/blog

I wasn’t sure how to finish the edges, but I decided to try the same loose zigzag I’d been using for joining, and I liked it.

Cutting Up Again. Ellen Lindner, AdventureQuilter.com/blog

In the next post I’ll show you the finished quilt. I like it.

Ellen Lindner

4

Trying a New Scale

As I started a new quilt, I looked to my hand dyed fabrics for inspiration. I pulled out a few that I thought might spark some interest.

Trying a Different Scale. Ellen Lindner, AdventureQuilter.com/blog

Uh, no. It all seemed pretty ugly. But, I was intrigued by the large scale black and white piece. Could I work with something like that? It was certainly worth a try.

However, I only had a little of this, so I knew the finished quilt would be small. In fact, this high contrast fabric would comprise the bulk of the piece.

What to put with it? Maybe some red?

Trying a Different Scale. Ellen Lindner, AdventureQuilter.com/blog

But, it needed some additional pattern. On a much smaller scale this time, so as not to compete with the main piece. How ’bout these?

Trying a Different Scale. Ellen Lindner, AdventureQuilter.com/blog

I liked them in the audition (not-yet-pieced) version, but after moving on to piecing I realized that the proportions had changed quite a bit. (Why didn’t I think more about that?) That wide teal line was way too wide. I trimmed it and repieced it. Much better, (below.)

Trying a Different Scale. Ellen Lindner, AdventureQuilter.com/blog

But, that ate into the orange-red print, so I added some more. (This required some fiddly piecing, since I only had scraps of this remaining.) Then, I realized that the solid red was too wide. (Every change affects everything.) I put a tuck in that fabric, (shown pinned for audition below.) That did the trick.

Trying a Different Scale. Ellen Lindner, AdventureQuilter.com/blog

Finally, my little composition was ready for quilting.

Trying a Different Scale. Ellen Lindner, AdventureQuilter.com/blog

I echoed the pattern in the far right fabric and liked the effect.

Good Possibilities - detail, an art quilt by Ellen Lindner. AdventureQuilter.com

I’ve named this piece Good Possibilities. You can see the full image here.

I really enjoyed working with this larger scale fabric. I’ll definitely do it again.

Ellen Lindner


0

“Twigs” Complete

For the first time I worked on two quilts at the same time, finishing them up very close together. Here’s the latest, Twigs.

Twigs, an art quilt by Ellen Lindner. AdventureQuilter.com

Twigs

I’m very happy with it. And here’s a detail shot.

Twigs - detail, an art quilt by Ellen Lindner. AdventureQuilter.com

The dark twigs were done in the dyeing stage. The white ones were added after piecing, with acrylic paint. As you can see, I used the same stencil for both.

See more details, including purchase information.

Ellen Lindner
P.S. After neglecting it for quite some time, I’m finally hemming and altering clothes. At only 5′ tall, I do a lot of that!

0

“Fragrant Canopy” Complete

I’m SO happy with my latest quilt, Fragrant Canopy.

Fragrant Canopy, an art quilt by Ellen Lindner. AdventureQuilter.com

It started as one piece of fabric which I dyed/printed. That fabric makes up the left two-thirds of the completed quilt.

I had great fun working on the details, especially adding some black hand stitching.

Fragrant Canopy - detail, an art quilt by Ellen Lindner. AdventureQuilter.com

Fragrant Canopy - detail, an art quilt by Ellen Lindner. AdventureQuilter.com

I love everything about this quilt! Not only the results, but also the process and the things I learned.

See larger images and purchase information.

Ellen Lindner

0

“Let the Sun Shine In” Exhibit

I recently enjoyed a visit to Harrisonburg, VA, to see the “Let the Sun Shine In” exhibit. The artists in this exhibit are all members of Studio Art Quilt Associates, and I am one of them. Here I am with my piece, Florida Native #2. It was made with commercial fabrics and one that I created  with breakdown printing. The vein shadows were created with black tulle.

Let the Sun Shine In, quilt exhibit. Ellen Lindner, Adventurequilter.com/blog

That’s Mary Ritter’s Tea Time hanging behind my shoulder.

I estimate about 30 quilts were in the exhibit, and they were all displayed well.

Let the Sun Shine In, quilt exhibit. Ellen Lindner, Adventurequilter.com/blog

Partial list of makers, L-R: unknown (1,)  Mary Ritter, Ellen Lindner, Jayne Gaskins, unknown. I’m sorry that I didn’t note all the makers of these quilts. If you see yours, please let me know and I’ll add the info.

This piece, by Paula Dean, had a great sense of light. It’s called Brighter Days…Just Around the Corner.

Let the Sun Shine In, quilt exhibit. Ellen Lindner, Adventurequilter.com/blog

Paula used a wonderful array of techniques to create texture. This was very compelling and it drew you in for closer scrutiny.

Let the Sun Shine In, quilt exhibit. Ellen Lindner, Adventurequilter.com/blog

Jenny Perry used strong colors to make her striking piece, Lac Le Jeaune Sunrise.

Let the Sun Shine In, quilt exhibit. Ellen Lindner, Adventurequilter.com/blog

I’ll show you more images in the next post.

By the way, this exhibit runs just a few more days – through December 23rd, 2022.

Ellen Lindner
P.S. See my quilt in-progress.

0